概要
- RxDataSourcesを使ったUICollectionViewの扱いについて書く
- アーキテクチャはMVVMになぞる
この記事のターゲット
- Swift による iOS アプリの開発経験が少しだけある(3ヶ月〜1年未満)
- RxSwift(というかObservable)の概念がなんとなくわかる
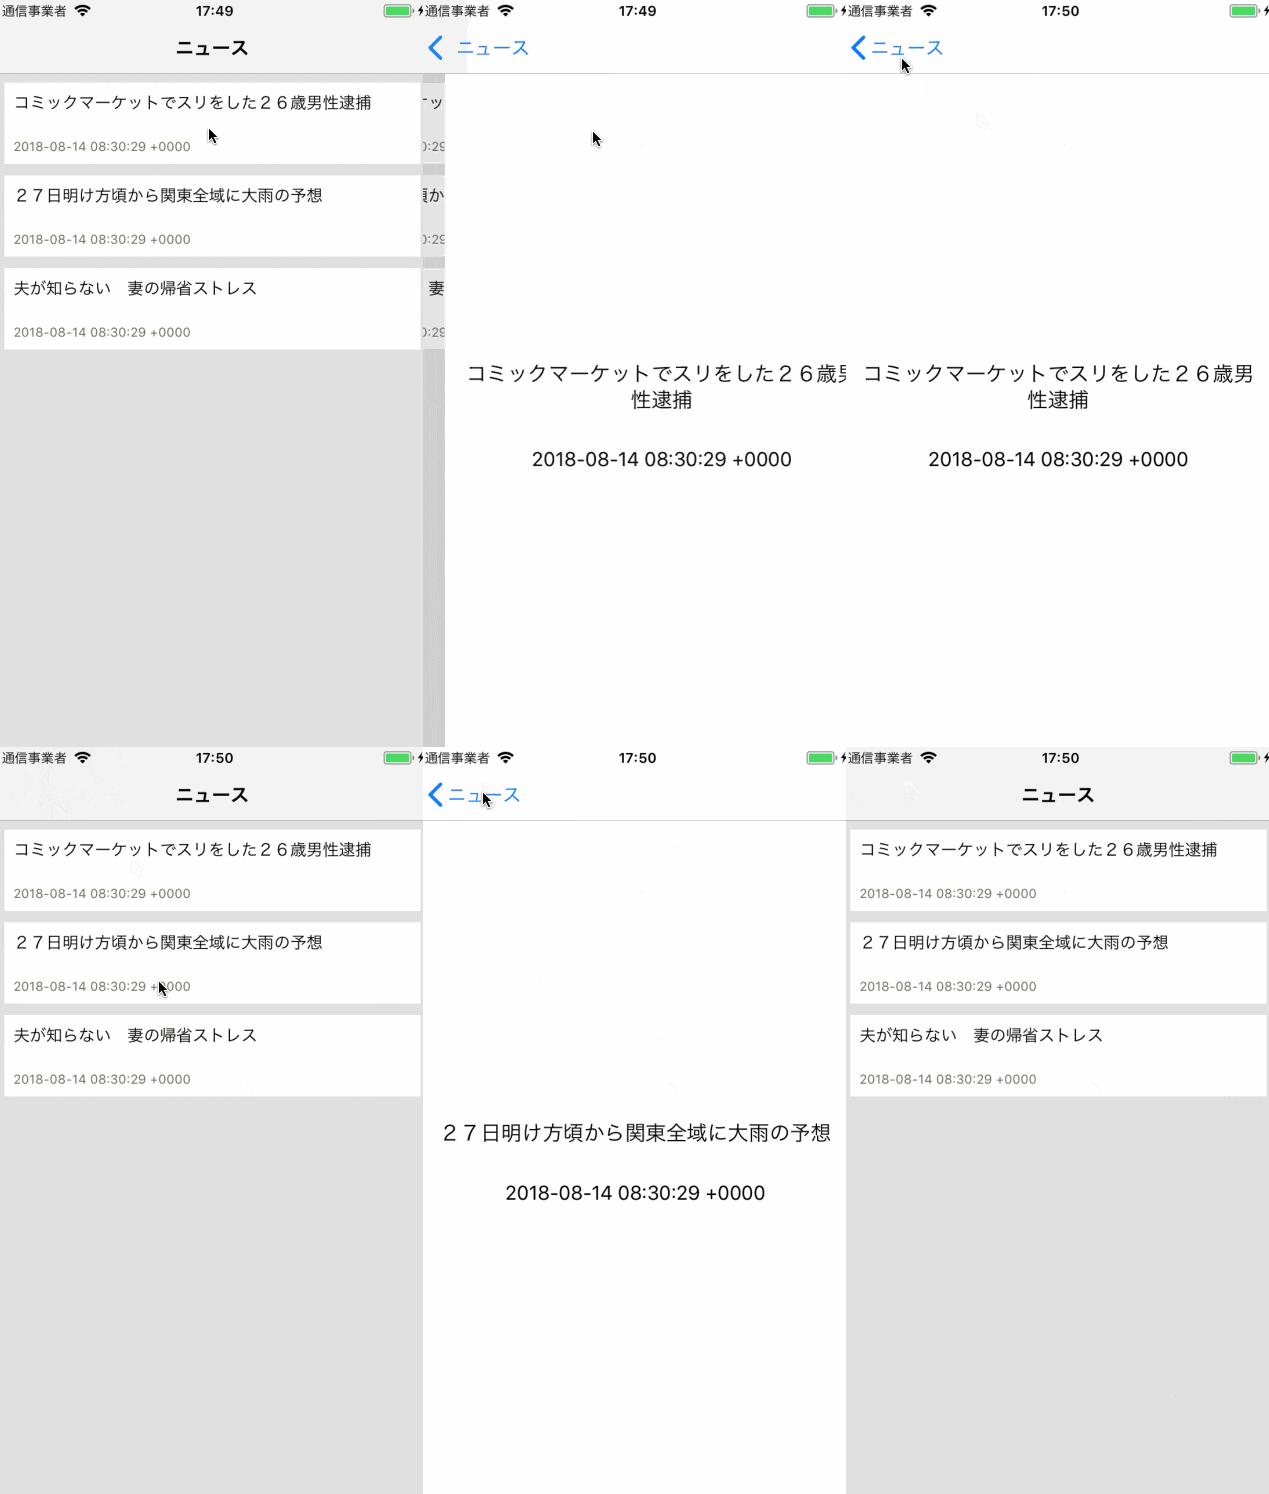
完成イメージ

環境
- Xcode 9.4
- Swift 4.1
- Cocoapods 1.5.3
- R.swift
- RxDatasources
Note:
R.swiftを正しく導入しないとこの記事のコードは動きません
Podfile
platform :ios, '11.4'
use_frameworks!

target 'RxCollectionViewSample' do
  pod 'RxDataSources'
  pod 'R.swift'
end
最初に
- Main.storyboardを使いません。
- 画面の定義は全てxibファイルを使います
画面の作成
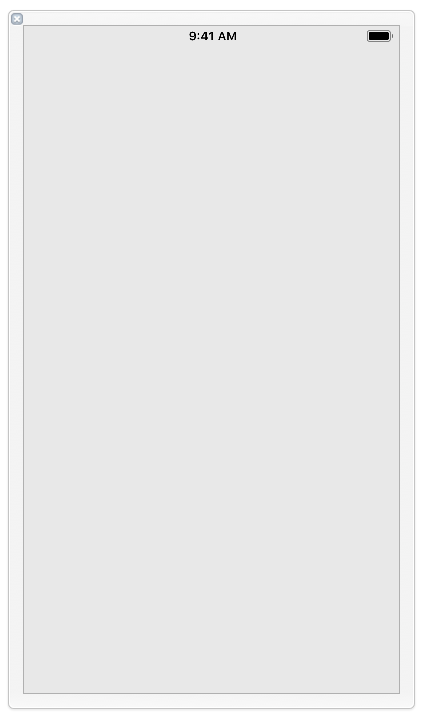
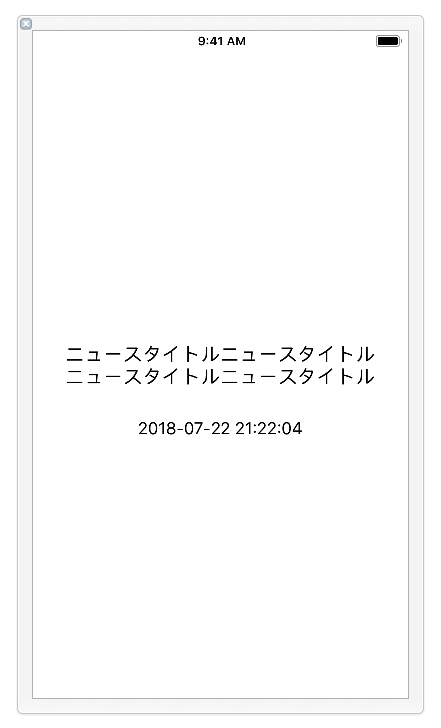
| TimelineViewController | ArticleDetailViewController | ArticleCollectionCell |
|---|---|---|
 |
 |
 |
| UICollectionViewのみ | UILabel x2 | UILabel x2 |
セルのコード定義
ArticleCollectionCell.swift
import UIKit

class ArticleCollectionCell: UICollectionViewCell {
    @IBOutlet weak var titleLabel: UILabel!
    @IBOutlet weak var dateLabel: UILabel!

    static let cellHeight: CGFloat = 70.0
    static let cellMargin: CGFloat = 8.0

    func update(title: String, date: Date) {
        titleLabel.text = title
        dateLabel.text = date.description
    }
}
データモデルの定義
Article.swift
import Foundation

struct Article {
    let title: String
    let updatedAt: Date
}
ニュース一覧を出すViewControllerの作成
TimelineViewController.swift
import UIKit
import RxSwift
import RxCocoa
import RxDataSources

typealias TimelineSectionModel = SectionModel<TimelineSection, TimelineItem>

enum TimelineSection {
    case news
}

enum TimelineItem {
    case article(article: Article)
    // case ad(ad: Advertise) ニュース記事の他に広告を挿入したい場合はここに追加する
}

class TimelineViewController: UIViewController {

    @IBOutlet weak var collectionView: UICollectionView!

    private lazy var dataSource = RxCollectionViewSectionedReloadDataSource<TimelineSectionModel>(configureCell: configureCell)

    private lazy var configureCell: RxCollectionViewSectionedReloadDataSource<TimelineSectionModel>.ConfigureCell = { [weak self] (_, tableView, indexPath, item) in
        guard let strongSelf = self else { return UICollectionViewCell() }
        switch item {
        case .article(let article):
            return strongSelf.articleCell(indexPath: indexPath, article: article)
        }
    }

    private var viewModel: TimelineViewModel!
    private let disposeBag = DisposeBag()

    override func viewDidLoad() {
        super.viewDidLoad()
        setupViewController()
        setupCollectionView()
        setupViewModel()
    }

}

extension TimelineViewController {
    private func setupViewController() {
        self.navigationItem.title = "ニュース"
    }

    private func setupCollectionView() {
        collectionView.contentInset.top = ArticleCollectionCell.cellMargin
        collectionView.register(R.nib.articleCollectionCell(), forCellWithReuseIdentifier: R.nib.articleCollectionCell.identifier)
        collectionView.rx.setDelegate(self).disposed(by: disposeBag)
        collectionView.rx.itemSelected
            .map { [weak self] indexPath -> TimelineItem? in
                return self?.dataSource[indexPath]
            }
            .subscribe(onNext: { [weak self] item in
                // セルをタップしたとき、ここが呼ばれる
                guard let item = item else { return }
                switch item {
                case .article(let article):
                    self?.presentArticleDetailViewController(article: article)
                }
            })
            .disposed(by: disposeBag)
    }

    private func setupViewModel() {
        viewModel = TimelineViewModel()
        // ここでdataSourceをdrive(bind)しておくことで、データの更新&Viewの更新をきにしなくてもよくなる
        viewModel.items
            .asDriver()
            .drive(collectionView.rx.items(dataSource: dataSource))
            .disposed(by: disposeBag)
        viewModel.updateItems()
    }

    private func articleCell(indexPath: IndexPath, article: Article) -> UICollectionViewCell {
        if let cell = collectionView.dequeueReusableCell(withReuseIdentifier: R.nib.articleCollectionCell.identifier, for: indexPath) as? ArticleCollectionCell {
            cell.update(title: article.title, date: article.updatedAt)
            return cell
        }
        return UICollectionViewCell()
    }

    private func presentArticleDetailViewController(article: Article) {
        let articleDetailViewController = ArticleDetailViewController(article: article)
        navigationController?.pushViewController(articleDetailViewController, animated: true)
    }
}

extension TimelineViewController: UICollectionViewDelegate, UICollectionViewDelegateFlowLayout {
    func collectionView(_ collectionView: UICollectionView, layout collectionViewLayout: UICollectionViewLayout, insetForSectionAt section: Int) -> UIEdgeInsets {
        let item = dataSource[section]
        switch item.model {
        case .news:
            return UIEdgeInsets(top: 0.0, left: 0.0, bottom: 0.0, right: 0.0)
        }
    }

    func collectionView(_ collectionView: UICollectionView, layout collectionViewLayout: UICollectionViewLayout, sizeForItemAt indexPath: IndexPath) -> CGSize {
        let item = dataSource[indexPath]
        switch item {
        case .article:
            let width = collectionView.bounds.width - (ArticleCollectionCell.cellMargin * 2)
            return CGSize(width: width, height: ArticleCollectionCell.cellHeight)
        }
    }
}
一覧画面のViewModelの設定
TimelineViewModel.swift
import RxSwift
import RxCocoa
import RxDataSources

class TimelineViewModel {
    let items = BehaviorRelay<[TimelineSectionModel]>(value: [])

    func updateItems() {
        var sections: [TimelineSectionModel] = []

        let item1 = TimelineItem.article(article: Article(title: "コミックマーケットでスリをした26歳男性逮捕", updatedAt: Date()))
        let item2 = TimelineItem.article(article: Article(title: "27日明け方頃から関東全域に大雨の予想", updatedAt: Date()))
        let item3 = TimelineItem.article(article: Article(title: "夫が知らない 妻の帰省ストレス", updatedAt: Date()))
        let articleSection = TimelineSectionModel(model: .news, items: [item1, item2, item3])
        sections.append(articleSection)

        items.accept(sections)
    }
}
ニュースセルをタップしたあとの記事詳細画面を作成
ArticleDetailViewController.swift
import UIKit

class ArticleDetailViewController: UIViewController {

    @IBOutlet weak var titleLabel: UILabel!
    @IBOutlet weak var dateLabel: UILabel!

    private var article: Article?

    convenience init(article: Article) {
        self.init(nib: R.nib.articleDetailViewController)
        self.article = article
    }

    override func viewDidLoad() {
        super.viewDidLoad()
        self.titleLabel.text = article?.title
        self.dateLabel.text = article?.updatedAt.description
    }
}
AppDelegateの設定
AppDelegate.swift
import UIKit

@UIApplicationMain
class AppDelegate: UIResponder, UIApplicationDelegate {

    var window: UIWindow?

    func application(_ application: UIApplication, didFinishLaunchingWithOptions launchOptions: [UIApplicationLaunchOptionsKey: Any]?) -> Bool {
        self.window = UIWindow(frame: UIScreen.main.bounds)
        let navigationController = UINavigationController(rootViewController: TimelineViewController())
        self.window?.rootViewController = navigationController
        self.window?.makeKeyAndVisible()
        return true
    }

}
- IBOutletやUIの作成がうまくできていればこれで一通り動かせると思います。
カスタマイズする
- データの追加(セルの追加)は、
TimelineViewModelのupdateItems()で行っています。- つまり、
updateItemsをうまくいじればデータベースから引っ張ってきたデータ、APIからひっぱってきたデータを表示することができます。 - また、Viewの更新はRxDataSourcesがうまくやってくれているので、
TimelineViewControllerは特に意識しなくても良くなります
- つまり、
    // データをupdateItemsの引数に渡す場合の例
    func updateItems(articles: [Article]) {
        var sections: [TimelineSectionModel] = []

        let articleItems = articles.map { TimelineItem.article(article: $0) }
        let articleSection = TimelineSectionModel(model: .news, items: articleItems)
        sections.append(articleSection)

        items.accept(sections)
    }