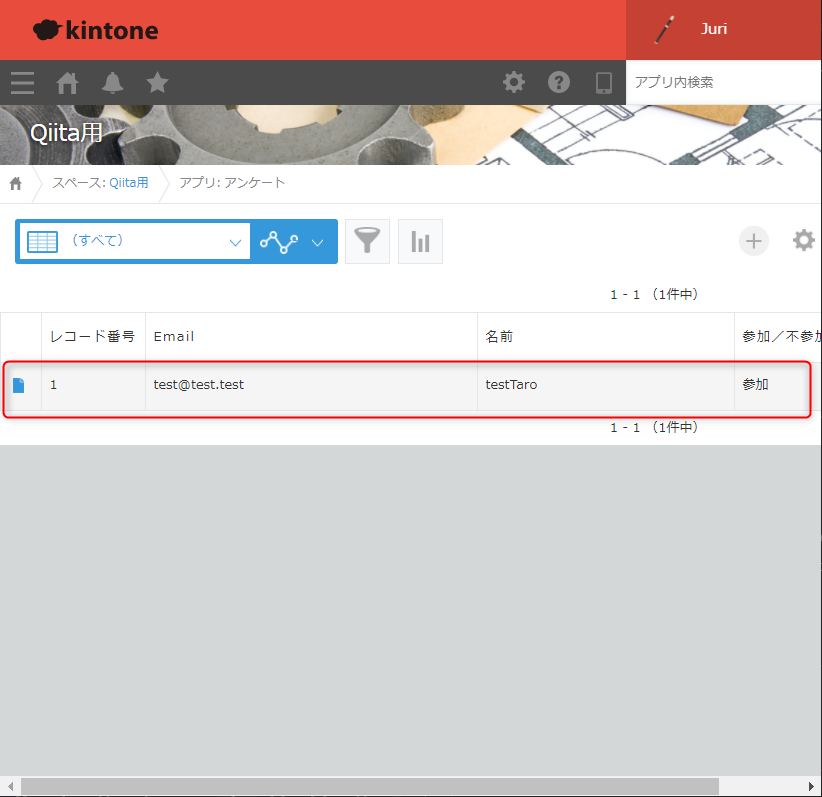
Googleフォームからkintoneにレコード登録できるらしい!
と知って、試してみた記録です。
参考ページ:
kintoneアプリを作成する
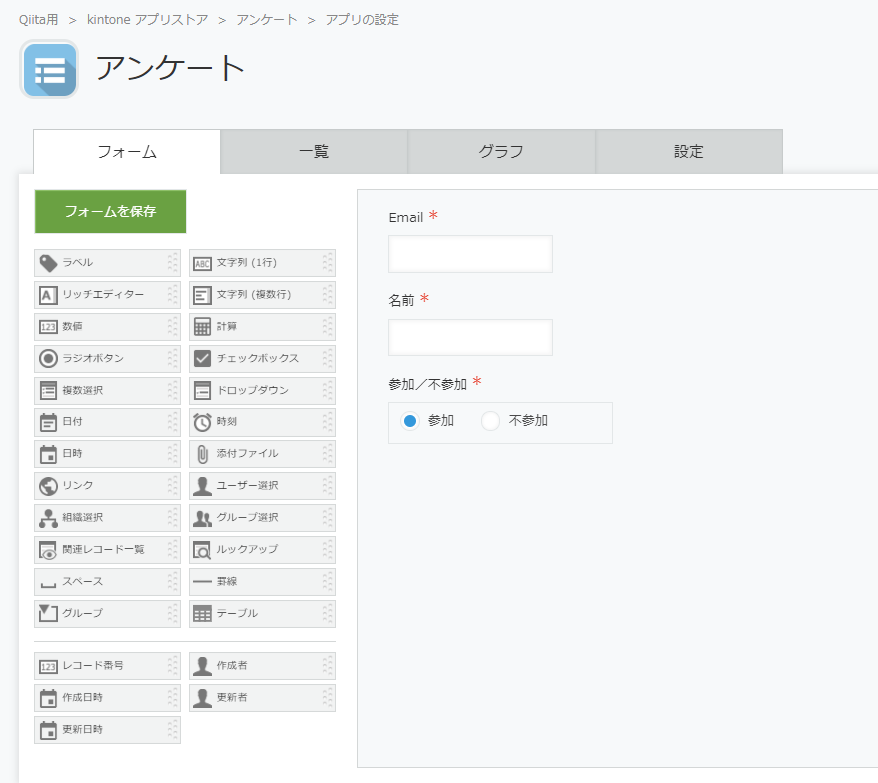
こんな感じで作成します。
| フィールド | フィールド名 | フィールドコード | |
|---|---|---|---|
| 文字列 (1行) | 必須 | ||
| 文字列 (1行) | 名前 | Name | 必須 |
| ラジオボタン | 参加/不参加 | attend | 必須、参加/不参加 |
※メールアドレスはあとでupdateKeyにしたいと思いまして、文字列(1行)にしてみました。
APIトークン生成&コピーする
APIトークンを生成して、「レコード追加」にチェックを入れておきましょう

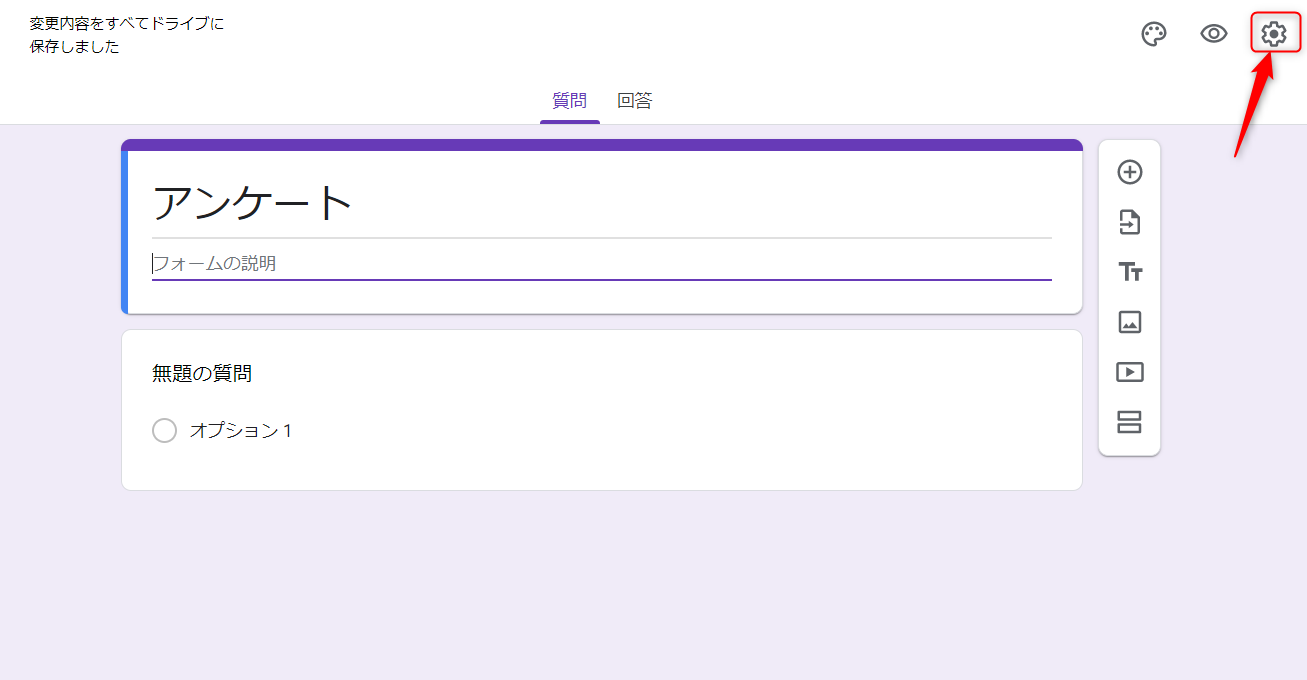
Googleフォームを作成する
※Googleフォームの詳しい作成方法はここでは省略しますm(_ _)m
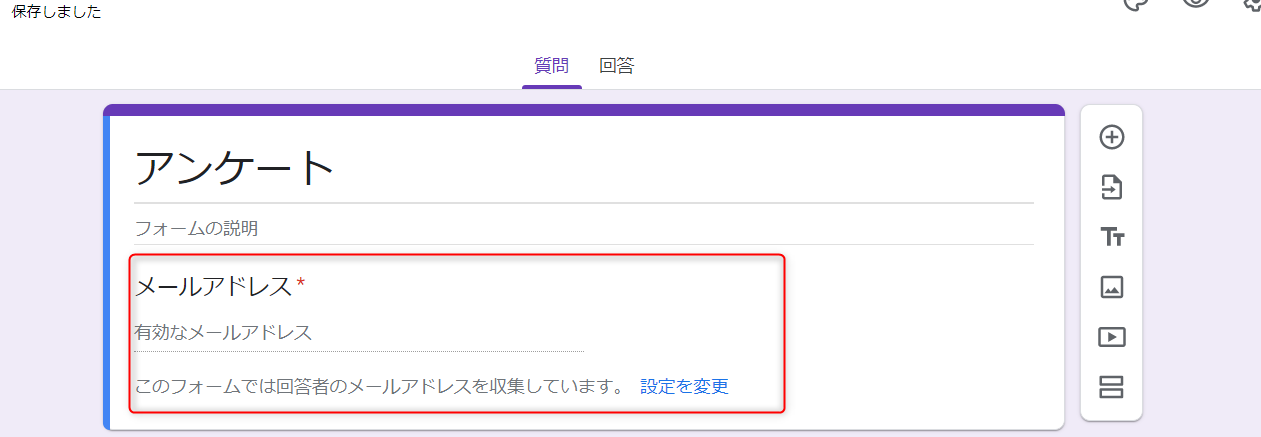
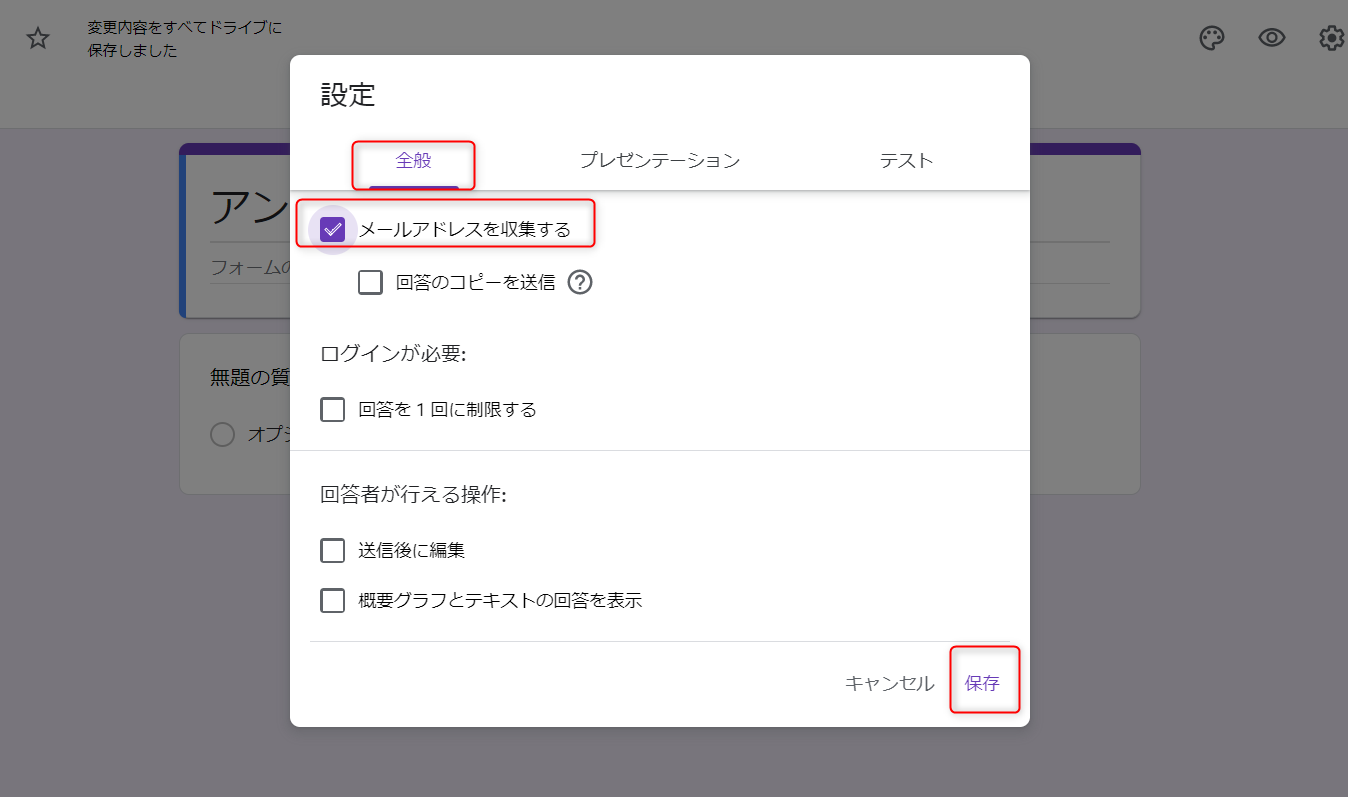
メールアドレスを収集する設定にする
(2)メールアドレスを収集するにチェック(回答のコピーを送信にチェック入れてもいいかも)
名前欄作成
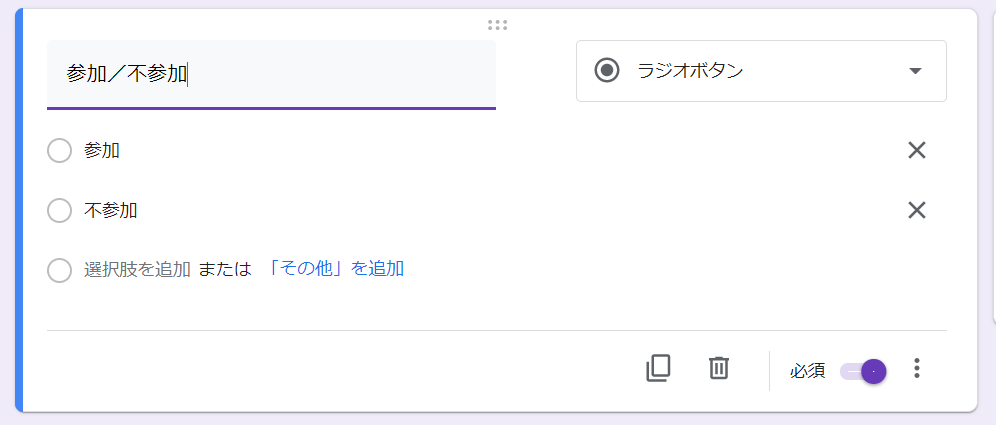
参加/不参加欄作成
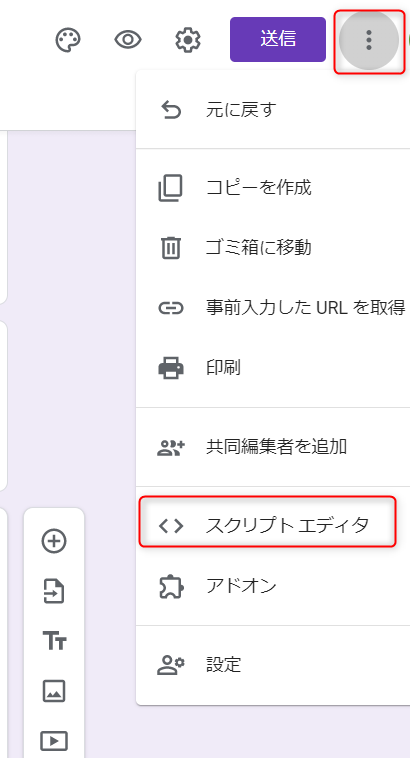
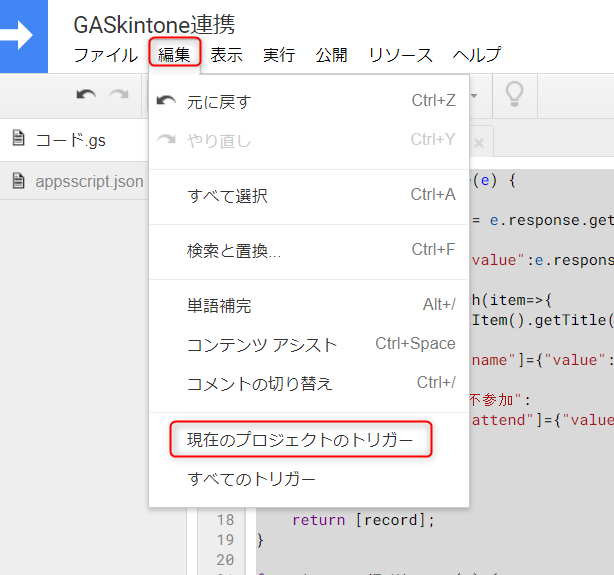
gasを書く
ライブラリとマニフェストファイルの設定
↓こちらのStep 9とStep 10を参考に、ライブラリと、マニフェストファイルの設定をします。
Google フォームとkintoneを連携してみよう!
コードを書く
先程のdeveloper networkのサイトのstep 11のコードを参考に、下記のように書いておきます。
- サブドメイン
- アプリID
- アプリの名前
- APIトークン
をご使用の環境に合わせてください。
forEachやアロー演算子も使えるみたい。
function getFormResponse(e) {
    'use strict';

    //アンケートの回答を取得
    const itemResponses = e.response.getItemResponses();

    //追加するレコード作成
    let record = {};
    record["Email"] = {"value": e.response.getRespondentEmail()};
    itemResponses.forEach(item => {
        switch (item.getItem().getTitle()) {
            case "名前":
                record["name"] = {"value": item.getResponse()};
                break;
            case "参加/不参加":
                record["attend"] = {"value": item.getResponse()};
                break;
        }
    });

    //recordを配列にして返す
    return [record];
}

function sendToKintone(e) {
    'use strict';
    const subdomain = "サブドメイン";//.cybozu.comの前のサブドメイン名
    const apps = {
        YOUR_APPLICATION: { appid: アプリID, name: "アプリの名前", token: "さっきコピーしたAPIトークン" }
    };
    const manager = new KintoneManager.KintoneManager(subdomain, apps);// ライブラリの初期化

    const records = getFormResponse(e);

    const response = manager.create("YOUR_APPLICATION", records);//kintone レコードの生成
    // ステータスコード
    const code = response.getResponseCode();
}
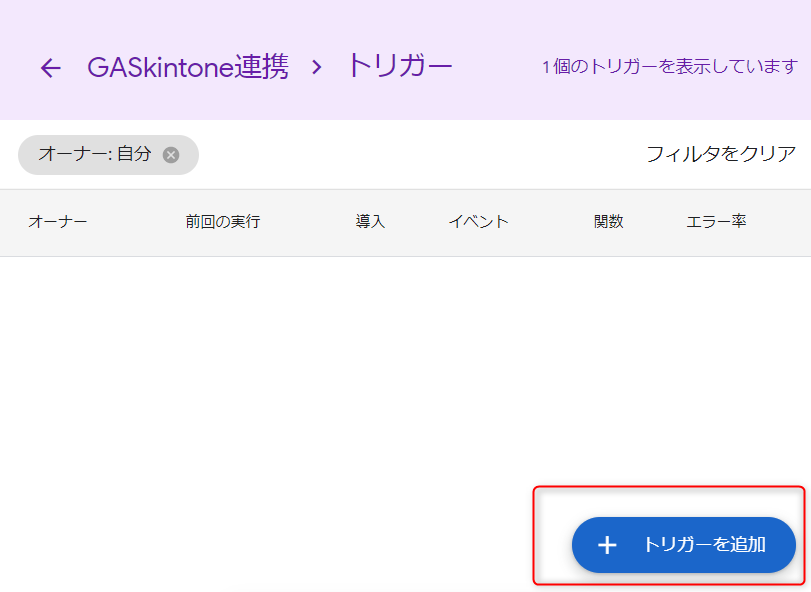
トリガーの設定
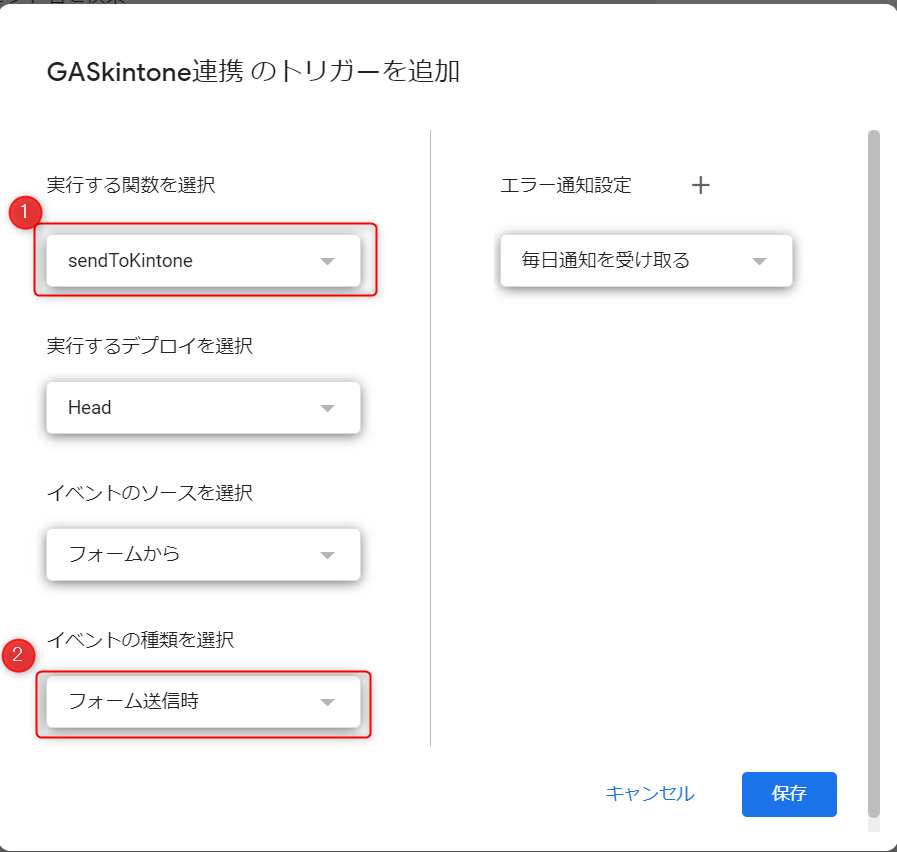
(3) 実行する関数を選択で、上記コードをそのまま使用する場合は「sendToKintone」
イベントの種類を選択で「フォーム送信時」を選択して、「保存」をクリックします
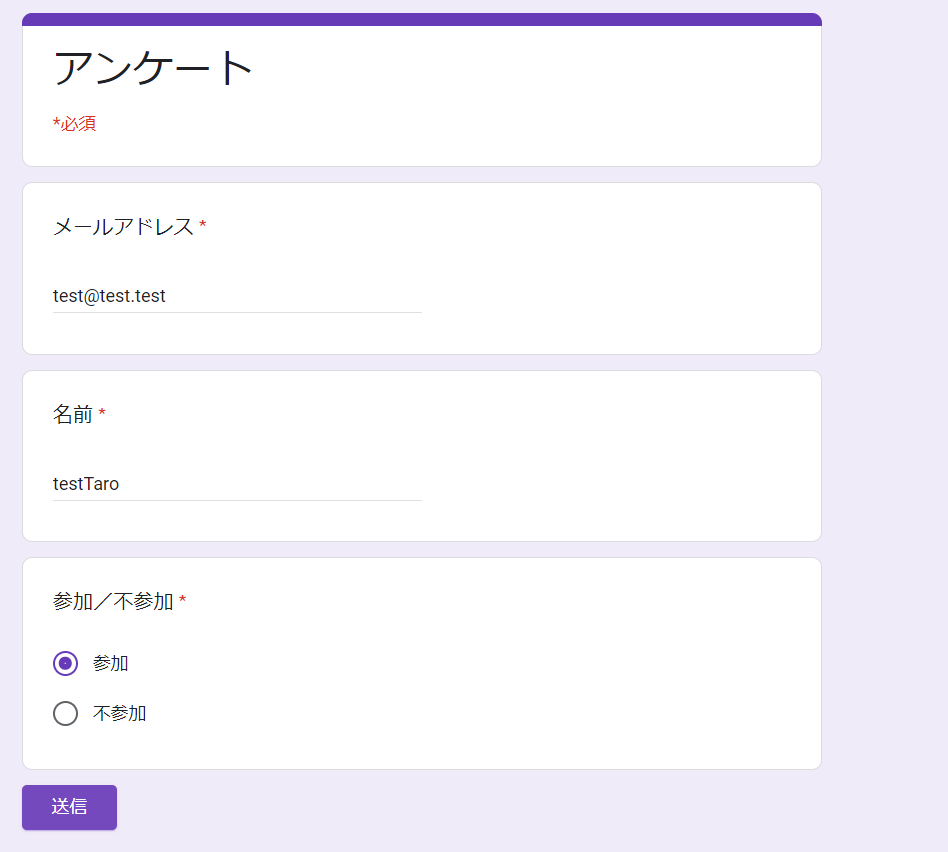
アンケートを送信してみる
まとめ
Googleフォームとkintoneを連携させるためには、
アプリに合わせてフォームを作ったりコーディングしたりする必要があります。
なかなか大変ですが、ちょっとしたフォームが1つほしい、継続的には不要なんて場合には作ってみてはいかがでしょうか??
また、簡単にフォーム連携ができるサービスなどもあるので試してみるのもいいかもしれません^0^!
ではでは!
