色々ゆるゆるですが、環境構築で投げた人の参考にでもなればと。。
Activatorコマンドの実行方法
最初、こちらの記事を参考にさせて頂きました。
Typesafe ActivatorでEclipse+Scalaの開発を行う準備をする
http://www.mwsoft.jp/programming/scala/typesafe_activator_eclipse.html
が、いきなりactivatorコマンドを打っても、当然動かない訳です。
対策
Activatorのminimal版をダウンロードして来たので、jarとexecファイルがあるだけ。
activatorコマンドを実行するには、Windowsでいうところの環境変数を通す必要があります。
Activatorのパスをどうやって通すか
( ˘ω˘ )。oO(ここは苦労すべき所なのか…?)
対策
minimalは忘れてbrewで持ってこよう…。
brewが動かない!
brewが動きません。1.8のRubyを見に行ってナイヨーと言われますが、インストール済みのRubyは最新版のはず…
原因と対策
こちらの記事を参考にさせて頂きました。
Yosemiteでbrewが壊れた
http://qiita.com/sue738/items/7ab03ecc9f6fcf37408d
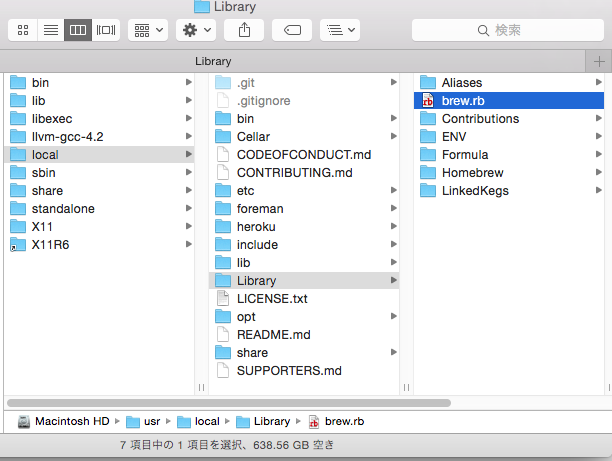
brew.rbファイルがバージョン1.8のrubyを参照しているので、そこを修正です。
brewが動いたのを確認したら、改めてActivatorをインストールします。
EclipseにはScalaプラグインをインストールしておいてください。
play!プロジェクトのeclipse取り込み
cdコマンドで、Activatorが作成したplay!プロジェクトまで移動し、
$activator eclipse
コマンドを実行すればplay!プロジェクトがEclipse取り込み可能となります。
お疲れ様でした!
