Amplifyとは
Webアプリ・モバイルアプリ向けのAWSの機能を簡単に導入できるすごいライブラリです。
- 認証
- API
- 画像アップロード
などの機能を特別な知識なしで追加できます!
きっかけ
この記事を書くきっかけになったのが、公式ドキュメントの内容が英語かつReact中心で、Vue.jsで開発した時に苦労した事です。
最終的には、この記事をコピペすれば簡単に作れる事を目標に、解説していきたいと思います!
セットアップ
順をおって、Amplifyプロジェクトを設定していきます。
Vue
$ npm install vue
$ vue create amplify-sample
vueプロジェクトを作成します。
Vue CLI v3.11.0
? Please pick a preset:
  default (babel, eslint)
❯ Manually select features
今回は、今後のことを考えて、いくつか追加で入れていきます。
? Please pick a preset: Manually select features
? Check the features needed for your project:
 ◉ Babel
 ◯ TypeScript
 ◯ Progressive Web App (PWA) Support
 ◉ Router
❯◉ Vuex
 ◯ CSS Pre-processors
 ◉ Linter / Formatter
 ◯ Unit Testing
 ◯ E2E Testing
新規でRouterとVuexを入れます。
Routerは、ページの遷移の設定を行い、Vuexはデータをひとまとめにして管理しやすくします。
他の項目は全てデフォルトのままにします。
Vue起動
まずは、AmplifyなしのVueプロジェクトを試しに起動して見ましょう。
$ cd amplify-sample/
$ npm run serve
ブラウザでlocalhost:8080を見るとVueプロジェクトを確認できます。

Amplify導入
npmを用いてamplifyを入れていきます。
$ npm i aws-amplify
$ npm i aws-amplify-vue
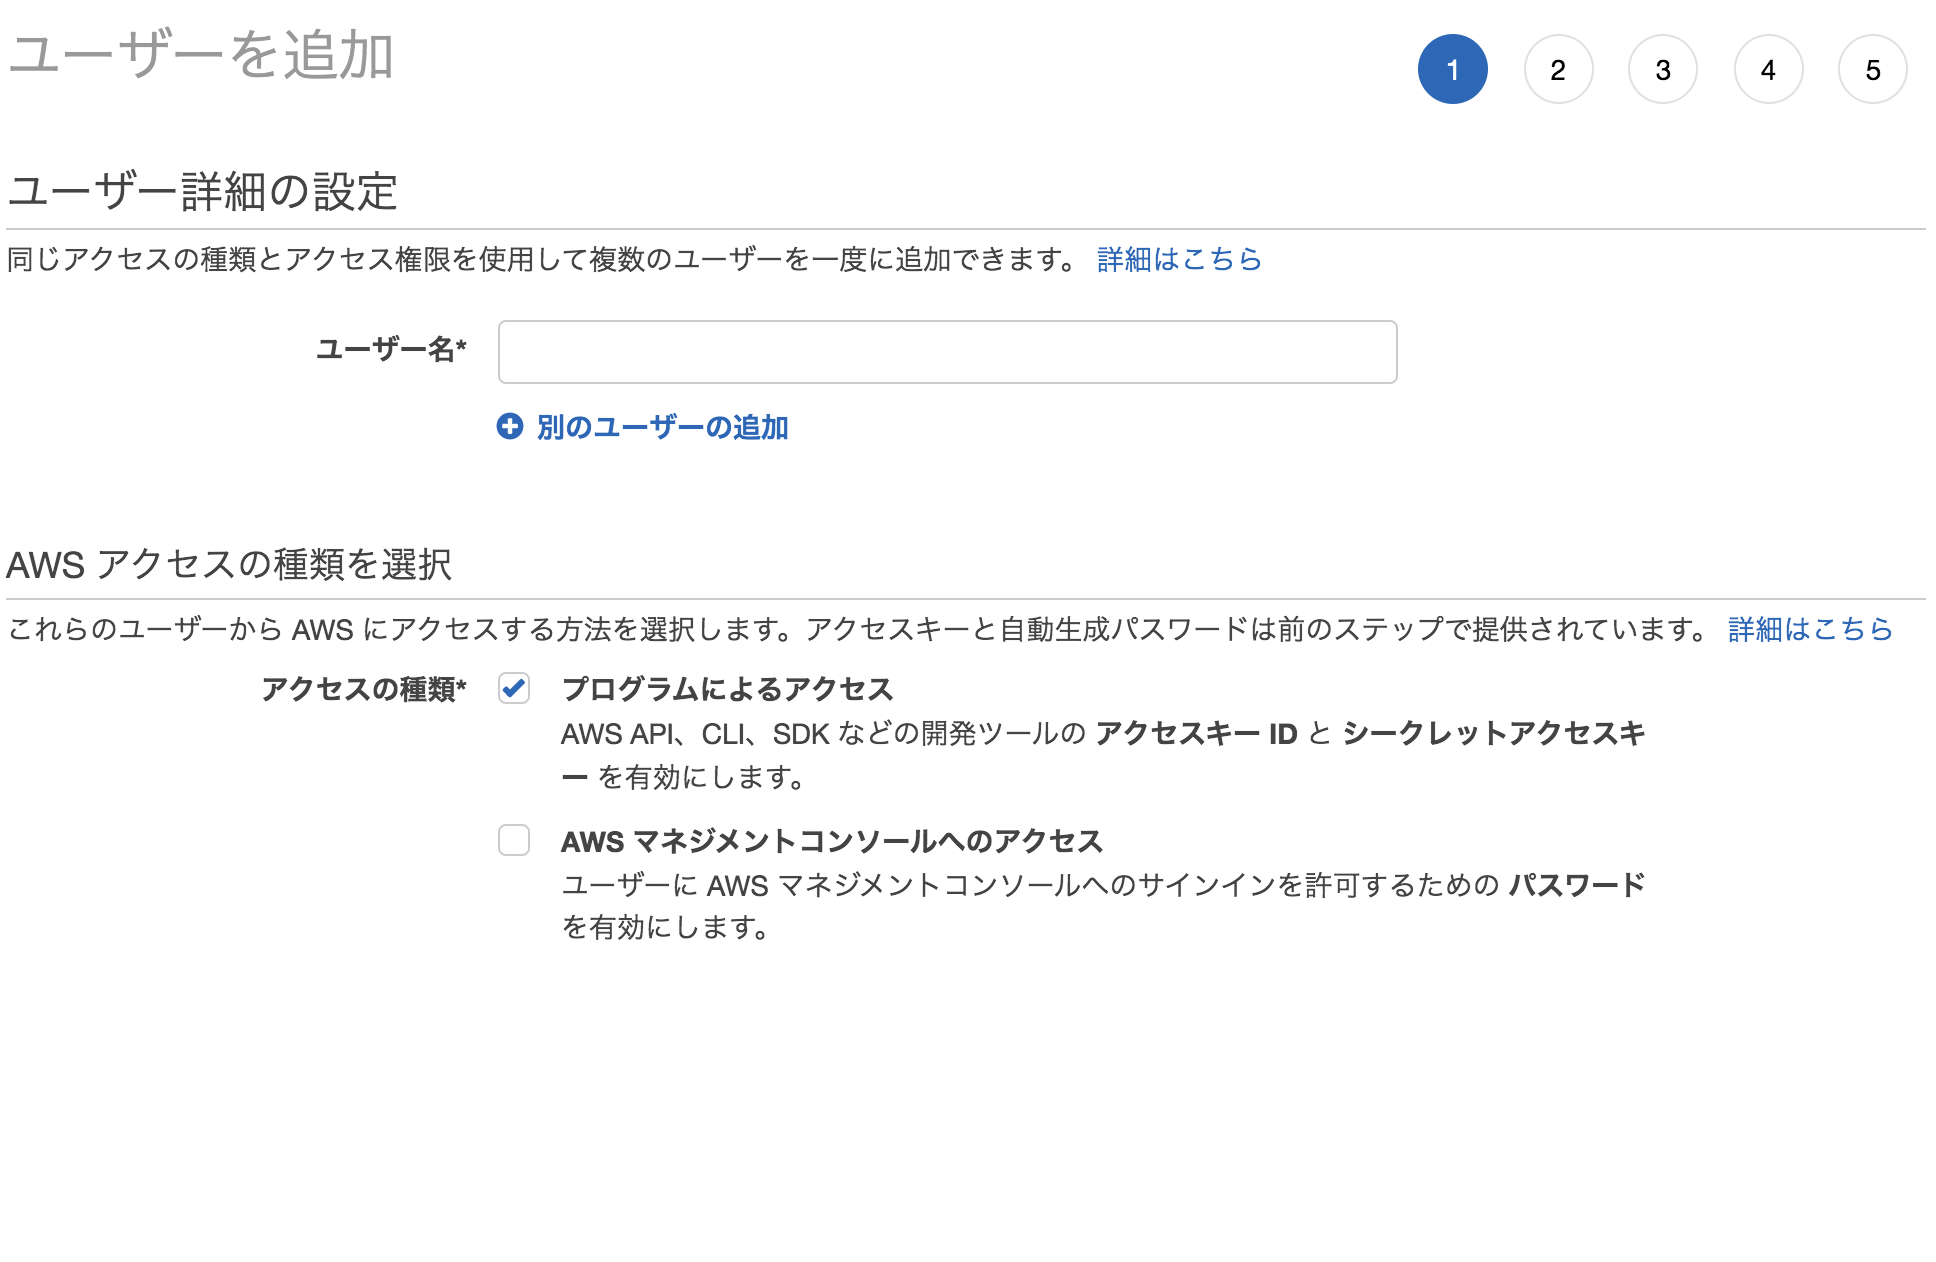
続いて、amplifyに使うAWSアカウントを設定します。
$ amplify configure
AWSコンソールにサインインしたら、コンソールに戻り、enterを押します。
Specify the AWS Region
? region:  us-east-1
Regionは、サービスのユーザから近いところを選択するのがおすすめです。今回は、すでに東京リージョンでサービスを使っているため、解説のためにus-east-1にしました。
ユーザー名は好きに設定してください。

AdministratorAccessを要求されるのでギョッとするかもしれませんが、そのまま続行してOKです。
アクセスキーIDとシークレットアクセスキーは今後使用するので、メモしておきましょう。
$ amplify init

Note: It is recommended to run this command from the root of your app directory
? Enter a name for the project amplify-sample
? Enter a name for the environment dev
? Choose your default editor: Visual Studio Code
? Choose the type of app that you're building javascript
Please tell us about your project
? What javascript framework are you using vue
? Source Directory Path:  src
? Distribution Directory Path: dist
? Build Command:  npm run-script build
? Start Command: npm run-script serve
途中 ? Enter a name for the environmentとあります。Amplifyは複数の環境を用意することができます。今回は開発なので、dev としました。
? Do you want to use an AWS profile? (Y/n) Y
先ほど作成したAWSプロファイルを使用します。
認証の追加
まずは、認証機能をプロジェクトに追加します。
$ amplify add auth
するとこのようなオプションが出てきます。
Using service: Cognito, provided by: awscloudformation

 The current configured provider is Amazon Cognito.

 Do you want to use the default authentication and security configuration? (Use arrow keys)
❯ Default configuration
  Default configuration with Social Provider (Federation)
  Manual configuration
  I want to learn more.
今回は、もっとも基本的なDefault configurationを選択します。
social providerオプションを入れると、Facebook, Google, Amazonなど、他のサービスを使ったログインを追加する事ができます。
 How do you want users to be able to sign in?
  Username
❯ Email
  Phone Number
  Email and Phone Number
  I want to learn more.
Emailを使ってサインインすることにしましょう。
以降の設定は全てデフォルトを用いて実行していきます。
このままでは、実際に認証を行うことはできません。
ローカルの変更をサーバー側に反映させる必要があります。
$ amplify push
✔ Successfully pulled backend environment dev from the cloud.

Current Environment: dev

| Category | Resource name         | Operation | Provider plugin   |
| -------- | --------------------- | --------- | ----------------- |
| Auth     | amplifysample******** | Create    | awscloudformation |
? Are you sure you want to continue? (Y/n)
1行目に注目。まずはamplifyはリモートの環境をpullして、そこからの差分を検出します。
gitみたいですね!この機能を利用して、他の端末でもAWSコンソールからpullコマンドが手に入るので、リモートと同じ環境を用意する事ができます。(筆者はローカル環境がぶっ壊れた時、救出をした事があります。)
今回新たにAuthを追加したのが、しっかり反映されていますね!
反映には時間がかかるので、その間に他のファイルを編集していきましょう。
main.jsを変更します。
import Vue from 'vue'
import App from './App.vue'
import router from './router'
import store from './store'

import Amplify, * as AmplifyModules from 'aws-amplify'
import { AmplifyPlugin } from 'aws-amplify-vue'
import awsconfig from './aws-exports'
Amplify.configure(awsconfig)

Vue.use(AmplifyPlugin, AmplifyModules)

Vue.config.productionTip = false

new Vue({
  router,
  store,
  render: h => h(App)
}).$mount('#app')
続いて、router/index.jsを編集していきます。
こちらのブログを参考にさせていただきました!
import Vue from 'vue'
import Router from 'vue-router'
import Home from '../views/Home.vue'
import Login from '../views/Login.vue'

import store from '../store/index.js'

Vue.use(Router)


// Amplify読み込み
import { components, AmplifyEventBus } from 'aws-amplify-vue'
import Amplify, * as AmplifyModules from 'aws-amplify'
import { AmplifyPlugin } from 'aws-amplify-vue'

Vue.use(Router)
Vue.use(AmplifyPlugin, AmplifyModules)

let user;

// ユーザー管理
getUser().then((user) => {
    if (user) {
        router.push({path: '/'});
    }
});

function getUser() {
    return Vue.prototype.$Amplify.Auth.currentAuthenticatedUser().then((data) => {
        if (data && data.signInUserSession) {
            store.commit('setUser', data);
            return data;
        }
    }).catch(() => {
        store.commit('setUser', null);
        return null;
    });
}

// ログイン状態管理
AmplifyEventBus.$on('authState', async (state) => {
    if (state === 'signedOut'){
        user = null;
        store.commit('setUser', null);
        router.push({path: '/login'});
    } else if (state === 'signedIn') {
        user = await getUser();
        router.push({path: '/'});
    }
});

// ルーティング設定
const router = new Router({
    mode: 'history',
    routes: [
        {
            // ログインページ
            path: '/login',
            name: 'login',
            component: Login
        },
        {
            // トップページ
            path: '/',
            name: 'home',
            component: Home,
            meta: { requiresAuth: true}
        }
    ]
});

// リダイレクト設定
router.beforeResolve(async (to, from, next) => {
    if (to.matched.some(record => record.meta.requiresAuth)) {
        user = await getUser();
        if (!user) {
            return next({
                path: '/login'
            });
        }
        return next()
    }
    return next()
});

export default router
さらに、store/index.jsを編集していきます。
import Vue from 'vue'
import Vuex from 'vuex'

Vue.use(Vuex)

export default new Vuex.Store({
  state: {
    user: null
  },
  mutations: {
    // ユーザー情報保存
    setUser(state, user) {
    state.user = user
    },
  },
  actions: {
  },
  modules: {
  }
})
最後に、views/Login.vueを編集していきます。
<template>
    <div class="login">
        <!--ログインコンポーネント-->
        <amplify-authenticator></amplify-authenticator>
    </div>
</template>

<script>
    export default {
        name: 'login'
    }
</script>
ログインコンポーネントのカスタマイズ
ログインコンポーネントはカスタマイズすることもできます。
電話番号が不要な場合は、amplify-authenticatorコンポーネントを
<amplify-authenticator v-bind:authConfig="authConfig"></amplify-authenticator>
このように変更し、Vueのデータプロパティを
data(){
    return{
      authConfig: {
        signUpConfig: {
          defaultCountryCode: "44",
          hiddenDefaults: ['phone_number']
        }
      }
    }
}
このように変更します。
他にも、自作フォームでAmplifyの機能を使う事ができます。
こちらの動画が参考になります!
エラーハンドリング
CREATE_FAILED SNSRole
というエラーが出る事があります。同じ名前の環境が存在していると、push時に失敗してしまうようです。
該当Issue
$ amplify env add develop
Note: It is recommended to run this command from the root of your app directory
? Do you want to use an existing environment? No
? Enter a name for the environment develop
Using default provider  awscloudformation

For more information on AWS Profiles, see:
https://docs.aws.amazon.com/cli/latest/userguide/cli-multiple-profiles.html

? Do you want to use an AWS profile? Yes
? Please choose the profile you want to use amplify-sample
developという名前の環境を新たに作成しました!
これを応用すれば、本番環境・開発環境を切り替える事ができます。
ちなみに切り替えは、
$ amplify env checkout <環境名>
次回に続く(好評であれば)
続きました