はじめに
ハッカソンや1dayスプリント開発に参加した際など、必要に迫られて短時間でFlutter開発環境を構築しなければならない人(&すっかり構築方法を忘れた未来の自分)に役立つように忘備録として残しておきます。
Macを使ってAndroidアプリを開発することを前提に、テスト用のFlutterプロジェクトを作成して仮想デバイス上で実行できるようになるまでをターゲットにします。
Flutterの公式ドキュメントには開発環境構築についてしっかり書かれているので、時間と心に余裕がある人はじっくり読んで、焦らず実施すれば問題なく環境構築出来ると思います。
Flutterについて
Flutterとは、単一のコードからモバイル、ウェブ、デスクトップ向けのネイティブアプリをコンパイルできるクロスプラットフォームのUIツールです。
Googleによって作られています。
Flutterのざっくり特徴
- 単一のコードでAndroid/iOS/デスクトップネイティブアプリ、Webアプリを開発可能
- Googleにより作られたDart言語を使用します。JavaやC#に雰囲気が似ています。
- ネイティブアプリのパフォーマンス
- FlutterのコードはDart言語のネイティブコンパイラを使用し、ネイティブARMマシンコードにコンパイルされるため、高いパフォーマンスを実現できます。
- 即座にデバッグすることで高速に開発ができる
- Stateful Hot Reloadにより変更したコードを即座に動作確認することが可能です。
- 表現力豊かで柔軟なUI
- ネイティブアプリのUIを簡単に作成でき、カスタマイズも可能です。
環境
- Mac book Pro 13(Catalina 10.15.7)
- Flutter(1.22.5)
- Android Studio(4.1.1)
- git(2.24.0)
おおまかな流れ
- Flutter SDKのダウンロード
- FlutterのPATHを設定
- Flutterの依存性の解決および確認
- Android StudioでDartの設定
- Androidの仮想デバイス作成
- テストAppの実行
- テストAppを修正してホットリロードの確認
詳細な手順
Mac版Fultterのインストール
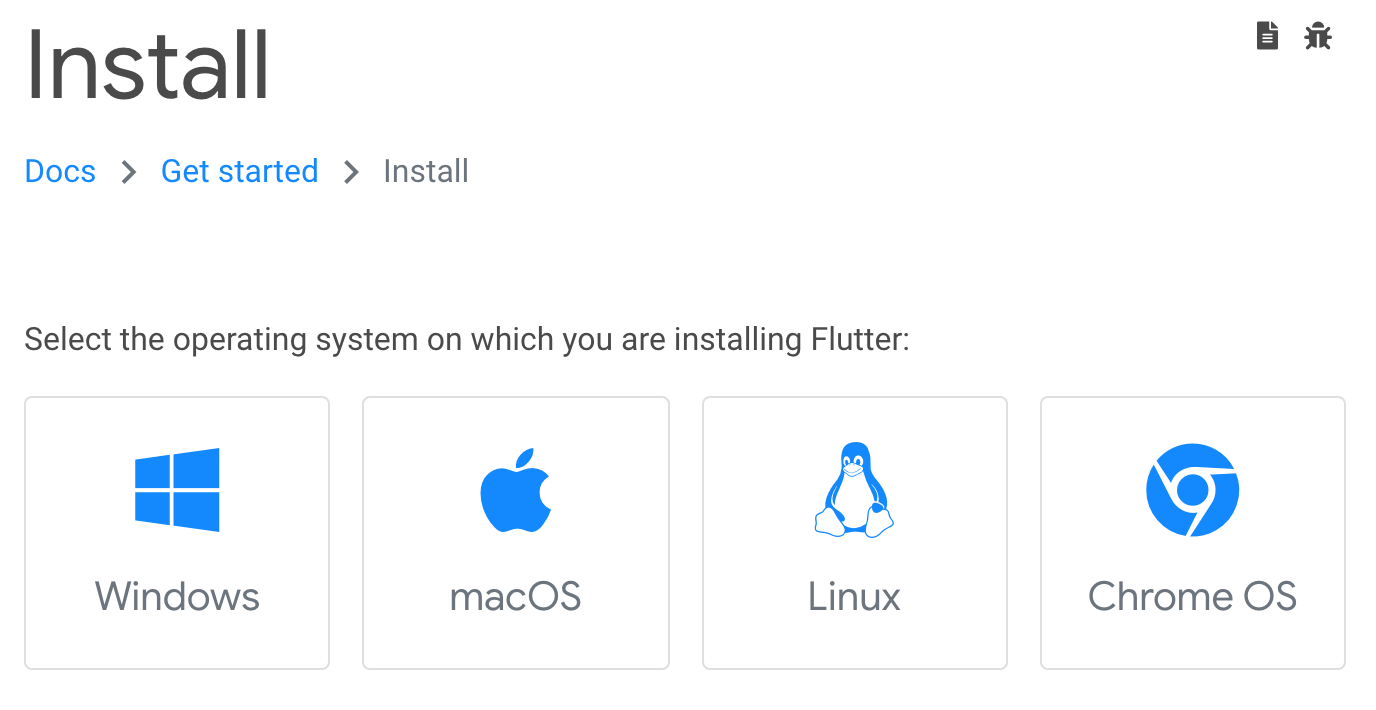
https://flutter.dev/docs/get-started/install からmacOSを選択する。
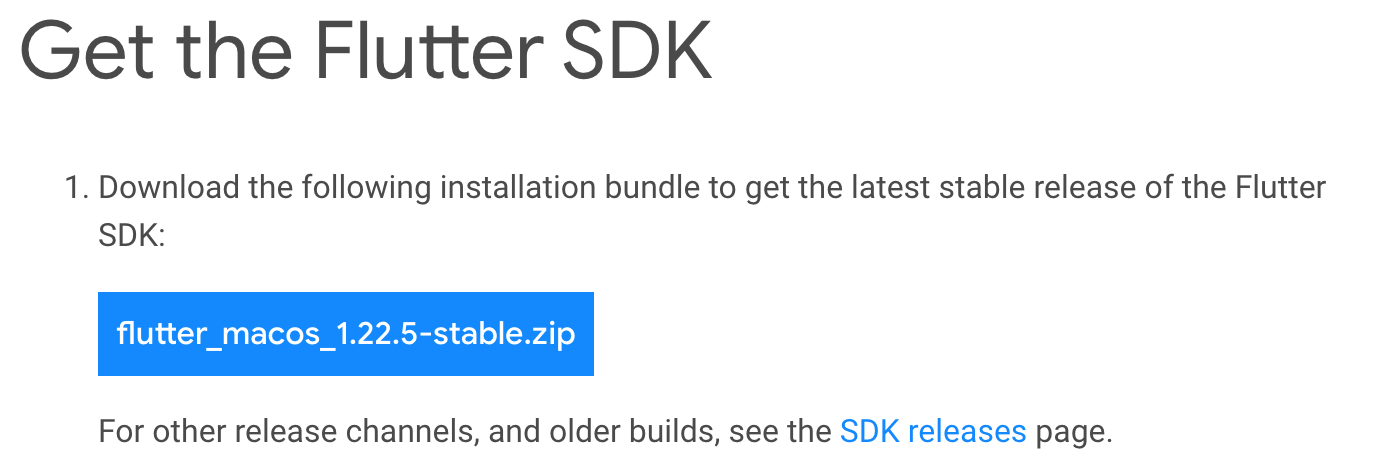
zipをクリックしてFlutter SDKをダウンロードする。
Flutter SDKの解凍
まずホームディレクトリ配下にdevelopmentディレクトリを作成し、そこでSDKのzipを解凍します。
mkdir ~/development
cd ~/development
unzip ~/Downloads/flutter_macos_1.22.5-stable.zip
FlutterのPATHを通す
bash_profileを開いてFlutterのPATHを追加します。
vi ~/.bash_profile
# bash_profileに以下を追加
export PATH="$PATH:$HOME/development/flutter/bin"
bash_profileの設定追加を反映します。
source ~/.bash_profile
FlutterのPATHが通ったことを確認します。
which flutter
# コマンド実行結果が下記内容ならOK
/Users/[USER_HOME_DIRECTORY]/development/flutter/bin/flutter
Flutterのセットアップに必要なインストールが完了したか依存性を確認
Flutterの開発に必要なツールなどが設定されているを下記コマンドで確認します。
このときDartSDKはFlutterに含まれているためDartを個別にインストールする必要はありません。
Android Studioやxcodeなどがないとここでおこられます。
まずは一番上のFlutterにチェックマークがつけばOK。
Doctor summary (to see all details, run flutter doctor -v):
[✓] Flutter (Channel stable, 1.22.5, on Mac OS X 10.15.7 19H15 darwin-x64, locale ja-JP)

[!] Android toolchain - develop for Android devices (Android SDK version 29.0.0)
    ! Some Android licenses not accepted.  To resolve this, run: flutter doctor --android-licenses
[✗] Xcode - develop for iOS and macOS
    ✗ Xcode installation is incomplete; a full installation is necessary for iOS development.
      Download at: https://developer.apple.com/xcode/download/
      Or install Xcode via the App Store.
      Once installed, run:
        sudo xcode-select --switch /Applications/Xcode.app/Contents/Developer
        sudo xcodebuild -runFirstLaunch
    ✗ CocoaPods not installed.
        CocoaPods is used to retrieve the iOS and macOS platform side's plugin code that responds to your plugin usage on the
        Dart side.
        Without CocoaPods, plugins will not work on iOS or macOS.
        For more info, see https://flutter.dev/platform-plugins
      To install:
        sudo gem install cocoapods
[!] Android Studio (version 3.4)
    ✗ Flutter plugin not installed; this adds Flutter specific functionality.
    ✗ Dart plugin not installed; this adds Dart specific functionality.
[!] VS Code (version 1.50.1)
    ✗ Flutter extension not installed; install from
      https://marketplace.visualstudio.com/items?itemName=Dart-Code.flutter
[!] Connected device
    ! No devices available
Android Studioの設定
Android Studioのインストール
Android Studioをこちらからダウンロードしてきて、インストールします。
FlutterおよびDartのプラグインのインストール
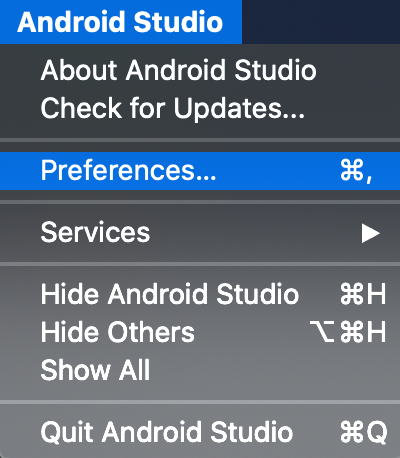
Android Studioを起動してAndroid Studio->Preferences...を選択
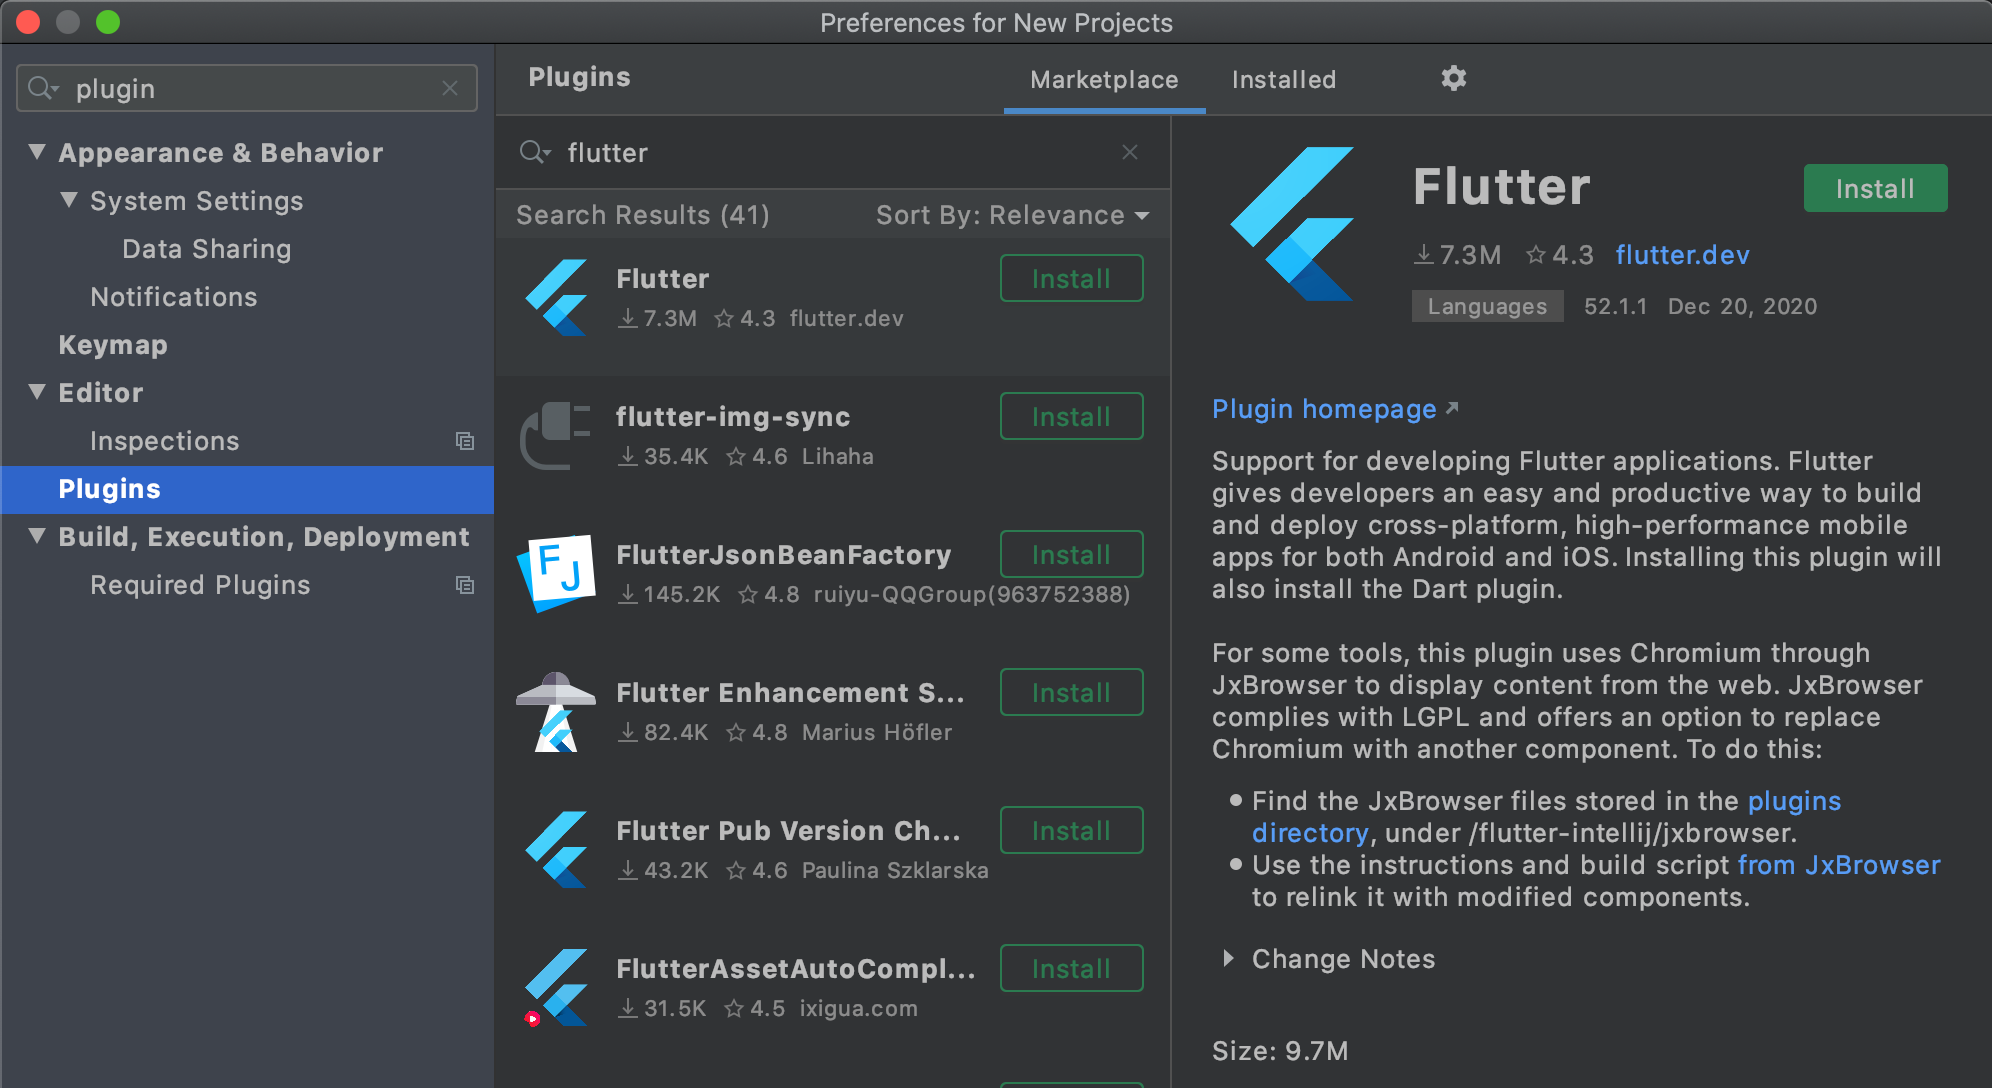
左のリストからPluginsを選択->検索フォームにflutterと入力してプラグインを検索する。
検索結果の最上位のflutter.devによって作られたFlutterを選択してInstallをクリック。
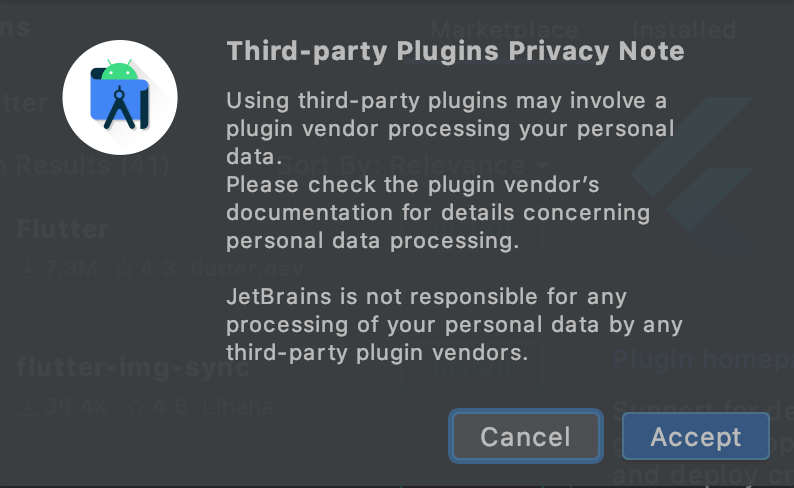
サードパーティのプラグインを使用することの許諾を聞かれるのでAcceptをクリック。
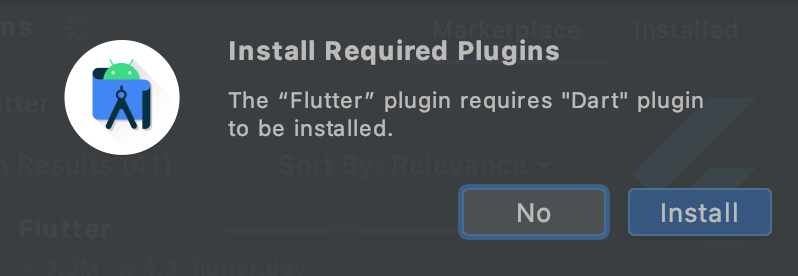
Dartプラグインが必要なため、インストールするか聞かれるのでInstallをクリック。
Restart IDEをクリック->RestartをクリックしてAndroid Studioを再起動する。
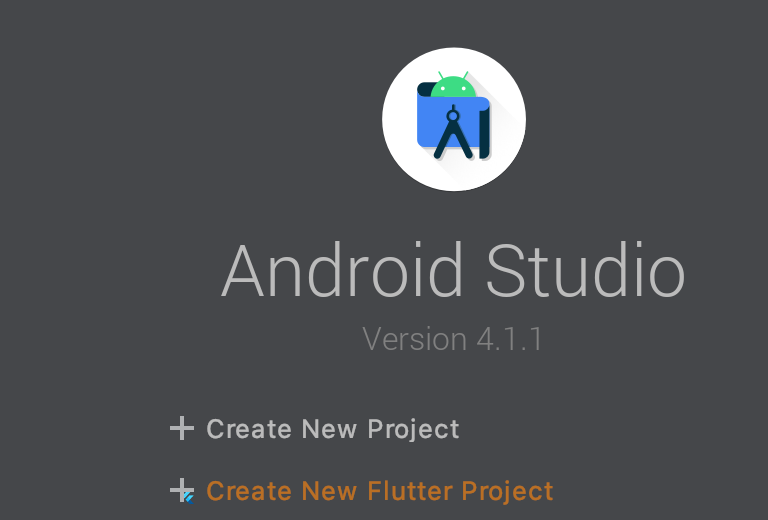
Create New Flutter Projectをクリック。

Flutterテンプレートからテストアプリの作成
テンプレートから新しいFlutterアプリを作成して実行してみます。
まずはAndroid Studioの
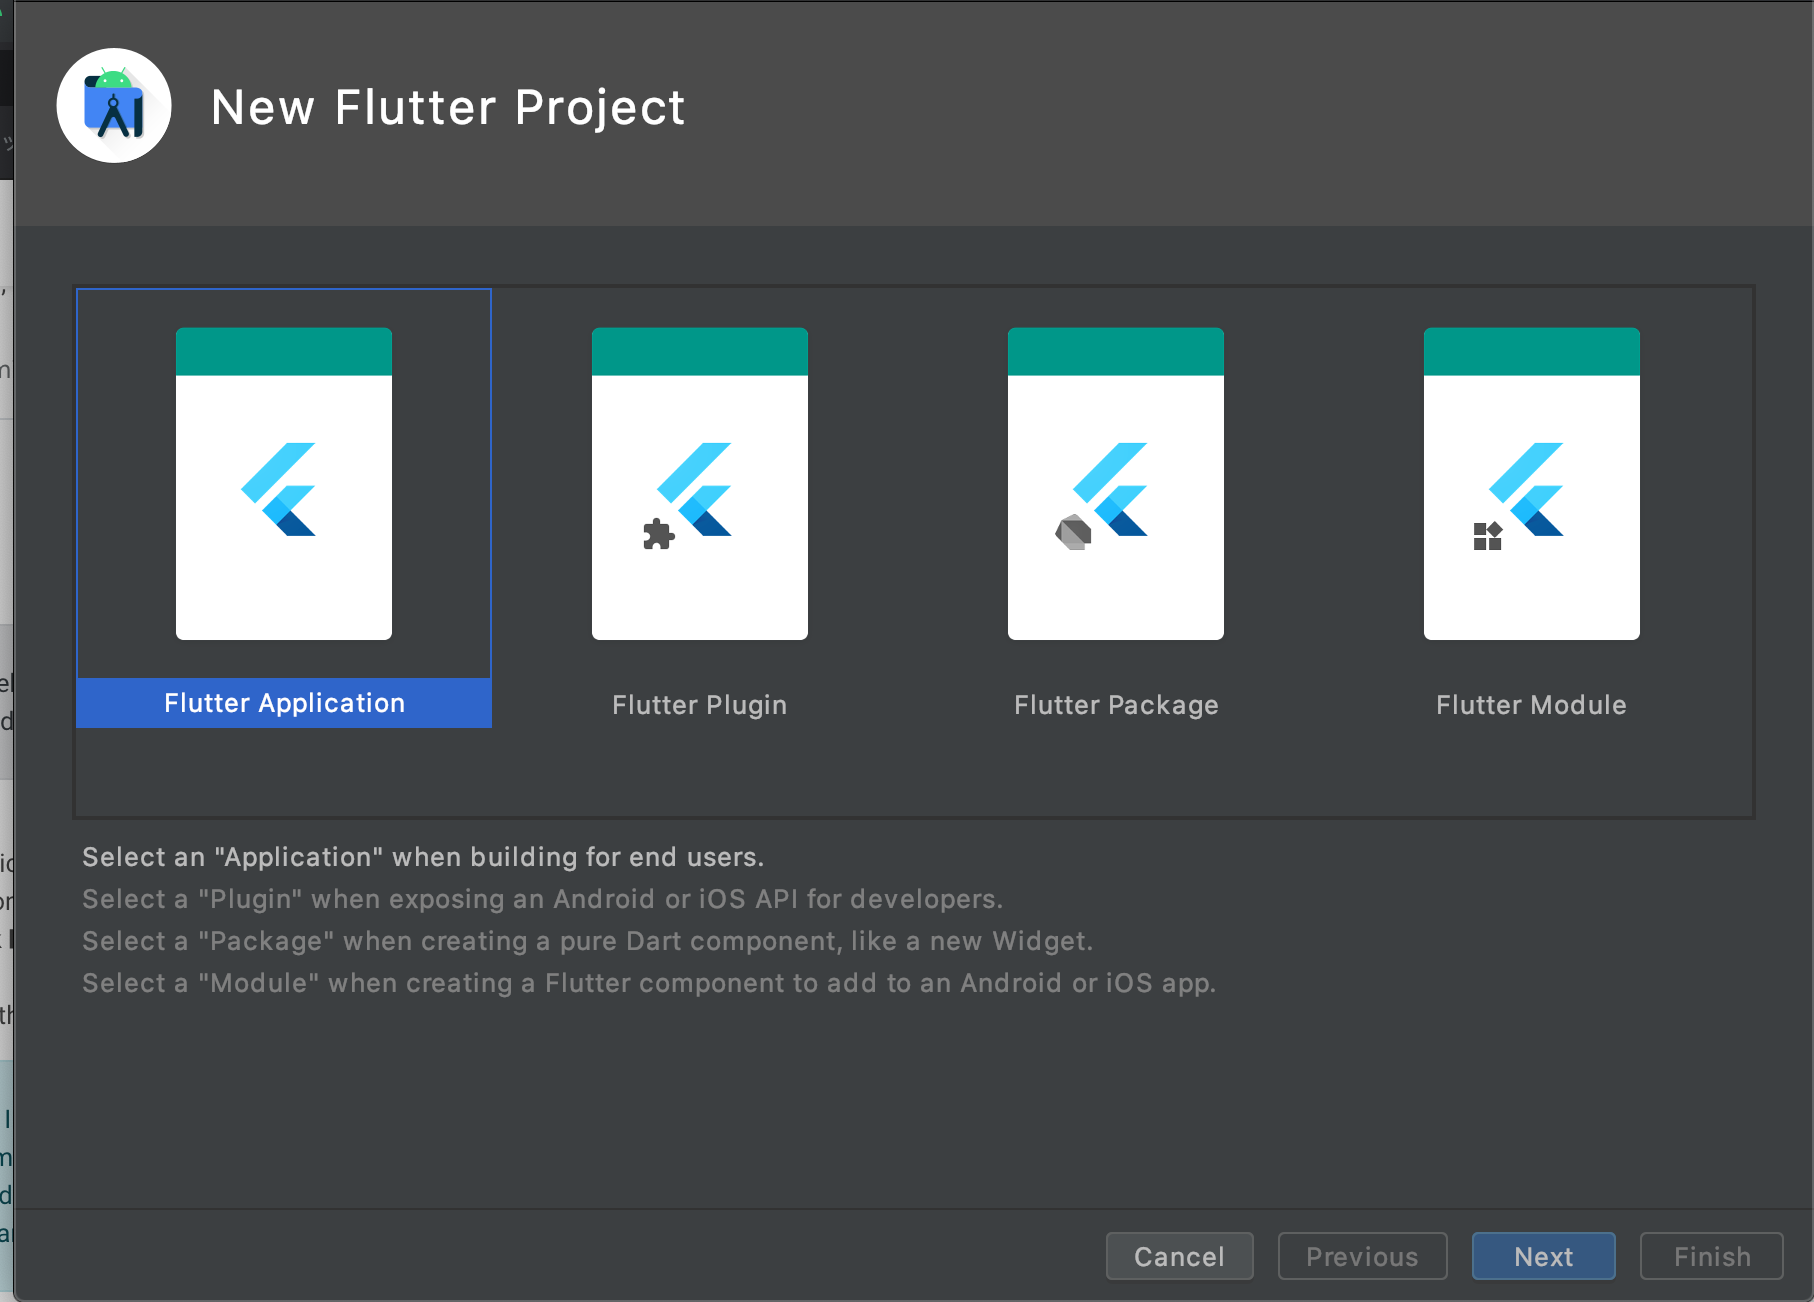
Flutter Applicationを選択->Nextをクリック
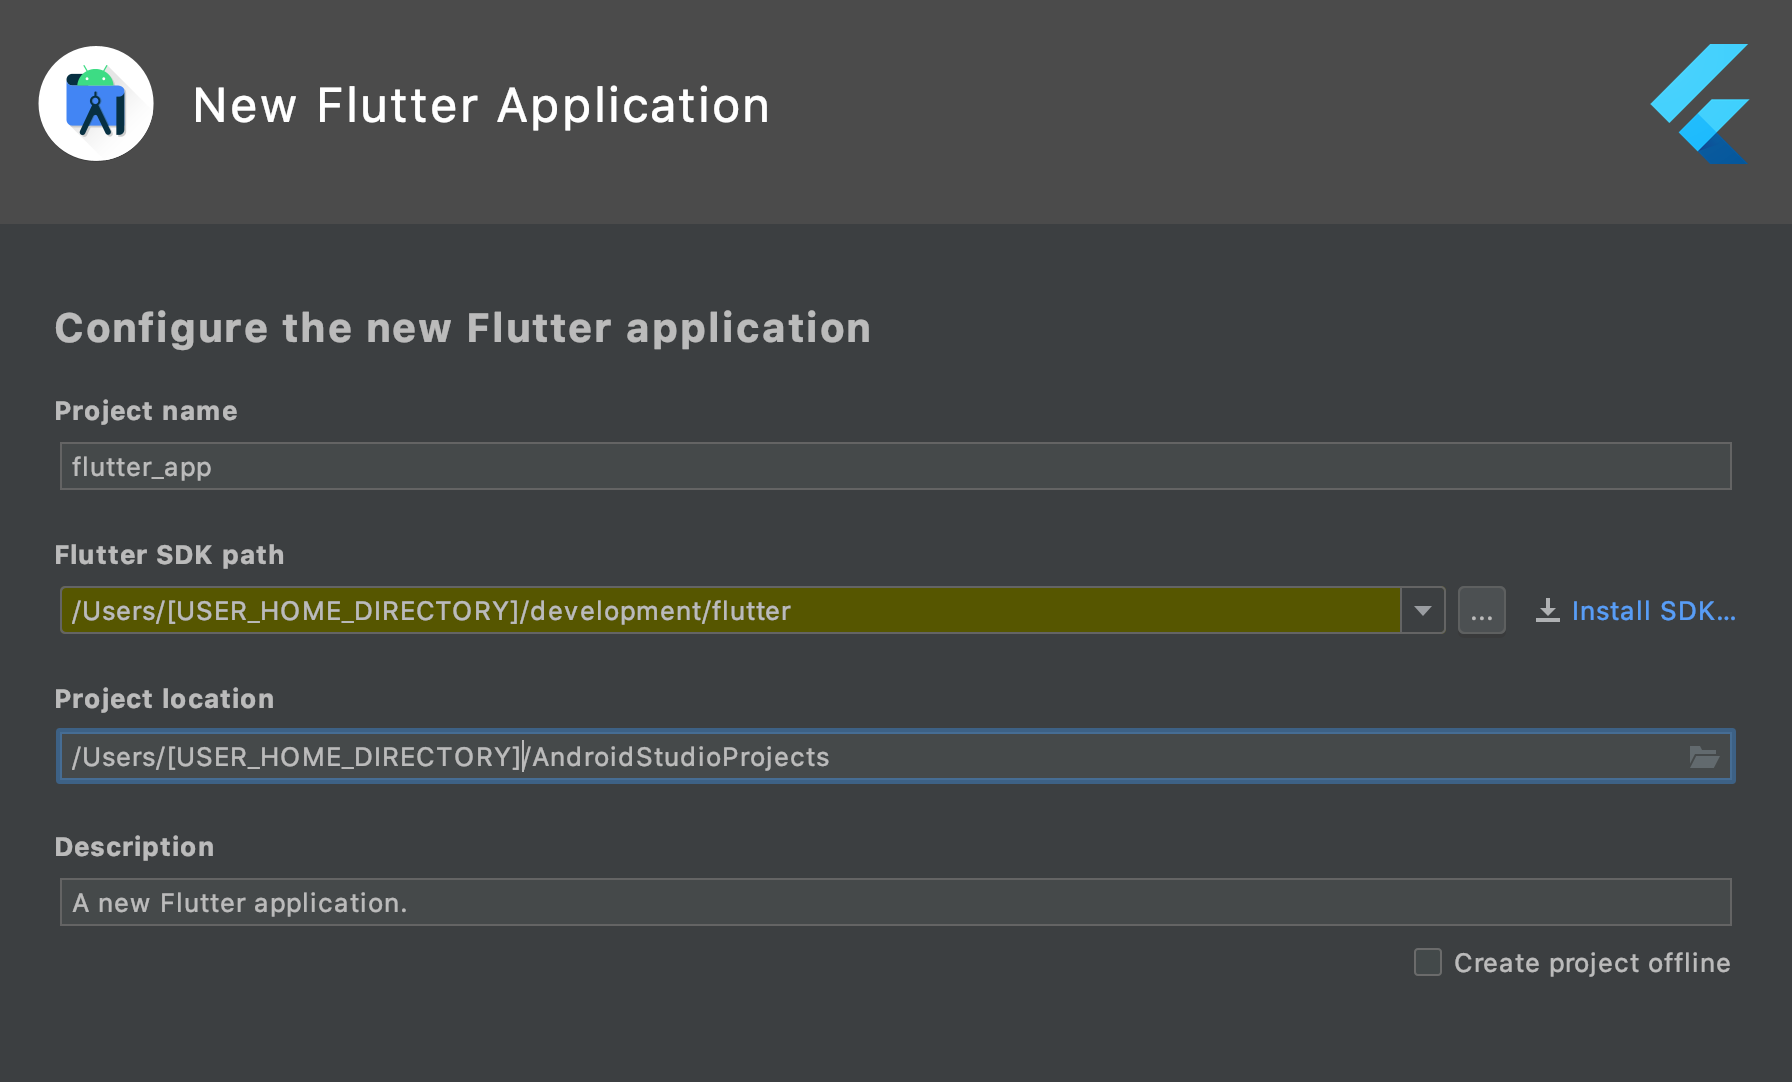
FlutterSDKパスが自分でインストールしたSDKの場所を指定していることを確認して、Nextをクリック
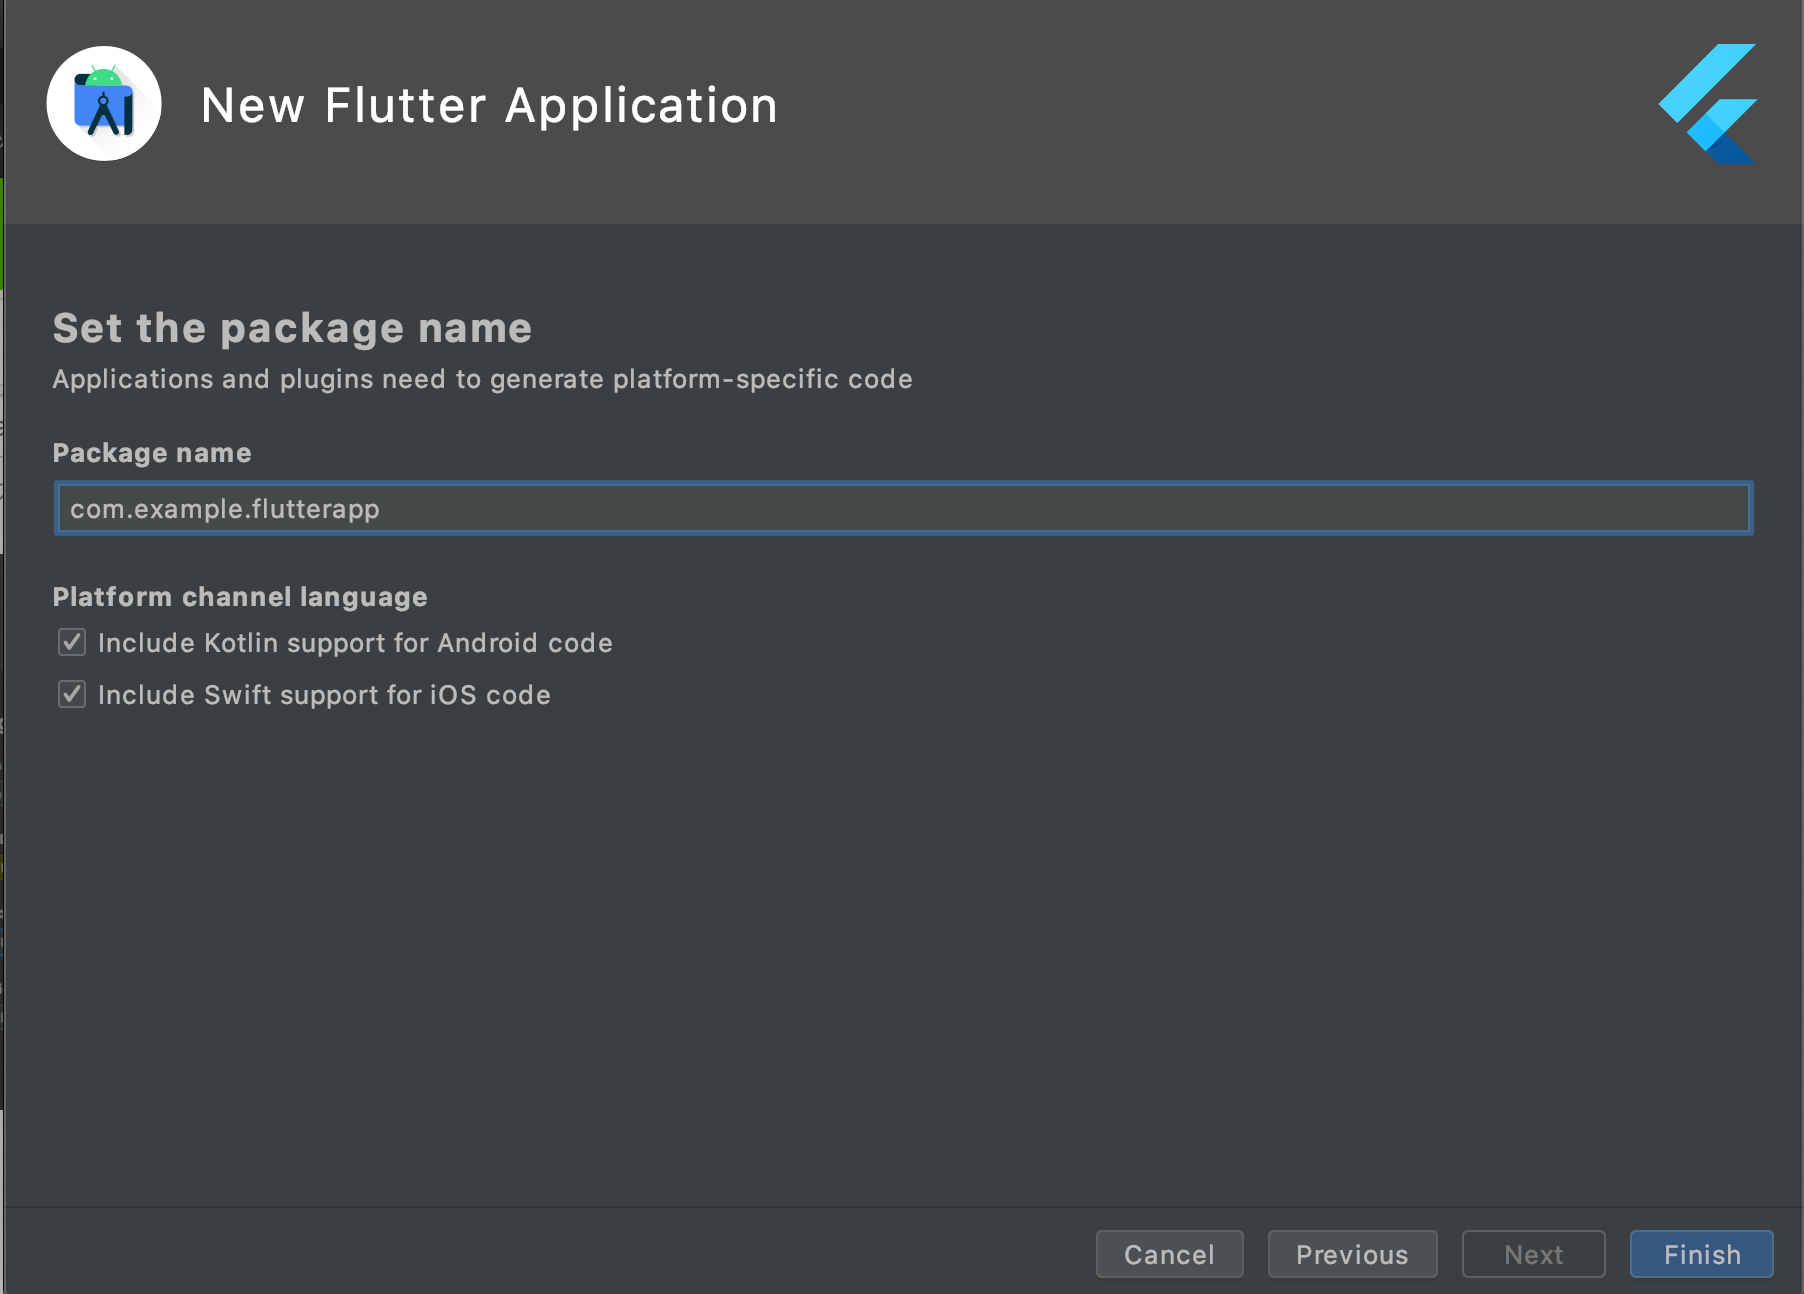
Package nameの設定画面になりますが、今回は環境構築ができたことを確認するのみのテスト用アプリのため、そのままFinishをクリック
自動でFlutterプロジェクトのテンプレートが作成されmain.dartの内容が表示されます。
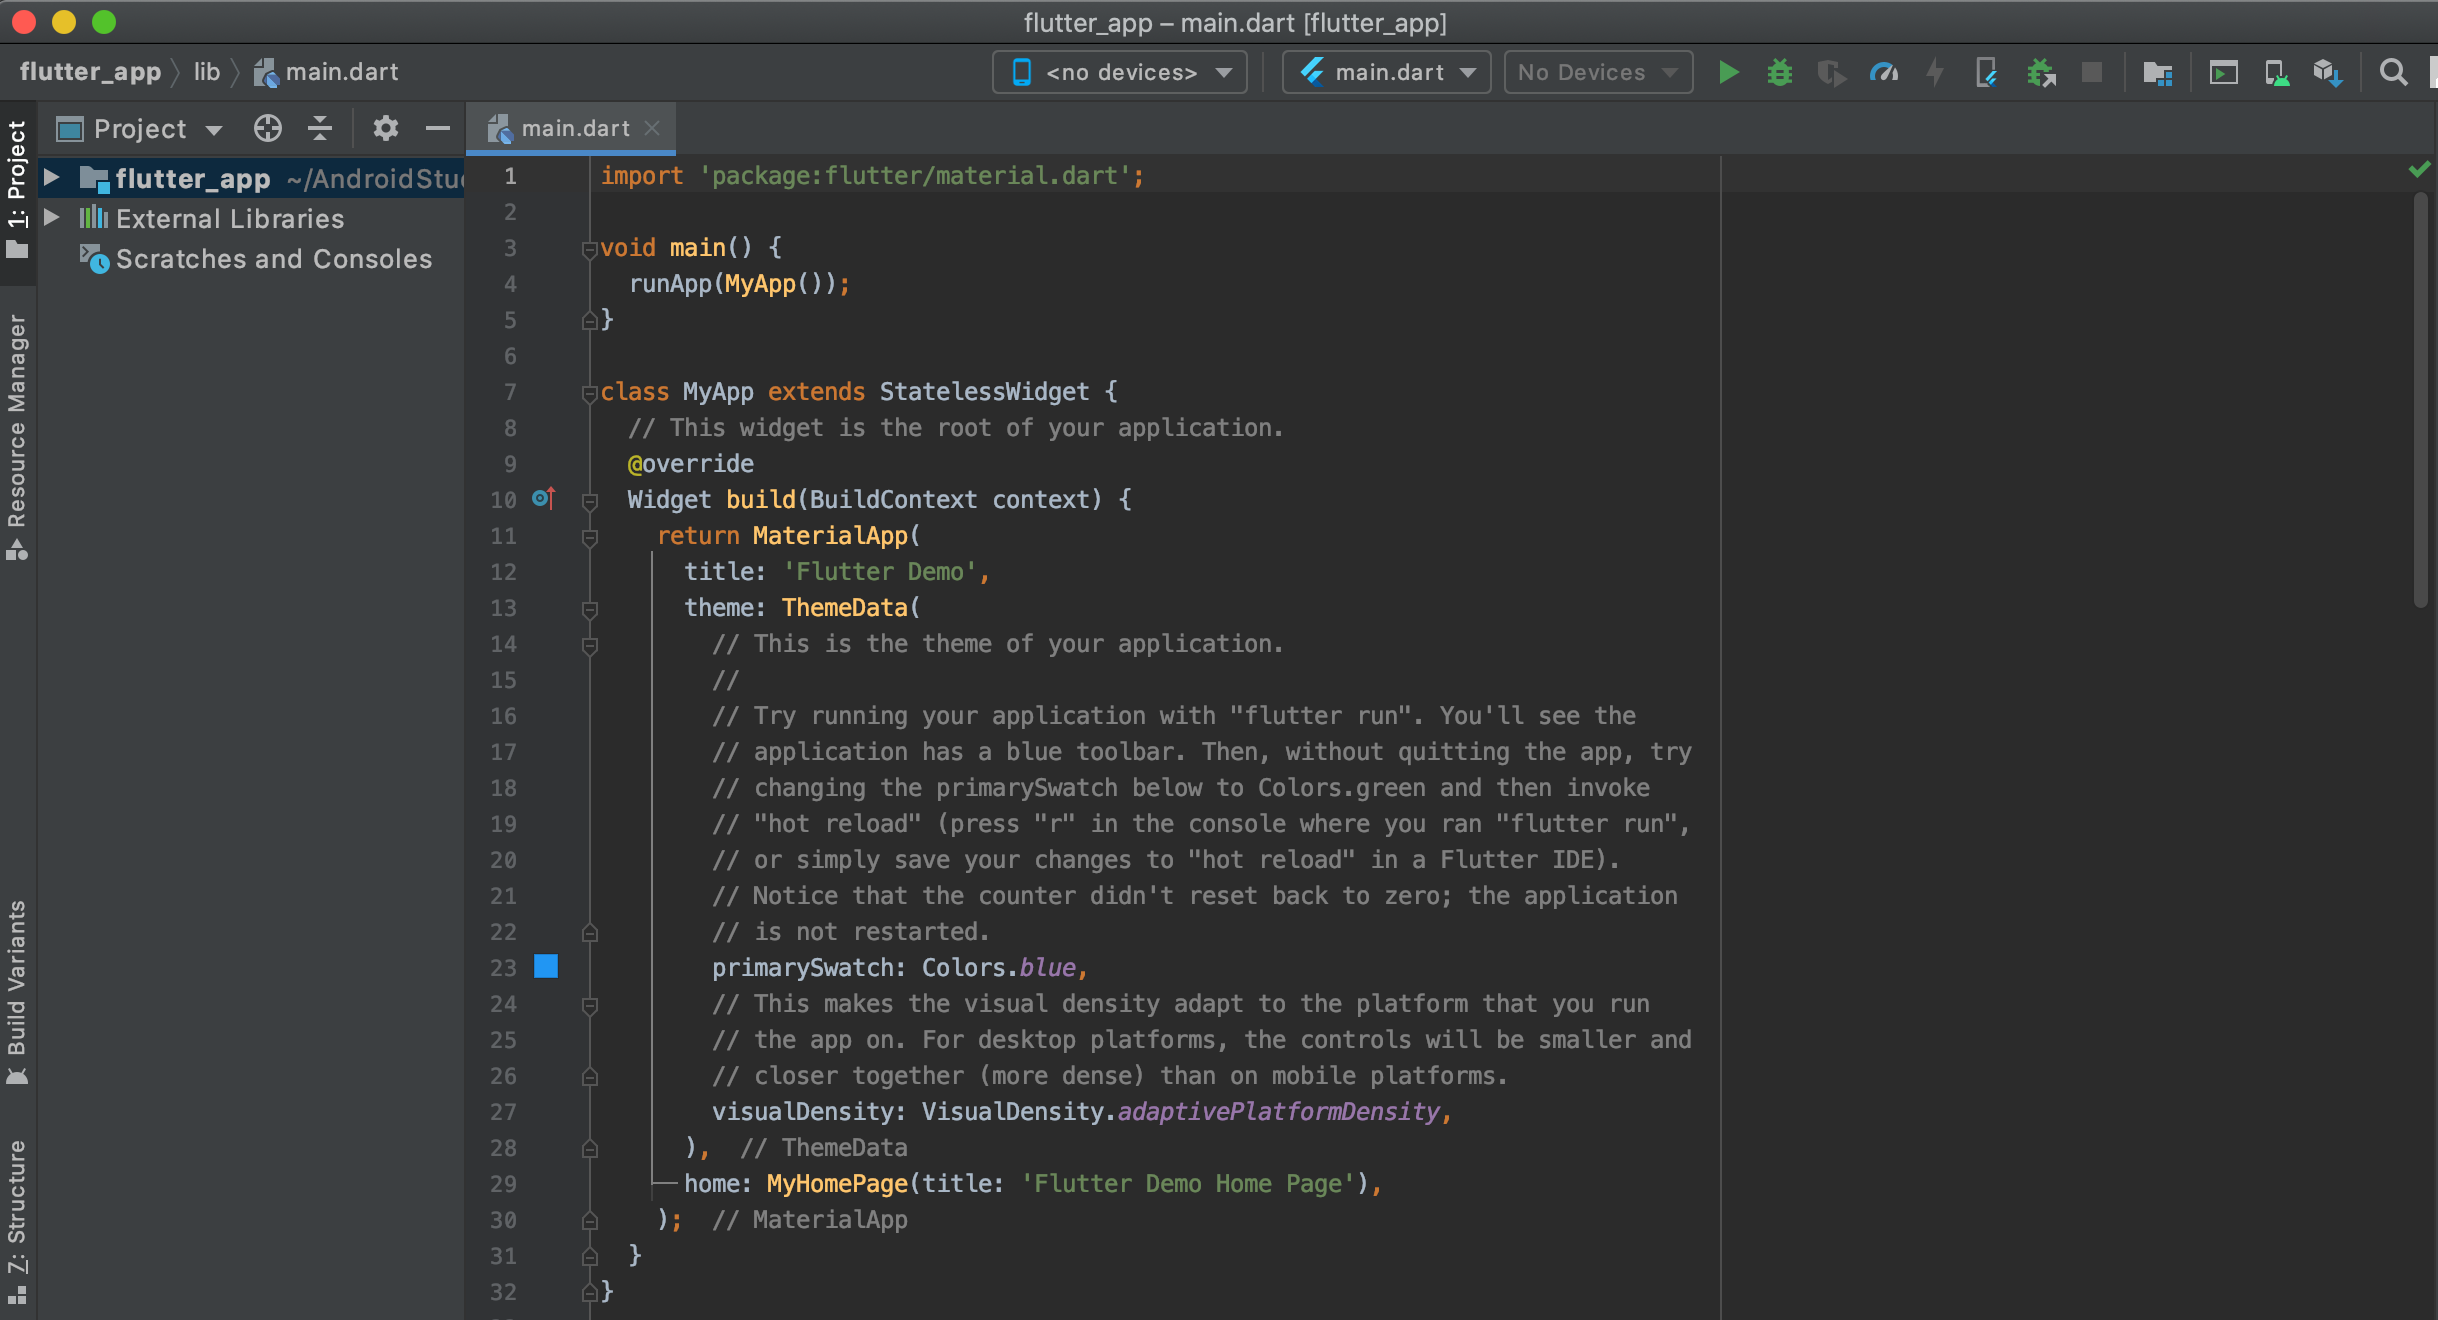
仮想デバイスの作成
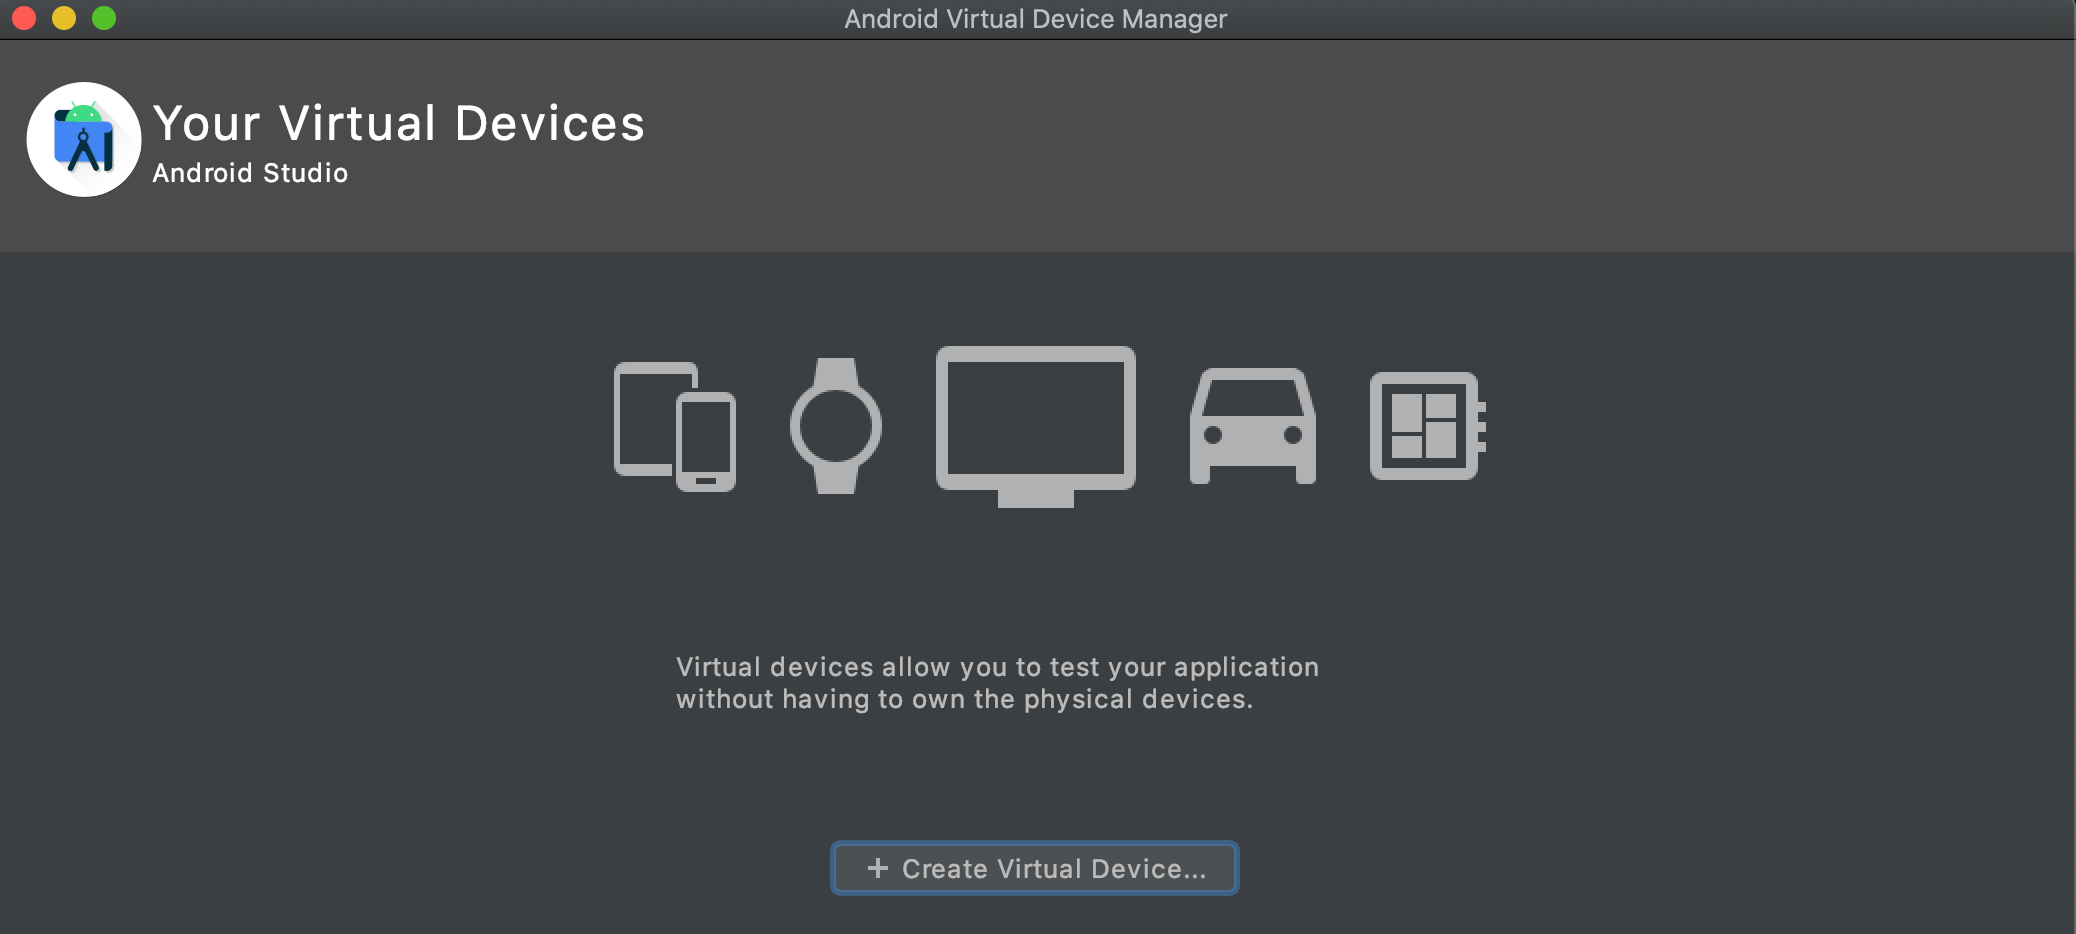
ADV Managerから仮想デバイスを作成します。
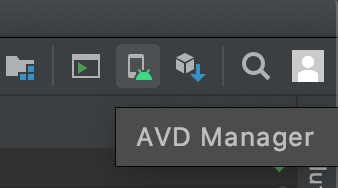
Android Studioの上部メニュー右側のADV Managerをクリックして起動します。
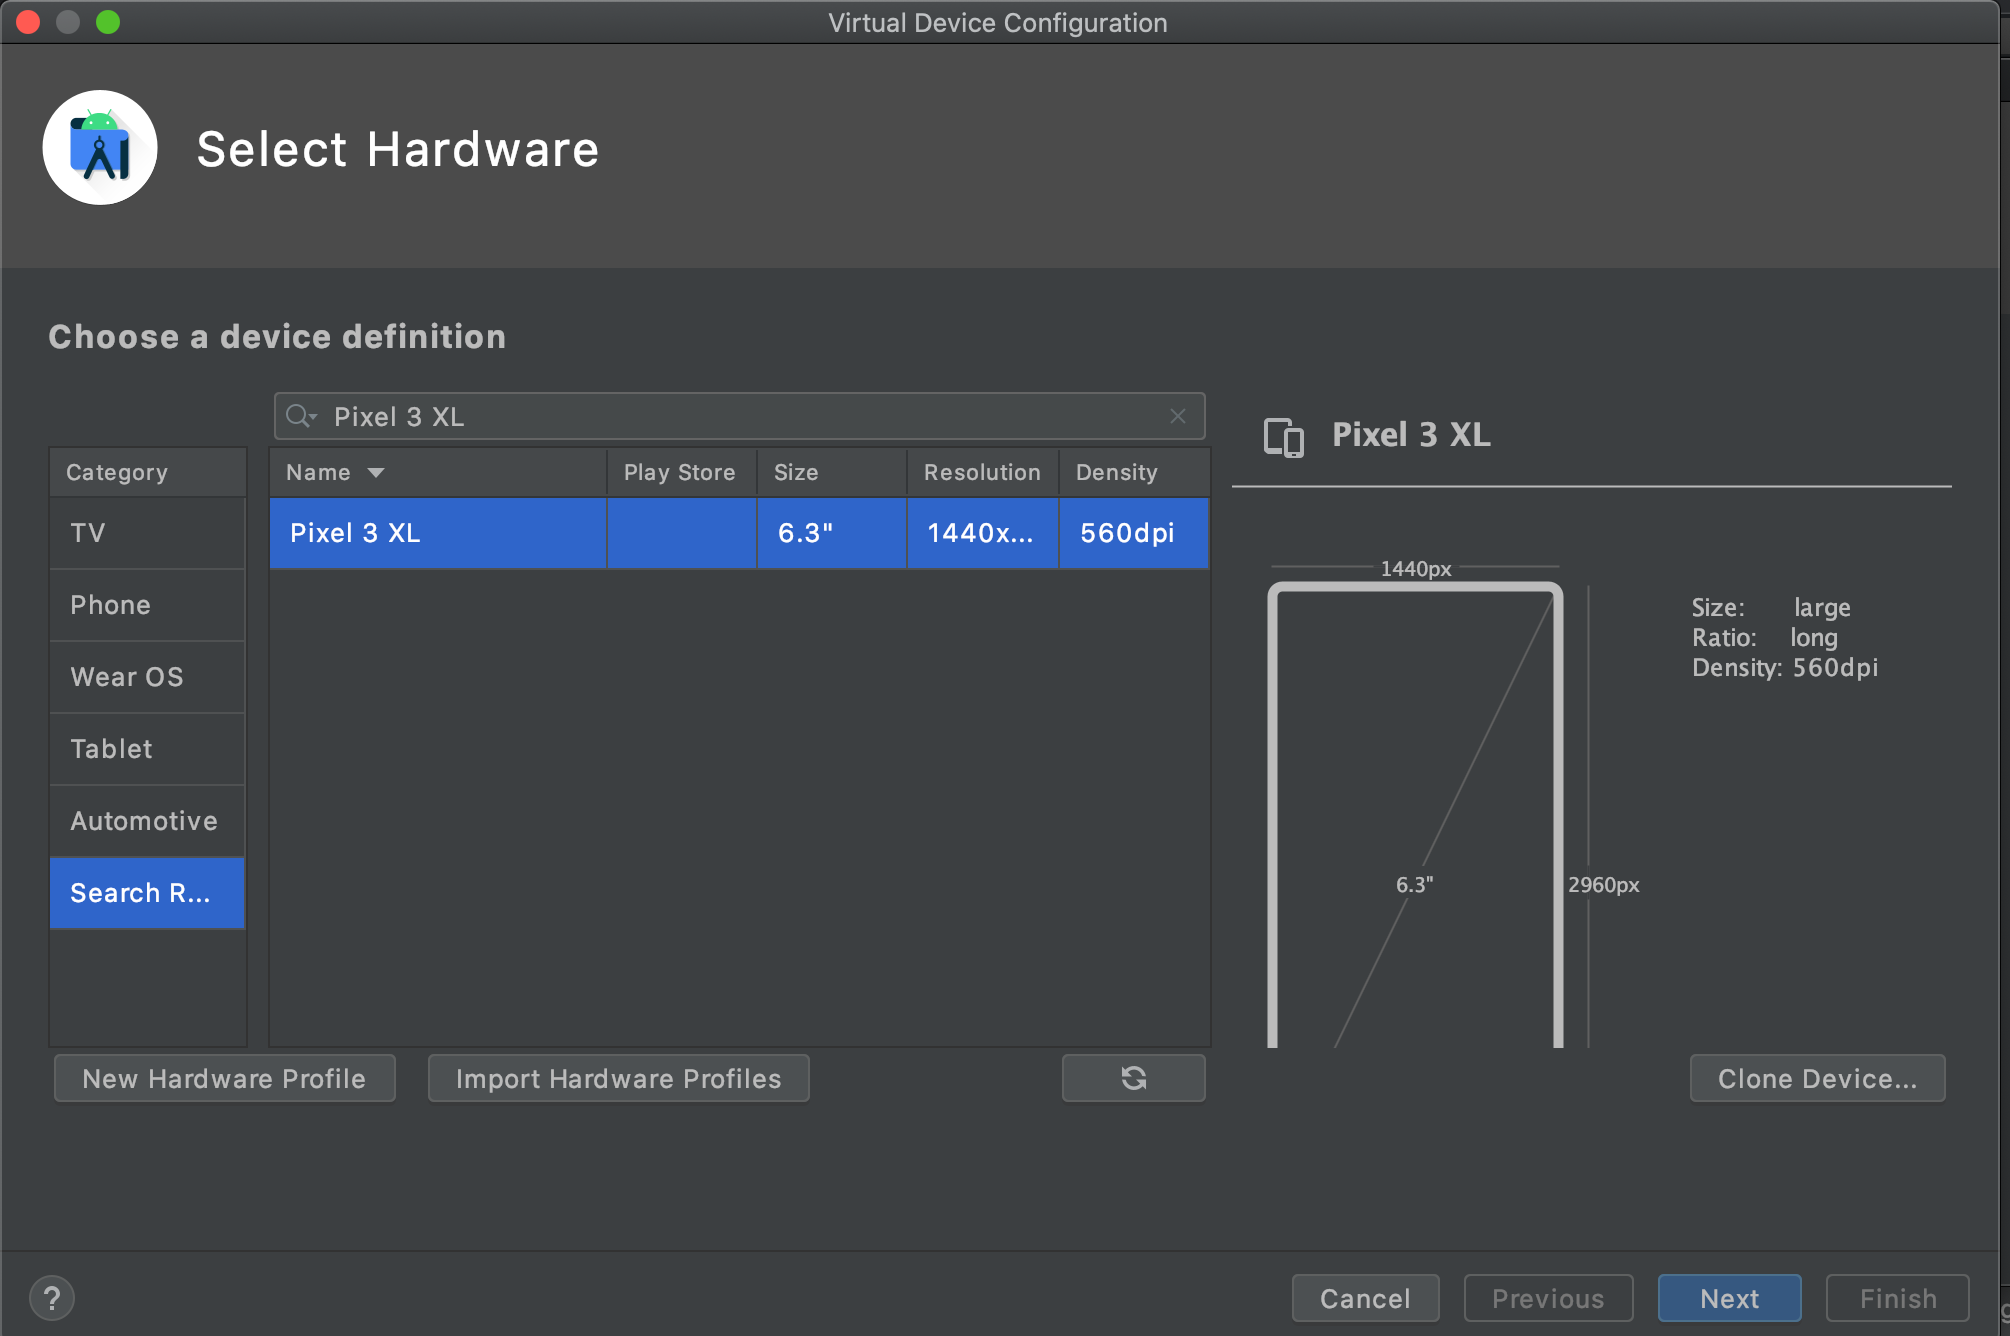
CategoryのPhoneを選択して、検索フォームにPixel 3 XLを入力して検索
検索結果のPixel 3 XLを選択してNextをクリック
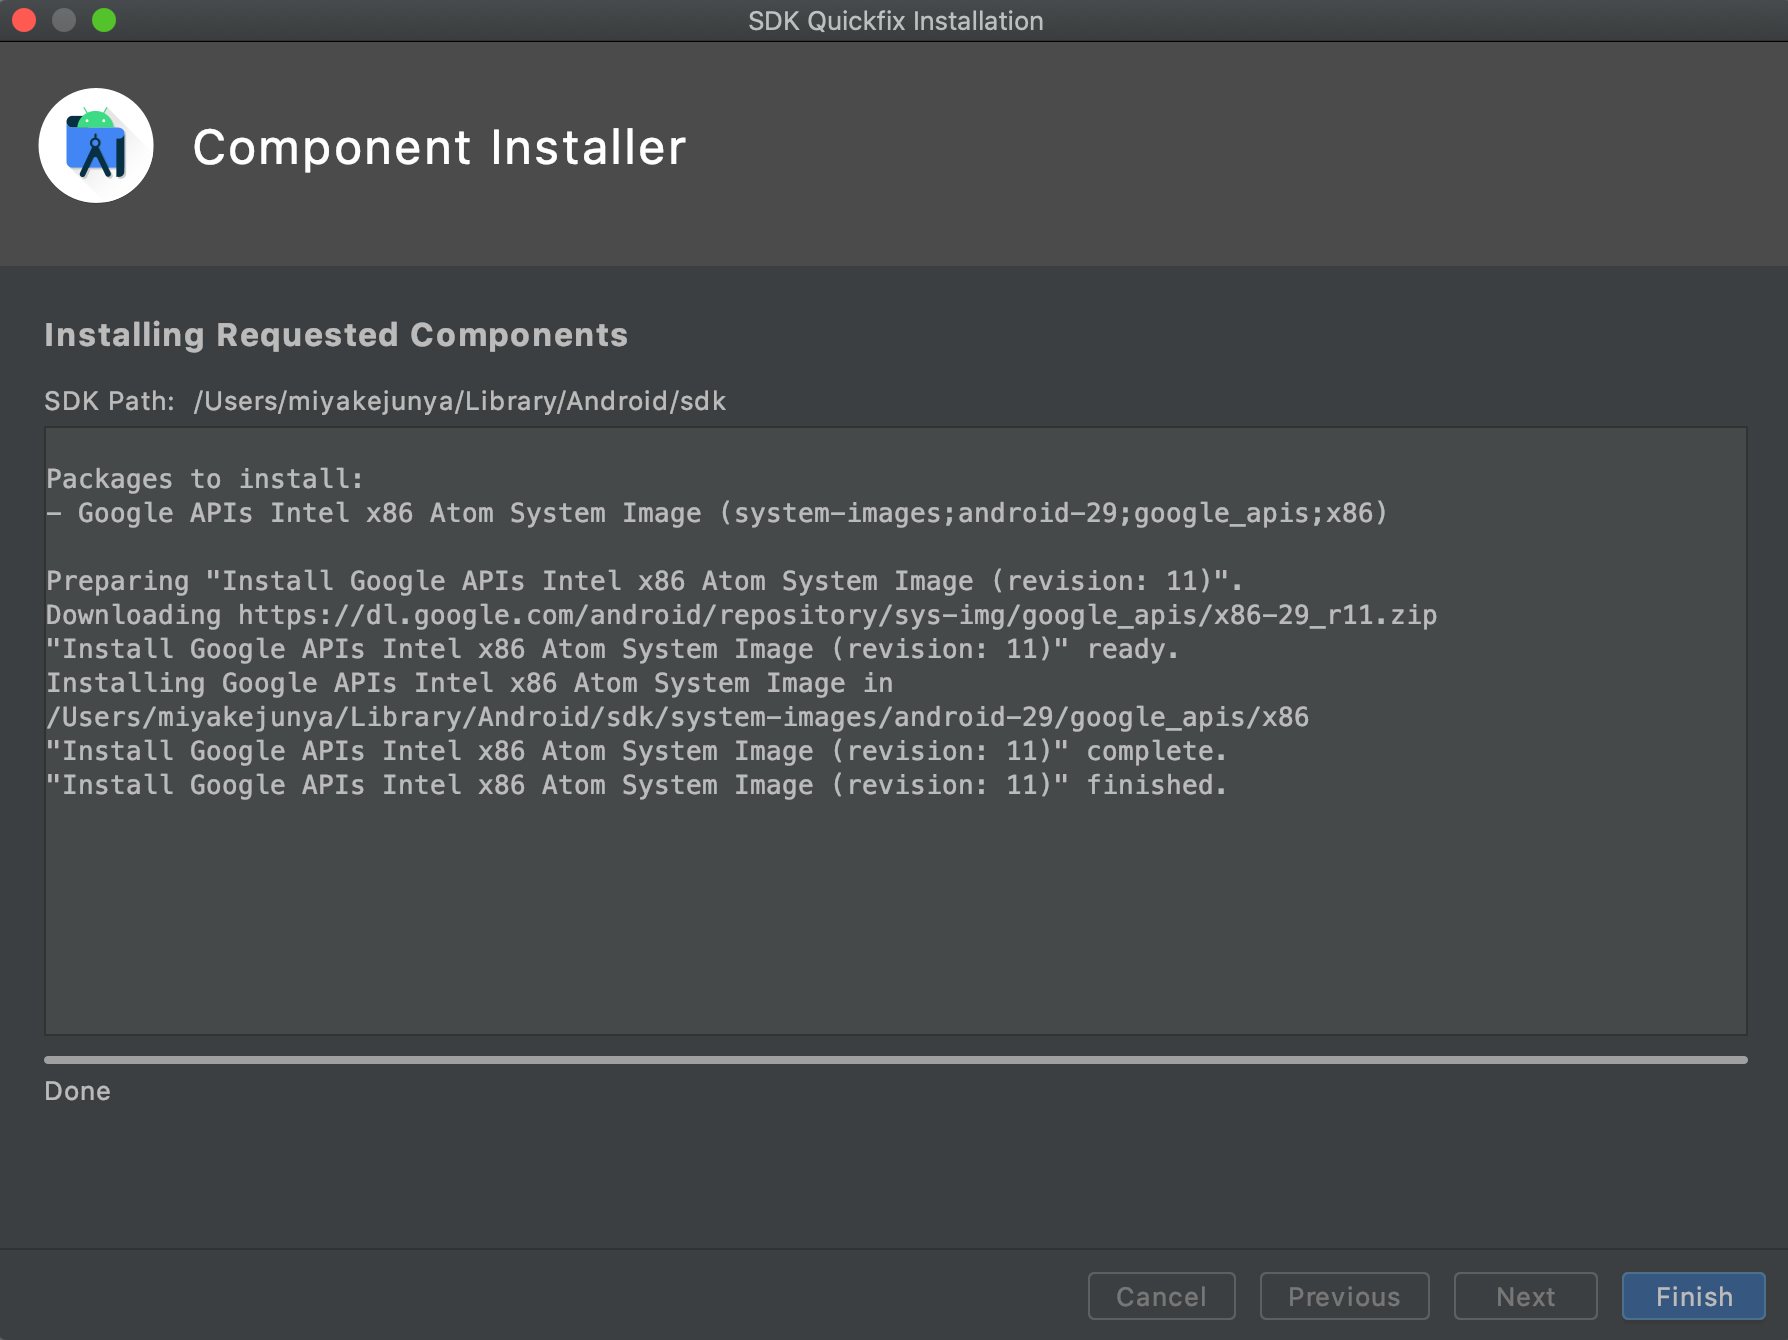
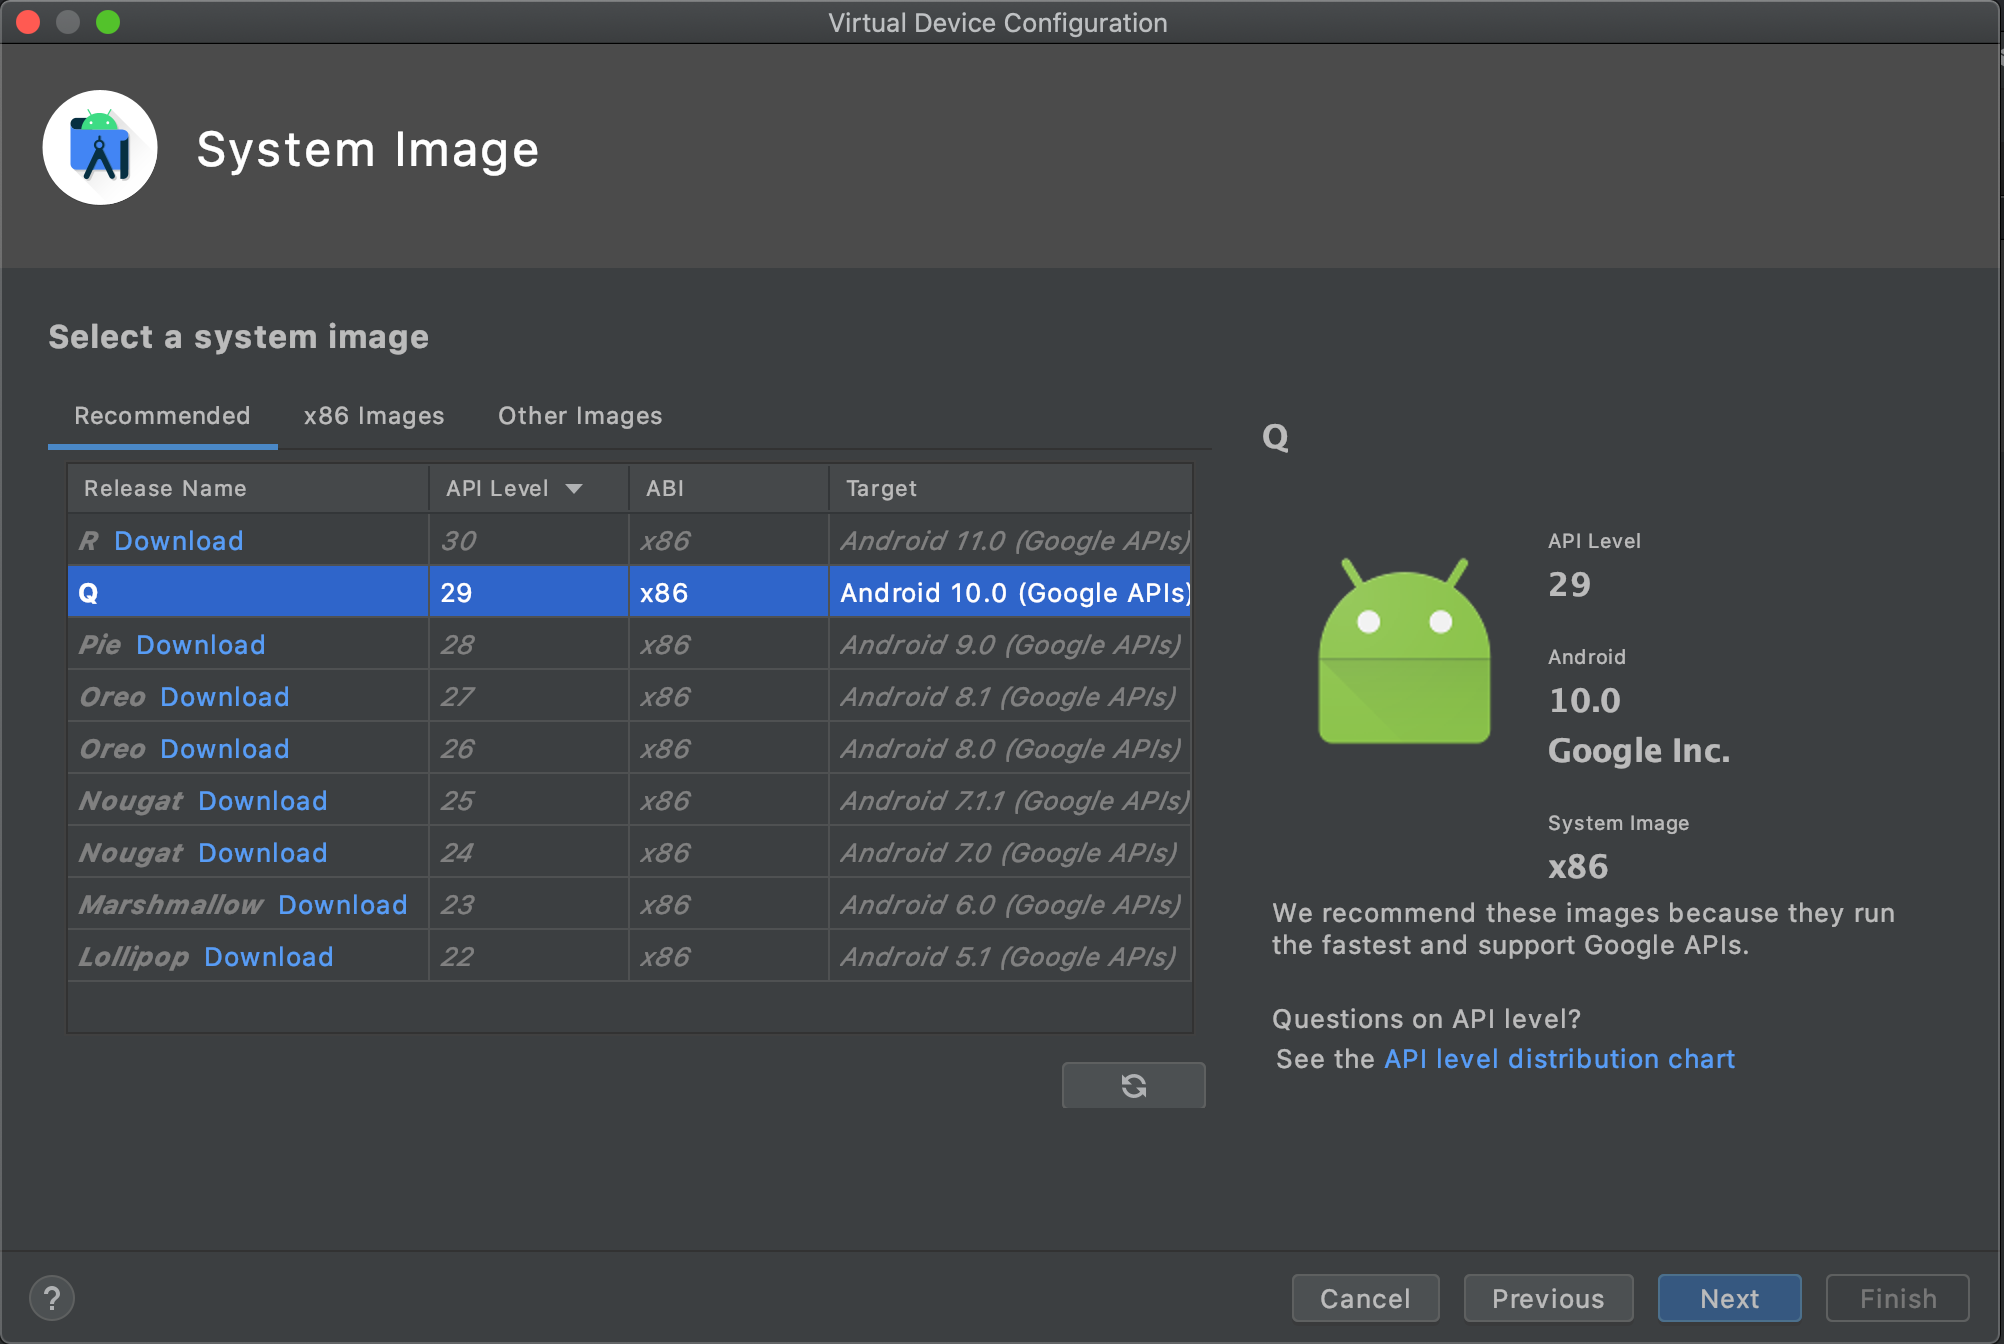
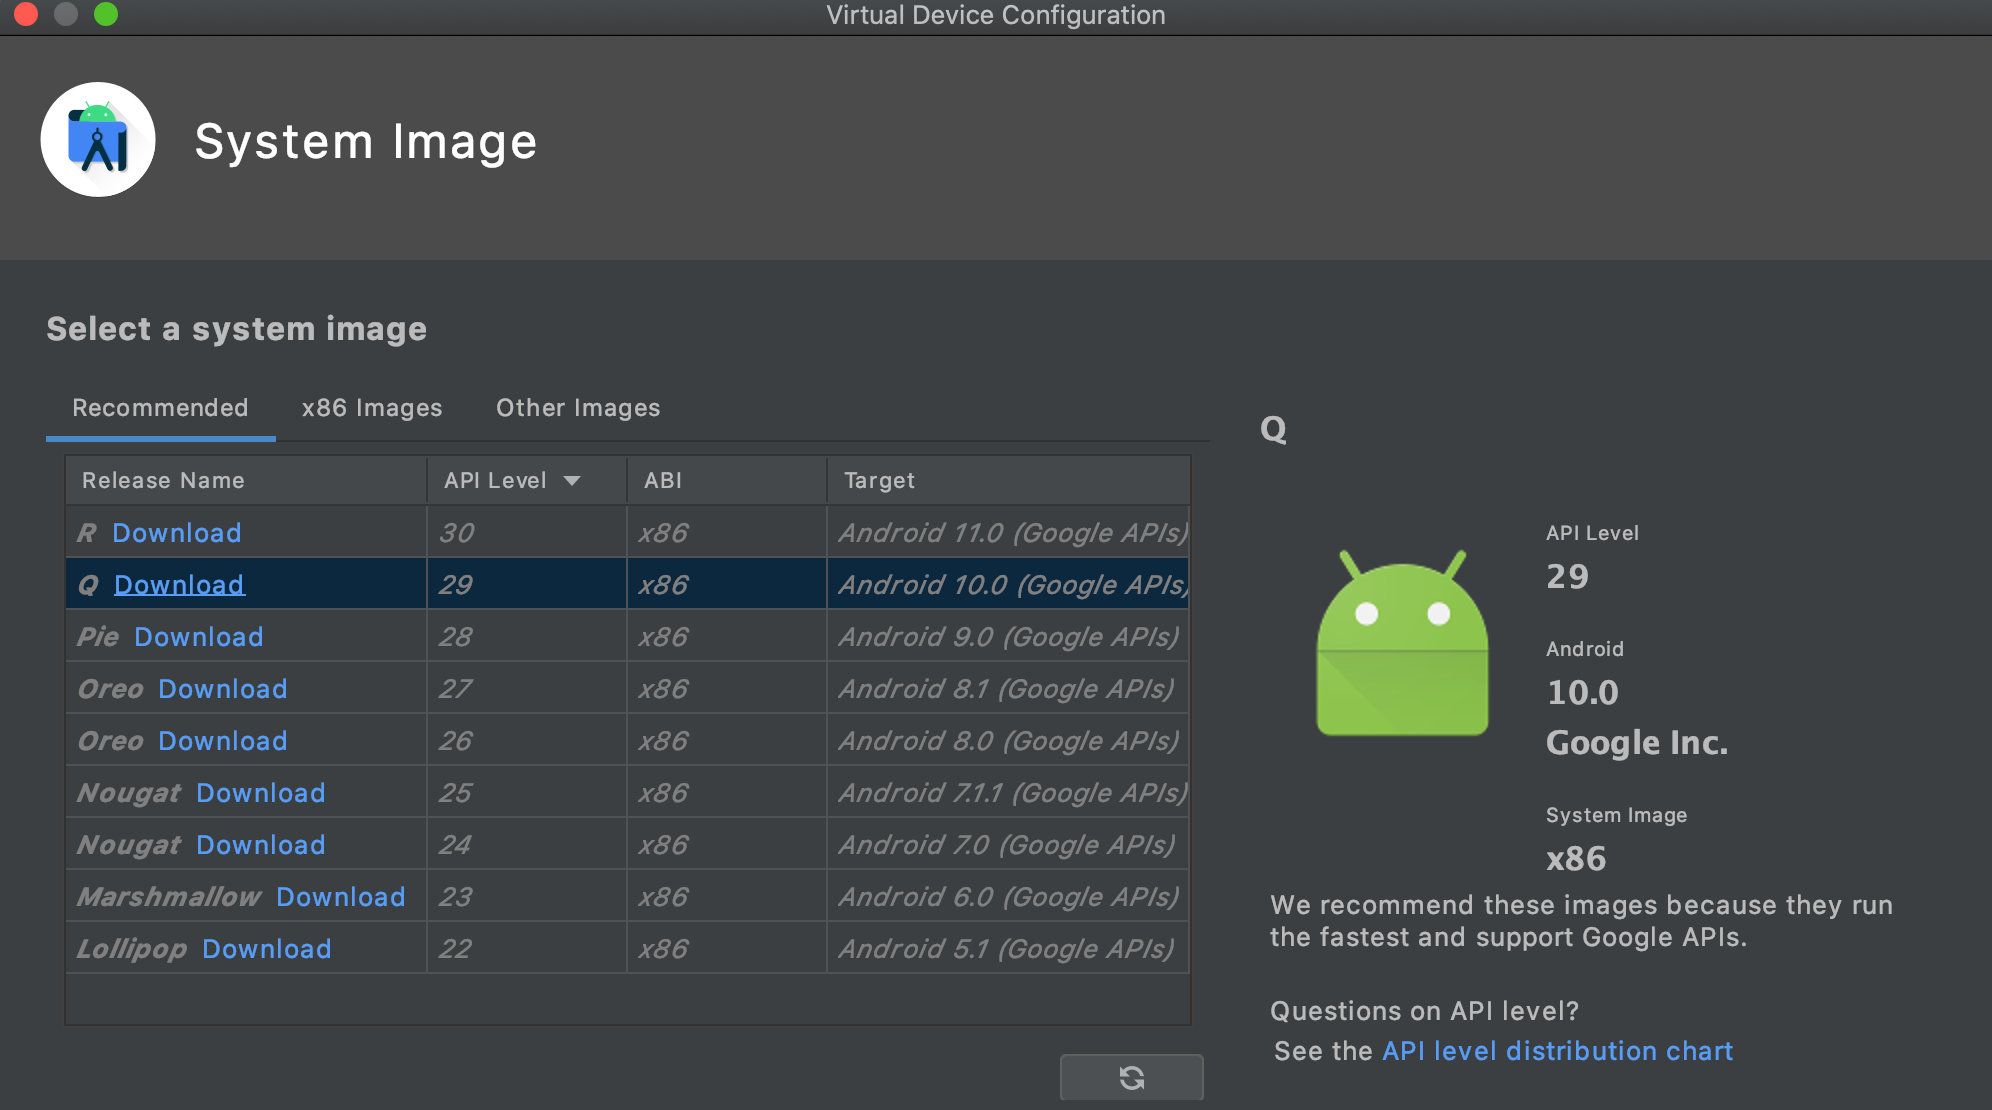
Q(Android 10.0)を選択してDownloadをクリック
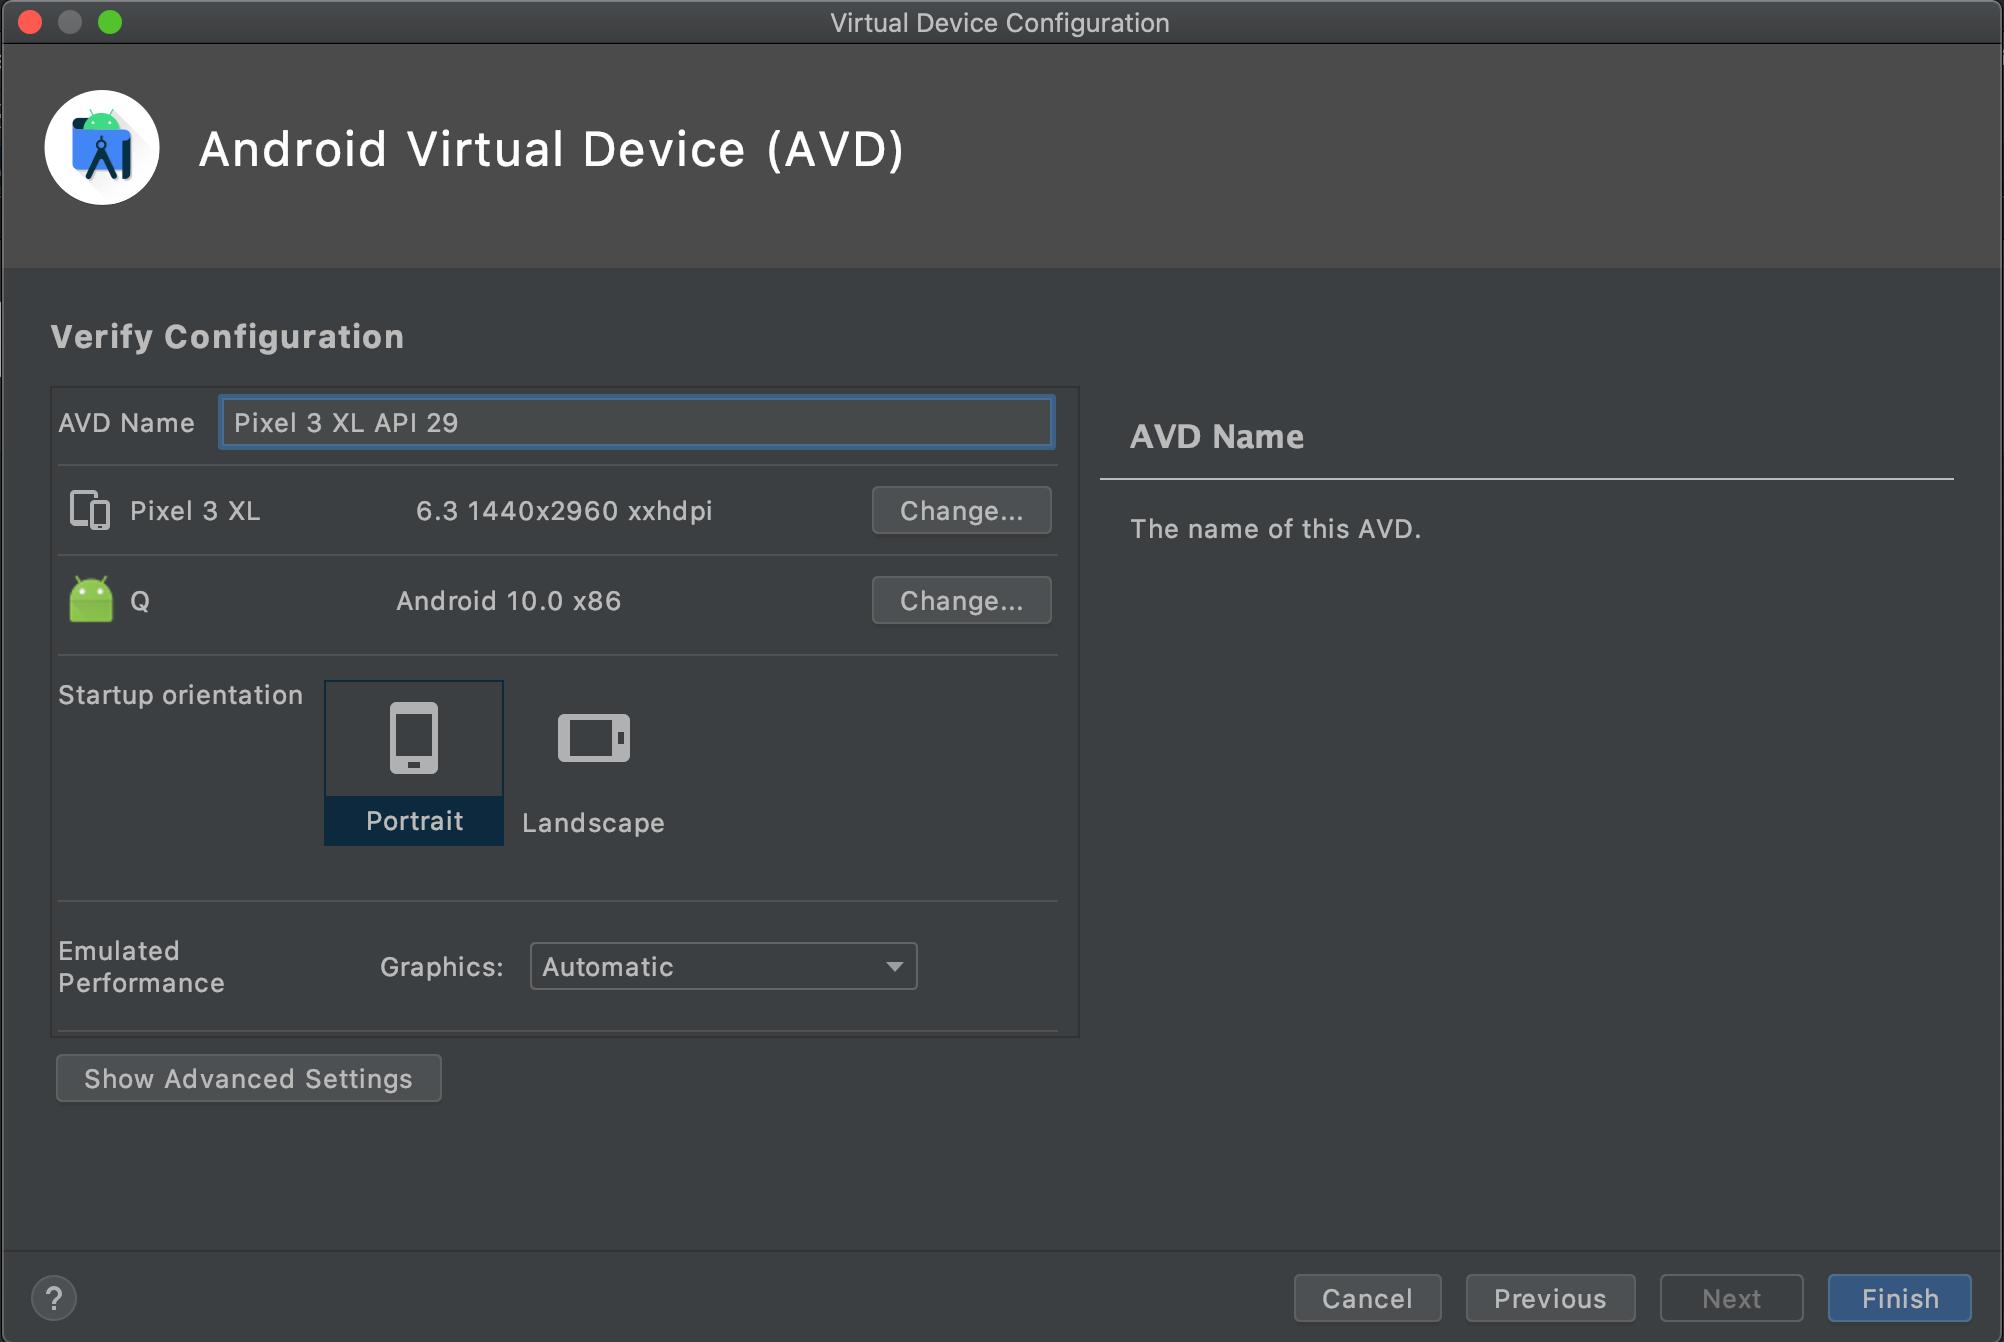
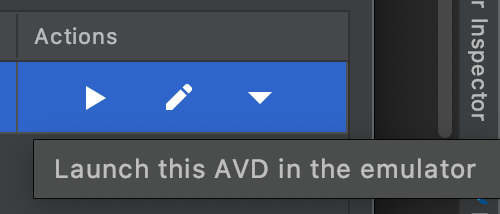
仮想デバイスリストにPixel 3 XLが表示されたらActionsの▶︎ボタン(Launch this ADV in the emulator)をクリック

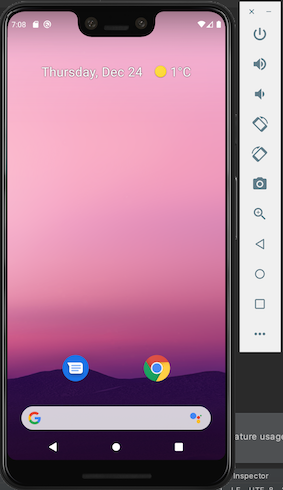
emulatorが起動して仮想デバイスのPixel 3 XLが起動すればOK
テストアプリの実行
Android Studioの上部ツールバーの左側のTarget selectorにAndroid SDK build for x86(mobile)、真ん中のconfigurationにmain.dart、右側に先ほど作成した仮想デバイスのPixel 3 XLが表示されていることを確認して、▶︎(Runボタン)をクリック

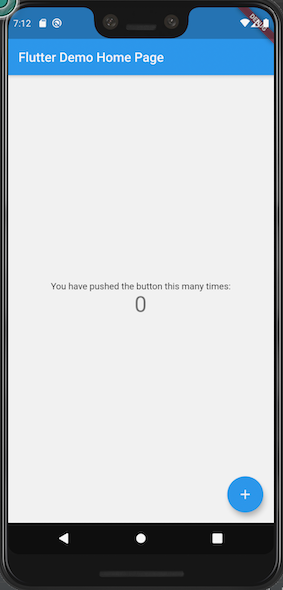
テストアプリが起動すればOK
画面左したの+ボタンをクリックすると画面上の数字がカウントアップされる。
テストアプリコードを変更してホットリロードを試す
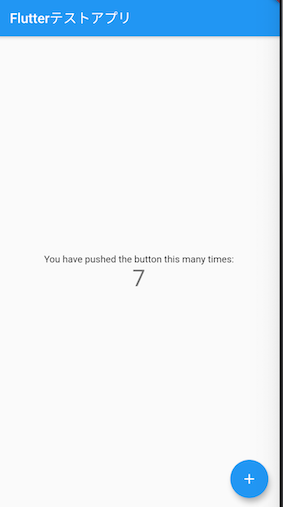
Android Studioで/lib/main.dartを開き、MyAppクラスのページタイトル(main.dart29行目)のFlutter Demo Home PageをFlutterテストアプリに変更する。
class MyApp extends StatelessWidget {
  // This widget is the root of your application.
  @override
  Widget build(BuildContext context) {
    return MaterialApp(
      title: 'Flutter Demo',
      theme: ThemeData(
        // This is the theme of your application.
        //
        // Try running your application with "flutter run". You'll see the
        // application has a blue toolbar. Then, without quitting the app, try
        // changing the primarySwatch below to Colors.green and then invoke
        // "hot reload" (press "r" in the console where you ran "flutter run",
        // or simply save your changes to "hot reload" in a Flutter IDE).
        // Notice that the counter didn't reset back to zero; the application
        // is not restarted.
        primarySwatch: Colors.blue,
        // This makes the visual density adapt to the platform that you run
        // the app on. For desktop platforms, the controls will be smaller and
        // closer together (more dense) than on mobile platforms.
        visualDensity: VisualDensity.adaptivePlatformDensity,
      ),
      home: MyHomePage(title: 'Flutterテストアプリ'),
    );
  }
}
command + sを押して変更を保存し、emulatorの画面が変更した内容で更新されたことを確認する。
まとめ
FlutterとAndroid Studioのインストール、各種設定を行い、仮想デバイス上でテストアプリが動作することを確認しました。
いかに早く価値検証をできるものを作るかという点でFlutterに非常に大きな可能性を感じたため、これから自分の欲しいものを作りながらFlutterを学んでいこうと思います!
参考
https://flutter.dev/docs/get-started/install/macos
https://flutter.dev/docs/get-started/editor
https://flutter.dev/docs/get-started/test-drive
