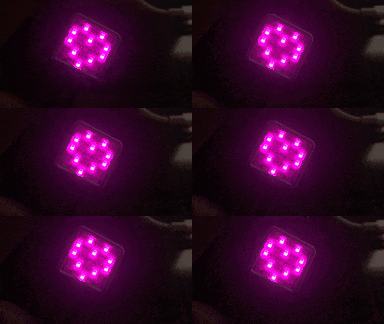
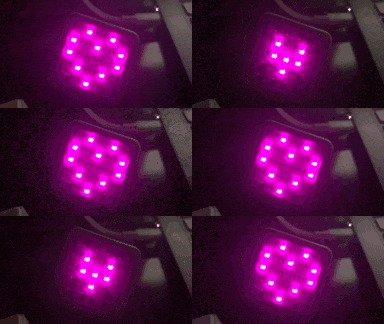
ATOM Matrixのファーストタッチで動作の確認ができたので、次はGroveモジュールを繋いでみました。
温度や湿度、気圧、空気の状態がわかるBME680を繋ごうとしたのですが、ATOM MatrixのGrove互換コネクタの電源出力は5Vだったので、容易には繋げられなかった(BME680の電源は1.8V~3.6V)ので、Groveの心拍センサを繋いでみました。
GROVE - 心拍センサ
家にあったのは上記ですが、M5Stack用のもあるようです。
M5Stack用心拍センサユニット(こちらは血中酸素濃度もわかる)
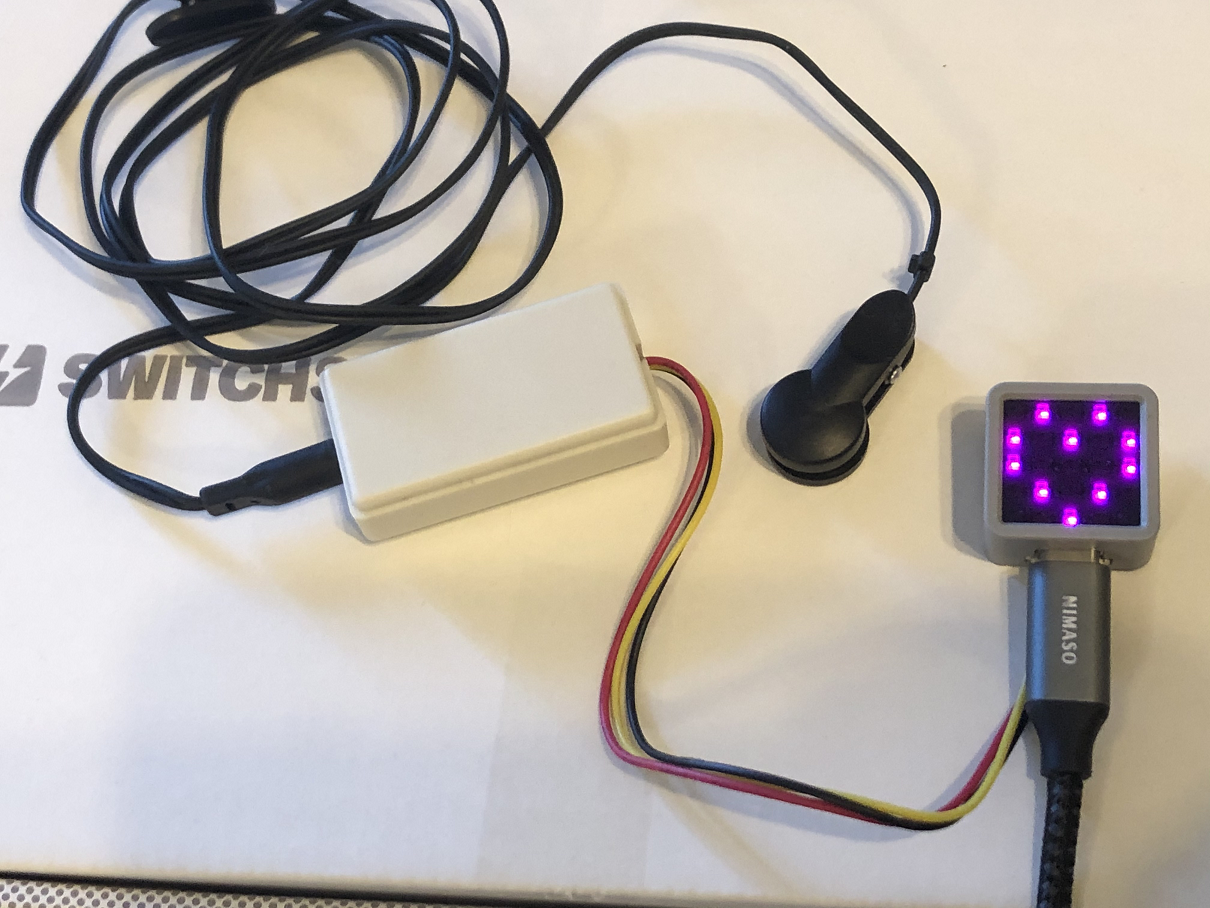
本記事では、GROVE - 心拍センサを繋ぎます。
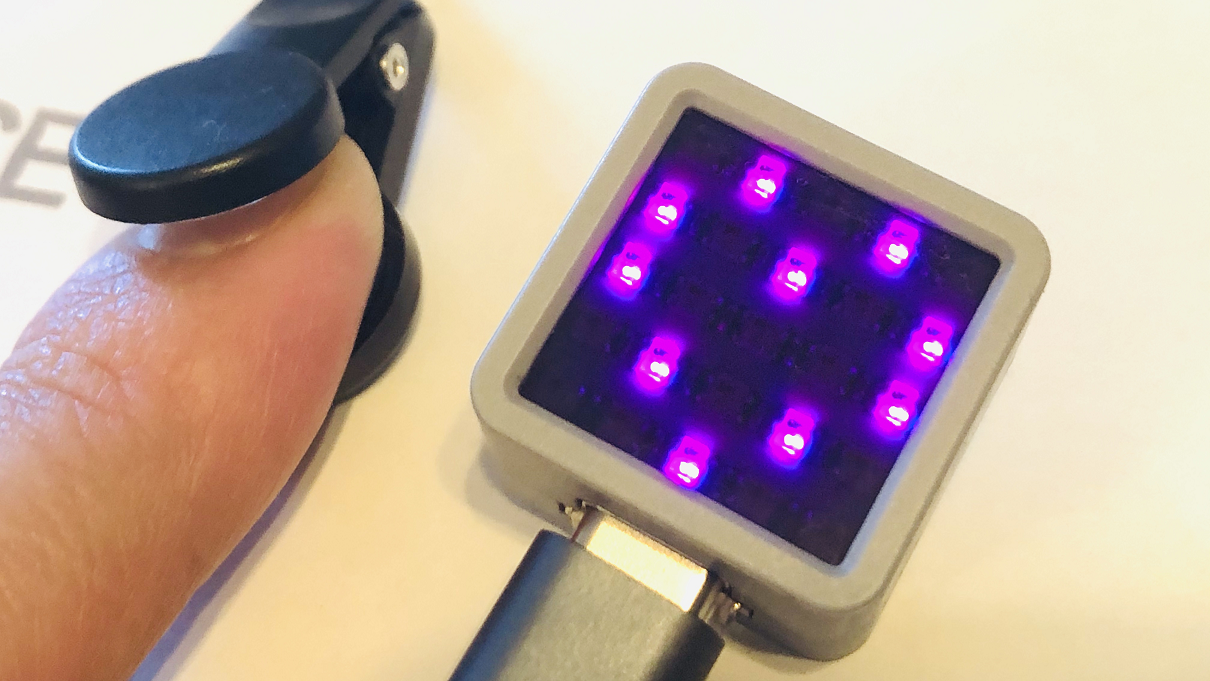
ATOM Matrixがあまりに小さいので、心拍センサの回路ユニットの方が大きいぐらい
クリップを指先か耳たぶに挟むことで、心拍を計測できます。
ハートマークを作る
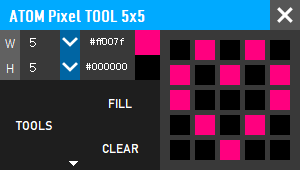
心拍のドキドキをハートマークで表現したかったので、ATOM Matrixの5x5のフルカラーLEDにハートマークを表示させるためのデータを作ります。
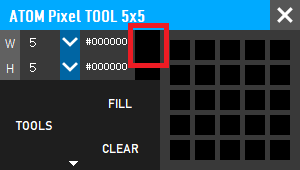
M5Atomのライブラリにデータを作ってくれるアプリのリンク(Windows版のみ)があったのでこれを使います。
単純なアプリでダウンロードして、起動するだけです。
赤い四角で囲んだ部分をクリックするとカラーパレットから色を選択することができます。
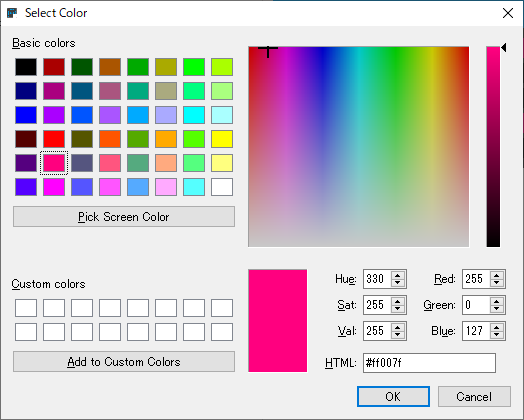
ドキドキを表現するのにパレットのサイズのWを10に変更して、小さいハートも用意しました。
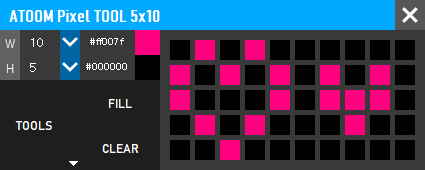
TOOLSからSAVEを選ぶことで、ソースコードとして保存できます。
プログラム
GROVE - 心拍センサは、GitHubにサンプルが用意されているので、ほぼほぼコピペで作りました。
心拍センサの出力はATOM MatrixのGrove互換ポートのG32と書いてあるピンに繋がるようになっているので、そのピンを指定して、入力割込みを設定しています。
入力割込みの処理で心拍の周期を記録し、一定時間内の周期から心拍数を計算するようになってます。
loop()の中では、心拍数からハートマークを鼓動させる周期を計算して、表示を切り替えてるだけです。
# include "M5Atom.h"

unsigned char counter;
unsigned long temp[21];
unsigned long sub;
bool data_effect = true;
unsigned int heart_rate = 60;

const int max_heartpluse_duty = 2000;

// ツールが出力した画像データ部分のソースコードをコピペ
const unsigned char image_tmp[152] =
{
  /* width  010 */ 0x0a,
  /* height 005 */ 0x05,
  /* Line   000 */ 0x00, 0x00, 0x00, 0xff, 0x00, 0x7f, 0x00, 0x00, 0x00, 0xff, 0x00, 0x7f, 0x00, 0x00, 0x00, 0x00, 0x00, 0x00, 0x00, 0x00, 0x00, 0x00, 0x00, 0x00, 0x00, 0x00, 0x00, 0x00, 0x00, 0x00, //
  /* Line   001 */ 0xff, 0x00, 0x7f, 0x00, 0x00, 0x00, 0xff, 0x00, 0x7f, 0x00, 0x00, 0x00, 0xff, 0x00, 0x7f, 0x00, 0x00, 0x00, 0xff, 0x00, 0x7f, 0x00, 0x00, 0x00, 0xff, 0x00, 0x7f, 0x00, 0x00, 0x00, //
  /* Line   002 */ 0xff, 0x00, 0x7f, 0x00, 0x00, 0x00, 0x00, 0x00, 0x00, 0x00, 0x00, 0x00, 0xff, 0x00, 0x7f, 0x00, 0x00, 0x00, 0xff, 0x00, 0x7f, 0xff, 0x00, 0x7f, 0xff, 0x00, 0x7f, 0x00, 0x00, 0x00, //
  /* Line   003 */ 0x00, 0x00, 0x00, 0xff, 0x00, 0x7f, 0x00, 0x00, 0x00, 0xff, 0x00, 0x7f, 0x00, 0x00, 0x00, 0x00, 0x00, 0x00, 0x00, 0x00, 0x00, 0xff, 0x00, 0x7f, 0x00, 0x00, 0x00, 0x00, 0x00, 0x00, //
  /* Line   004 */ 0x00, 0x00, 0x00, 0x00, 0x00, 0x00, 0xff, 0x00, 0x7f, 0x00, 0x00, 0x00, 0x00, 0x00, 0x00, 0x00, 0x00, 0x00, 0x00, 0x00, 0x00, 0x00, 0x00, 0x00, 0x00, 0x00, 0x00, 0x00, 0x00, 0x00, //
};

void setup()
{
  arrayInit();
  M5.begin(true, false, true);
  Serial.begin(115200);

  // 心拍センサの入力ピン設定
  pinMode(32, INPUT_PULLUP);              // Grove G32 pin
  // 心拍センサの入力割込み設定
  attachInterrupt(32, interrupt, RISING); // Grove G32 pin
}

void loop()
{
  // 心拍からハートマークを鼓動するウェイト時間を計算
  unsigned long wait = (unsigned long)(500.0 * (60.0 / (float)heart_rate));
  M5.dis.displaybuff((uint8_t*)image_tmp, 0, 0);
  delay(wait);
  M5.dis.displaybuff((uint8_t*)image_tmp, 5, 0);
  delay(wait);
}

/*Function: calculate the heart rate*/
void sum()
{
  if (data_effect) {
    heart_rate = 1200000 / (temp[20] - temp[0]); //60*20*1000/20_total_time
    Serial.print("Heart_rate_is:\t");
    Serial.println(heart_rate);
  }
  data_effect = 1; //sign bit
}

/*Function: Interrupt service routine.Get the sigal from the external interrupt*/
void interrupt()
{
  temp[counter] = millis();
  Serial.println(counter, DEC);
  Serial.println(temp[counter]);

  switch (counter) {
    case 0:
      sub = temp[counter] - temp[20];
      Serial.println(sub);
      break;
    default:
      sub = temp[counter] - temp[counter - 1];
      Serial.println(sub);
      break;
  }
  //set 2 seconds as max heart pluse duty
  if (sub > max_heartpluse_duty) {
    data_effect = 0; //sign bit
    counter = 0;
    Serial.println("Heart rate measure error,test will restart!" );
    arrayInit();
  }
  if (counter == 20 && data_effect) {
    counter = 0;
    sum();
  } else if (counter != 20 && data_effect) {
    counter++;
  } else {
    counter = 0;
    data_effect = 1;
  }
}

/*Function: Initialization for the array(temp)*/
void arrayInit()
{
  for (unsigned char i = 0; i < 20; i ++) {
    temp[i] = 0;
  }
  temp[20] = millis();
}
動作確認
プログラムを書き込んで、クリップを指先に挟んで、しばらくすると実際の心拍に沿って、ハートマークが鼓動しました。
特に引っかかることもなく、思った通りに動きました。
あとがき
たいしたプログラムでも無いですが、ツールや入力割込みの使い方の参考にしてもらえればと思います。
本当は、Wi-Fiを繋いで、Ambientに心拍をアップロードしてブラウザでグラフ表示までやりたかったのですが、アップロードするところで、リセットがかかってしまい、うまくいきませんでした。原因を解決して、次の記事で書きたいと思います。
Wi-Fiに繋ぐことは成功したので、参考にソースコードを載せておきます。Wi-Fiに繋がるArduino互換ボードならおなじみのコードだと思います。
# include "M5Atom.h"
# include <WiFi.h>

const char* ssid = "ssid";
const char* password = "pass";

void setup()
{
  M5.begin(true, false, true);
  Serial.begin(115200);

  //  Wi-Fi APに接続
  WiFi.begin(ssid, password);
  //  Wi-Fi AP接続待ち
  while (WiFi.status() != WL_CONNECTED) {
      delay(500);
      Serial.print(".");
  }
  Serial.print("WiFi connected\r\nIP address: ");
  Serial.println(WiFi.localIP());
}
