はじめに
会社に強力なGPUを持ったAI用のPCを導入しました.CUI経由でこのリソースを使って開発しても良いのですが,より使いやすくするためにJupyterHubを導入しました.このお陰で,社内ネットワークに入ってhttp://xxx.xxx.xxx.xxx/jupyterにアクセスすれば,Web上で社内のリソースが使えるようになりました.
JupyterHubとは
JupyterHubとは,マルチユーザーに対応した認証機能つきのJupyterサーバーです.JupyterHubをインストールしたPCにユーザーを追加すれば,そのユーザーはブラウザからアクセスして認証できれば,Web上でプログラムを動かすことができます.要はGoogle Colabみたいなことができるということです.
↓のような感じでWeb上で.ipynbや.pyを実行できます!

基本構成
ネットワーク構成
ネットワーク構成は以下のようにしました.Webサーバにnginxを使って,Jupyterhubのページを表示させます.なお,xxx.xxx.xxx.xxxは社内のローカル固定IPです.
User構成
今回はjupyterグループを作成し,管理者用ユーザーのadminserverとその他ユーザーに分けるようにしました.他ユーザーにSudo権限を与えなかったのは,破壊的インストールやアップデートを防ぐためです.
Setup
ここからは実際のSetup手順です.
User追加
まずは,jupyterグループとadminserverユーザーを作成します.
# jupyter group作成
groupadd jupyter
# adminserver user作成
sudo useradd adminserver -g jupyter -m -s /bin/bash
sudo usermod -aG sudo adminserver # sudoの実行権限を与える
sudo passwd adminserver
>******
>******
JupyterHubインストール・設定
以降adminserverユーザーにログインして,設定していきます.
su - adminserver
/opt/jupyterhubに仮想環境を作成し,その仮想環境上にJupyterHubをインストールします.
sudo apt-get install python3-venv
sudo python3 -m venv /opt/jupyterhub/
sudo /opt/jupyterhub/bin/python3 -m pip install wheel
sudo /opt/jupyterhub/bin/python3 -m pip install jupyterhub jupyterlab
sudo /opt/jupyterhub/bin/python3 -m pip install ipywidgets

sudo chmod 775 -R /opt/jupyterhub/share
sudo chmod 775 -R /opt/jupyterhub/lib
依存関係をインストールします.
sudo apt install nodejs npm
sudo npm install -g configurable-http-proxy
JupyterHubの設定ファイルを生成し,URLの設定を行います.今回は,http://xxx.xxx.xxx.xxx/jupyterにアクセスできるようにしました.
sudo mkdir -p /opt/jupyterhub/etc/jupyterhub/
cd /opt/jupyterhub/etc/jupyterhub/

sudo /opt/jupyterhub/bin/jupyterhub --generate-config
sudo vi jupyterhub_config.py
# 112行目付近
c.JupyterHub.bind_url = 'http://:8000/jupyter'

# 716行目付近
# Proxyなどの環境変数を引き継ぐため.
import os
for var in os.environ:
    c.Spawner.env_keep.append(var)

# 696行目付近
c.Spawner.default_url = '/lab'
最後に,PCが再起動しても自動でJupyterHubが起動されるようにServiceを設定します.
sudo mkdir -p /opt/jupyterhub/etc/systemd
sudo vi /opt/jupyterhub/etc/systemd/jupyterhub.service
[Unit]
Description=JupyterHub
After=syslog.target network.target

[Service]
User=root
Environment="PATH=/bin:/usr/local/sbin:/usr/local/bin:/usr/sbin:/usr/bin:/opt/jupyterhub/bin"
ExecStart=/opt/jupyterhub/bin/jupyterhub -f /opt/jupyterhub/etc/jupyterhub/jupyterhub_config.py

[Install]
WantedBy=multi-user.target
Serviceを登録します.
sudo ln -s /opt/jupyterhub/etc/systemd/jupyterhub.service /etc/systemd/system/jupyterhub.service
sudo systemctl daemon-reload
sudo systemctl enable jupyterhub.service
sudo systemctl start jupyterhub.service
sudo systemctl status jupyterhub.service
Anacondaインストール・設定
各ユーザーが自由にPythonの環境を作れるようにAnacondaを/opt/conda上にインストールします.
何をやっているかは適宜コメントを参照してください.
※Anacondaのバージョンは適宜指定してください.
# Anacondaのインストール
wget https://repo.anaconda.com/archive/Anaconda3-5.3.0-Linux-x86_64.sh -O ~/anaconda.sh
sudo /bin/bash ~/anaconda.sh -p /opt/conda # 基本yes,最後のVSCodeなんちゃらはNoで
rm ~/anaconda.sh

source ~/.bashrc

# 以下の2行はDefaultのPython環境を用意するだけなので,任意です.
conda create -n py37 python=3.7 ipykernel
sudo /home/adminserver/.conda/envs/py37/bin/python -m ipykernel install --prefix=/opt/jupyterhub/ --name 'python' --display-name "Python (default)"

# condaコマンドを使えるようにする
sudo ln -s /opt/conda/etc/profile.d/conda.sh /etc/profile.d/conda.sh

# base環境のPythonのバージョンが壊れるとcondaコマンドが動かなくなる.それを防ぐために,base環境はadminserverのみ弄れるようにしている.
sudo chown -R adminserver:jupyter /opt/conda
# jupyter groupに属したuserはcondaの仮想環境を弄れるようにする
sudo chmod 775 -R /opt/conda/envs
nginxインストール・設定
Webサーバーにnginxを用いて,http://xxx.xxx.xxx.xxx/jupyterにアクセスすると,先ほどインストールして立ち上げたJupyterHubをWebブラウザ上で表示させるようにします.
nginxをインストールします.
sudo apt-get install -y nginx
nginxの設定を行います.
※{hoge}は任意
sudo vi /etc/nginx/conf.d/{hoge}.conf
# 以下追記
map $http_upgrade $connection_upgrade {
        default upgrade;
        '' close;
    }

server {
  listen 80;
  # ドメインもしくはIPを指定
  server_name localhost;

  access_log /var/log/nginx/access.log;
  error_log  /var/log/nginx/error.log;

 	client_max_body_size 0;
  ...

  # ここも追記
  location /jupyter/ {
      # NOTE important to also set base url of jupyterhub to /jupyter in its config
      proxy_pass http://127.0.0.1:8000;

      proxy_redirect   off;
      proxy_set_header X-Real-IP $remote_addr;
      proxy_set_header Host $host;
      proxy_set_header X-Forwarded-For $proxy_add_x_forwarded_for;
      proxy_set_header X-Forwarded-Proto $scheme;

      # websocket headers
      proxy_set_header Upgrade $http_upgrade;
      proxy_set_header Connection $connection_upgrade;

    }
設定を反映します.
sudo nginx -t
sudo systemctl reload nginx.service
sudo systemctl restart nginx.service
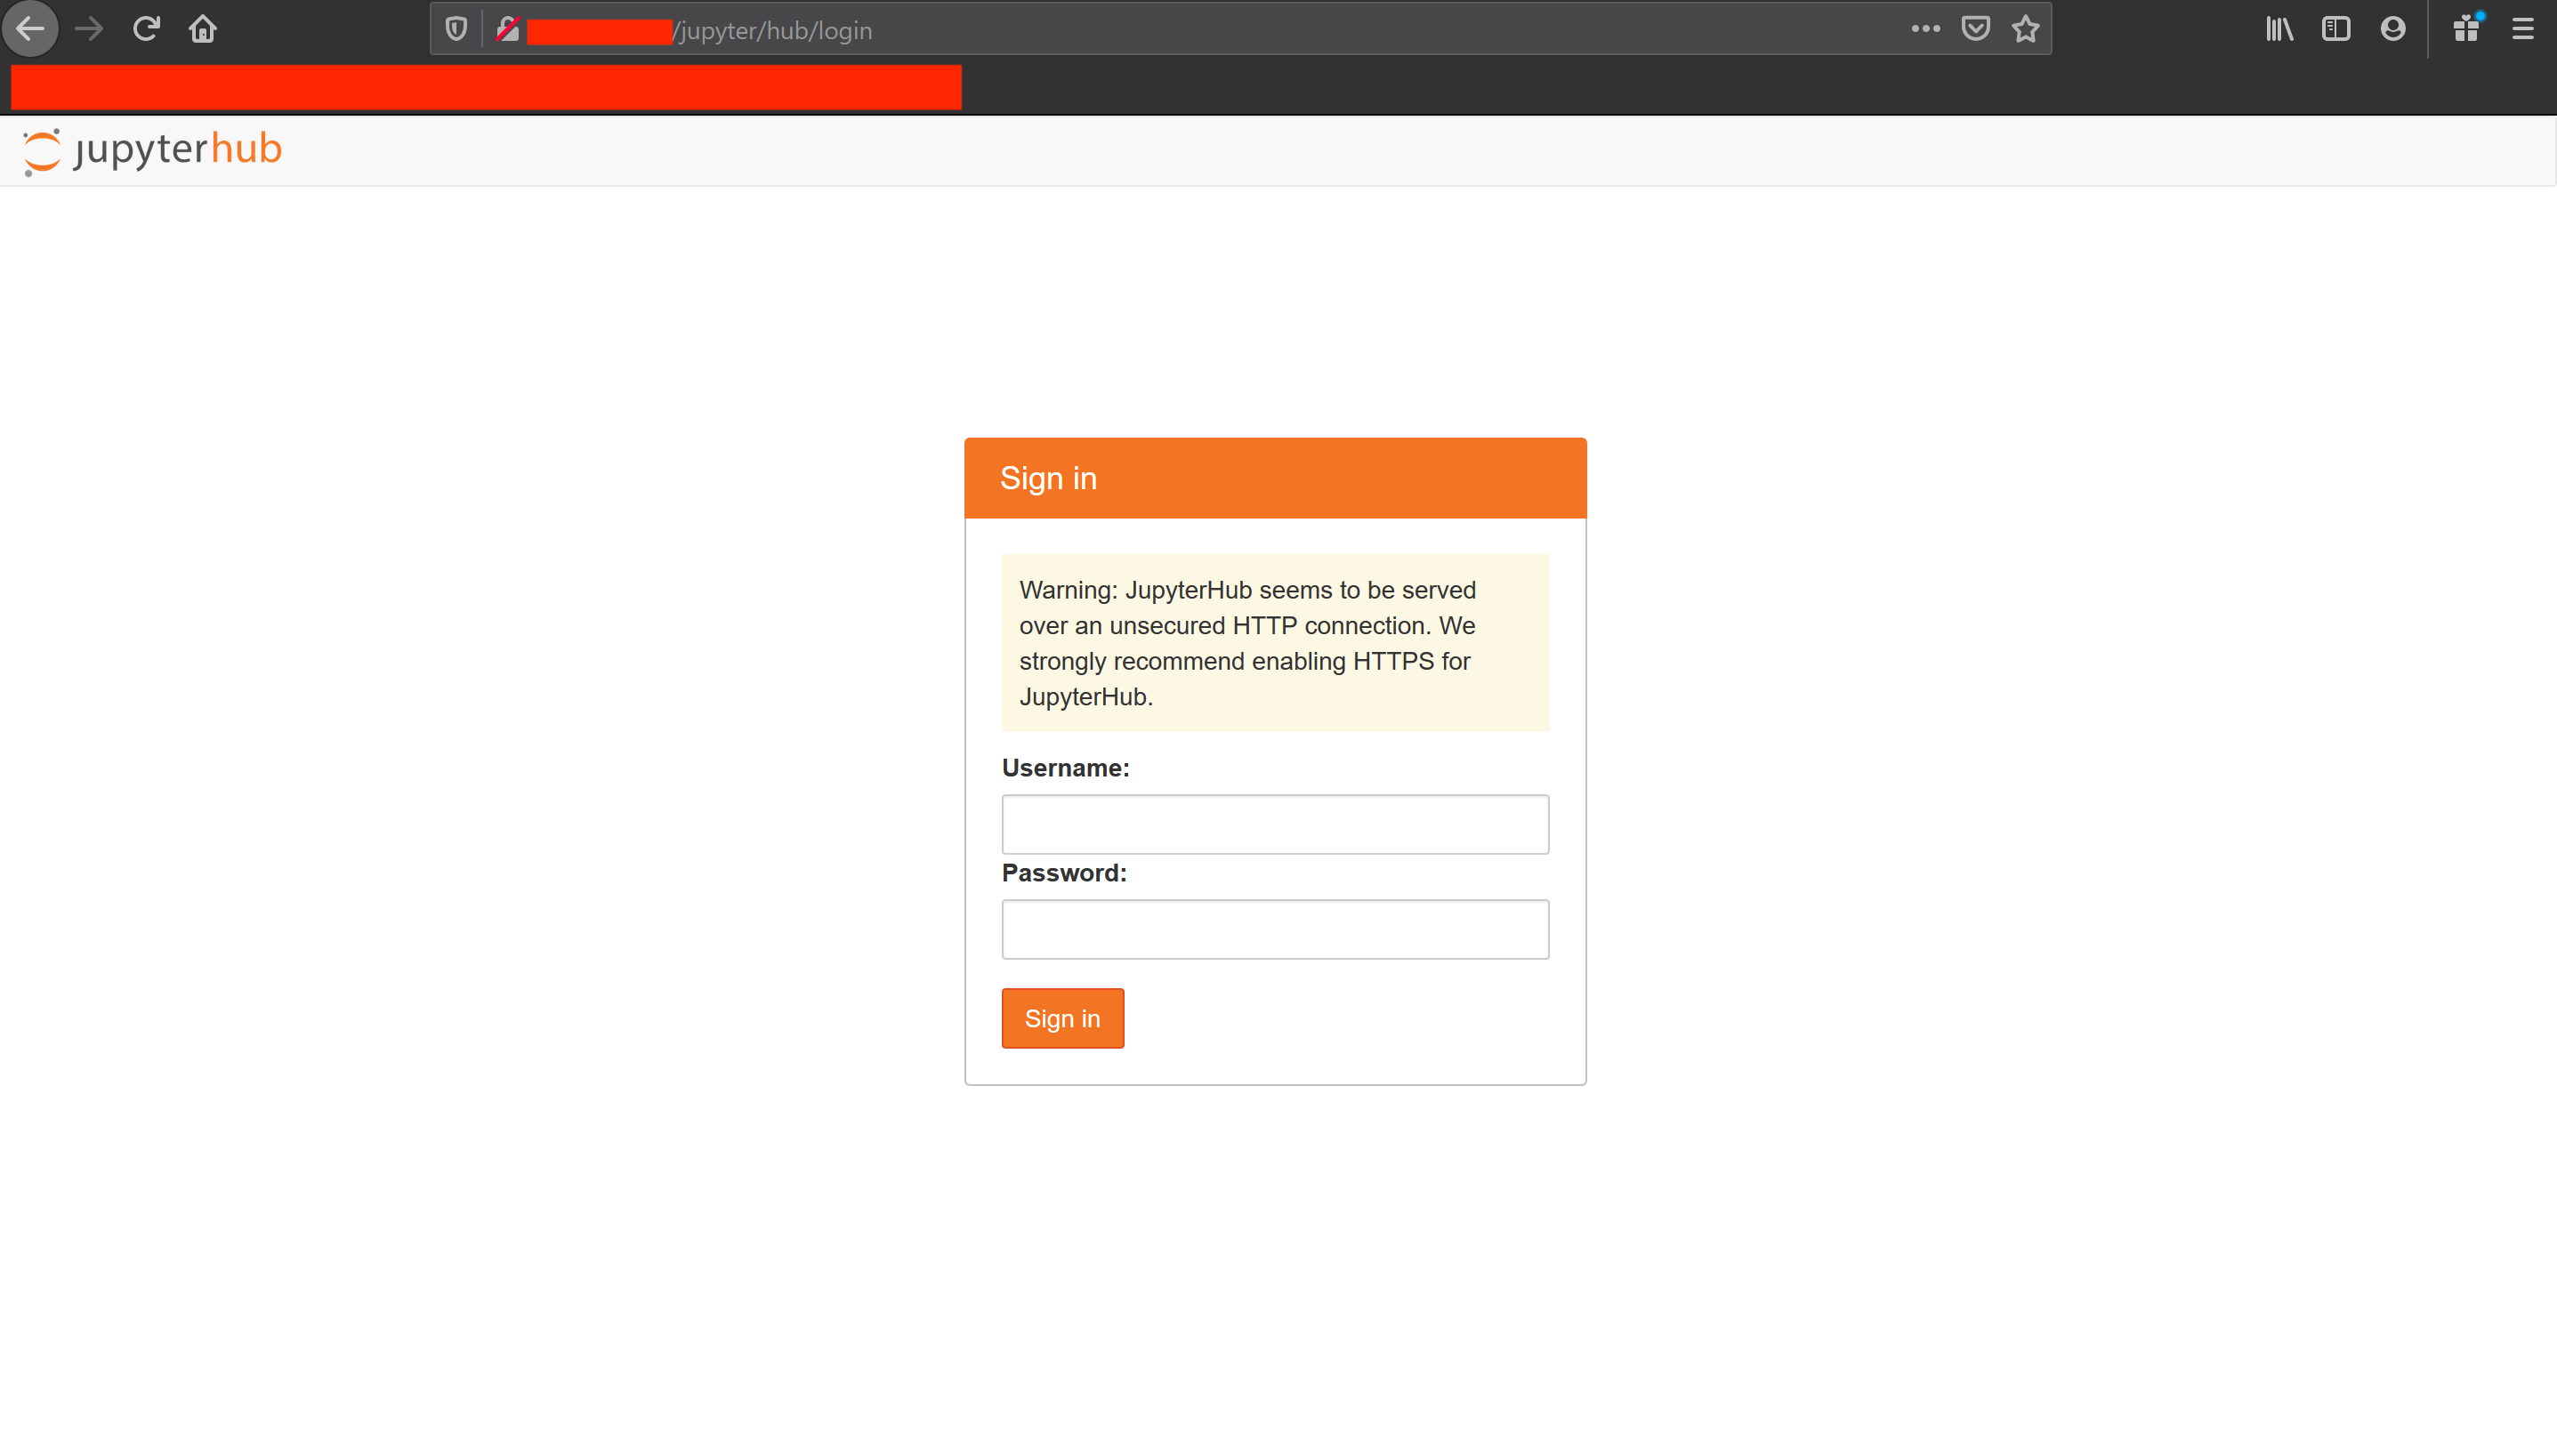
http://xxx.xxx.xxx.xxx/jupyterにアクセスできればOKです.
HTTPSにしろと怒られますが,社内ネットワークで使う分には問題ないと思います.
実際,
user:adminserver
password:adminserverのPassword
でログインできるようになっていると思います.
工夫
以上で,JupyterHubの構築自体は終わりなのですが,より使いやすく,よりチーム開発しやすくるために工夫した点を共有します.
データの共有
データセットなどの共有すべきデータの保管場所を/opt/sharedディレクトリを用意しました.
mkdir /opt/shared
sudo chown -R adminserver:jupyter /opt/shared
sudo chmod 775 /opt/shared
softwareフォルダの作成
YoLoやOpenPoseなど,Buildした実行ファイルを全員が使えるようにするために,/opt/softwareと/opt/software/binディレクトリを用意しました.
mkdir -p /opt/software/bin
sudo chown -R adminserver:jupyter /opt/software
sudo chmod 775 /opt/software
sudo chmod 775 /opt/software/bin
全ユーザーが/opt/software/binを使えるようにするために,パスを通します.
sudo vi /etc/profile.d/custom_path.sh
# shared software
export PATH="/opt/software/bin:$PATH"
管理用ディレクトリ
管理者用にディレクトリを作成しました.
mkdir ~/jupyterhub && cd ~/jupyterhub
git clone https://github.com/MIZUNO-CORPORATION/jupyterhub.git
ユーザーの追加や削除などのShellスクリプト,マニュアルのmanual.mdなどが入っています.
これらは公開します.
https://github.com/MIZUNO-CORPORATION/jupyterhub.
各ファイルが何なのか簡単に説明します.何をやっているかは割愛します.
| filename | 説明 |
|---|---|
| add_user.sh | ユーザー追加用のスクリプト |
| delete_user.sh | ユーザー削除用のスクリプト |
| manual.md | マニュアル |
| bash-sh.txt | 追加されたユーザーがログイン時に自動でcondaコマンドが使えるようにするShellスクリプト |
| create_kernel.sh | jupyter実行用のカーネルを作成するスクリプト |
スクリプトの使い方はこんな感じです.
# add user for jupyterhub
sudo bash add_user.sh {username}
# delete user
sudo bash delete_user.sh {username}
以下のスクリプトは各ユーザーに共有するスクリプトです.各ユーザーが作成したCondaの仮想環境をJupyterのKernelにするスクリプトになります.
# create kernel for jupyter
# --no-shareをつけるとKernelを共有しない
create_kernel.sh {envname} [--no-share]
おわりに
JupyterHubを使うと,1台のPCの資源を複数人で共有できるようになります.現状では,Intellisenseが効かないので,開発効率はあまり良くないですが,VSCodeのRemote SSHを使えばそれも解決できます.


