はじめに
最近のVSCodeのアップデートで,Jupyter NotebookのUIが変更されました.その変更でブレークポイントが設定できるようになっていて(下図参照),もしかしてNotebookでもブレークポイントを使ったデバッグができるのでは?と思い,調べてみるとこちらのYouTube動画に行き着き,なんとかデバッグできたので共有したいと思います.
今までは,ブレークポイントを使ったデバッグを行うには,一度こちらの記事のように.pyに変換しないといけなかったですが,その必要もなくなったようです(下図).
設定方法
最新のVSCodeにアップデートする
基本は自動アップデートしてくれるので,不必要かと思いますが,VSCodeが最新でない場合,上図のようにNotebookにブレークポイントを設定できません.
なので,まずはVSCodeを最新のバージョンにアップデートしてください.(2021/08/23時 1.59.1)
settings.jsonにデバッグ設定追記
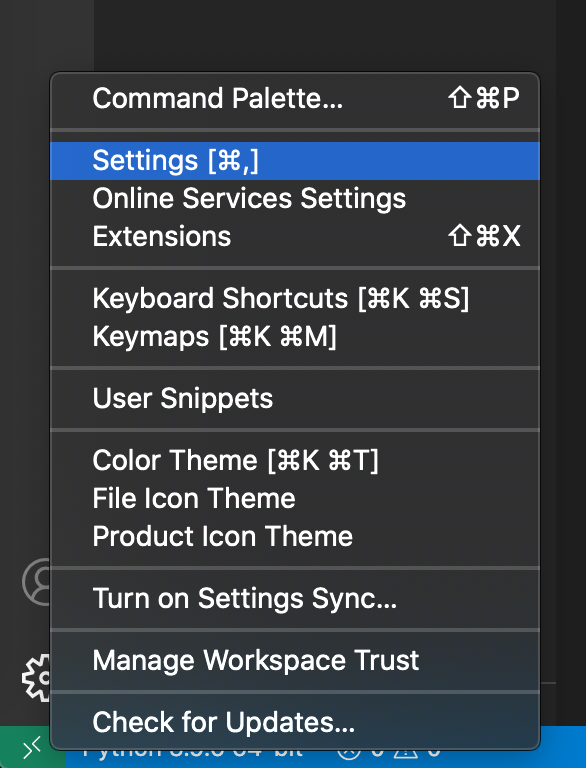
歯車マーク→Settingsから
右上のファイルに矢印が付いているマークをクリックして,settings.jsonを開きます.
以下を追記します.
{
    "jupyter.experimental.debugging": true
}
ver6以上のipykernelをインストール
こちらのYouTube動画曰く,ver6以上のipykernelが必要なので,Jupyter Notebookを使いたい環境上でipykernelをインストール(アップデートします.)
(.venv)$ pip install --upgrade ipykernel
デバッグモードで実行
上記まで済ませ,先程のステップでipykernelをインストールした環境のkernelを選ぶと,下図のようにDebugアイコンが出現します(しない場合は,3点ドットをクリックしてみてください.それでもない場合はVSCodeを再起動してみてください).
そのDebugアイコンをクリックし,後はセルを実行すると,以下のようにブレークポイントでしっかり止まってくれます!!
おまけ
Remote環境でもできました.
settings.jsonにデバッグ設定追記で開いたSettings画面でUserでなく,Remote環境のsettings.jsonを編集すればOKです.


