CircuitPython 8.0.0-beta.6を使って、マイコン・ボードFeather nRF52840 Expressにつないだジョイスティックからアナログ値を読み出し、角度情報をBLEで送信するプログラムを作ります。
次回、BLEのセントラルを作り、最終的には、モータを回す予定です。
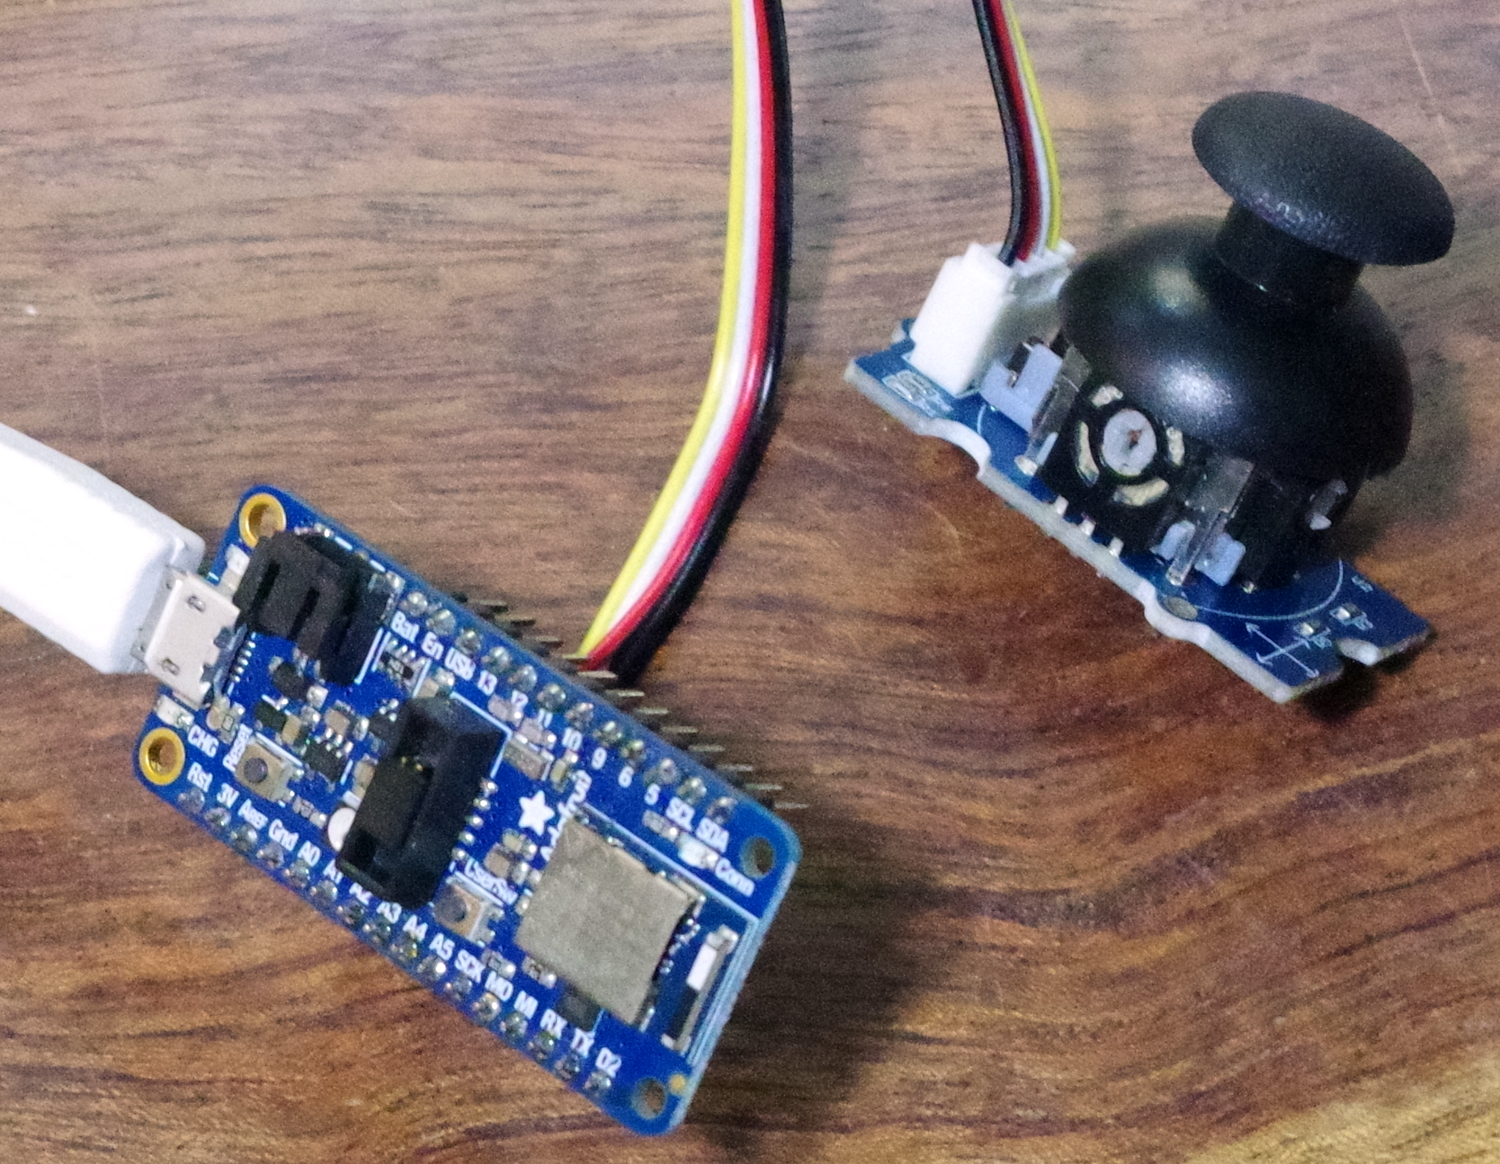
Feather nRF52840 Express
おもなスペック

Adafruitのマイコン・ボードです。BLEモジュールの表面には技適のコードが刻印されています。
スイッチサイエンス Adafruit Feather nRF52840 Express、秋月電子通商 Adafruit Feather nRF52840 Expressで購入できます。
ピン配置です。

- CPU ARM Cortex M4F(64MHz)
- メモリ フラッシュ1MB、SRAM 256KB
- 動作電圧 1.7~3.3V
- Bluetooth Low Energy compatible 2.4GHz
- デバッグ用SWDコネクタ
- 3.7 Vリチウム・ポリマ電池用のコネクタと充電器
CircuitPython 8.0.0-beta.6
インストール
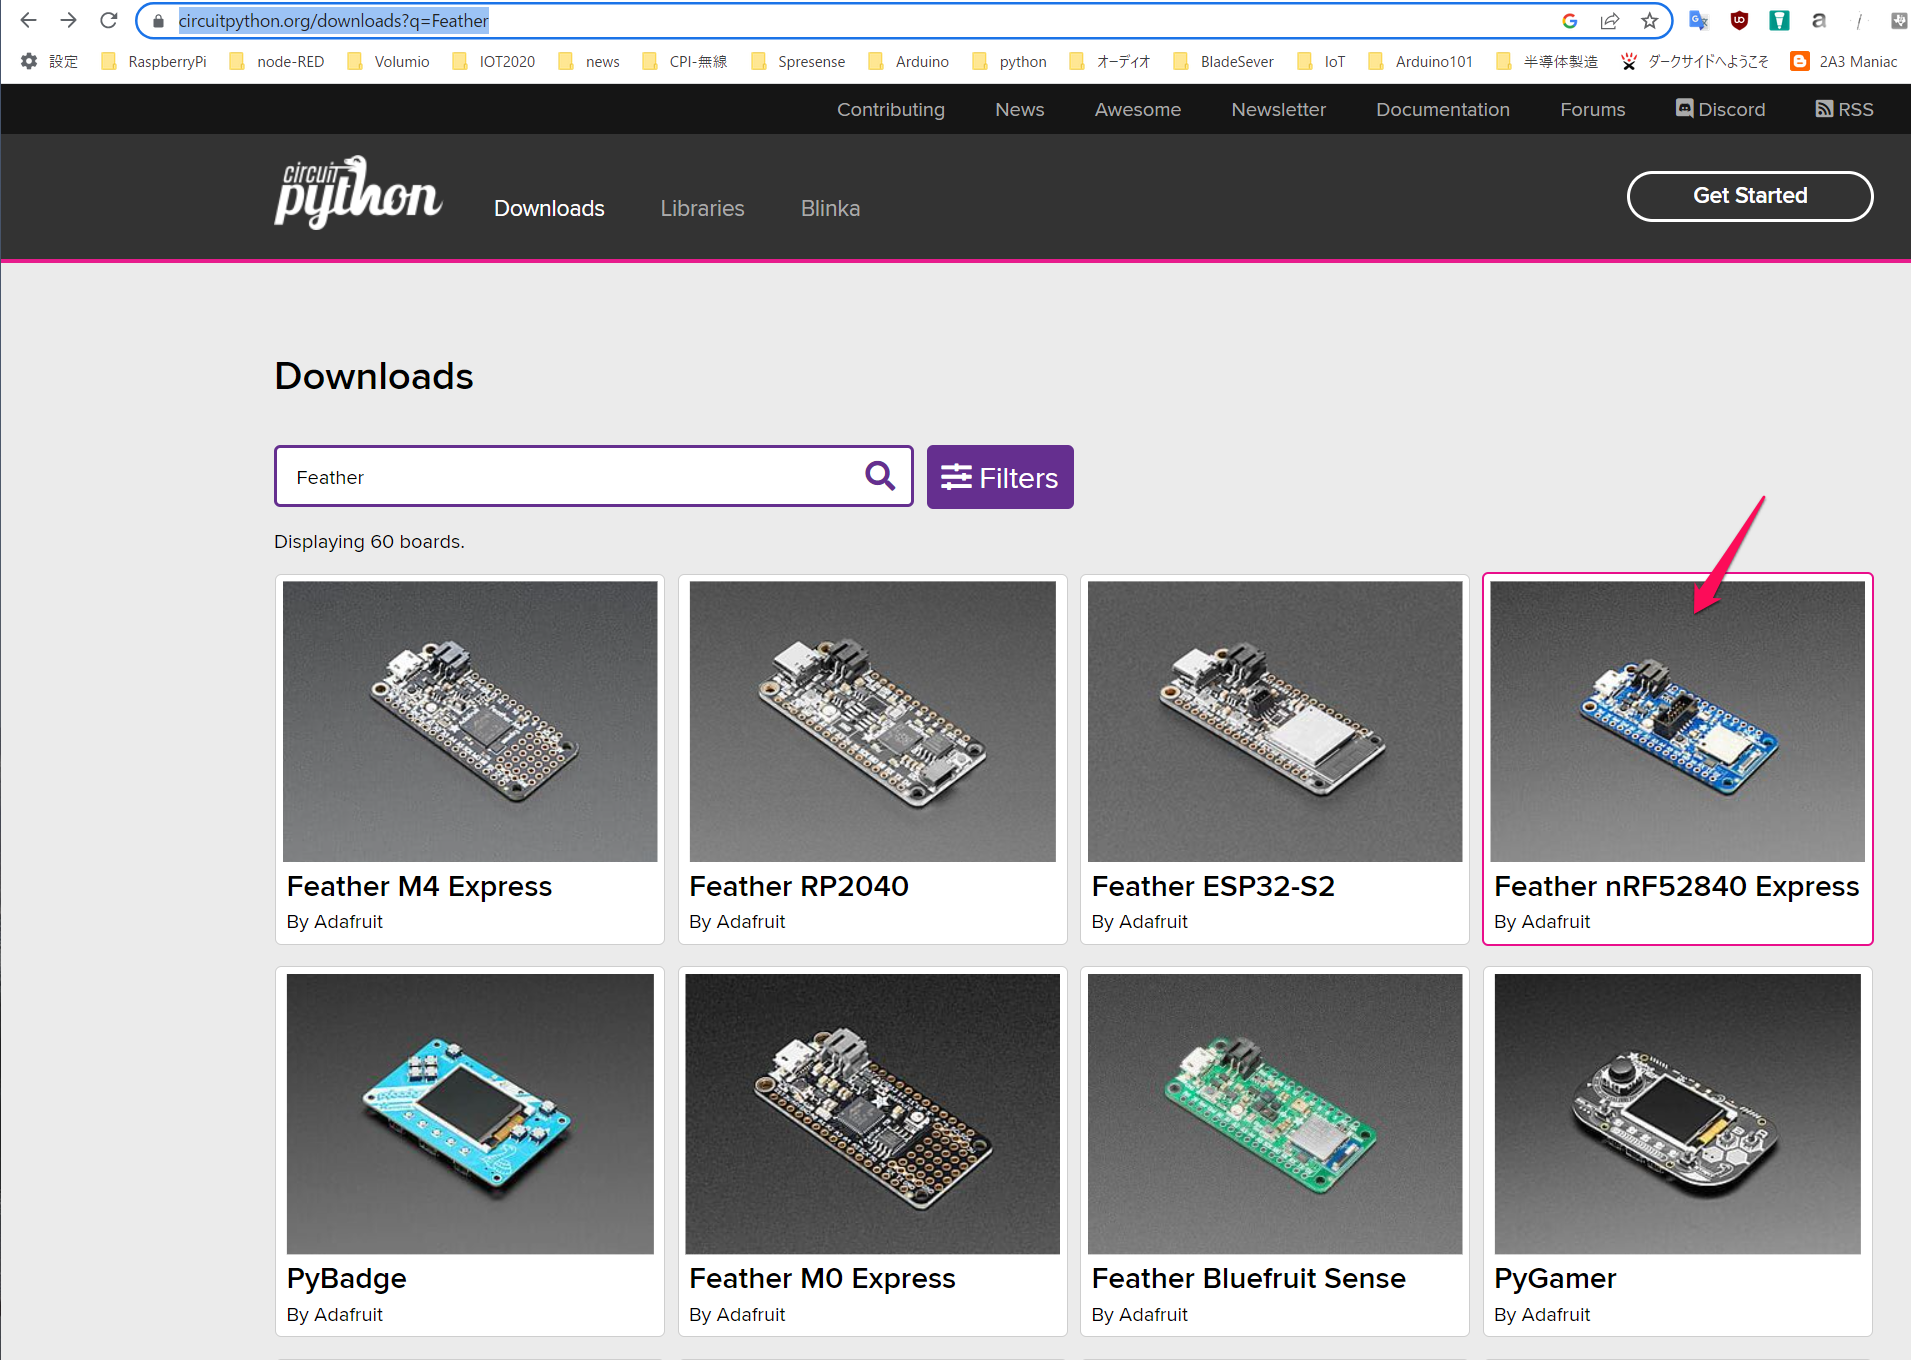
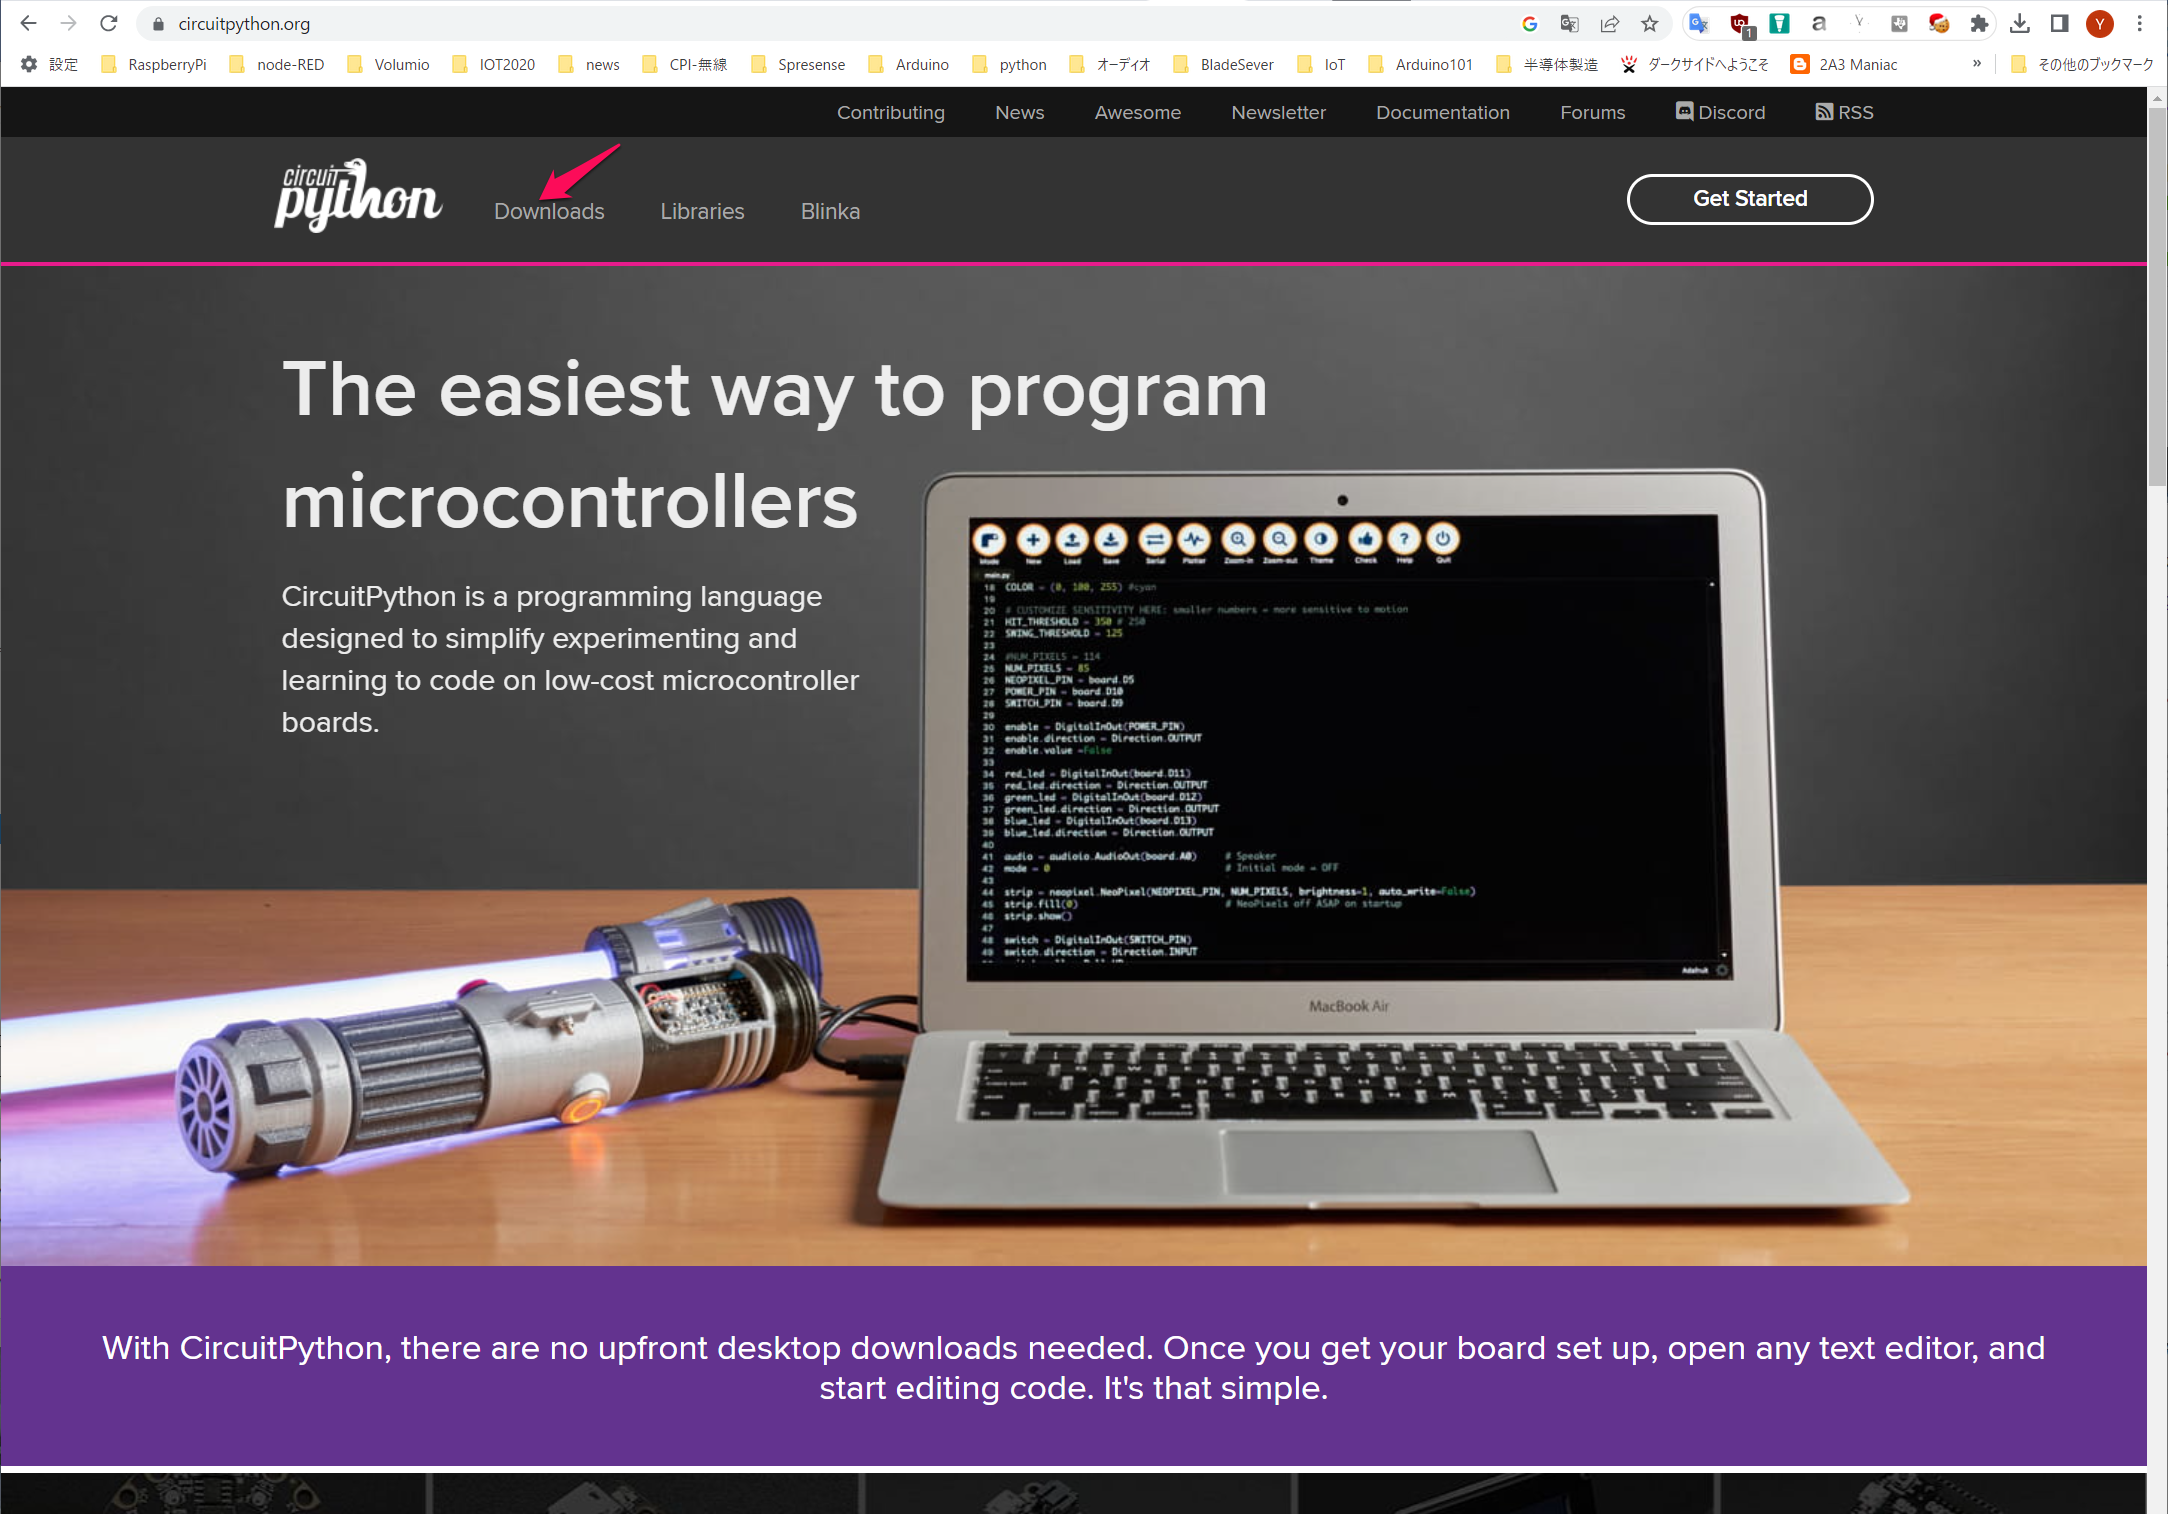
https://circuitpython.org/ から入ります。Downloadsをクリックします。
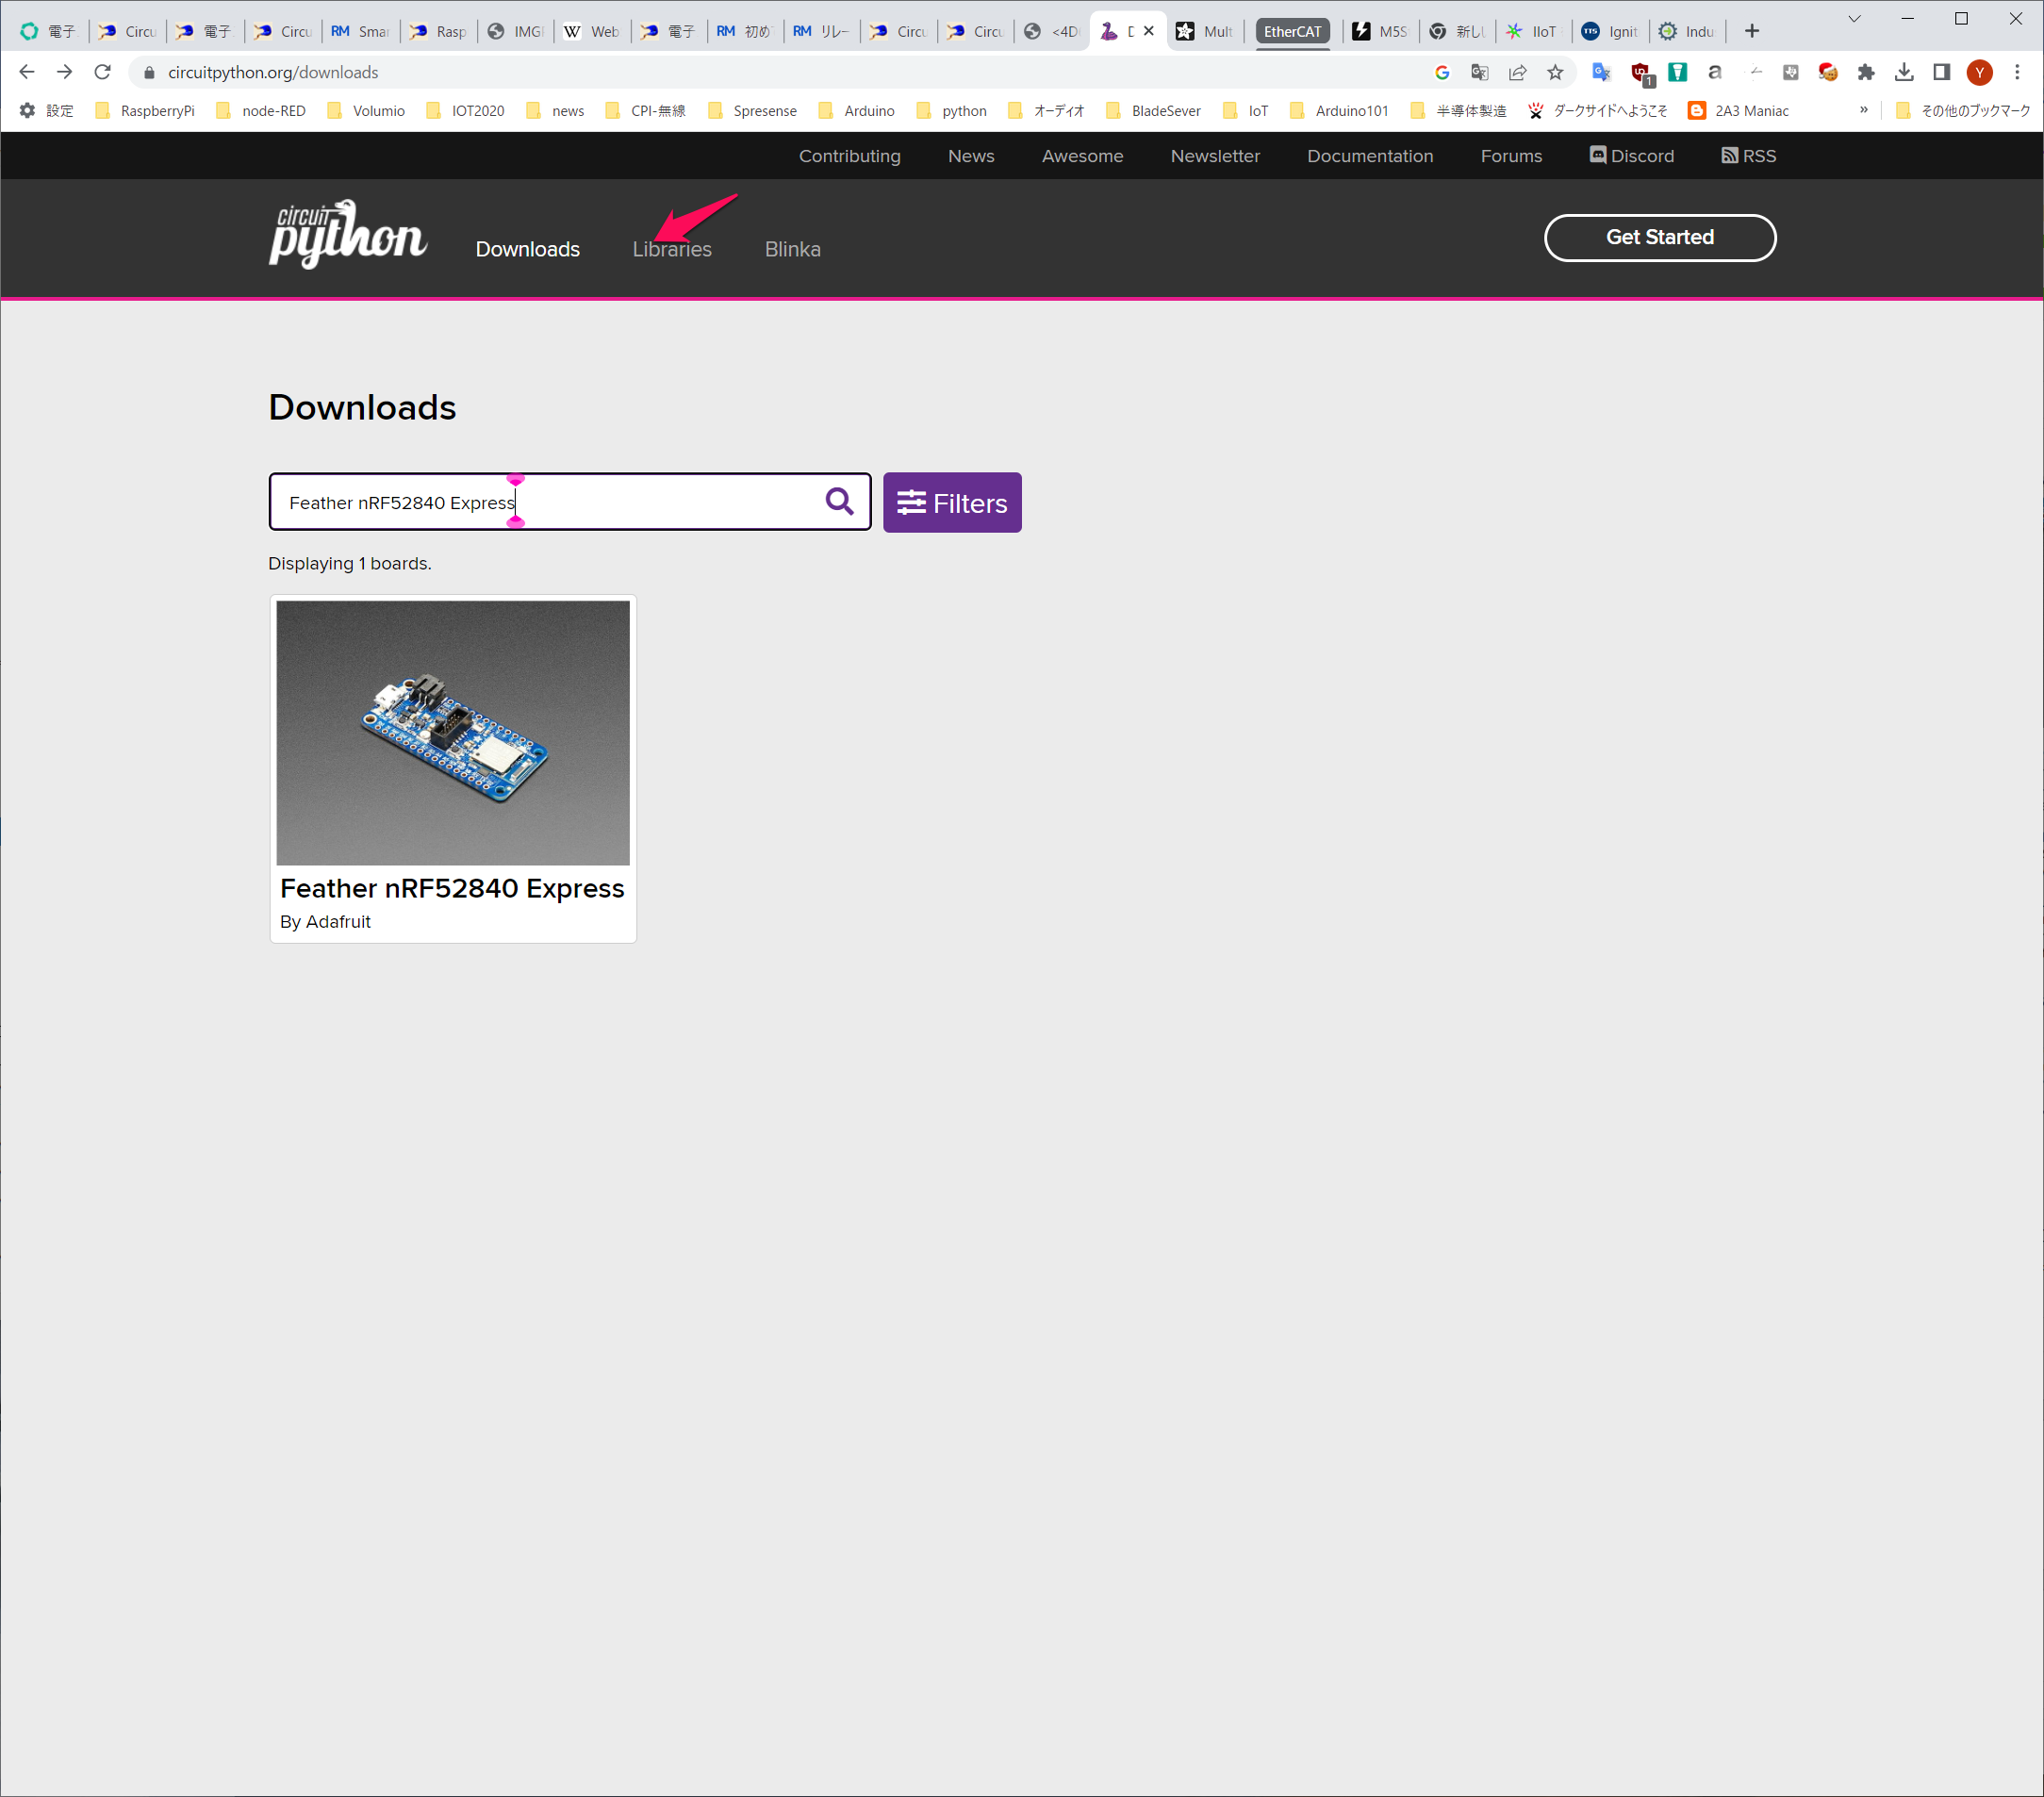
見つかったFeather nRF52840 Expressをクリックします。
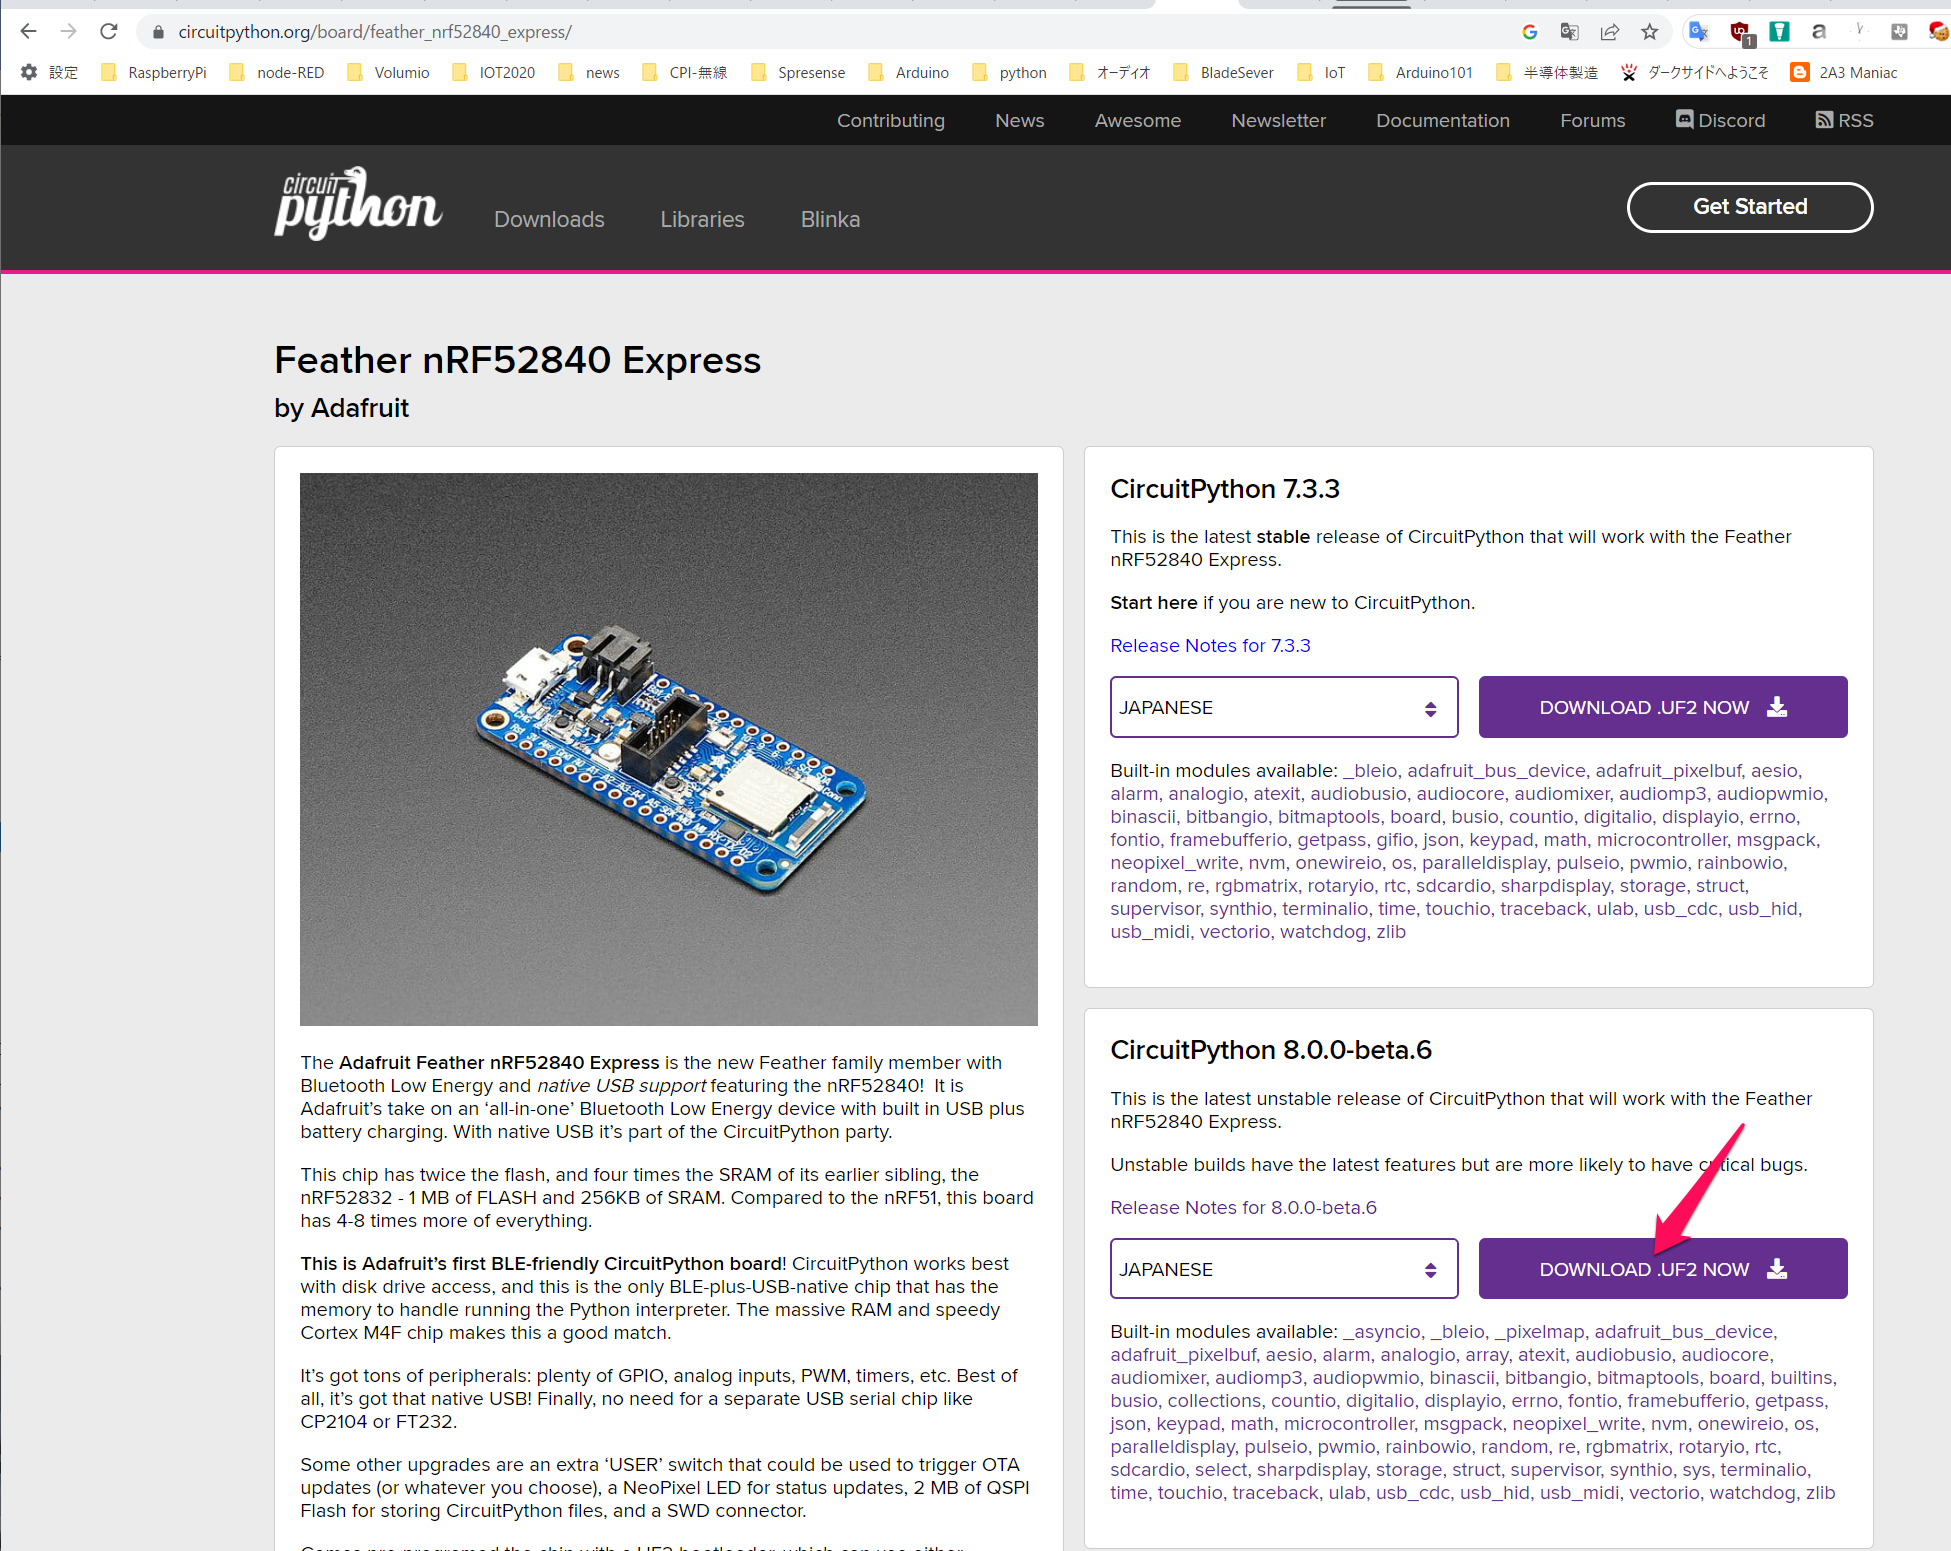
CircuitPython 8.0.0-beta.6のUF2をダウンロードします。
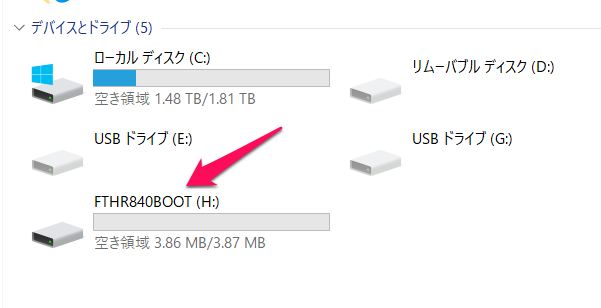
Resetボタンをダブルクリックしてブートローダのドライブをエクスプローラに表示します。
ダウンロードした.UF2ファイルをこのFTHR840BOOTドライブにドラッグします。コピーが終わると、CIRCUITPYという名前のドライブになります。このマイコン・ボードには2Mバイトのストレージがあるので、2MB弱の容量が表示されていると思います。
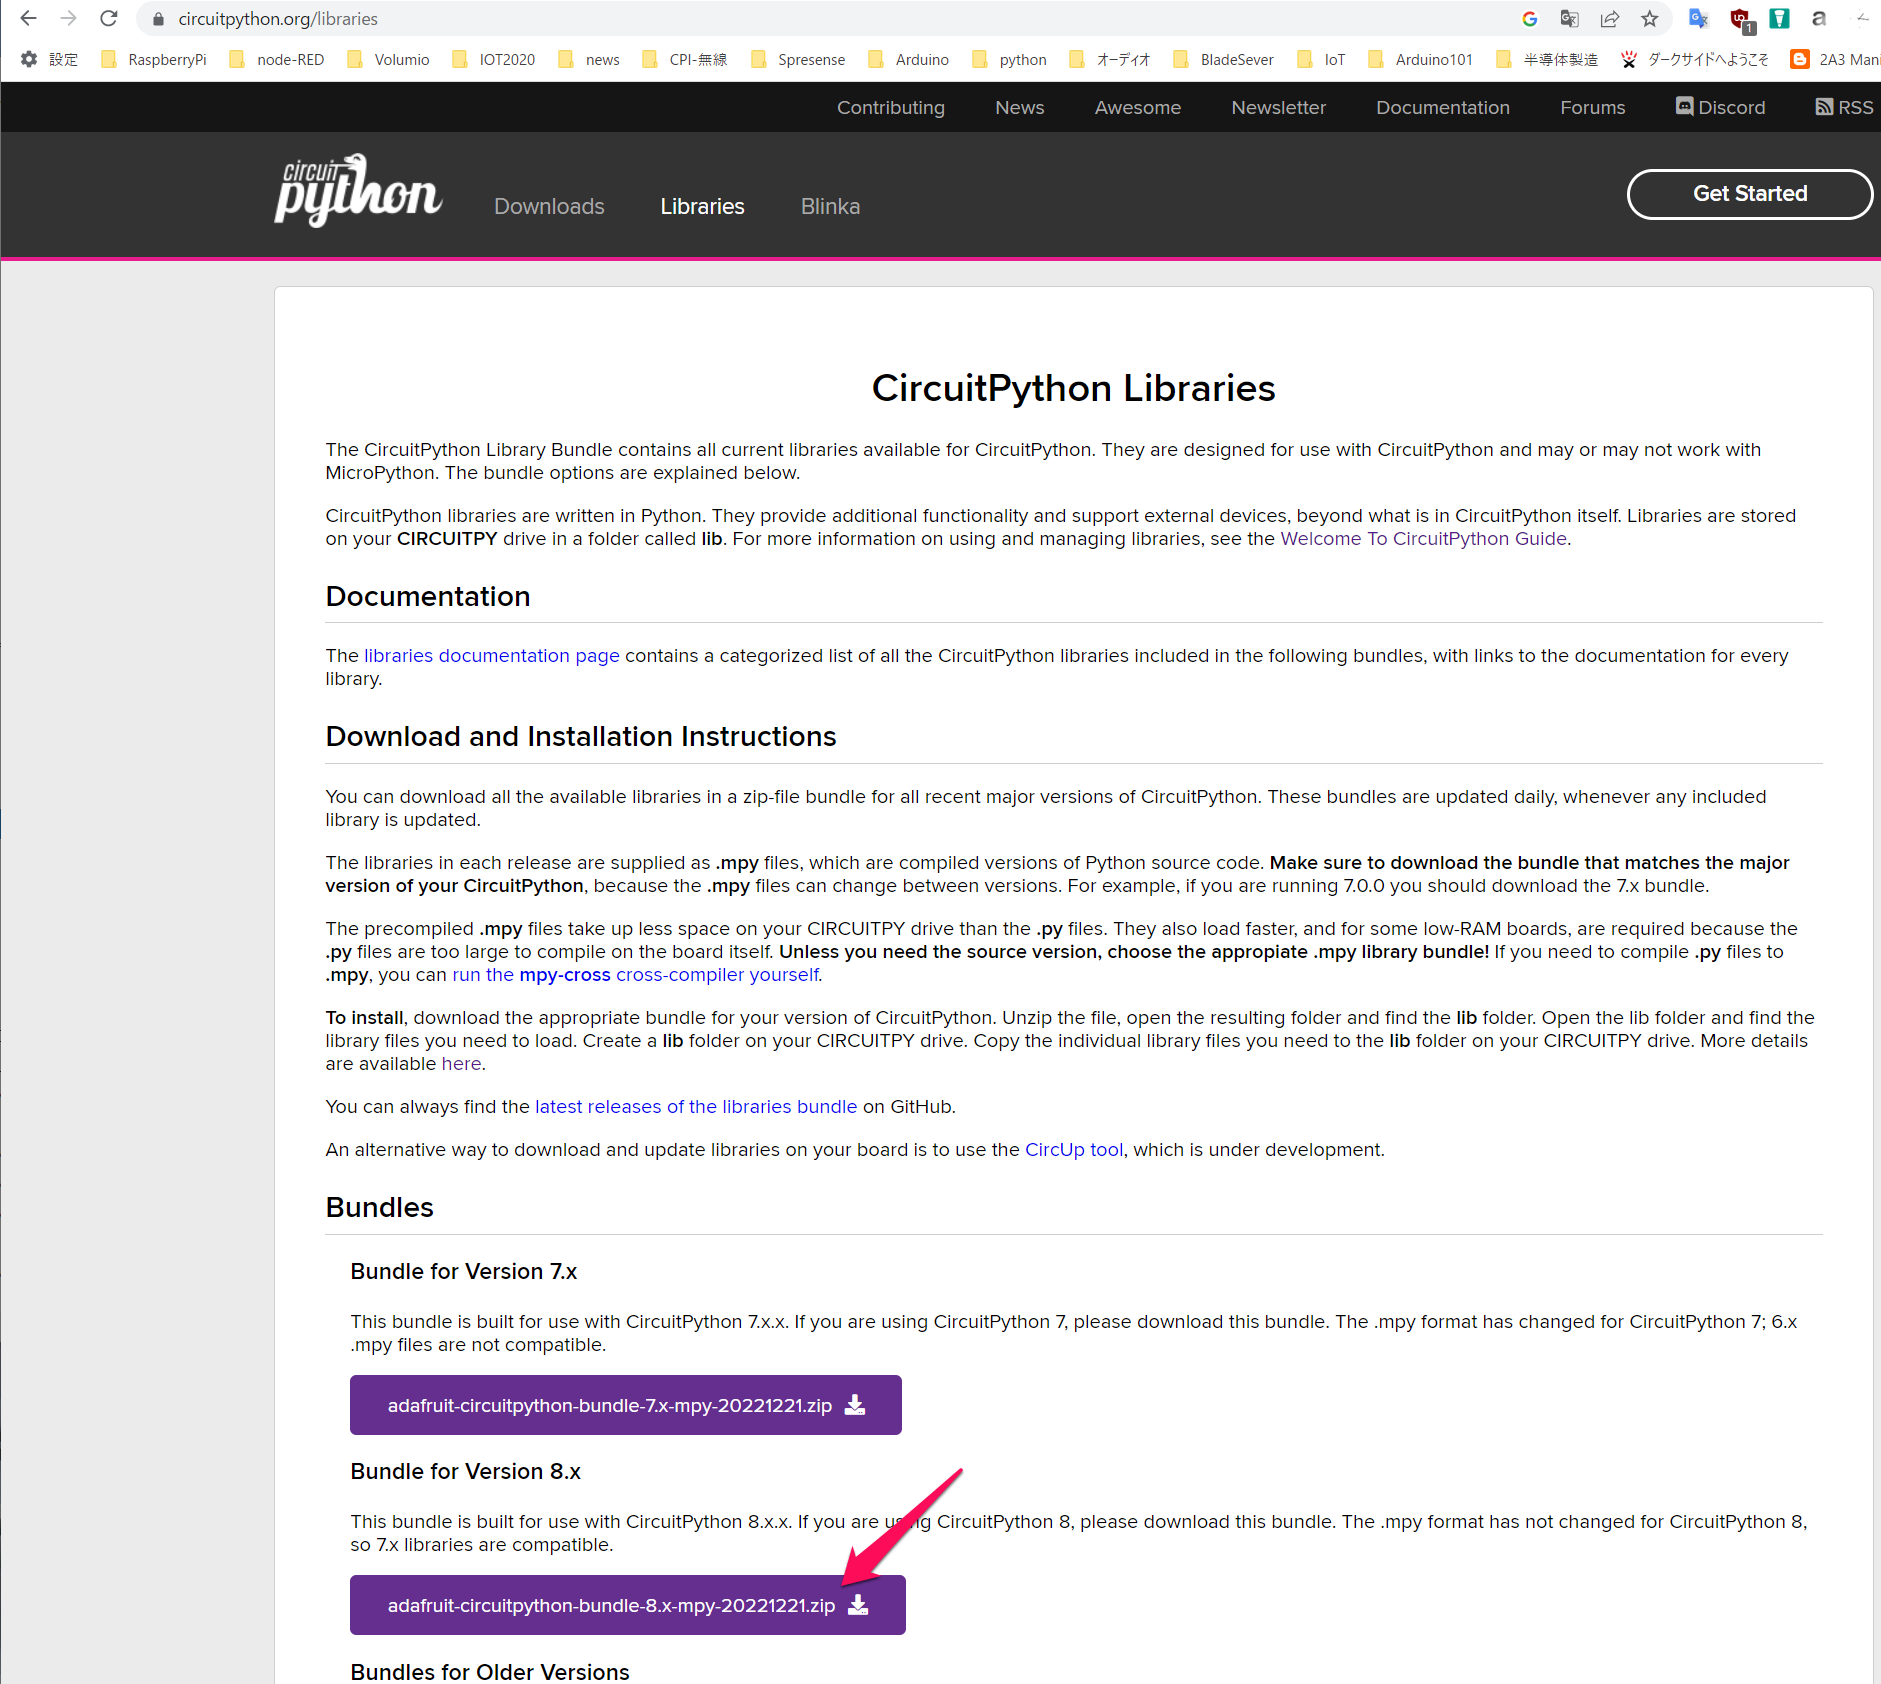
https://circuitpython.org/ に戻ります。Librariesをクリックします。
CircuitPython 8の最新版が見えているので、クリックしてダウンロードします。ここでは2020年12月21日版でした。
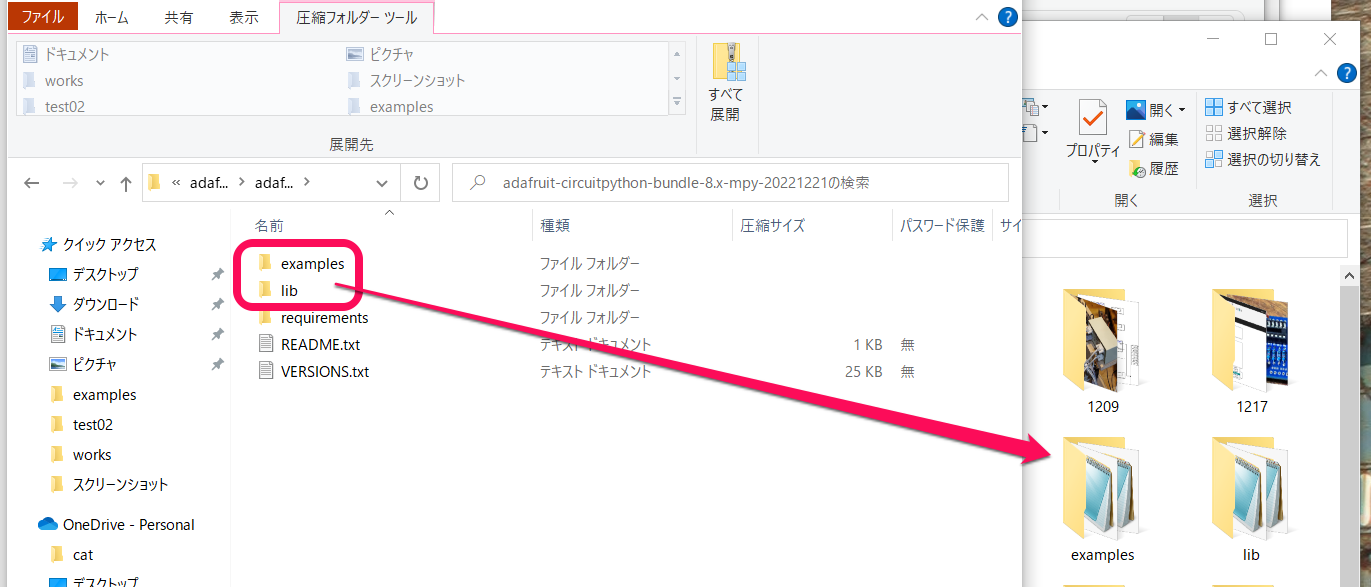
zipファイルをダブルクリックで表示します。examplesとlibフォルダをPCの任意のフォルダにコピー(解凍)します。
エディタはMuを使う
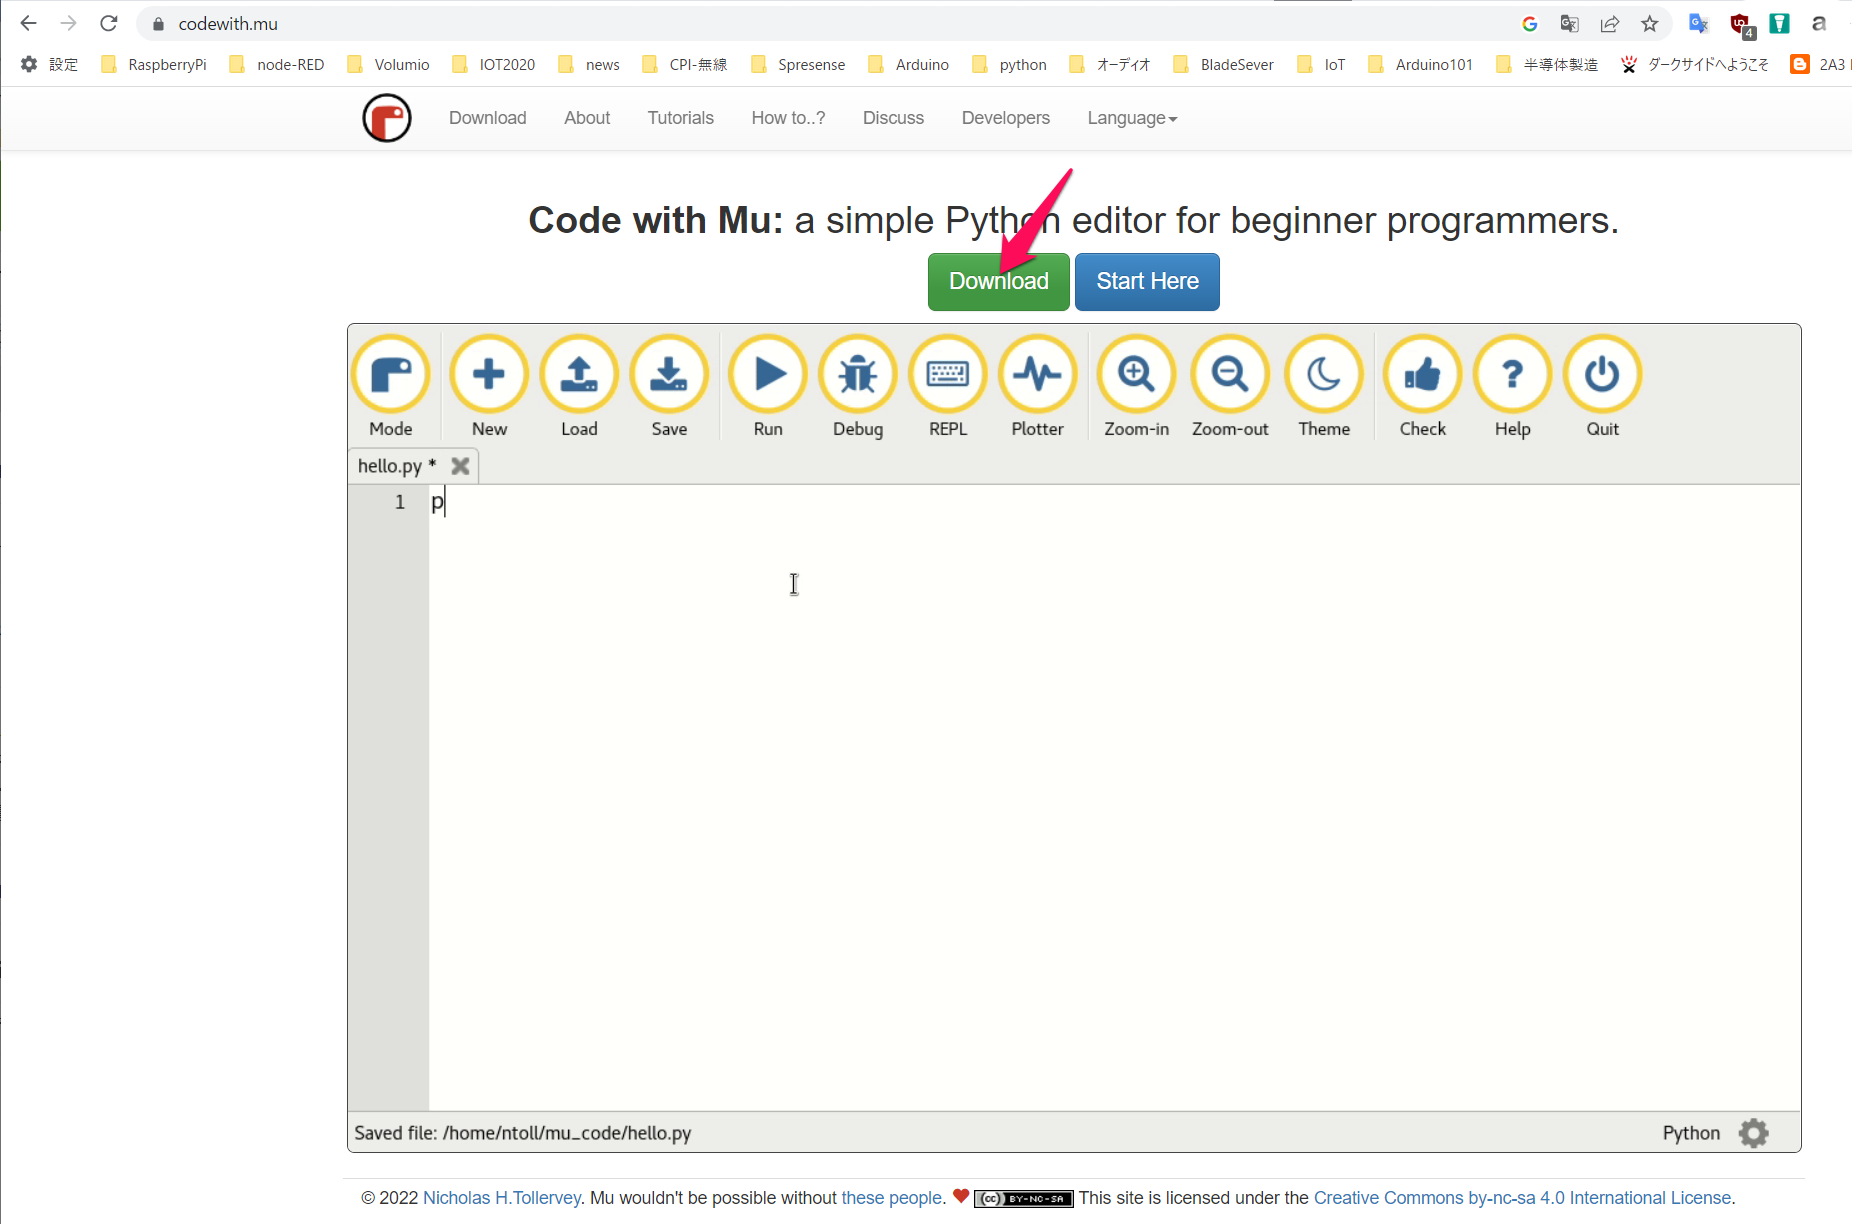
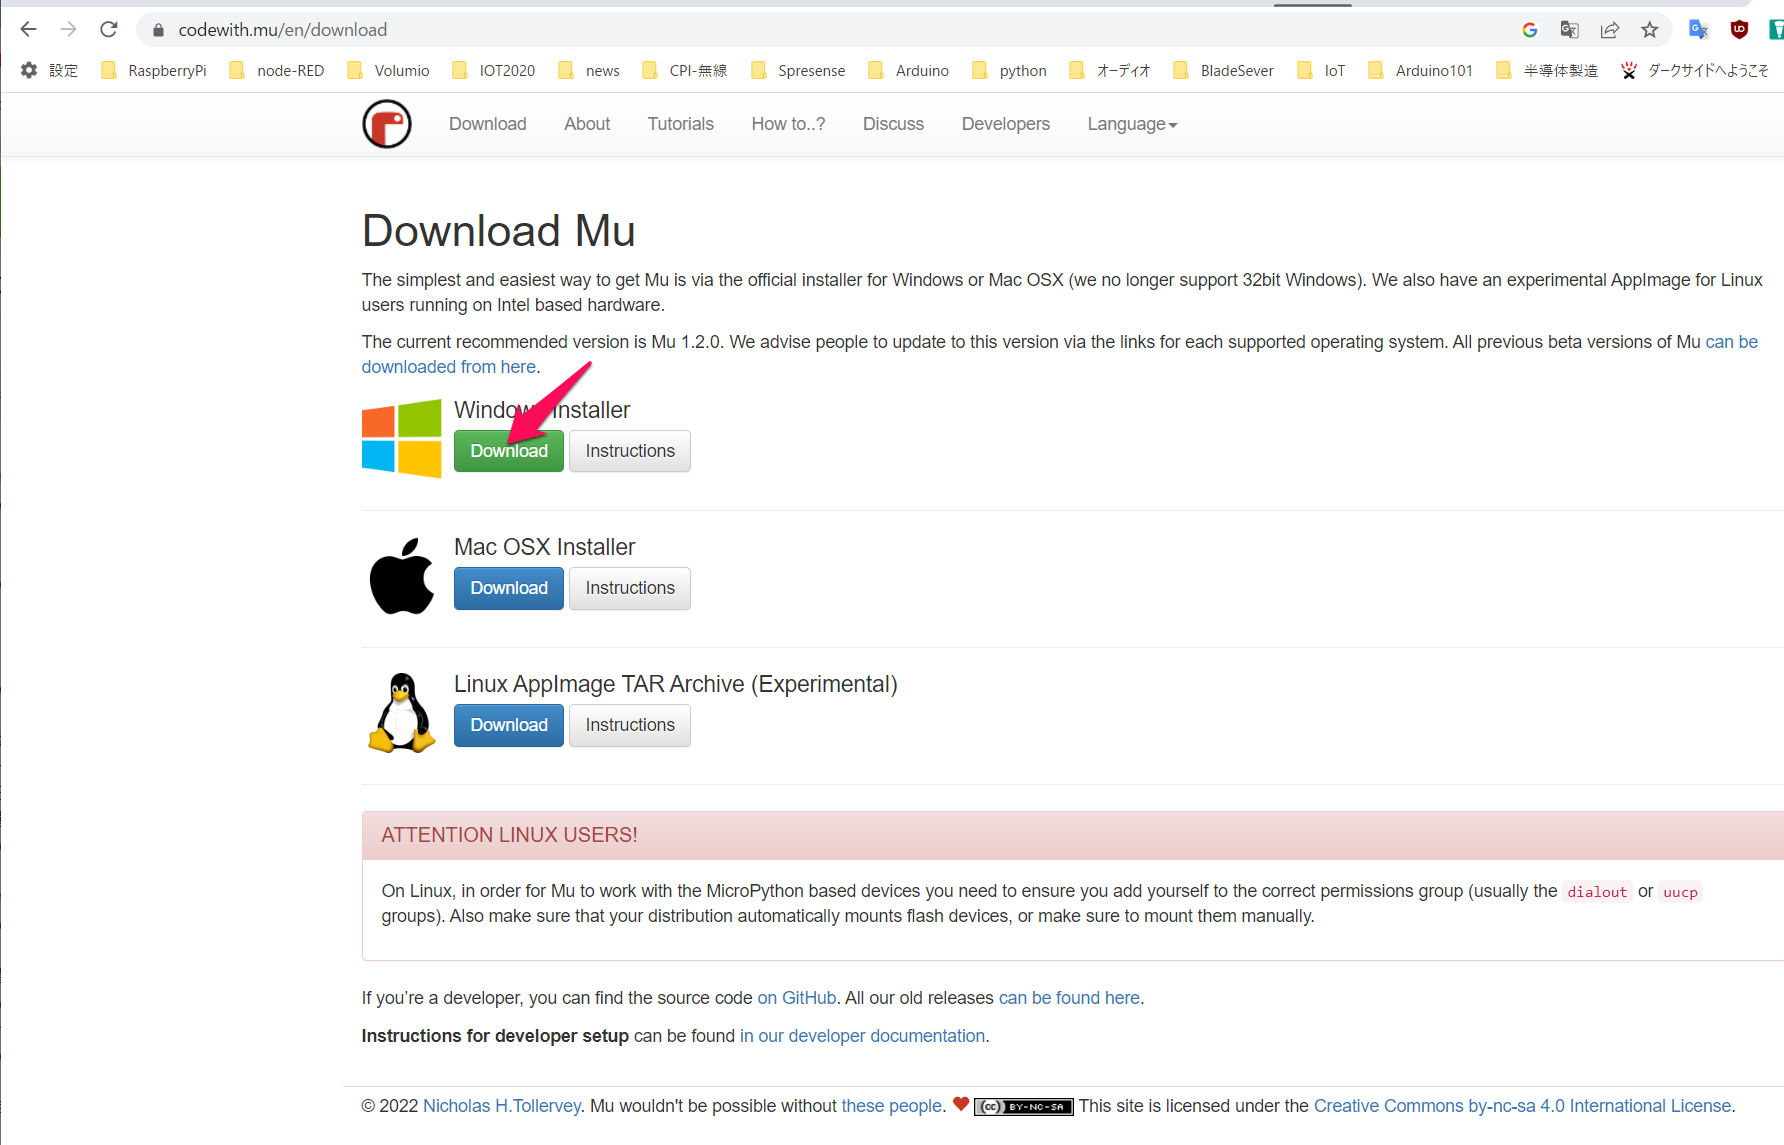
Muのページに行ってDownloadをクリックします。
アナログ入力
ジョイスティックの電源はマイコン・ボードの3.3VとGNDに、XはA0端子、yはA1端子につなぎました。
PCとFeather nRF52840 ExpressをUSBケーブルでつなぎます。Muエディタを立ち上げると、ボードが認識され、プログラムを書いて保存をクリックするとアップロードされて実行に移ります。
その前にシリアル・アイコンをクリックしておきます。
ジョイスティックはボリュームがつながっていて電圧が2系統出力されます。それをマイコンのアナログ入力読み取ります。
分解能は高いので、入力値はふらふらするので、readXY()関数では20回読み取り、真ん中付近の10回分を平均しています。
このプログラムを実行します。ジョイスティックを右、左、触らないときの中央値を記録します。それらの値を利用して、x,yの電圧を求め、そこから角度thとベクトル長Veを計算します。
-0.502や-0.5088は、ノブに触らないときに、ほぼ0になるようにするための補正値です。
from board import *
import analogio
import time
import math

pinX = analogio.AnalogIn(A0)
pinY = analogio.AnalogIn(A1)

NUM_SAMPLES = 20

def readXY():
    analogDataX=[]
    analogDataY=[]
    for i in range(NUM_SAMPLES):
        analogDataX.append(pinX.value)
        analogDataY.append(pinY.value)
        time.sleep(0.02)
    analogDataX.sort()
    analogDataY.sort()
    meanX = sum(analogDataX[5:NUM_SAMPLES-5]) / float(len(analogDataX[5:NUM_SAMPLES-5]))
    meanY = sum(analogDataY[5:NUM_SAMPLES-5]) / float(len(analogDataY[5:NUM_SAMPLES-5]))
    #print(analogData0[5:NUM_SAMPLES-5])
    x = 2*(((meanX-16300)/33100)-0.502)
    y = 2*(((meanY-15728)/31965)-0.5088)
    th = math.atan2(y,x)*180/3.141592
    Ve = math.sqrt(x*x + y*y)
    return th,Ve

while 1:
    print("---")
    [th,Ve] = readXY()
    print('Theta ={:.4f} Vector ={:.2f}'.format(th,Ve))
    time.sleep(2)
pinX.deinit()
pinY.deinit()
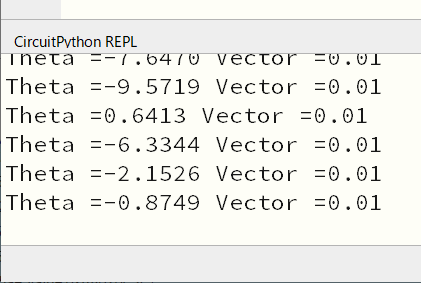
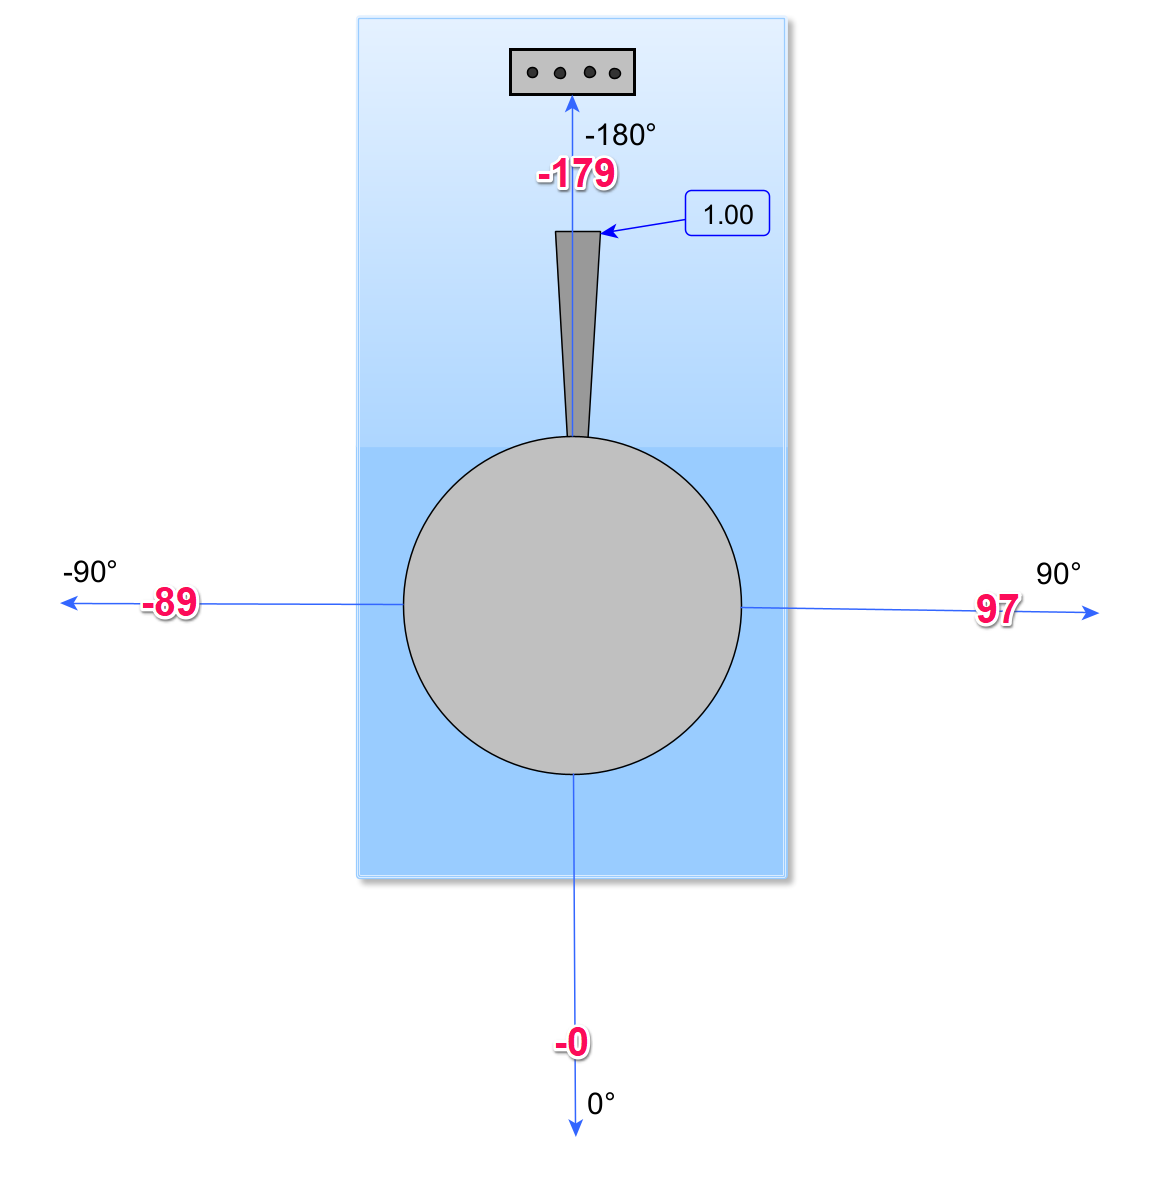
ノブを倒したときの角度の実測値です。倒し切ると1.0付近のベクトル値が得られます。
BLEペリフェラル(UART)
ジョイスティックの角度とベクトル長をBLEで送信します。ノルディックのUART機能を利用したプログラムです。テキストで、二つのデータを1回で送っています。
from board import *
import analogio
import time
import math
from adafruit_ble import BLERadio
from adafruit_ble.advertising.standard import ProvideServicesAdvertisement
from adafruit_ble.services.nordic import UARTService

pinX = analogio.AnalogIn(A0)
pinY = analogio.AnalogIn(A1)
NUM_SAMPLES = 20

ble = BLERadio()
ble.name = "Feather nRF52840 Express"
uart = UARTService()
advertisement = ProvideServicesAdvertisement(uart)

def readXY():
    analogDataX=[]
    analogDataY=[]
    for i in range(NUM_SAMPLES):
        analogDataX.append(pinX.value)
        analogDataY.append(pinY.value)
        time.sleep(0.02)
    analogDataX.sort()
    analogDataY.sort()
    meanX = sum(analogDataX[5:NUM_SAMPLES-5]) / float(len(analogDataX[5:NUM_SAMPLES-5]))
    meanY = sum(analogDataY[5:NUM_SAMPLES-5]) / float(len(analogDataY[5:NUM_SAMPLES-5]))
    #print(analogData0[5:NUM_SAMPLES-5])
    x = 2*(((meanX-16300)/33100)-0.502)
    y = 2*(((meanY-15728)/31965)-0.5088)
    th = math.atan2(y,x)*180/3.141592
    Ve = math.sqrt(x*x + y*y)
    return th,Ve

while 1:
    ble.start_advertising(advertisement)
    print('wait')
    while not ble.connected:
        pass
    while ble.connected:
        print('connected ')
        [th,Ve] = readXY()
        print('Theta ={:.4f} Vector ={:.2f}'.format(th,Ve))
        uart.write('{:.1f} {:.1f}'.format(th,Ve))
        time.sleep(0.2)

pinX.deinit()
pinY.deinit()
実行すると、
ImportError: 'adafruit_ble' という名前のモジュールはありません
と下のエリアに表示されるので、CIRCUITPYドライブのlibに、PCに保存していたlibの中にあるadafruit_bleフォルダをコピーします。
動き始めます。
セントラルはRSL10 Bluetooth Low Enaergy Exploer
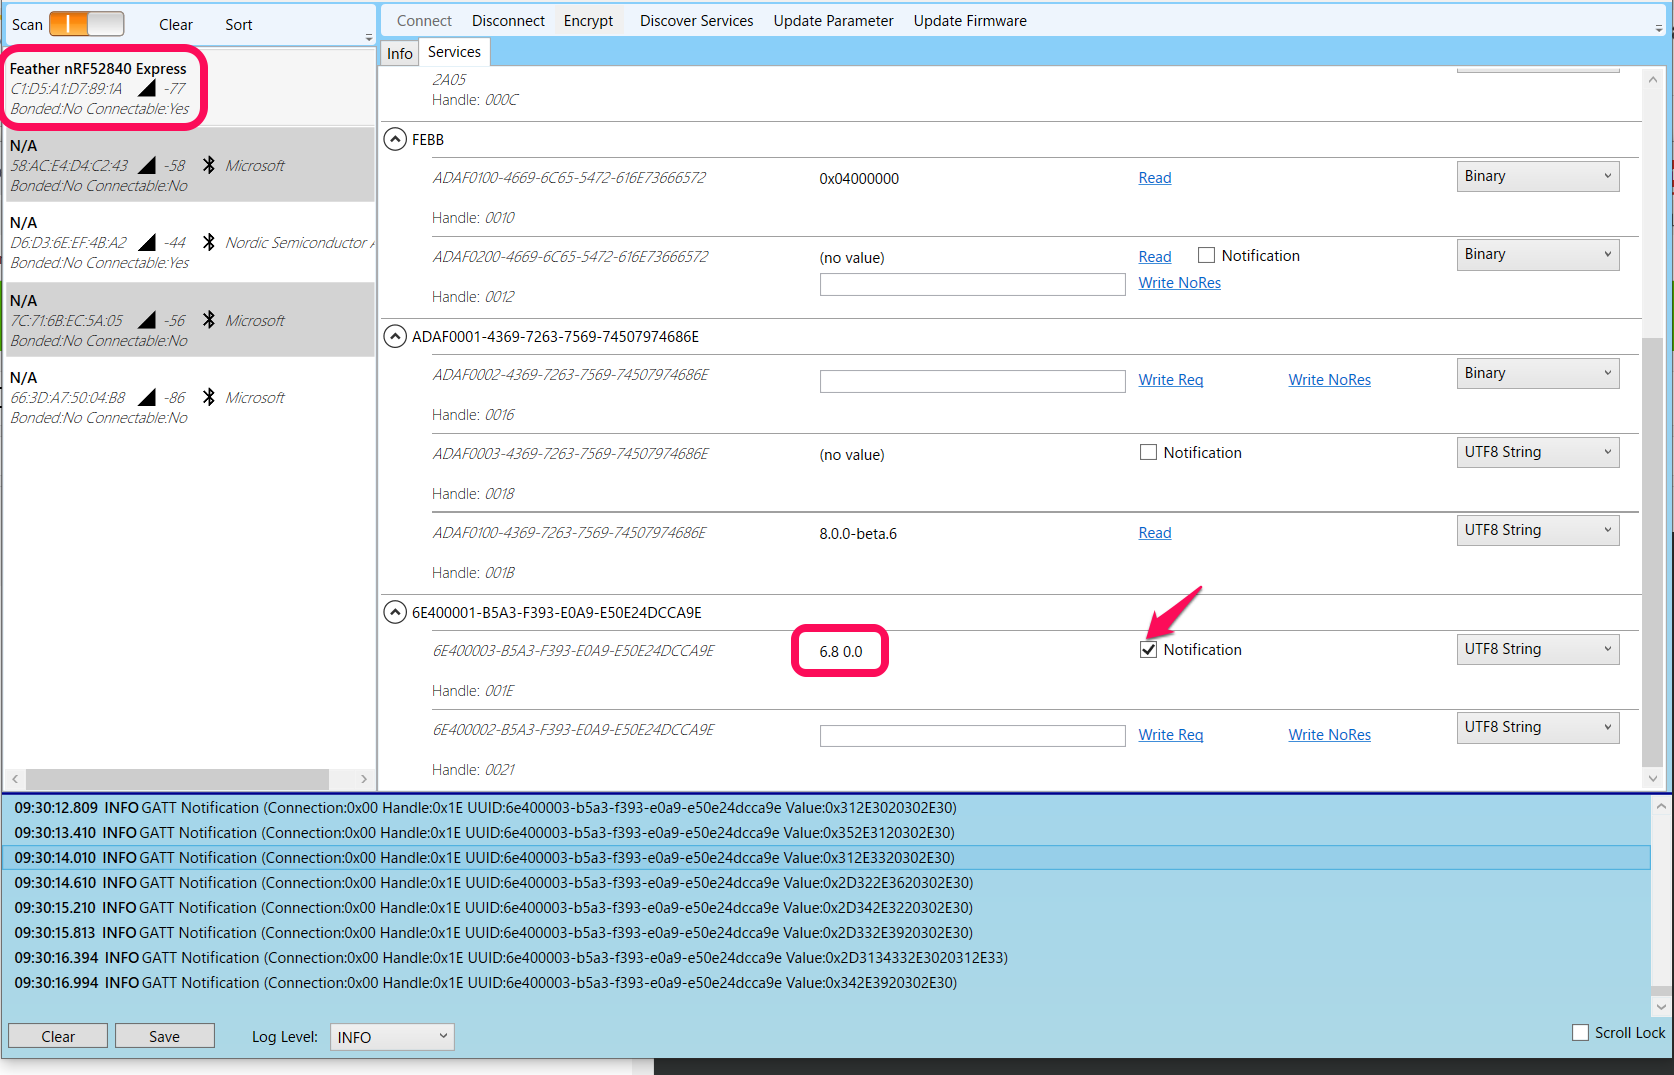
オンセミのRSL10 Bluetooth Low Enaergy Exploerを起動し、「Feather nRF52840 Express」を見つけ、connectします。
Notificatiopnをチェックすると、最新のデータを送ってくることが確認できます。
実数で送る
UARTはテキストで二つの値を送りました。
実数で送るプログラムを作ります。次の実数Characteristicを定義したクラスをSwitchBot.pyの名前で保存します。メインのcode.pyと同じトップのディレクトリにです。
このクラスの定義は、サンプルがなかったので、独自です。記述方法が正しいかわかりません。examplesにあったJSONの事例とAdafruitのソースを参考にしました。
UUIDは全くの適当な値です。
# SPDX-FileCopyrightText: 2020 Mark Raleson
# SPDX-License-Identifier: MIT
from adafruit_ble.uuid import VendorUUID
from adafruit_ble.services import Service
from adafruit_ble.characteristics import Characteristic
from adafruit_ble.characteristics.float import FloatCharacteristic

class SensorService(Service):

    uuid = VendorUUID("51ad213f-e568-4e35-84e4-67af89c79ef0")

    sensorsTheta = FloatCharacteristic(
        uuid=VendorUUID("e077bdec-f18b-4944-9e9e-8b3a815162b4"),
        properties=Characteristic.READ | Characteristic.NOTIFY,
    )

    sensorsVector = FloatCharacteristic(
        uuid=VendorUUID("528ff74b-fdb8-444c-9c64-3dd5da4135ae"),
        properties=Characteristic.READ | Characteristic.NOTIFY,
    )

    def __init__(self, service=None):
        super().__init__(service=service)
        self.connectable = True
メインのプログラムcode.pyです。
from board import *
import analogio
import time
import math
from adafruit_ble import BLERadio
from SwitchBot import SensorService
from adafruit_ble.advertising.standard import ProvideServicesAdvertisement

pinX = analogio.AnalogIn(A0)
pinY = analogio.AnalogIn(A1)
NUM_SAMPLES = 20

ble = BLERadio()
sService = SensorService()
advertisement = ProvideServicesAdvertisement(sService)
ble.name = "Feather nRF52840 Express"

def readXY():
    analogDataX=[]
    analogDataY=[]
    for i in range(NUM_SAMPLES):
        analogDataX.append(pinX.value)
        analogDataY.append(pinY.value)
        time.sleep(0.02)
    analogDataX.sort()
    analogDataY.sort()
    meanX = sum(analogDataX[5:NUM_SAMPLES-5]) / float(len(analogDataX[5:NUM_SAMPLES-5]))
    meanY = sum(analogDataY[5:NUM_SAMPLES-5]) / float(len(analogDataY[5:NUM_SAMPLES-5]))
    #print(analogData0[5:NUM_SAMPLES-5])
    x = 2*(((meanX-16300)/33100)-0.502)
    y = 2*(((meanY-15728)/31965)-0.5088)
    th = math.atan2(y,x)*180/3.141592
    Ve = math.sqrt(x*x + y*y)
    return th,Ve

while 1:
    print("Advertise services")
    ble.stop_advertising()  # you need to do this to stop any persistent old advertisement
    ble.start_advertising(advertisement)

    print("Waiting for connection...")
    while not ble.connected:
        pass
    ble.stop_advertising()
    print("Connected")
    while ble.connected:
        [th,Ve] = readXY()
        print('Theta ={:.4f} Vector ={:.2f}'.format(th,Ve))
        sService.sensorsTheta = th
        sService.sensorsVector = Ve
        time.sleep(0.2)

pinX.deinit()
pinY.deinit()
print("Disconnected")
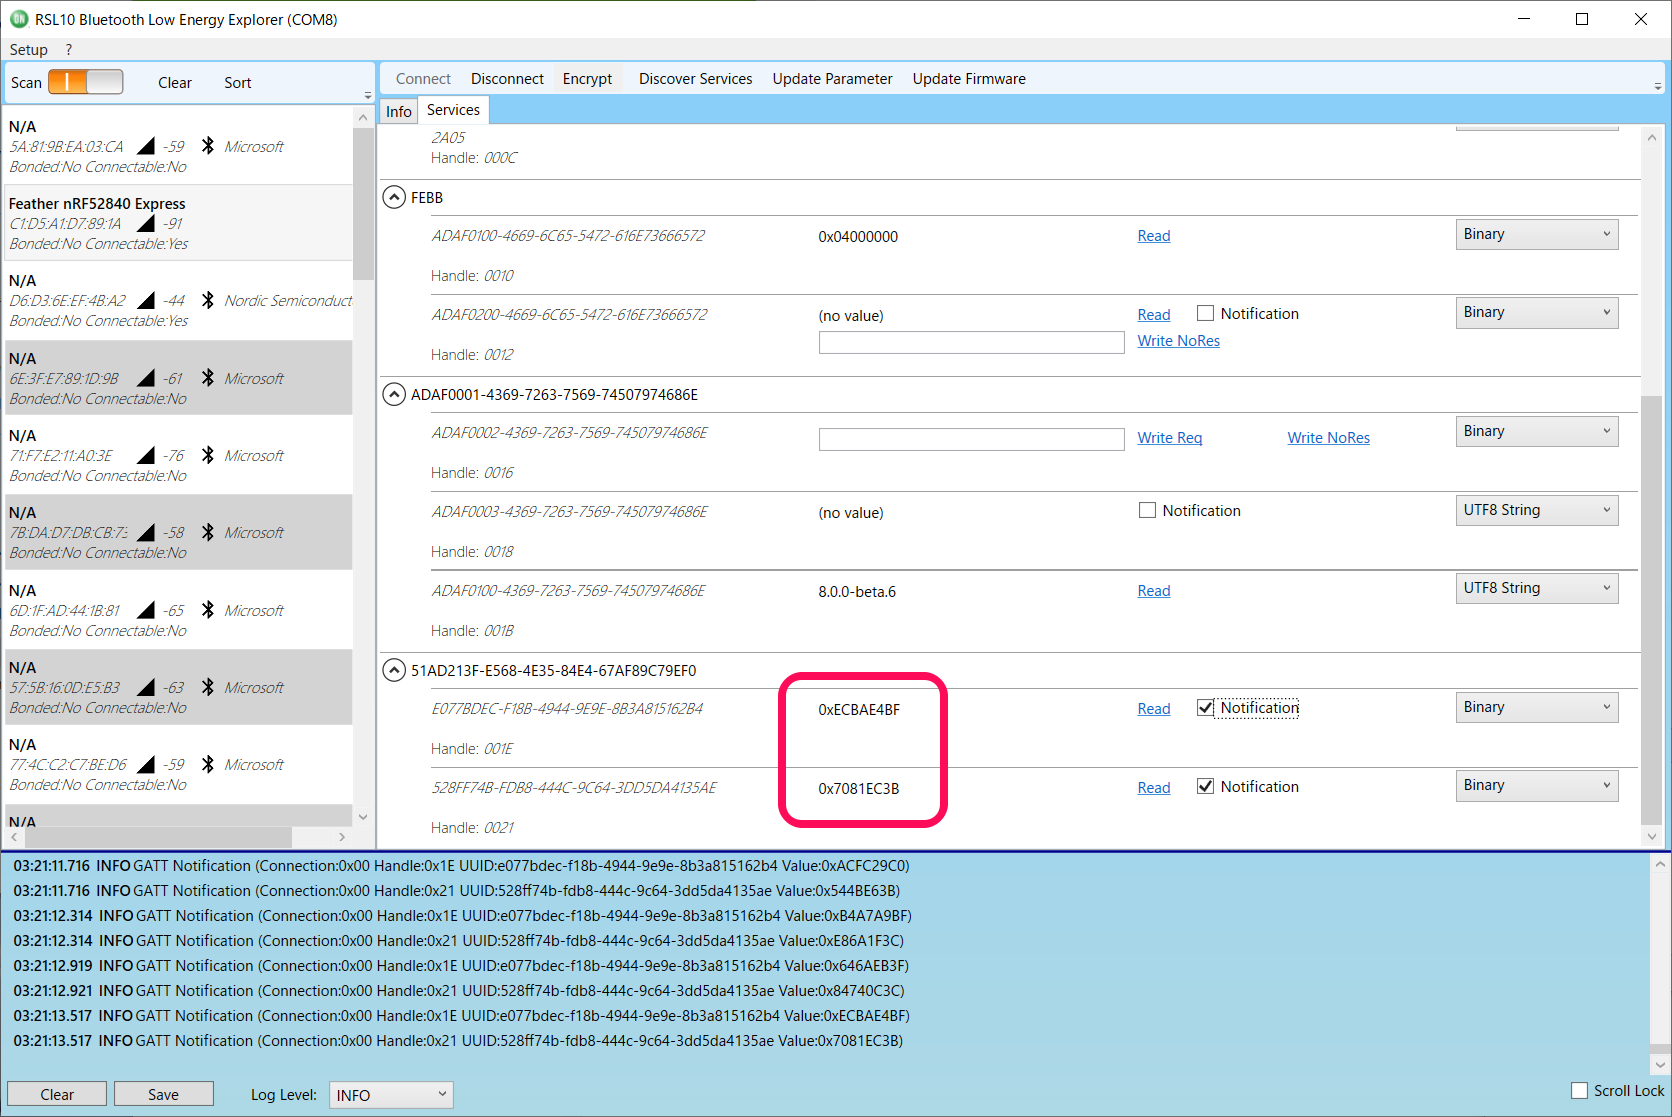
オン・セミコンダクターのRSL10 Bluetooth Low Enaergy Exploerを使ってconnectし、Characteristicの情報を見ます。セントラルの立場です。
4バイトの実数が届いています。
