やりたいこと
VueとAmplifyを使って以下のアーキテクチャを構築する。
- Facebook認証機能を持ったVueアプリケーションの実装
- production/development の2つのデプロイ環境を作る
- Githubへのプッシュをフックし、それぞれの環境へデプロイするCIの構築
Vueアプリを作る
vue createしたあとにCSSフレームワークとしてBulmaを組み込む。
Vuetifyとかvue-bulmaを使わないのはただのポリシー。
$ vue create vue-amplify-facebook
$ cd vue-amplify-facebook
$ npm install --save bulma node-sass sass-loader
$ mkdir src/assets/sass
$ touch src/assets/sass/main.scss
src/assets/sass/main.scss
@import "~bulma/bulma";
src/main.js
import Vue from 'vue'
import App from './App.vue'

Vue.config.productionTip = false

require('./assets/sass/main.scss');

new Vue({
  render: h => h(App),
}).$mount('#app')
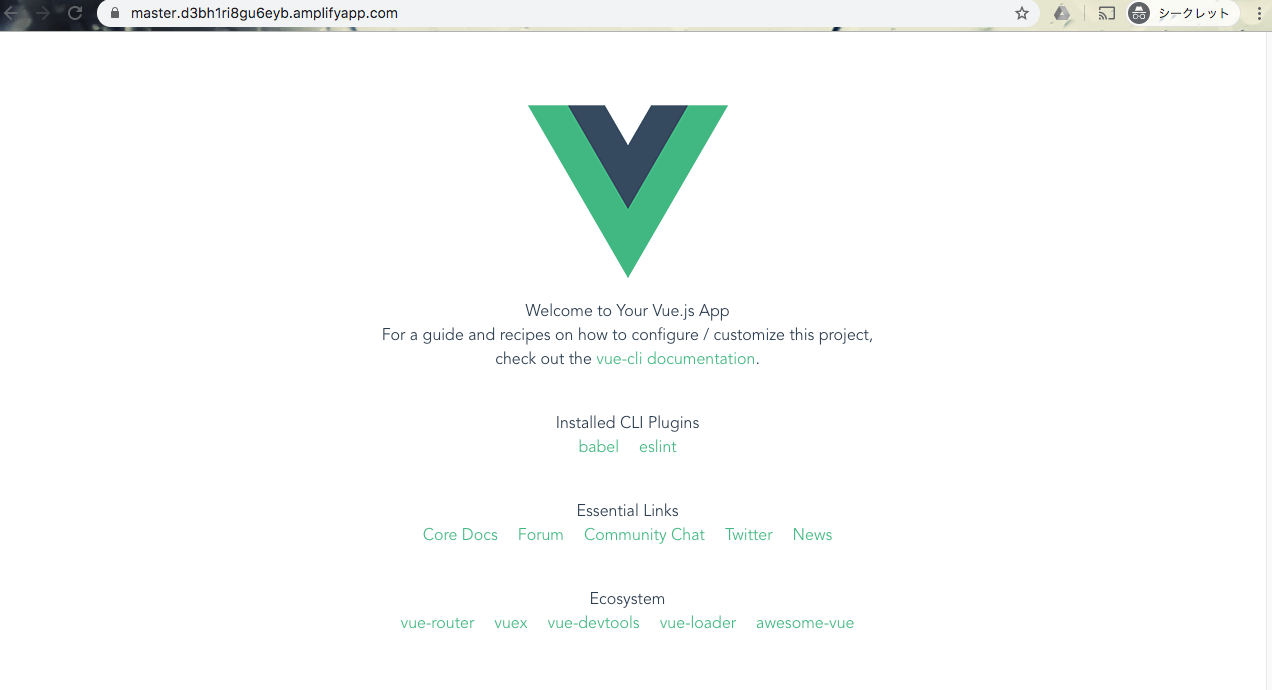
http://localhost:8080 で表示を確認したらGithubへコミット。
$ git push -u origin master
Amplifyのセットアップ, ホスティング、CI
VueアプリケーションにAmplifyを組み込む。
Amplify CLのバージョンは以下。
$ amplify -v
4.16.1
initでは特に変わった操作はしていないかな。ほぼほぼデフォルト。
$ amplify init
Note: It is recommended to run this command from the root of your app directory

? Enter a name for the project vue-amplify-facebook

? Enter a name for the environment prod

? Choose your default editor: Visual Studio Code


? Choose the type of app that you're building javascript

Please tell us about your project
? What javascript framework are you using vue

? Source Directory Path:  src

? Distribution Directory Path: dist

? Build Command:  npm run-script build

? Start Command: npm run-script serve

Using default provider  awscloudformation

For more information on AWS Profiles, see:
https://docs.aws.amazon.com/cli/latest/userguide/cli-multiple-profiles.html

? Do you want to use an AWS profile? Yes
? Please choose the profile you want to use default
S3へのホスティング設定。
最初の質問で Managed hosting with custom domains, Continuous deployment を選ぶ。
これでAmplifyConsoleでのCIがセットアップされる。
$ amplify add hosting

? Select the plugin module to execute Hosting with Amplify Console (Managed hosting with custom domains,
 Continuous deployment)

? Choose a type Continuous deployment (Git-based deployments)

? Continuous deployment is configured in the Amplify Console. Please hit enter once you connect your rep
ository

Amplify hosting urls:
┌──────────────┬──────────────────────────────────────────────┐
│ FrontEnd Env │ Domain                                       │
├──────────────┼──────────────────────────────────────────────┤
│ master       │ https://master.d3bh1ri8gu6eyb.amplifyapp.com │
└──────────────┴──────────────────────────────────────────────┘
できたら作成されたファイルをコミットして、Githubへプッシュ。
$ git push origin master
Amplify ConsoleでCIが走ってVueアプリケーションがS3へデプロイされる。
認証画面のブランチを作る
認証機能を組み込む前に、UI部分を実装する。
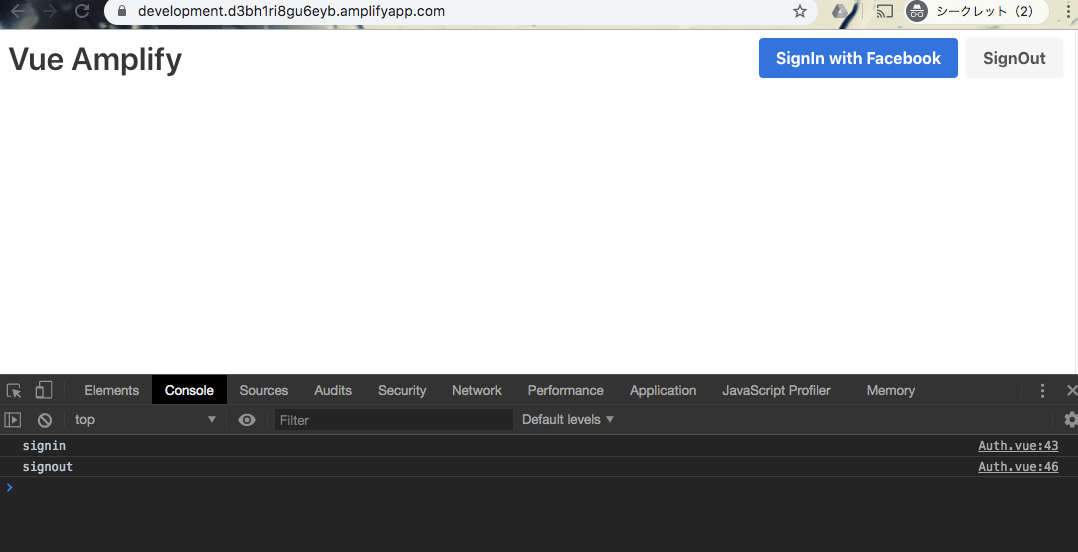
Vueのナビゲーションメニューを設置して、そこにFacebook認証ボタンを置く感じに。
※ 別ブランチで作業する。
$ git checkout -b development
Vue画面を編集。
src/components/Auth.vue
展開しないハンバーガーボタンがあるけどご愛嬌で。。
<template>
  <nav class="navbar" role="navigation" aria-label="main navigation">
    <div class="navbar-brand">
      <a class="navbar-item" href="/">
        <h1 class="title">Vue Amplify</h1>
      </a>

      <a
        role="button"
        class="navbar-burger burger"
        aria-label="menu"
        aria-expanded="false"
        data-target="navbarBasicExample"
      >
        <span aria-hidden="true"></span>
        <span aria-hidden="true"></span>
        <span aria-hidden="true"></span>
      </a>
    </div>

    <div class="navbar-menu">
      <div class="navbar-end">
        <div class="navbar-item">
          <div class="buttons">
            <button class="button is-link" @click="signin">
              <strong>SignIn with Facebook</strong>
            </button>
            <button class="button is-light" @click="signout">
              <strong>SignOut</strong>
            </button>
          </div>
        </div>
      </div>
    </div>
  </nav>
</template>

<script>
export default {
  name: "Auth",
  methods: {
    signin() {
      console.log("signin");
    },
    signout() {
      console.log("signout");
    }
  }
};
</script>
表示が確認できたらmasterとは別のブランチへpushする。
$ git push origin development
開発バージョン確認用の環境を作る
開発用ブランチの表示確認をするため Amplify のenvを追加する。
$ amplify env add dev
Note: It is recommended to run this command from the root of your app directory

? Do you want to use an existing environment? No

? Enter a name for the environment dev
Using default provider  awscloudformation

For more information on AWS Profiles, see:
https://docs.aws.amazon.com/cli/latest/userguide/cli-multiple-profiles.html

? Do you want to use an AWS profile? Yes
? Please choose the profile you want to use default
Adding backend environment dev to AWS Amplify Console app: d3bh1ri8gu6eyb
Amplify Consoleを開く。
$ amplify console
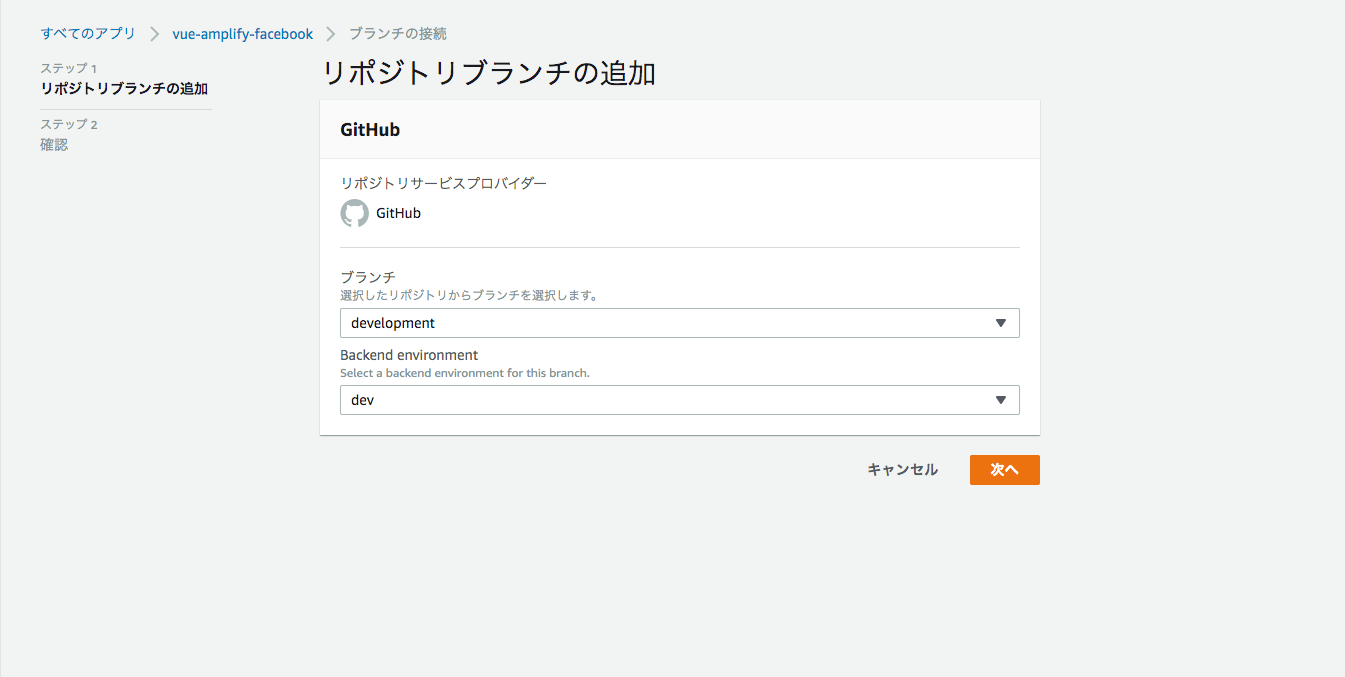
コンソールから「リポジトリブランチの追加」。
さきほど Githubへpushした developmentブランチを amplify env add で作ったdevと紐付ける。
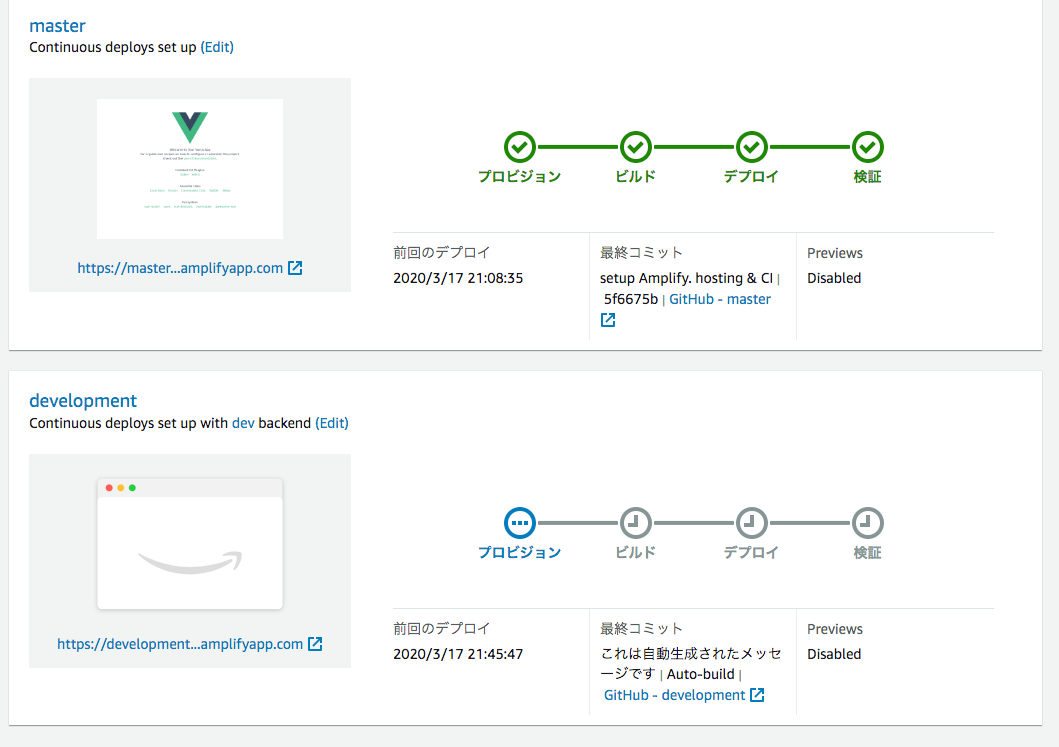
設定が完了するとCIが走ってdevelopmentブランチがデプロイされる。
ここまでの操作で以下のように2つのURLが払い出されている。
それぞれのURLにアクセスして表示内容が異なっていることを一応確認しておく。
認証機能を追加する
Amplify CLIで認証機能を実装する。
ソーシャルプロバイダでの認証を選択し、リダイレクト先のURLに先ほどデプロイしたmaster, devのURLと、ローカルホストを指定する。
$ amplify add auth
Using service: Cognito, provided by: awscloudformation

 The current configured provider is Amazon Cognito.

 Do you want to use the default authentication and security configuration? Default configuration with So
cial Provider (Federation)
 Warning: you will not be able to edit these selections.

 How do you want users to be able to sign in? Email

 Do you want to configure advanced settings? No, I am done.

 What domain name prefix you want us to create for you? vueamplify-facebook1e4b7722-1e4b7722

 Enter your redirect signin URI: http://localhost:8080/

? Do you want to add another redirect signin URI Yes
 Enter your redirect signin URI: https://master.d3bh1ri8gu6eyb.amplifyapp.com/

? Do you want to add another redirect signin URI Yes
 Enter your redirect signin URI: https://development.d3bh1ri8gu6eyb.amplifyapp.com/

? Do you want to add another redirect signin URI No
 Enter your redirect signout URI: http://localhost:8080/

? Do you want to add another redirect signout URI Yes
 Enter your redirect signout URI: https://master.d3bh1ri8gu6eyb.amplifyapp.com/

? Do you want to add another redirect signout URI Yes
 Enter your redirect signout URI: https://development.d3bh1ri8gu6eyb.amplifyapp.com/

? Do you want to add another redirect signout URI No
 Select the social providers you want to configure for your user pool: Facebook

 You've opted to allow users to authenticate via Facebook.  If you haven't already, you'll need to go to
 https://developers.facebook.com and create an App ID.

 Enter your Facebook App ID for your OAuth flow:  9xxxxxxxxxxxxxx
 Enter your Facebook App Secret for your OAuth flow:  22exxxxxxxxxxxxxxxxxxxxxxx
Successfully added resource vueamplifyfacebook1e4b7722 locally

Some next steps:
"amplify push" will build all your local backend resources and provision it in the cloud
"amplify publish" will build all your local backend and frontend resources (if you have hosting category added) and provision it in the cloud
$ amplify status

Current Environment: dev

| Category | Resource name              | Operation | Provider plugin   |
| -------- | -------------------------- | --------- | ----------------- |
| Auth     | vueamplifyfacebook1e4b7722 | Create    | awscloudformation |
| Hosting  | amplifyhosting             | No Change |                   |


Amplify hosting urls:
┌──────────────┬───────────────────────────────────────────────────┐
│ FrontEnd Env │ Domain                                            │
├──────────────┼───────────────────────────────────────────────────┤
│ development  │ https://development.d3bh1ri8gu6eyb.amplifyapp.com │
├──────────────┼───────────────────────────────────────────────────┤
│ master       │ https://master.d3bh1ri8gu6eyb.amplifyapp.com      │
└──────────────┴───────────────────────────────────────────────────┘
最後に作成したリソースを反映させる。
$ amplify push
Facebook Developers の設定
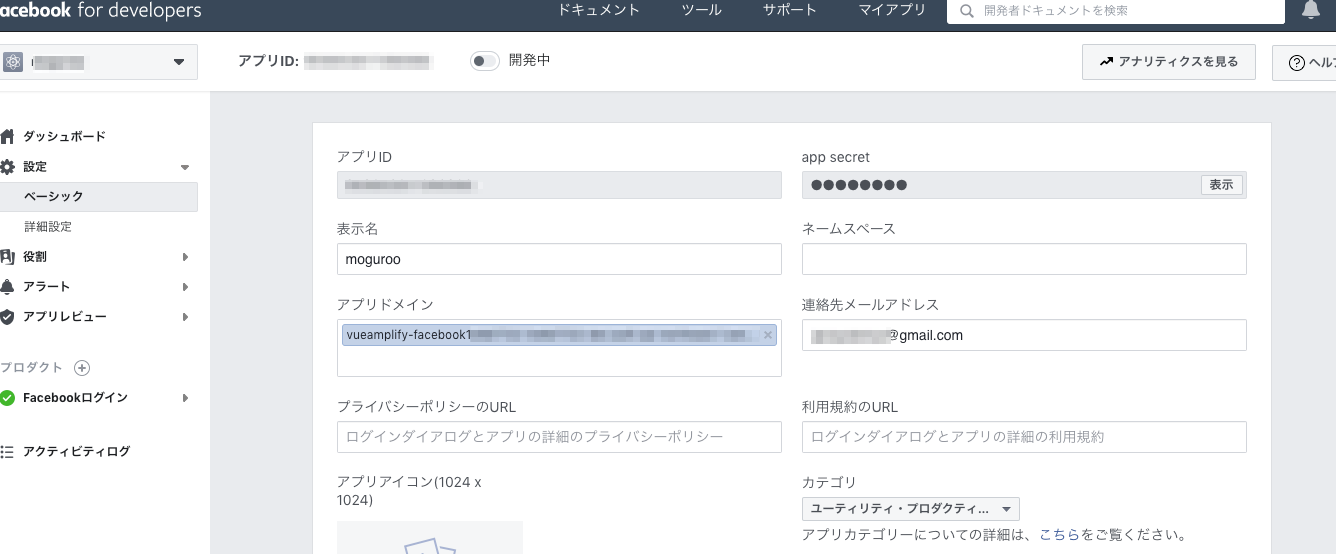
Facebook側にアプリドメインと有効なOAuthリダイレクトURIを設定する。
設定方法は以下のドキュメントを参考に。
Amplify Javascript - Facebook Instructions
Vue app に Amplifyを組み込む
npm install --save aws-amplify
複数のコールバックURLを指定している場合、Amplifyの仕様で複数のコールバックURLの設定が読み込めないので、aws-exports.jsのロード後にwindow.hostnameから適切なリダイレクトURLを判定するコードをいれる。
これに関しては別途まとめているのでそちらを参考に。
Amplify auth は複数のコールバックURLに対応していない
src/main.js
import Vue from "vue";
import App from "./App.vue";
import Amplify from "aws-amplify";
import awsconfig from "./libs/aws-config";

// debug: リダイレクトURLが正しく判定されているか確認のため
console.log(awsconfig.oauth);

Amplify.configure(awsconfig);

Vue.config.productionTip = false;

require("./assets/sass/main.scss");

new Vue({
  render: h => h(App)
}).$mount("#app");
デバッグ用にAmplifyのLoggerを使ってHubで受け取るイベントの内容をコンソールに出力している。
Amplify.Logger.LOG_LEVEL = "INFO";
const logger = new Logger("AmplifyFacebook");

logger.info(event, data);
Facebook認証は以下のような感じ。
これを実行すると各認証プロバイダ用の認証画面へリダイレクトする。
Auth.federatedSignIn({ provider: "Facebook" });
federatedSignIn で認証した後、認証情報を受け取るのにHubを使う。
HubはAmplifyの提供するイベントリスナで、Amplifyで発生する各種イベントの通知を受け取ることができる。
認証が成功するとCLIで指定したリダイレクトURLをリダイレクトされ、Hubを使って認証状態の変更を受け取ることができる。
Hub.listen("auth", ({ payload: { event, data } }) => {
  logger.info(event, data);

  switch (event) {
    case "signIn":
      await this.saveCurrentAuthenticatedUser();
      break;
    case "signOut":
      this.clearCurrentAuthenticatedUser();
      break;
  }
});
最終的なコード。
Amplify Javascript - OAuth and Hosted UI に記載されているReactでの実装を参考にしている。
<template>
  <nav class="navbar is-white" role="navigation" aria-label="main navigation">
    <div class="navbar-brand">
      <a class="navbar-item" href="/">
        <h1 class="title">Vue Amplify</h1>
      </a>

      <a
        role="button"
        class="navbar-burger burger"
        aria-label="menu"
        aria-expanded="false"
        data-target="navbarBasicExample"
      >
        <span aria-hidden="true"></span>
        <span aria-hidden="true"></span>
        <span aria-hidden="true"></span>
      </a>
    </div>

    <div class="navbar-menu">
      <div class="navbar-end">
        <div class="navbar-item">
          <div v-if="isSignedIn" class="buttons">
            <a class="navbar-item">{{ user.attributes.email }}</a>

            <button class="button is-light" @click="signout">
              <strong>SignOut</strong>
            </button>
          </div>
          <div v-else class="buttons">
            <button v-if="!isSignedIn" class="button is-link" @click="signin">
              <strong>SignIn with Facebook</strong>
            </button>
          </div>
        </div>
      </div>
    </div>
  </nav>
</template>

<script>
import Amplify, { Auth, Hub, Logger } from "aws-amplify";

Amplify.Logger.LOG_LEVEL = "INFO";
const logger = new Logger("AmplifyFacebook");

export default {
  name: "Auth",
  data() {
    return {
      user: null
    };
  },
  computed: {
    isSignedIn() {
      return this.user !== null;
    }
  },
  async created() {
    Hub.listen("auth", this.authEventListener);

    await this.saveCurrentAuthenticatedUser();
  },
  methods: {
    signin() {
      Auth.federatedSignIn({ provider: "Facebook" });
    },
    signout() {
      Auth.signOut()
        .then(() => {
          this.user = null;
        })
        .catch(err => logger.warn(err));
    },
    async saveCurrentAuthenticatedUser() {
      try {
        const user = await Auth.currentAuthenticatedUser();
        this.user = user;
      } catch (error) {
        logger.warn(error);
        return null;
      }
    },
    clearCurrentAuthenticatedUser() {
      this.user = null;
    },
    async authEventListener({ payload: { event, data } }) {
      logger.info(event, data);

      switch (event) {
        case "signIn":
          await this.saveCurrentAuthenticatedUser();
          break;
        case "signOut":
          this.clearCurrentAuthenticatedUser();
          break;
      }
    }
  }
};
</script>
1つよくわかっていないことがあって、
Hubで受け取る認証情報と、currentAuthenticatedUserが返す認証情報が微妙に異なるのだよな。
なので↑のコードではHubで認証完了イベントを受け取ってからcurrentAuthenticatedUserを実行して改めて認証ユーザーの情報を取得している。
localhostで動作確認をしてからdevelopmentブランチへpush。
すると再びCIが走ってdev環境へ認証機能を実装したバージョンがデプロイされる。
デモ
最終的にこんな感じになる。
