少し時間ができたので、以前購入してまだ使っていないLCDディスプレイがあったので、テストしてみた。
素人には、'どれ' と 'なに' をつなげるのか?とか、抵抗はいらないの?など不安だらけ。
3.3vのwifiモジュールに9vの電池を直でつなげて、wifiモジュールを飛ばしたばっかりだから、なおさら疑心暗鬼。
でも今回はあっさり簡単だった...ほっ。
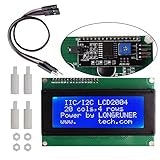
LCDディスプレイ
2004 LCD ディスプレイ モジュール IIC/I2C/TWI
ライブラリのダウンロードとArduino-IDEへインストール
Arduino-LiquidCrystal-I2C-library
https://github.com/fdebrabander/Arduino-LiquidCrystal-I2C-library
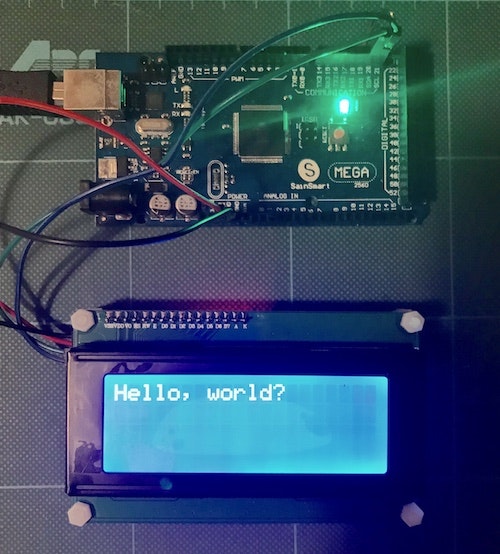
Arduino MEGAと接続
| ディスプレイ側 | GND | VCC | SDA | SCL |
|---|---|---|---|---|
| 接続 | ↓ | ↓ | ↓ | ↓ |
| Arduino側 | GND | 5V | デジタル20ピン | デジタル21ピン |
ソース
同包されているサンプルソースをほぼ利用。
LiquidCrystal_I2C lcd(0x27, 16, 2);
この部分だけ、ディスプレイに合わせて設定(20桁 - 4行)
LiquidCrystal_I2C lcd(0x27, 20, 4);
アドレスの0x27はそのままだけど、Amazonの説明には0x3Fのどちらかと書いてあった。
# include <Wire.h>
# include <LiquidCrystal_I2C.h>

// Set the LCD address to 0x27 for a 16 chars and 2 line display
LiquidCrystal_I2C lcd(0x27, 20, 4);

void setup()
{
  // initialize the LCD
  lcd.begin();

  // Turn on the blacklight and print a message.
  lcd.backlight();
  lcd.print("Hello, world!");
}

void loop()
{
  // Do nothing here...
}
結果