この記事の趣旨は、Unityを初めたばかりの人が「サクッとUnityちゃんを動かしたい」という願いを叶えるための記事です。
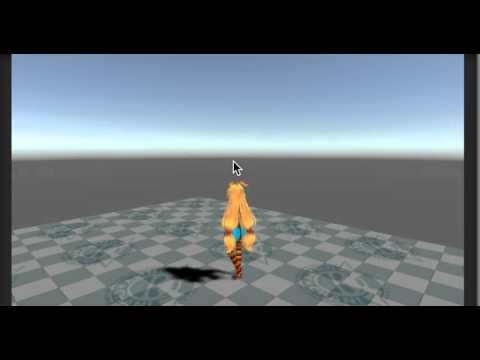
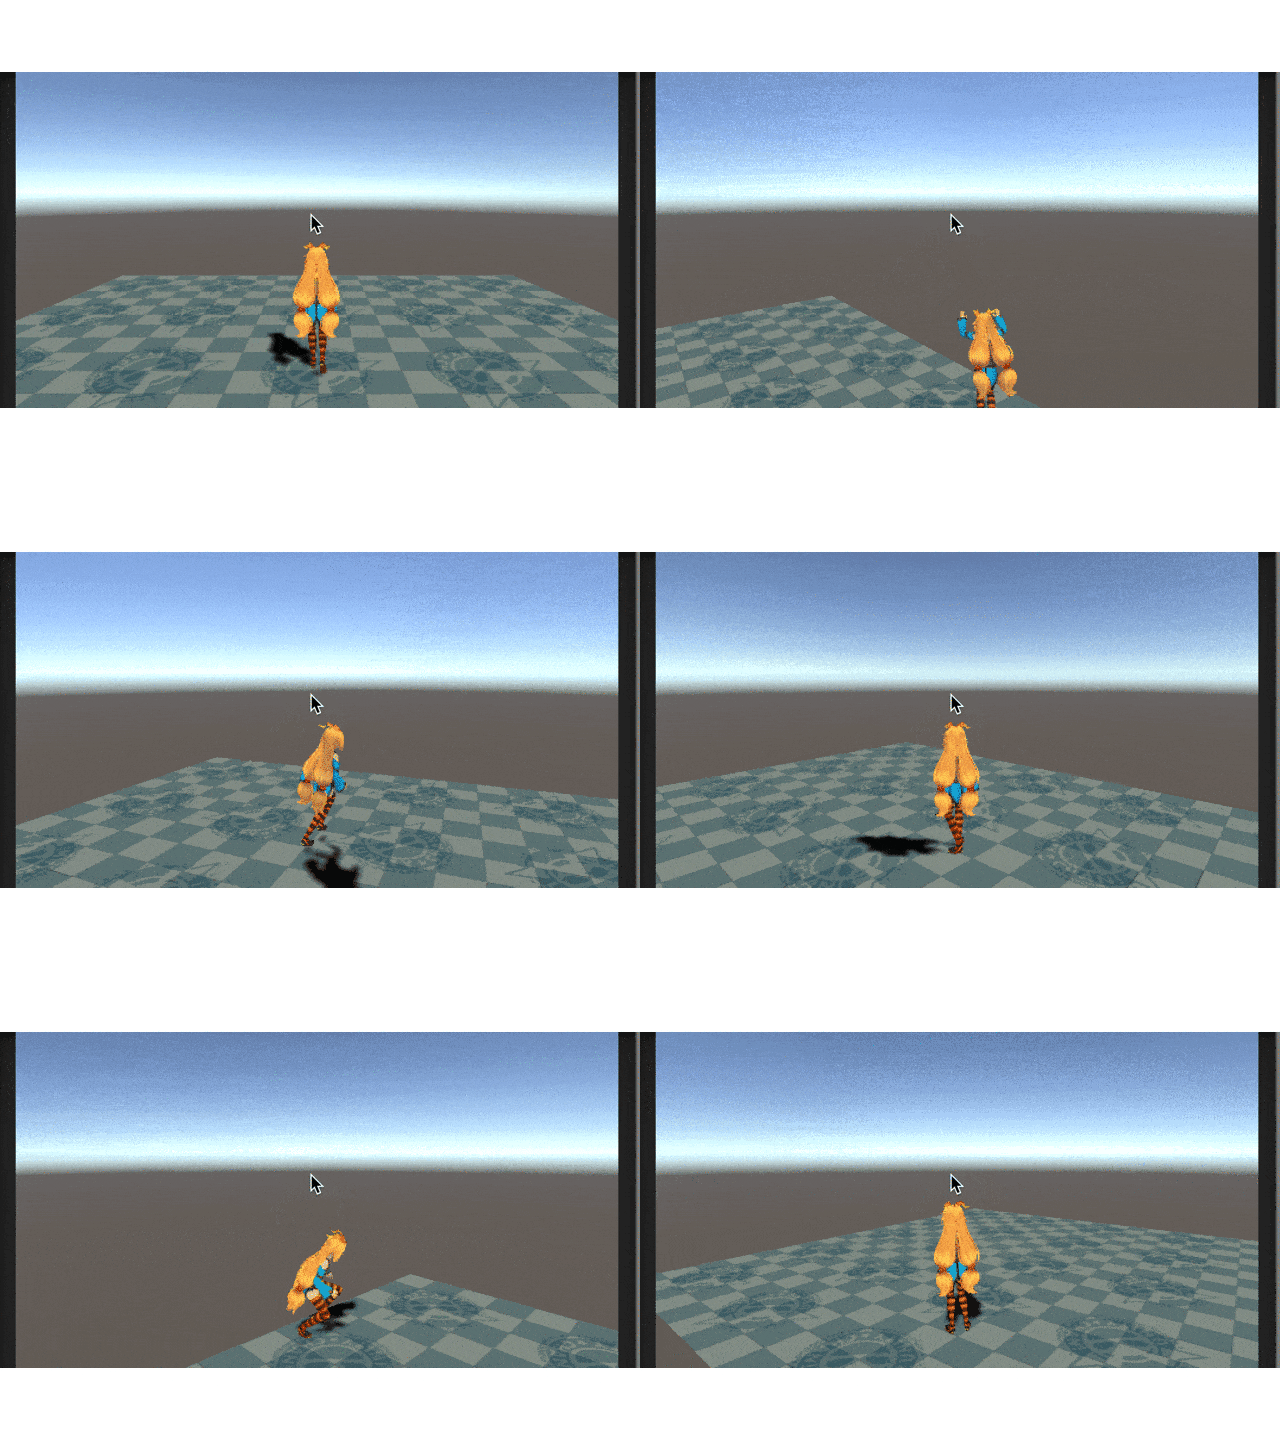
目標はこんな感じです。
画像をクリックするとYoutubeに飛びます。
STEP1: Unitychanをダウンロード、インポートする
AssetStoreからダウンロードします。
http://u3d.as/85c
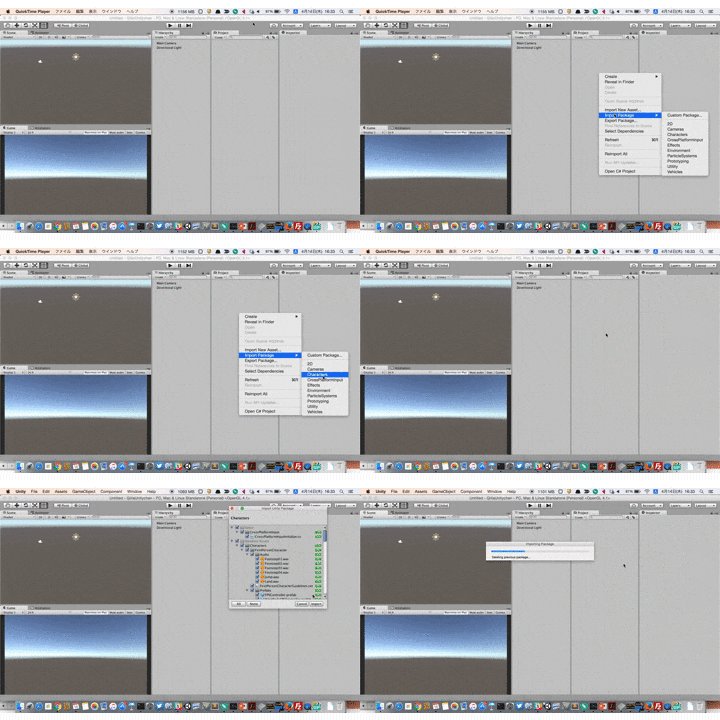
STEP2: Standard AssetのCharacterをインポートする
Projectビューで右クリック > Import Package > Characters
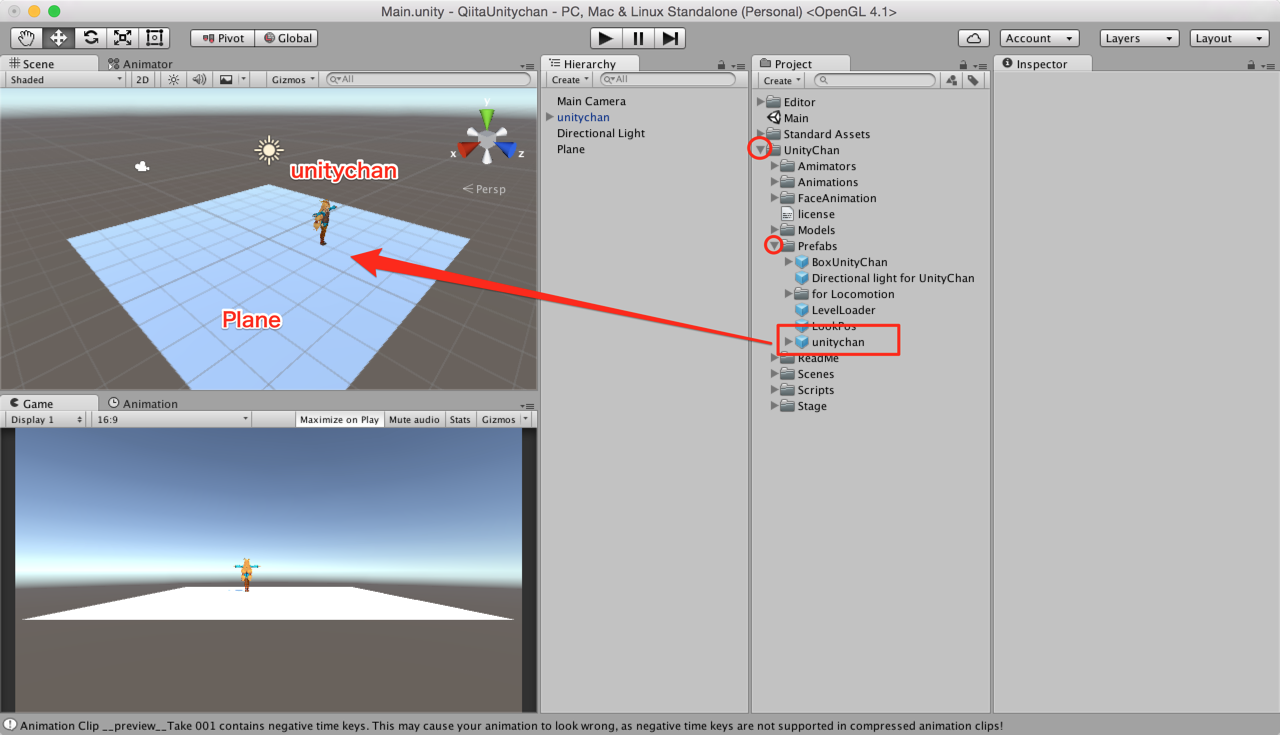
STEP3: 床のオブジェクトの上にUnitychanを配置する
[UnityChanフォルダ] > [Prefabs] > [unitychan]を置く。
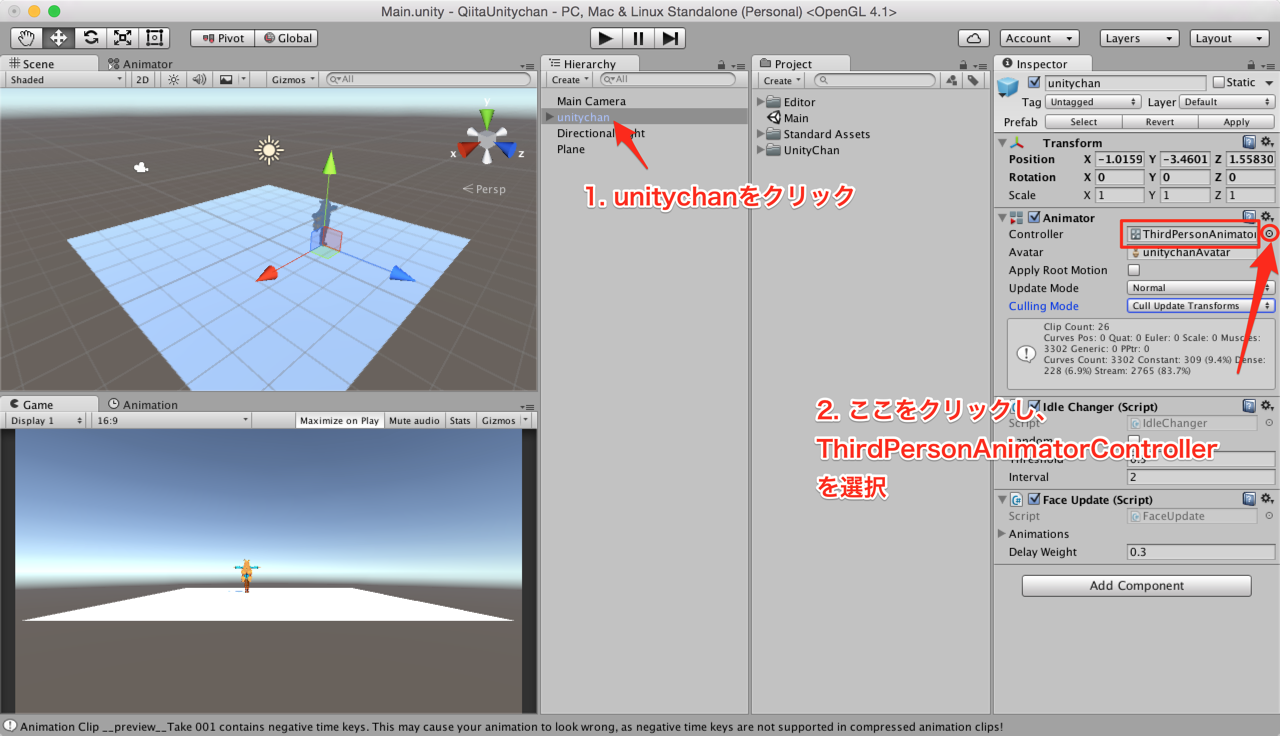
STEP4: unitychanのAnimatorを設定する。
unitychanのAnimatorのControllerを
「ThirdPersonAnimatorController」に設定する。
STEP5: Third Person User Control (Script)を Add Componentする
デフォルトでついている「Idle Changer」と「Face Update」は特に理由がなければチェックを外しておきましょう。
そして、AddComponentの検索窓から「Third Person User Control」を検索し、Add Componentしましょう。
すると「Rigidbody」と「Capsule Collider」と「Third Person Character」も一緒についてきます。
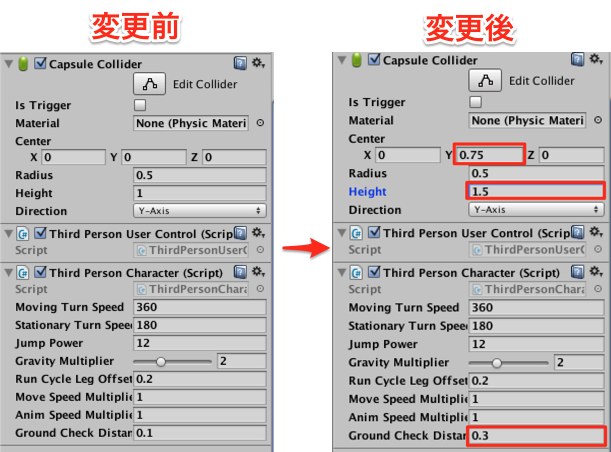
STEP6: Capsule Collider と Third Person Character のパラメータを調整する。
このままだと動きが不自然なので、最低限下図のようなパラメータに変更してください。
それ以外のパラメータはお好みで (Jump Powerなど)
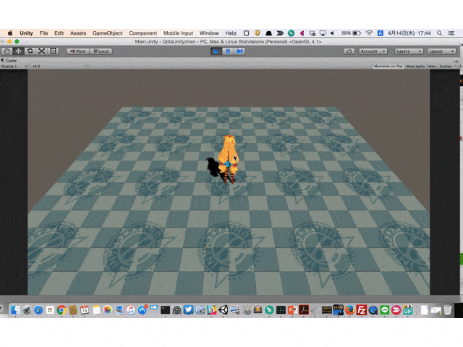
これでUnityちゃんが前後左右に動き、ジャンプもできるようになりました!
番外編: 三人称カメラをつける
Standard Assetを使えば簡単に三人称カメラを付けることができます。
まず、[Import Package] から [Cameras]をImportしましょう。
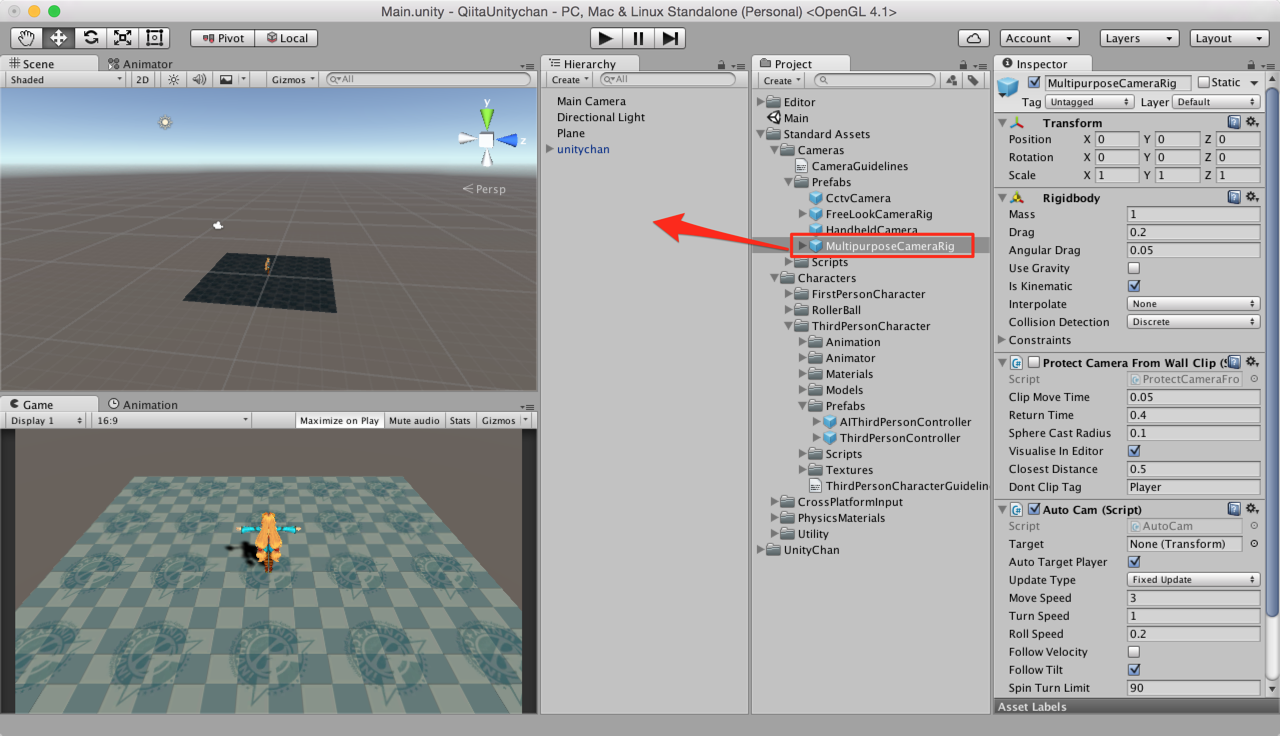
次に、[Standard Assets] > [Cameras] > [Prefabs] > [MultipurposeCameraRig] をScene上にもってきます。
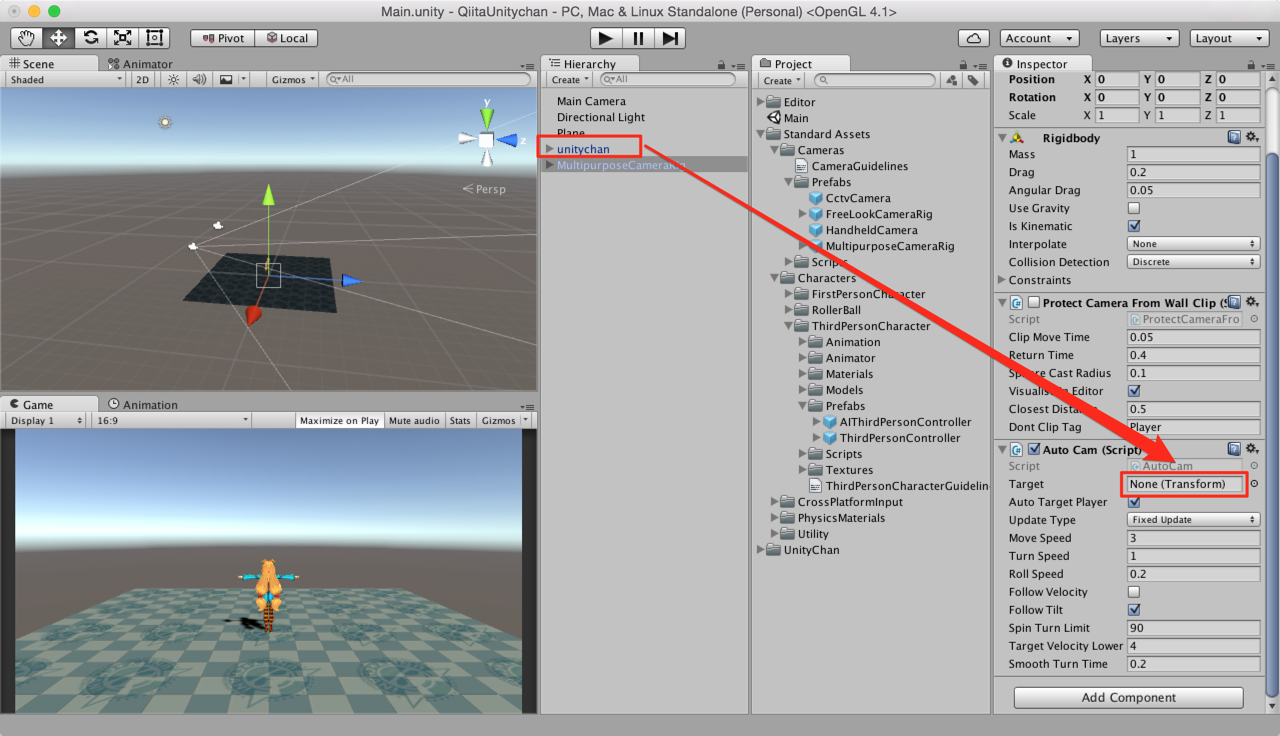
[MultipurposeCameraRig]の[AutoCam]の[Target]に[unitychan]を選択します。
これだけです!
簡単に3人称カメラを使いたい時に役立ちますね。
あとはパラメータを調整しましょう。
ライセンス
© Unity Technologies Japan/UCL

