OpenAPI形式でAPI定義のドキュメントを作成した際に、静的サイトとして内容を共有する仕組みを作成したので、流れをまとめておきます。
今回はReDocという、OpenAPI形式のファイルをHTMLファイルに変換するツールを使用します。
GitHub Actions用のIAMユーザーを作成する
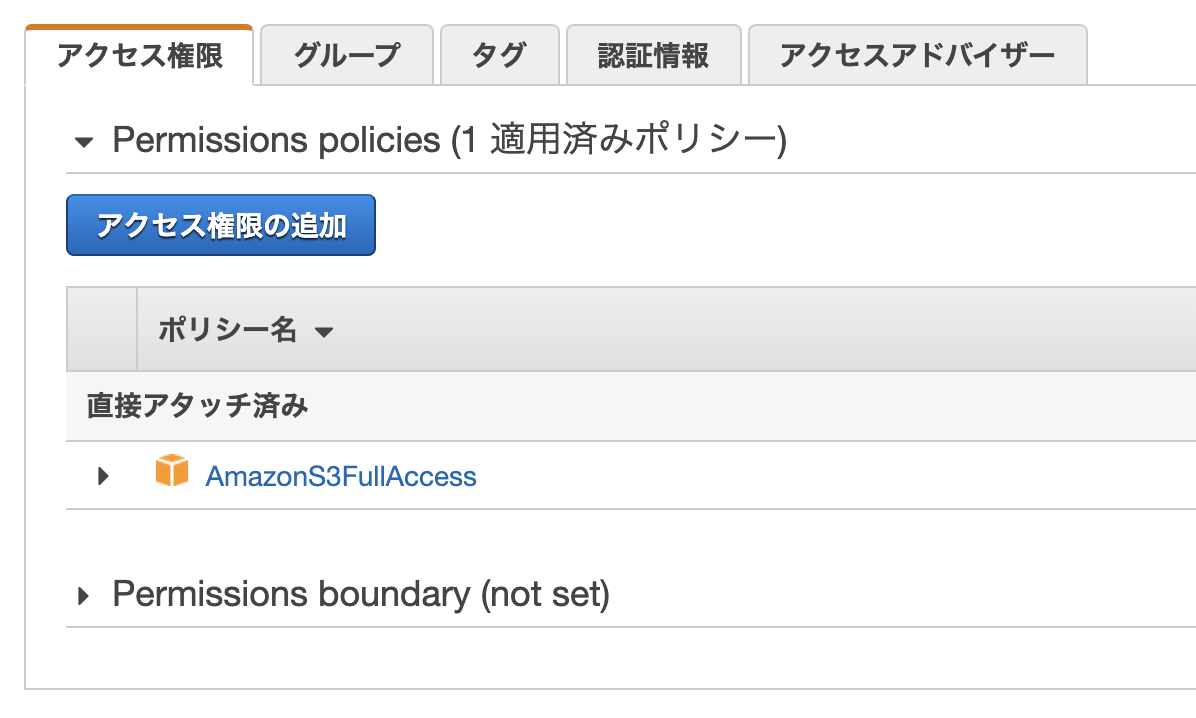
まずはGitHub Actionsを使用するためのIAMユーザーをAWS側に作成します。
今回はとりあえず AmazonS3FullAccess の権限を与えたユーザーを作成しました。
GitHub上にSecretsを登録
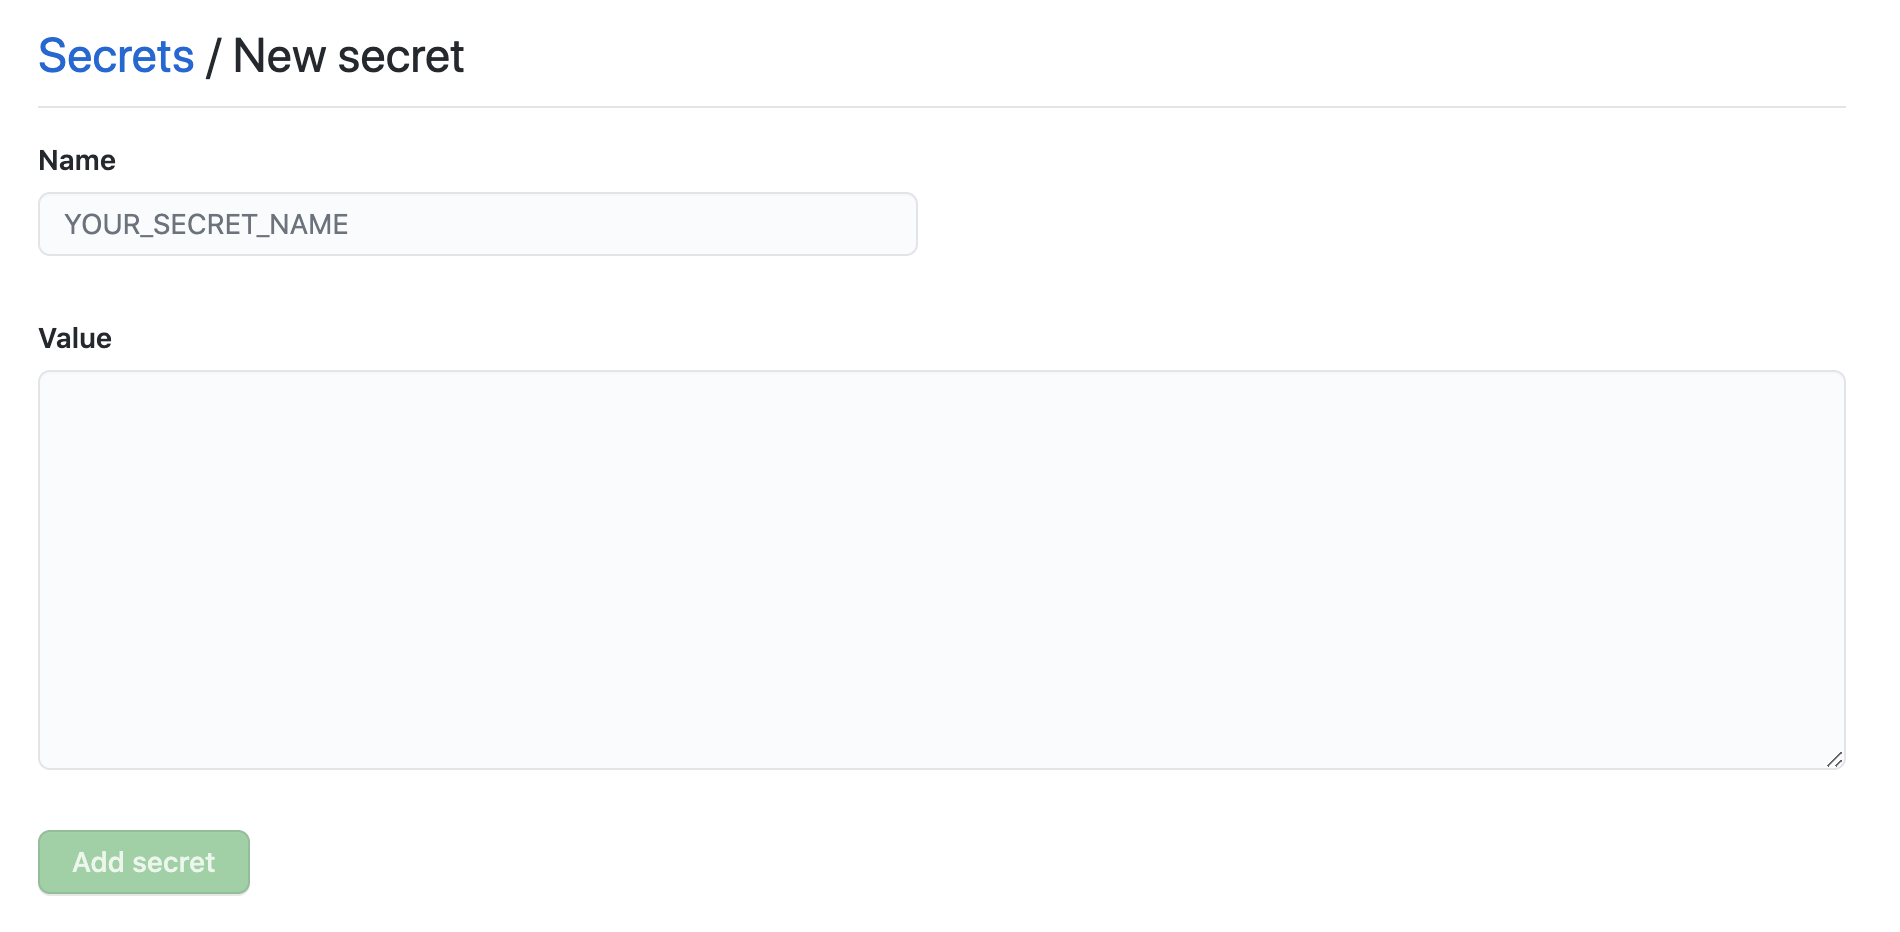
IAMユーザーのアクセスキーを、GitHub上の Setting -> Secrets から登録します。
また、デプロイ先のS3のバケット名も登録しておきます。(バケットはすでに作成している想定です)
Name の内容は任意ですが、今回は下記のような Name を設定して、それぞれ登録しました。
- AWS_ACCESS_KEY_ID
- AWS_SECRET_ACCESS_KEY
- S3_BUCKET_NAME
OpenAPI定義ファイルを用意
APIの仕様をOpenAPI形式で定義したファイルを用意します。
今回は例として openapi.yaml という名前のファイルを、下記の内容で作成します。
内容は、公式のサンプルのコードから用意しています。
openapi.yaml
openapi: "3.0.0"
info:
  version: 1.0.0
  title: Swagger Petstore
  license:
    name: MIT
servers:
  - url: http://petstore.swagger.io/v1
paths:
  /pets:
    get:
      summary: List all pets
      operationId: listPets
      tags:
        - pets
      parameters:
        - name: limit
          in: query
          description: How many items to return at one time (max 100)
          required: false
          schema:
            type: integer
            format: int32
      responses:
        '200':
          description: A paged array of pets
          headers:
            x-next:
              description: A link to the next page of responses
              schema:
                type: string
          content:
            application/json:
              schema:
                $ref: "#/components/schemas/Pets"
        default:
          description: unexpected error
          content:
            application/json:
              schema:
                $ref: "#/components/schemas/Error"
    post:
      summary: Create a pet
      operationId: createPets
      tags:
        - pets
      responses:
        '201':
          description: Null response
        default:
          description: unexpected error
          content:
            application/json:
              schema:
                $ref: "#/components/schemas/Error"
  /pets/{petId}:
    get:
      summary: Info for a specific pet
      operationId: showPetById
      tags:
        - pets
      parameters:
        - name: petId
          in: path
          required: true
          description: The id of the pet to retrieve
          schema:
            type: string
      responses:
        '200':
          description: Expected response to a valid request
          content:
            application/json:
              schema:
                $ref: "#/components/schemas/Pet"
        default:
          description: unexpected error
          content:
            application/json:
              schema:
                $ref: "#/components/schemas/Error"
components:
  schemas:
    Pet:
      type: object
      required:
        - id
        - name
      properties:
        id:
          type: integer
          format: int64
        name:
          type: string
        tag:
          type: string
    Pets:
      type: array
      items:
        $ref: "#/components/schemas/Pet"
    Error:
      type: object
      required:
        - code
        - message
      properties:
        code:
          type: integer
          format: int32
        message:
          type: string
workflowを作成
プロジェクトの .github/workflows/ 内に、GitHub Actionsで行いたい処理を記述したファイルを作成します。
今回は deploy_openapi.yml という名前のYAML形式のファイルを作成しました。
openapi.yaml ファイルが更新された場合、指定したS3のバケットに公開されます。
.github/workflows/deploy_openapi.yaml
name: deploy openapi

on:
  push:
    paths:
      - openapi.yaml

jobs:
  build:
    runs-on: ubuntu-latest
    timeout-minutes: 5

    steps:
      - name: Checkout
        uses: actions/checkout@v2

      - name: setup node
        uses: actions/setup-node@v1
        with:
          node-version: '12.x'

      - name: Configure AWS credentials
        uses: aws-actions/configure-aws-credentials@v1
        with:
          aws-access-key-id: ${{ secrets.AWS_ACCESS_KEY_ID }}
          aws-secret-access-key: ${{ secrets.AWS_SECRET_ACCESS_KEY }}
          aws-region: ap-northeast-1

      - name: Cache dependencies
        uses: actions/cache@v1
        with:
          path: ~/.npm
          key: ${{ runner.os }}-node-${{ hashFiles('**/package-lock.json') }}
          restore-keys: |
            ${{ runner.os }}-node-

      - name: Install packages
        run: npm ci

      - name: Install ReDoc
        run: npm install -g redoc-cli

      - name: Build OpenAPI file
        run: redoc-cli bundle ./openapi.yaml

      - name: Upload openapi file to S3
        env:
          S3_BUCKET_NAME: ${{ secrets.S3_BUCKET_NAME }}
        run: aws s3 cp ./redoc-static.html s3://$S3_BUCKET_NAME/index.html
ReDocを確認
S3に公開された index.html を確認すると下記のようなページが表示されます。
個人的には、定義を見るだけならSwaggerUIよりもわかりやすいと思います。
外部に公開したくない場合は、Basic認証などをつけましょう。
