この記事は以下のハッカソンに参加した際に作ったプロダクトの一部の作り方を示したものです。
作るもの
病院の診察予約を模擬した単純なWebサイトを作成します。実際にはCSRFトークンなど、もう少し複雑になることを考慮する必要があります。
- GET: 現在の呼び出し番号を記載したページ
- POST: 予約完了のページ
- インターネットからHTTPSでアクセスでき、メソッドによって応答を変える
S3に設置するhtmlファイル
ChatGPTにイメージを伝えてhtmlファイルのコードを出力してもらい、項目や表示内容などを微調整しました。
呼び出し番号ページ
呼び出し番号を記載したページ。

wait.html
<!DOCTYPE html>
<html lang="ja">

<head>
  <meta charset="UTF-8">
  <title>診察の順番待ち</title>
  <style>
    body {
      font-family: 'Arial', sans-serif;
      background-color: #f4f4f4;
      margin: 0;
      padding: 0;
    }

    header {
      background-color: #50b3a2;
      color: white;
      text-align: center;
      padding: 1em 0;
    }

    ul {
      padding: 0;
      margin: 0;
      list-style: none;
    }

    ul li {
      background: #ffffff;
      margin-bottom: 1px;
      padding: 0.5em;
      text-align: center;
    }

    .calling {
      background-color: #ffcccb;
    }
  </style>
</head>

<body>
  <header>
    <h1>診察の順番</h1>
  </header>
  <main>
    <ul>
      <li class="calling">1番 - 現在呼び出し中</li>
      <li>2番</li>
      <li>3番</li>
      <li>4番</li>
      <li>5番</li>
    </ul>
  </main>
</body>

</html>
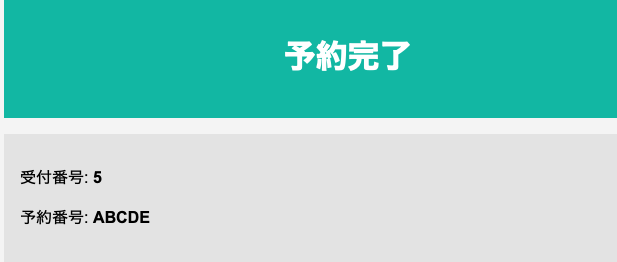
予約完了ページ
yoyaku.html
<!DOCTYPE html>
<html lang="ja">
<head>
<meta charset="UTF-8">
<title>予約完了</title>
<style>
  body {
    font-family: 'Arial', sans-serif;
    background-color: #f4f4f4;
    margin: 0;
    padding: 0;
  }
  .container {
    width: 50%;
    margin: auto;
  }
  header {
    background: #50b3a2;
    color: white;
    text-align: center;
    padding: 1em 0;
  }
  .notification {
    padding: 1em;
    background: #e3e3e3;
    margin: 1em 0;
  }
</style>
</head>
<body>
<div class="container">
  <header>
    <h1>予約完了</h1>
  </header>
  <div class="notification">
    <p>受付番号: <strong>5</strong></p>
    <p>予約番号: <strong>ABCDE</strong></p>
  </div>
</div>
</body>
</html>
S3に設置しLambda経由でAPI Gatewayから呼び出す
S3バケットにhtmlを設置
S3バケットを作成しファイルを設置します


表示するページごとにLambdaを作成
S3バケットからhtmlを取得しHTTPレスポンスを生成するLambdaを作成します。

getWaitPage
import boto3
from botocore.exceptions import NoCredentialsError, PartialCredentialsError

s3_client = boto3.client('s3')
BUCKET_NAME = 'your backet name'

def lambda_handler(event, context):
    try:
        response = s3_client.get_object(Bucket=BUCKET_NAME, Key='wait.html')
        content = response['Body'].read().decode('utf-8')
        return {
            'statusCode': 200,
            'body': content,
            'headers': {
                'Content-Type': 'text/html'
            }
        }
    except Exception as e:
        return {
            'statusCode': 500,
            'body': str(e)
        }
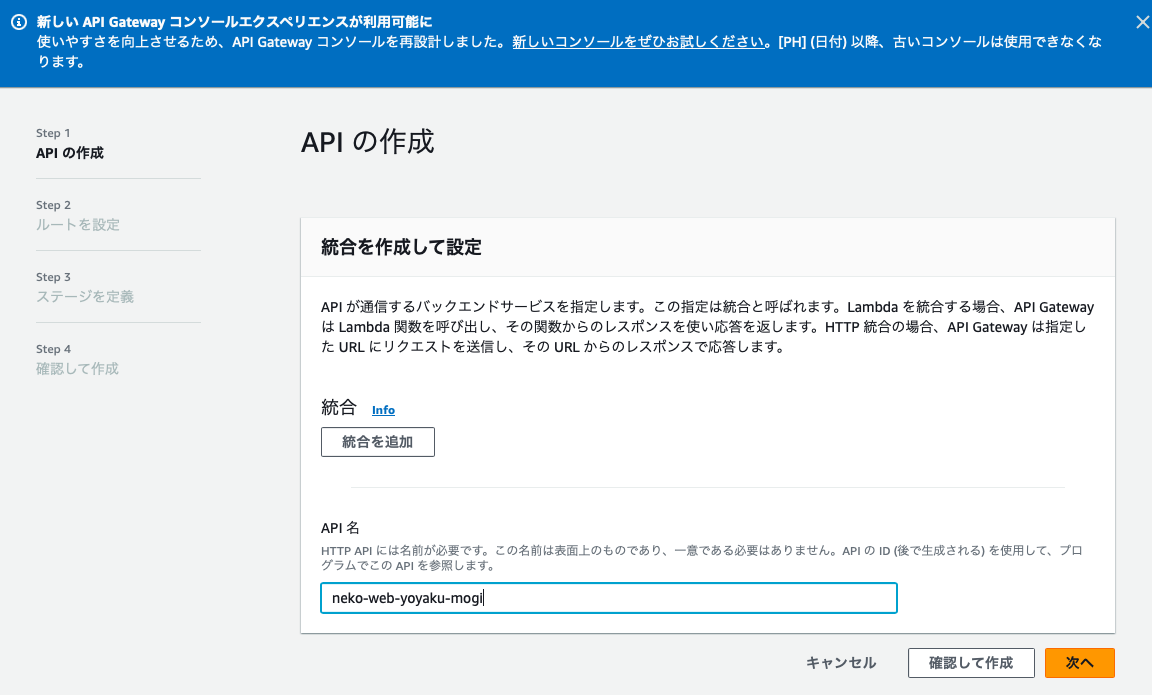
API GatewayでAPIを作成
APIを作成します。
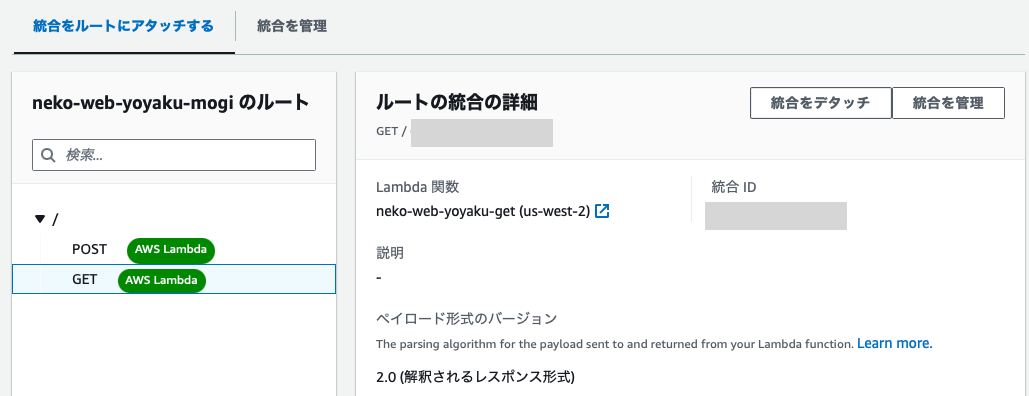
作成したAPIにルートからGETとPOSTを登録し、作成したLambdaをそれぞれ紐づけます。

API Gatewayのエンドポイントにブラウザからアクセスし、S3に設置したhtmlが表示されることを確認しましょう。
EventBridgeでLambdaを定期実行
定期実行するLambdaを作成
ここでは、POSTリクエストを送る例を記載しています。
eventbridge-yoyaku
import json
from urllib import request, parse

def lambda_handler(event, context):
    url = "your api url"

    # POSTリクエストに送信するデータ
    data = {}

    data = parse.urlencode(data).encode()
    req = request.Request(url, data=data, headers={'Content-Type': 'application/x-www-form-urlencoded'})

    try:
        with request.urlopen(req) as response:
            response_body = response.read().decode()
            status_code = response.getcode()
    except Exception as e:
        return {
            'statusCode': 500,
            'body': str(e)
        }

    return {
        'statusCode': status_code,
        'body': response_body
    }
テストを実行してWebページが取得できていることを確認します。

EventBridgeのスケジュールを作成
スケジュールを作成します。

トリガーを設定します。cron書式でかけます。例ではハッカソンのプレゼン期間中だけ5分ごとに動作するようにしています。

作成したLambdaを実行するようにします。

まとめ
予約サイトの模擬サイトをAWSで作り、LambdaをEventBridgeで定期実行させました。Lambdaの中でDynamoDBと連携させ、予約の実行タイミングを登録したり、予約後に予約番号を保存したりすると便利に使えるかと思います。
ただし実際にプログラムでWebサイトにスクレイピングや予約操作の自動実行を行うときは、Webサイトの利用規約や負荷などを考慮し、実施しても問題ないことを慎重に確かめてから実施してください。