はじめに
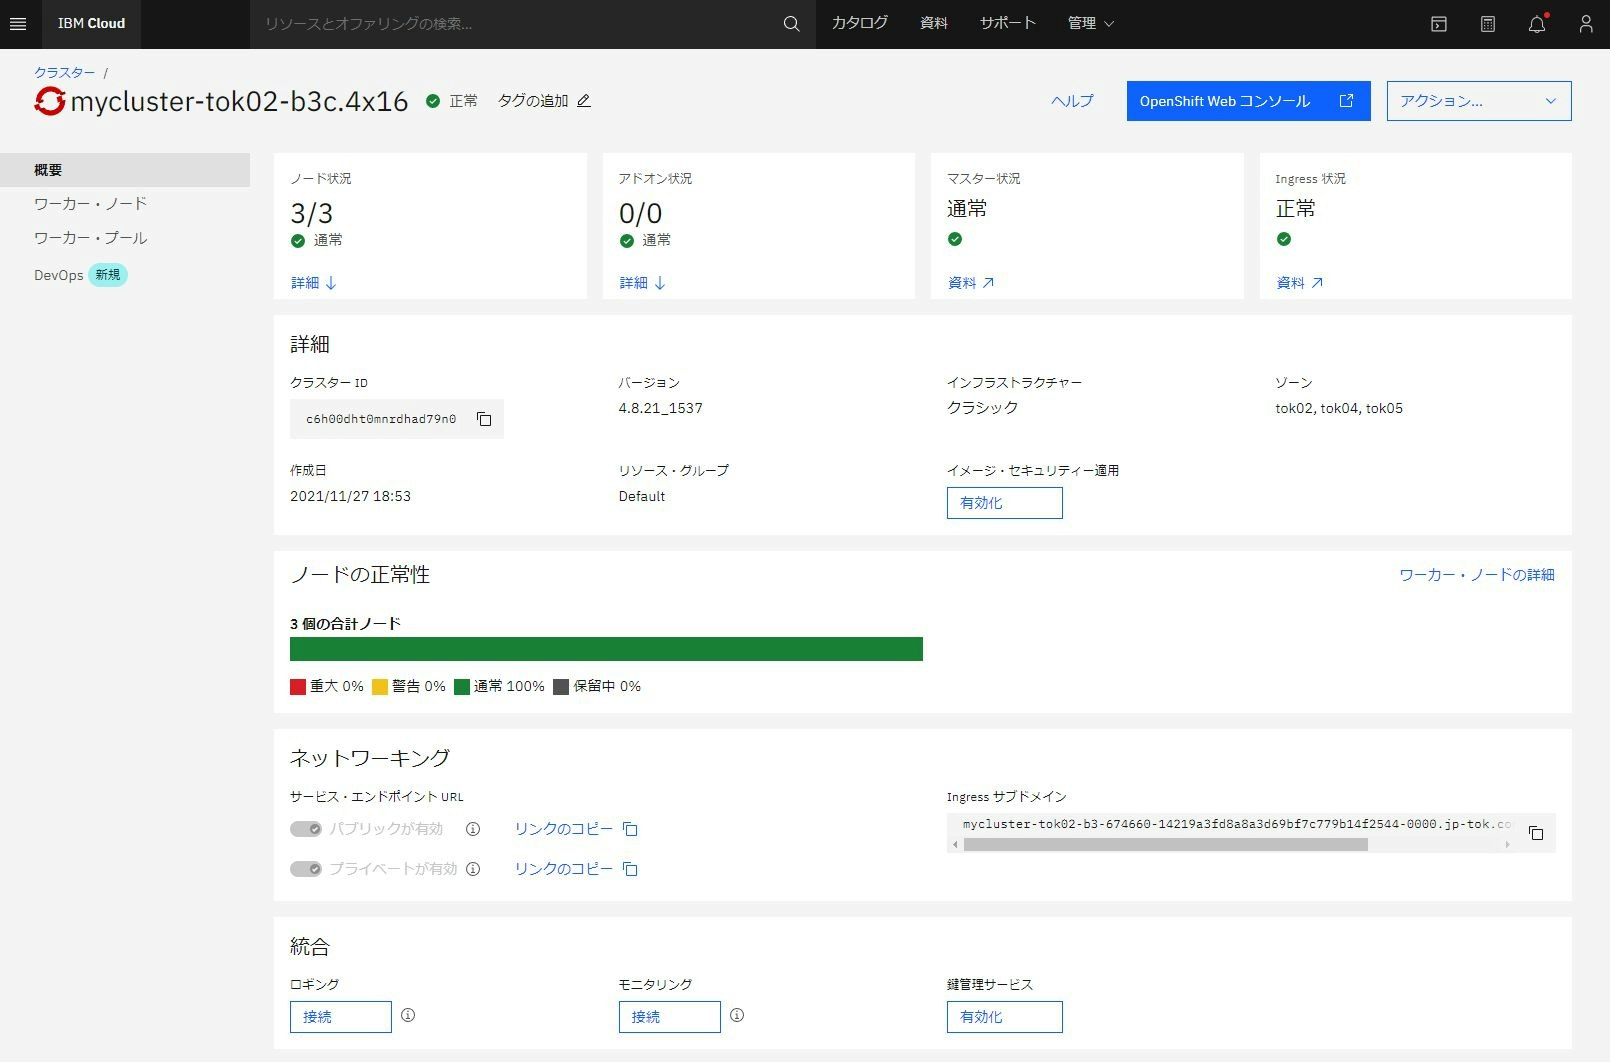
IBM CloudでOpenShiftクラスターを構築し、Windows10のWSL2のUbuntu環境にocコマンドおよびpodmanコマンドを導入して、CLIでOpenShiftにコンテナをデプロイできる環境を作りました。
IBM Cloudのアカウント後の手順になります。
https://cloud.ibm.com/registration
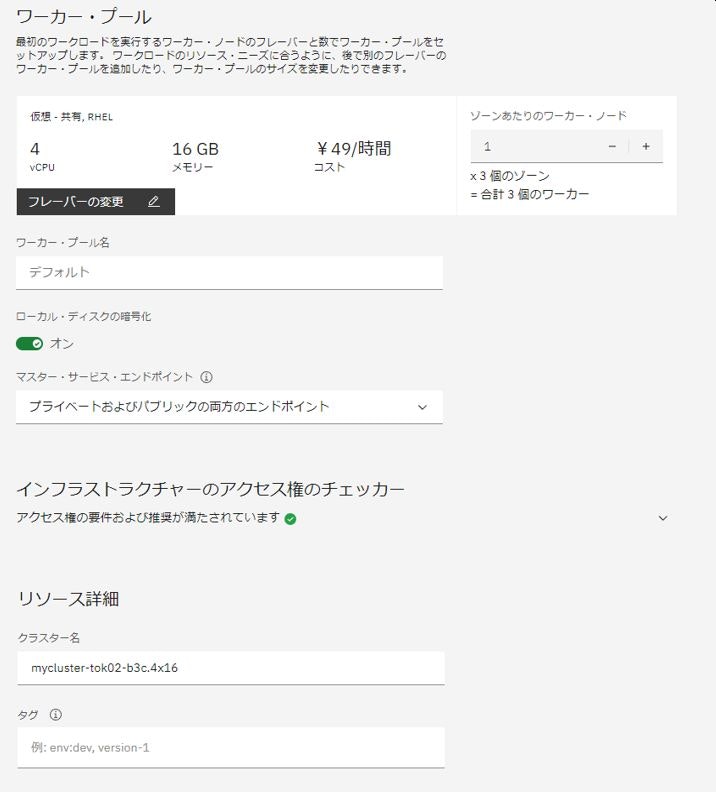
IBM CloudにてOpenShiftクラスターを構築する手順
-
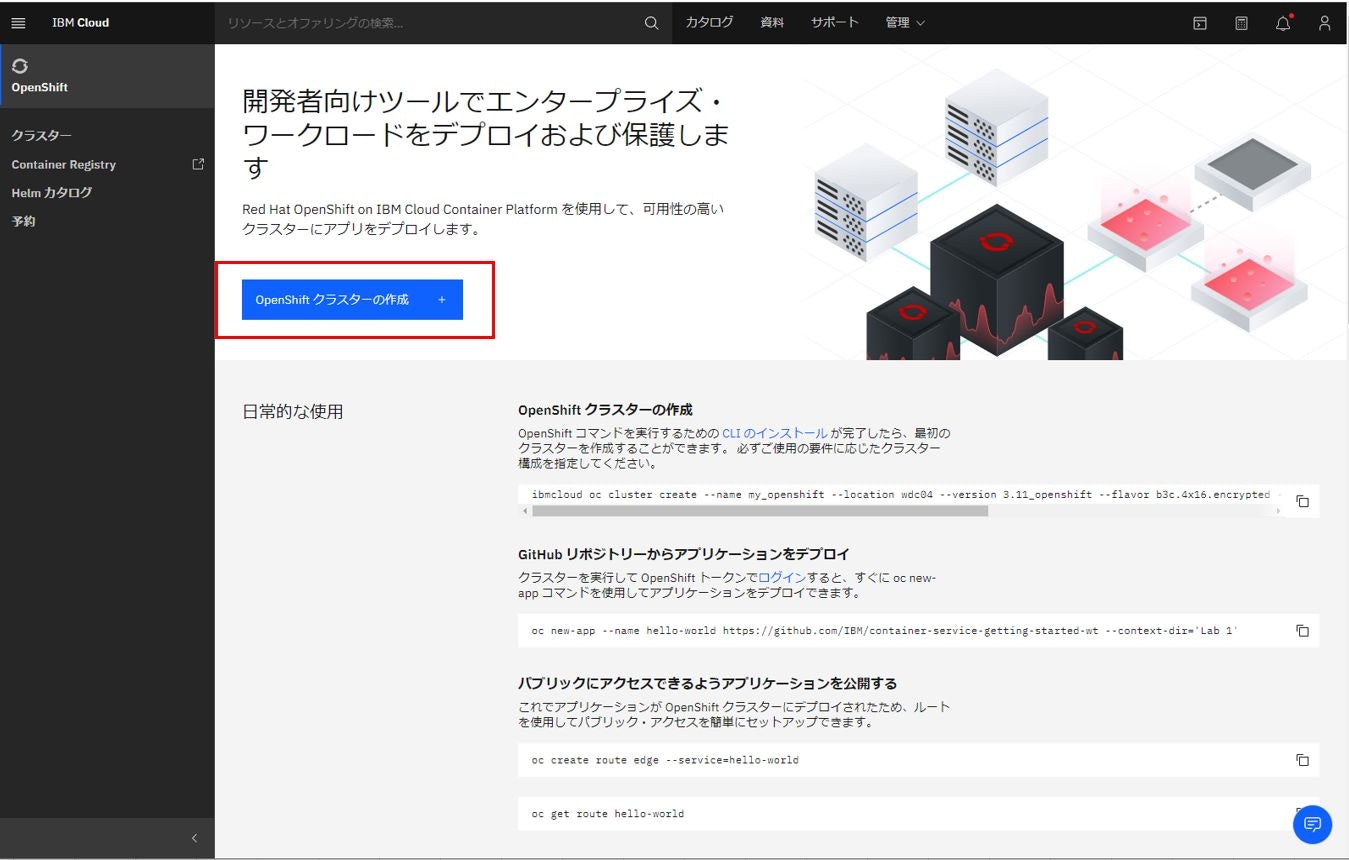
メニューから[OpenShift] - [クラスター]を選択する
-
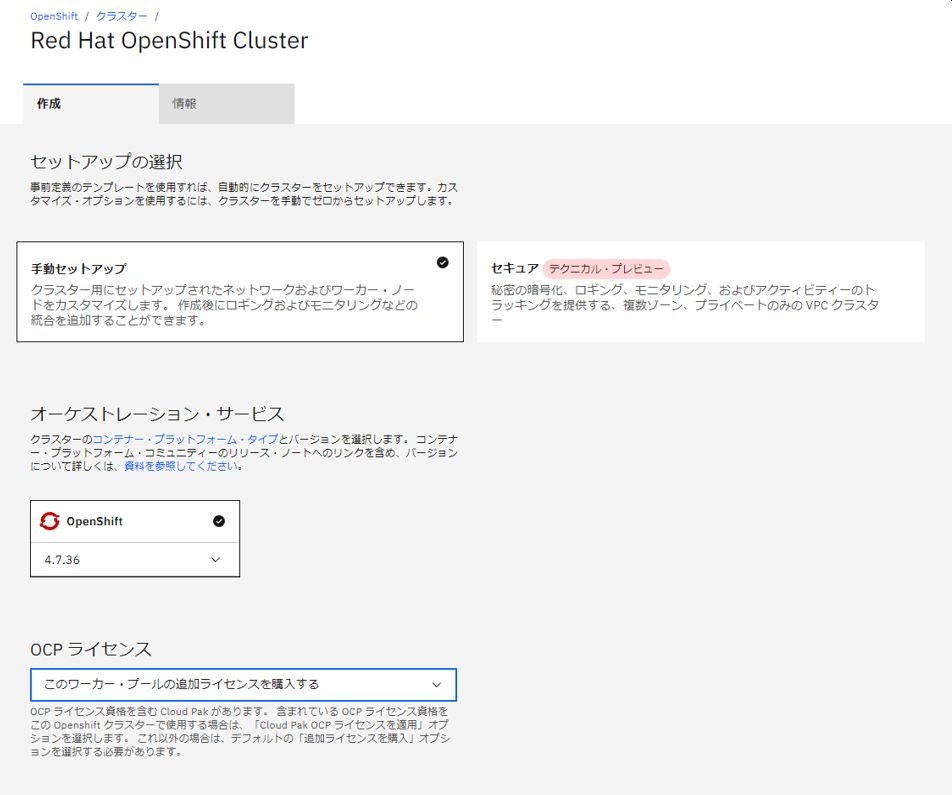
[手動セットアップ]を選択する
-
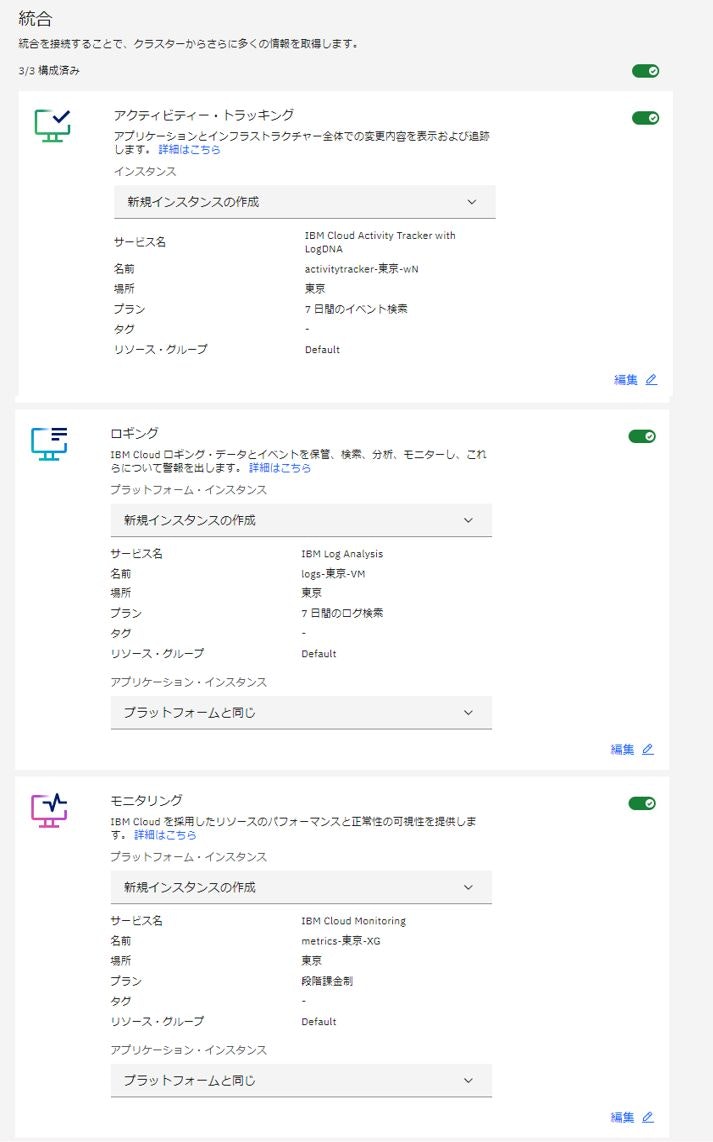
OpenShiftのバージョンを選択する
-
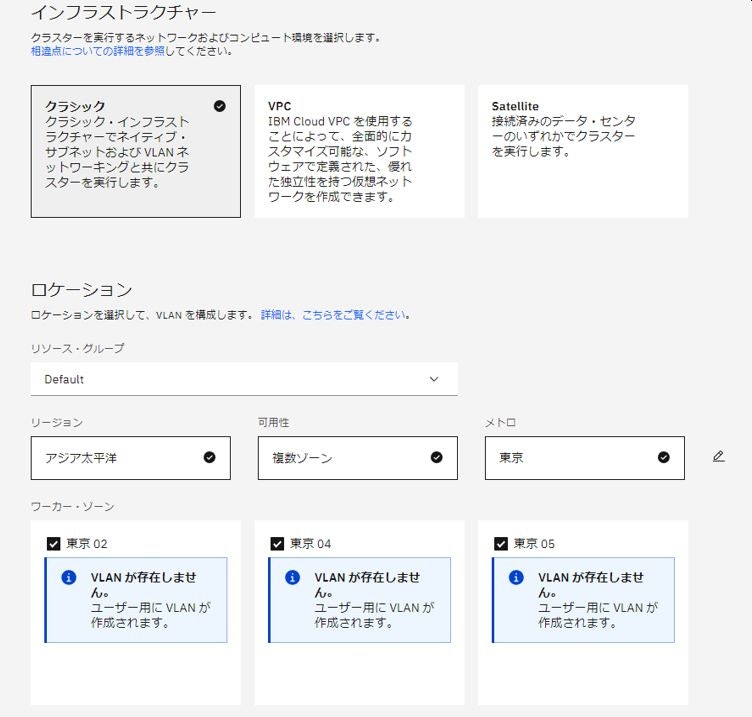
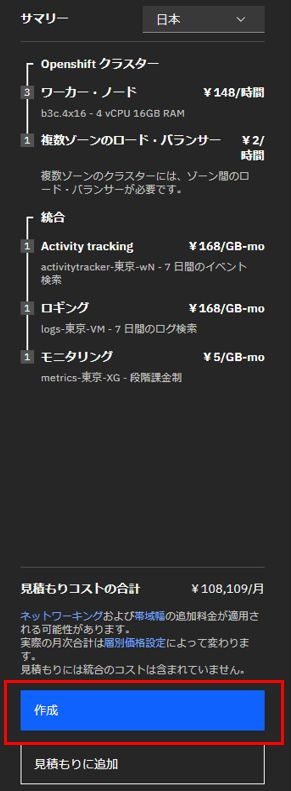
[クラッシック]を選択する
Windows10のWSL2のUbuntu環境にocコマンドとpodmanコマンドを導入する手順
ocコマンドの導入手順
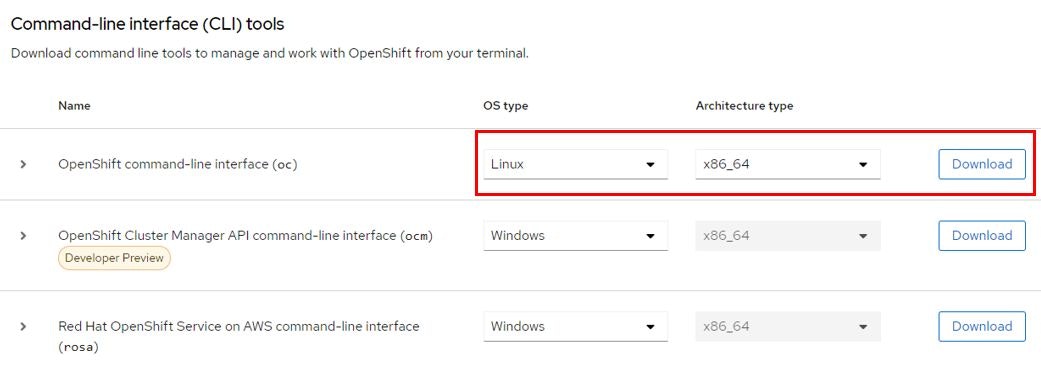
以下のサイトからtar.gzファイルをダウンロードし、/usr/local/binディレクトリ配下に展開する
https://console.redhat.com/openshift/downloads
※RedHatアカウントへのログインが必要です
podmanコマンドの導入手順
以下のサイトから[Windows Subsystem for Linux (WSL) 2.0]の内容をもとに進める
https://podman.io/getting-started/installation
以下のサイトの情報をもとに進める
https://www.redhat.com/sysadmin/podman-windows-wsl2
$ . /etc/os-release
$ sudo sh -c "echo 'deb http://download.opensuse.org/repositories/devel:/kubic:/libcontainers:/stable/x${NAME}_${VERSION_ID}/ /' > /etc/apt/sources.list.d/devel:kubic:libcontainers:stable.list"
$ wget -nv https://download.opensuse.org/repositories/devel:kubic:libcontainers:stable/x${NAME}_${VERSION_ID}/Release.key -O Release.key
$ sudo apt-key add - < Release.key
$ sudo apt-get update -qq
$ sudo apt-get -qq -y install podman
$ sudo mkdir -p /etc/containers
$ echo -e "[registries.search]\nregistries = ['docker.io', 'quay.io']" | sudo tee /etc/containers/registries.conf
OpenShiftにコンテナをデプロイ
以上でIBM CloudでOpenShiftクラスターを構築し、Windows10のWSL2のUbuntu環境にocコマンドおよびpodmanコマンドを導入して、CLIでOpenShiftにコンテナをデプロイできる環境ができあがりました。
コンテナをデプロイする方法は後日別の記事を投稿予定です。
参考情報
Windows10のWSL2のUbuntu環境の構築方法は以下の記事を参考にしてください
Windows10でWSL2をセットアップしてLinuxコマンドの勉強環境を作る方法
