Windows 10での環境構築手順となっているので、Macなどでは変わる可能性があるのであしからず。
2018/3/19 現時点の最新バージョンではXdebugがはじめから入ってました。なのでインストールのところは飛ばしてください。
開発環境
OS: Windows 10
Laravel Homestead v7.0.1
手順
Homestead側の設定
Xdebugのインストール
Homestead v7.0.1は、デフォルトではPHP 7.2を使用することになっています。
ただ、Homesteadに入っているPHP 7.2はなぜかXdebugが用意されていないので(それ以前のバージョンでは用意されている)自前で用意する必要があります。
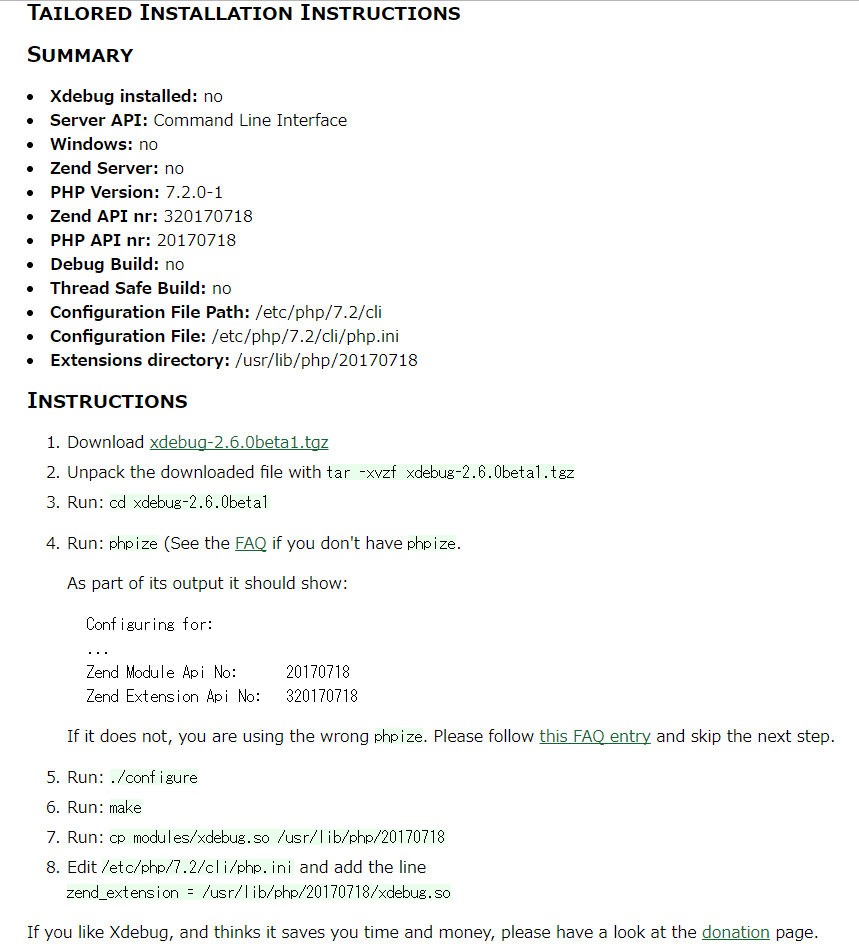
https://xdebug.org/wizard.phpを開き、以下のコマンドの実行結果をすべて貼り付けると、推奨されるXdebugと、そのインストール手順を教えてくれるのでこれを利用します。
php-fpm7.2 -i
自分の環境で貼り付けた結果です。
インストール後、再びphp-fpm7.2 -iを実行し、以下のようなXdebugに関する情報が出力されればインストール成功です。
xdebug
xdebug support => enabled
Version => 2.6.0beta1
IDE Key => vagrantSupported protocols => Revision
DBGp - Common DeBuGger Protocol => $Revision: 1.145 $Directive => Local Value => Master Value
xdebug.auto_trace => Off => Off
xdebug.cli_color => 0 => 0
xdebug.collect_assignments => Off => Off
~
Xdebugの設定
次にXdebugの設定を行います。
php.iniに書いてもいいですが、今回は別ファイルに分けて書きます。
sudo vi /etc/php/7.2/fpm/conf.d/20-xdebug.ini
xdebug.remote_enable = 1
xdebug.remote_autostart = 1
xdebug.remote_connect_back = 1
xdebug.remote_port = 9001
remote_portはデフォルトでは9000ですが、なぜか9000では繋がらないため9001に変更しています。
設定を反映させるためにvagrant reloadで再起動してください。
以上でHomestead側の設定は完了です。
Visual Studio Codeの設定
続いてVSCodeの設定に入ります。
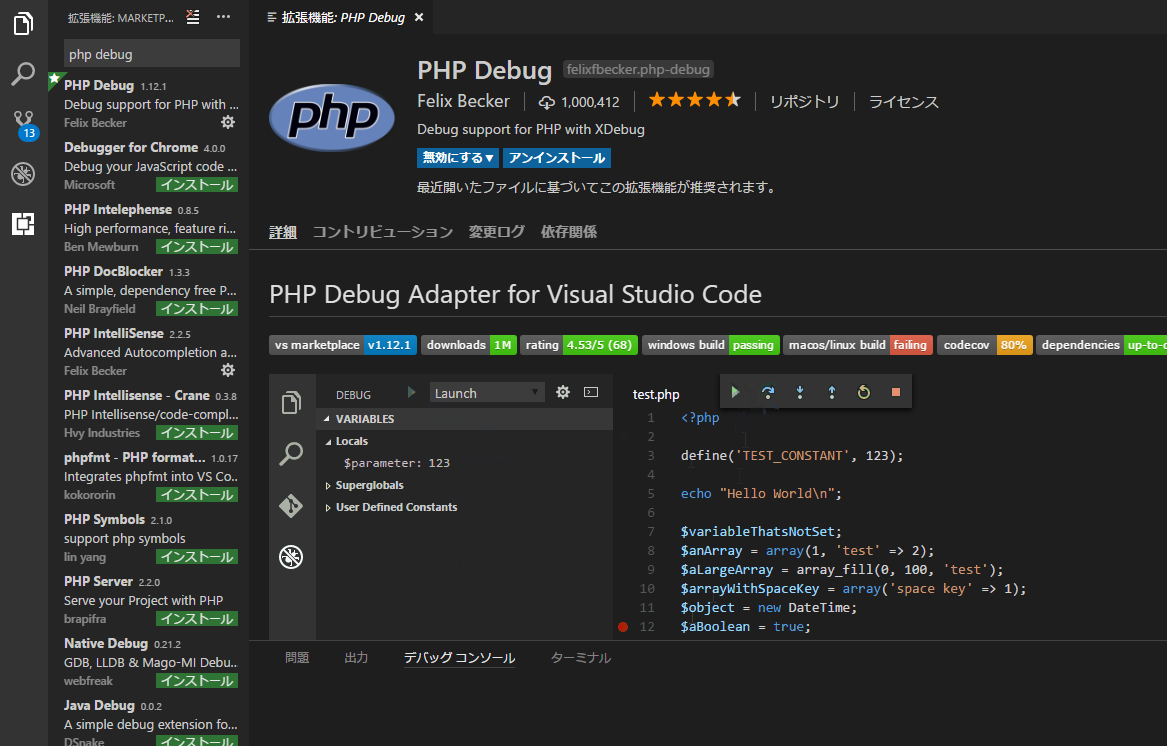
まず拡張機能である「PHP Debug」をインストールします。
次にデバッグしたいプロジェクトをVSCodeで開き、F5キーを押します。
すると環境を選択するように言われるので、PHPを選択します。

PHPを選択すると、launch.jsonが自動的に生成されるので、ポート番号をHomesteadと合わせたりします。
pathMappingsのところは適宜読み替えてください。
{
    "version": "0.2.0",
    "configurations": [
        {
            "name": "Listen for XDebug",
            "type": "php",
            "request": "launch",
            "port": 9001,
            "pathMappings": {
                "/home/vagrant/code": "${workspaceRoot}"
            }
        },
        {
            "name": "Launch currently open script",
            "type": "php",
            "request": "launch",
            "program": "${file}",
            "cwd": "${fileDirname}",
            "port": 9001
        }
    ]
}
以上ですべての設定完了です!
F5でリモートデバッグを開始し、適当なところにブレークポイントを貼るとちゃんと止まってくれます。変数の中身もみれます。


