目的
下図のような簡易ログインページを作成することを目的とします。
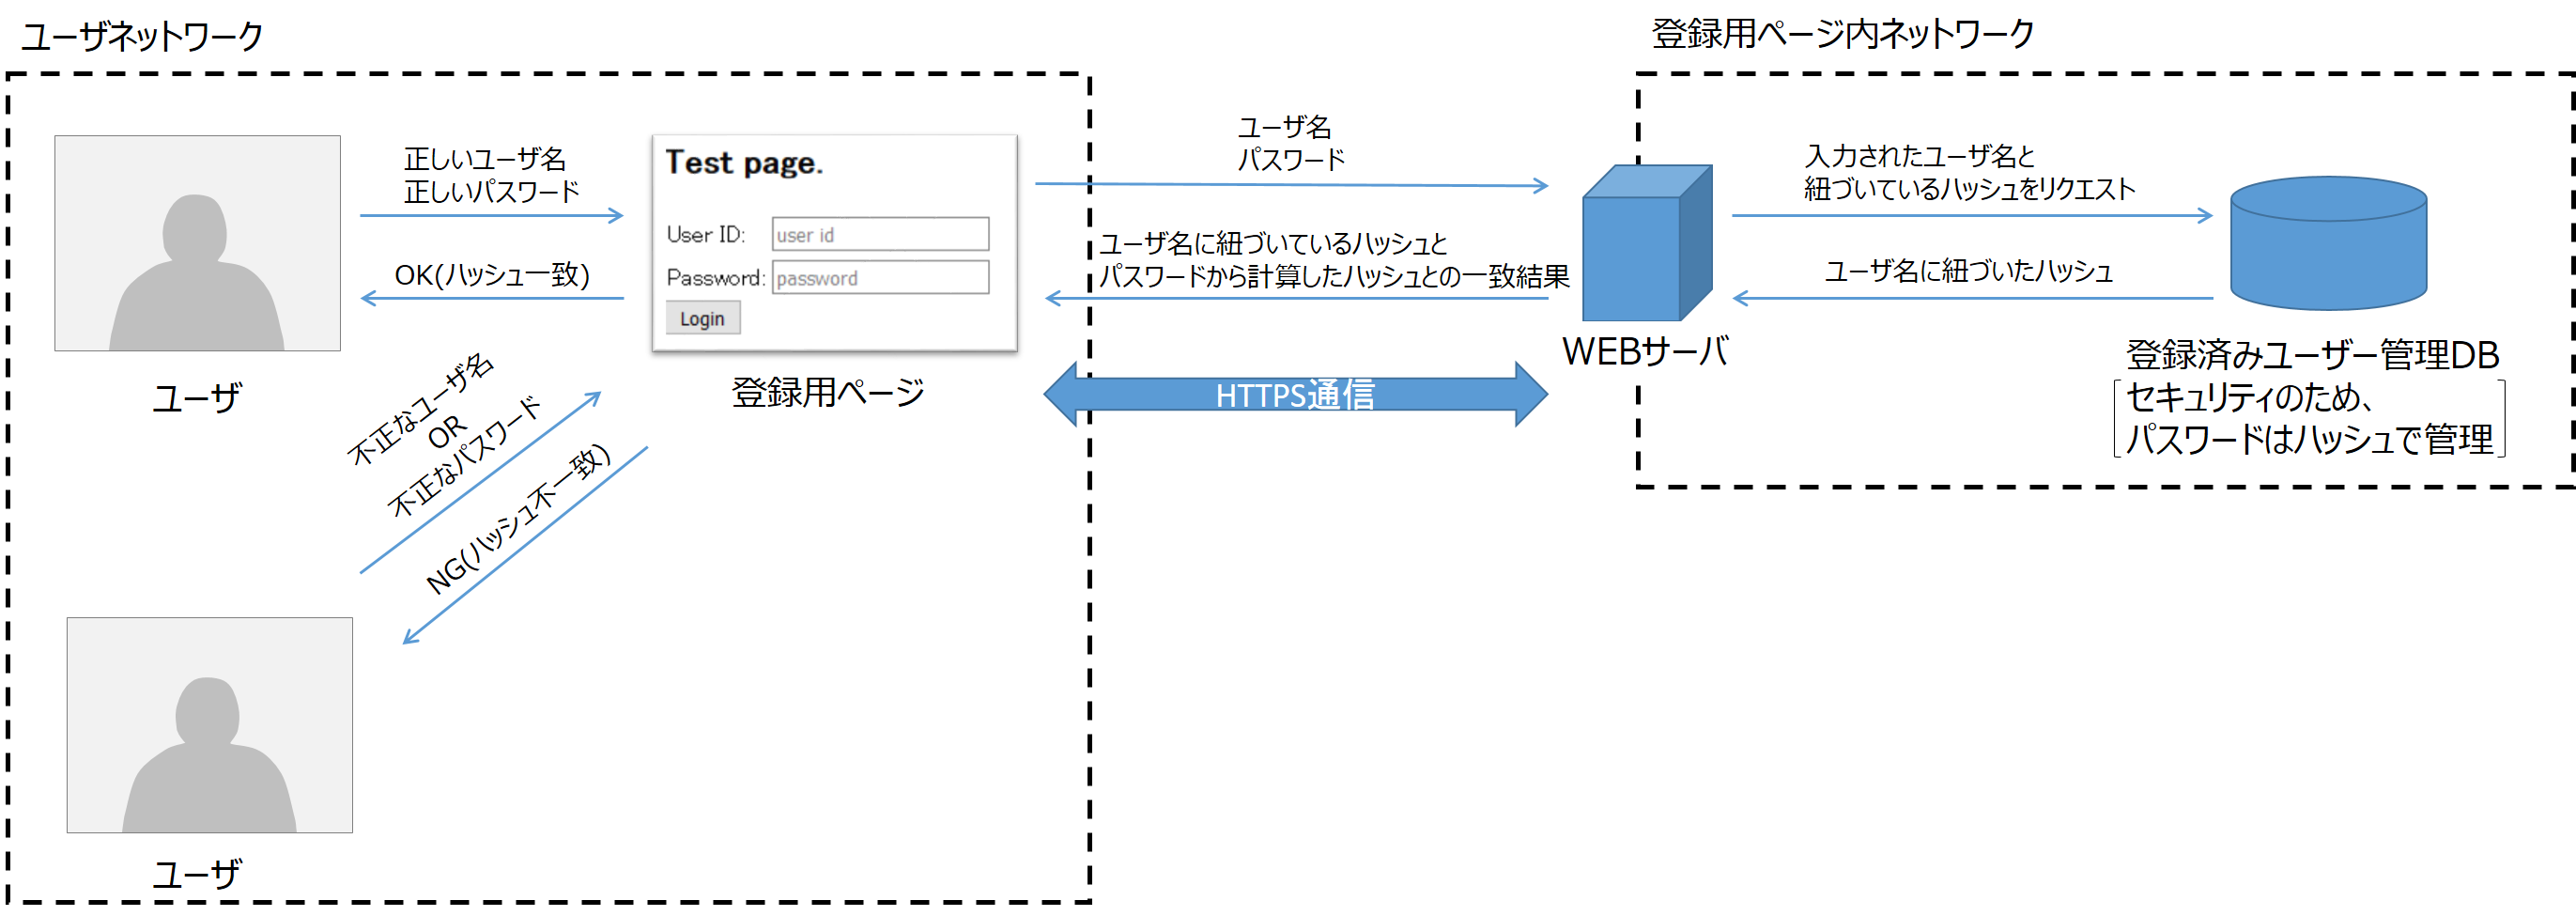
WEBサーバは node.js の Express 、登録用ページは react、登録済みユーザ管理DB には PostgreSQL を使用しました。
上図ではユーザ・WEBサーバ間でHTTPS通信をしていますが、本記事ではHTTP通信をしています。
WEBサーバ構築
node.js の Express を使用します。
まずは localhost:3000 に Express のデフォルトページを表示します。
mkdir tmp
cd tmp/
npm install express --save
npm install experss-generator --save
./node_modules/.bin/express
npm install
npm start
表示できました。
WEBページ構築
react を使用して構築します。
Express では localhost:3000 にアクセスした際、public/index.html がある場合は index.html を表示します。
public/ フォルダ以下に index.html を、public/javascripts/ フォルダ以下に login.jsx を設置します。
それぞれのファイルの中身を以下のように編集します。
<!DOCTYPE html>

<html xmlns="http://www.w3.org/1999/xhtml">
<head>
    <meta charset="utf-8" />
    <title></title>
    <script src="https://fb.me/react-0.13.3.js"></script>
    <script src="https://fb.me/JSXTransformer-0.13.3.js"></script>
    <script src="https://code.jquery.com/jquery-2.1.3.min.js"></script>
</head>
<body id="body">
    <script type="text/jsx" src="javascripts/login.jsx">
    </script>
</body>
</html>
const LoginForm = React.createClass({
    getInitialState: function () {
        return { userID: "", password: "", message: "" };
    },
    updateUserID: function (e) {
        this.setState({ userID: e.target.value });
    },
    updatePassword: function (e) {
        this.setState({ password: e.target.value });
    },
    login: function (e) {
        e.preventDefault();
        const body = { userID: this.state.userID, password: this.state.password };

        $.ajax({
            url: "/api/login",
            dataType: 'json',
            type: 'POST',
            data: body
        })
        .then(
            function (data) {
                if (data.authorized) {
                    this.setState({ message: "Login Succeeded." });
                }
                else {
                    this.setState({ message: "Login Failed." });
                }
            }.bind(this),
            function () {
                console.error("Error");
                console.error(this.props.url);
                console.error(body);
            }.bind(this)
        );
    },
    render: function () {
        return (
            <article>
                <h1>Test page.</h1>
                <form onSubmit={this.login}>
                    <table>
                        <tbody>
                            <tr>
                                <td>User ID: </td>
                                <td><input type="text" placeholder="user id" value={this.state.userID} onChange={this.updateUserID} /></td>
                            </tr>
                            <tr>
                                <td>Password: </td>
                                <td><input type="password" placeholder="password" value={this.state.password} onChange={this.updatePassword} /></td>
                            </tr>
                        </tbody>
                    </table>
                    <input type="submit" value="Login" />
                </form>
                <p>{this.state.message}</p>
            </article>
        );
    }
});

React.render(
    <LoginForm />,
    document.getElementById('body')
);
上記の index.html と login.jsx で表示されるページは以下になります。
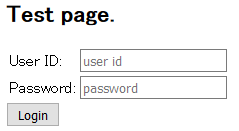
User ID と Password 、それぞれの文字列を json にして /api/login に POST し、結果を受信するプログラムとなっています。
WEB API (login) 作成
app.js を編集して作成します。
処理の流れは、
- User ID と Password を受信し、Password をハッシュ化
- 登録済みユーザ DB で同一の User ID を持つレコードを取得
- ハッシュ化した Password と、取得したレコードの user_password_hash フィールドが一致していればログイン成功。異なるならログイン失敗
となります。
新しく bcryptjs と pg が必要になるので
npm install bcryptjs --save
npm install pg --save
でインストールしてください。
.
.
.
var bcrypt = require('bcryptjs');
var pg = require('pg')
.
.
.
app.use('/users', users);

app.post('/api/login', function (req, res) {
    bcrypt.hash(req.body.password, 10, function (err, hash) {
        pg.connect("http://postgres:test@localhost:5432/postgres", function (err, client) {
            var query = client.query("SELECT * FROM REGISTERED_USERS WHERE USER_NAME = $1;", [req.body.userID]);

            var userInfo = null;
            query.on('row', function (row) {
                // USER_NAME がユニークな前提
                userInfo = row;
            });
            query.on('end', function (row, err) {
                if (userInfo) {
                    bcrypt.compare(req.body.password, userInfo.user_password_hash, function (err, r) {
                        res.send({ authorized: r });
                    });
                }
                else {
                    res.send({ authorized: false });
                }
            });
        });
    });
});

// catch 404 and forward to error handler
.
.
.
登録済みユーザ DB 構築
PostgreSQL を使用して登録済みユーザ DB を構築します。
テーブルの定義を以下に示します。
- REGISTERED_USES テーブル
| 列 | 型 | 修飾語 |
|---|---|---|
| user_name (PRIMARY KEY) | character varying(64) | not null |
| user_password_hash | character varying(64) | not null |
REGISTERED_USERS に挿入するレコードは以下になります。
user_name | user_password_hash
------------+--------------------------------------------------------------
isishizuka | $2a$10$XurU33aLFQEAT5591IlGjuZrJ.W.yOU2mIRsdcgQ23ds2KxJ/i0I.
user_password_hash は、"test" 文字列を bcrypt.hash で予め生成したハッシュを使用しています。
テーブル定義とレコード挿入のコマンドを以下に示します。
CREATE TABLE REGISTERED_USERS( USER_NAME VARCHAR(64) PRIMARY KEY, USER_PASSWORD_HASH VARCHAR(64) NOT NULL );
INSERT INTO REGISTERED_USERS VALUES ( 'isishizuka', '$2a$10$XurU33aLFQEAT5591IlGjuZrJ.W.yOU2mIRsdcgQ23ds2KxJ/i0I.' )
動作
実際に動かしてみます
USER ID | Password
------------+-----------
isishizuka | test
で Login ボタンを押すと
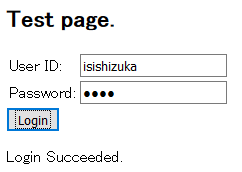
となり、ログインに成功します。
上記以外の組み合わせでは
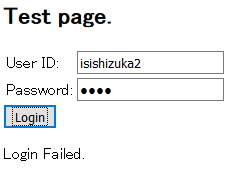
となり、ログインに失敗します。
参考サイト
- [React.js v15 チュートリアル【日本語翻訳】] (http://mae.chab.in/archives/2872)
- [Node.jsで暗号化とハッシュ] (http://qiita.com/_daisuke/items/990513e89ca169e9c4ad)
- [node-postgresモジュールでSQLインジェクション対策] (http://qiita.com/hyakuson/items/68ccdb2e50b45759586e)
- [DB Online PostgreSQLの使い方] (http://www.dbonline.jp/postgresql/)