このシリーズでは何回かに分けてArgoCDの基本的な使い方から各種Deliveryについて解説していきます。具体的な記事構成は以下のようになっています。
- ArgoCDでProgressive Deliveryを実装するまで(1) - 導入編
- ArgoCDでProgressive Deliveryを実装するまで(2) - Blue/Green Deployment編
- ArgoCDでProgressive Deliveryを実装するまで(3) - Blue/Green Deployment Deep Dive編
- ArgoCDでProgressive Deliveryを実装するまで(4) - Canary Release編
- ArgoCDでProgressive Deliveryを実装するまで(5) - Progressive Delivery編
なお、この記事で紹介する内容は以下のリポジトリに格納されていますので必要に応じてご覧ください。
インストール
$ kubectl create namespace argocd
$ kubectl apply -n argocd -f https://raw.githubusercontent.com/argoproj/argo-cd/stable/manifests/install.yaml
ArgoCD Web UIにアクセス
ここでは最も簡単なポートフォワードを利用します。
$ kubectl port-forward svc/argocd-server -n argocd 8080:443
初期ログイン用のパスワードは以下コマンドで取得できます。
(ユーザ名:admin)
$ kubectl -n argocd get secret argocd-initial-admin-secret -o jsonpath="{.data.password}" | base64 -d
以降は作業をコマンドで行い、作業結果をWeb UIで確認していきます。
Gitリポジトリからアプリケーションを作成
コマンドラインからArgoCDにログインします。以下のようにWARNINGが出力されますが、気にせず続行すると認証情報を聞かれるので先程Webの画面で入力したのと同じ内容を入力するとログインが完了します。
$ argocd login localhost:8080
WARNING: server certificate had error: x509: certificate signed by unknown authority. Proceed insecurely (y/n)? y
Username: admin
Password:
次に以下のコマンドでアプリケーションを作成されます。
ArgoCDではデプロイ対象をアプリケーションという単位で設定します。アプリケーションは指定したリポジトリの特定のパスを監視し、変更があると自動で検知してデプロイを実行してくれます。
ここではArgoCDがサンプルとして提供しているguestbookをデプロイ対象としてアプリケーションを設定します。
$ export ARGOCD_OPTS='--port-forward-namespace argocd'
$ argocd app create guestbook --repo https://github.com/argoproj/argocd-example-apps.git --path guestbook --dest-server https://kubernetes.default.svc --dest-namespace default --sync-policy automated
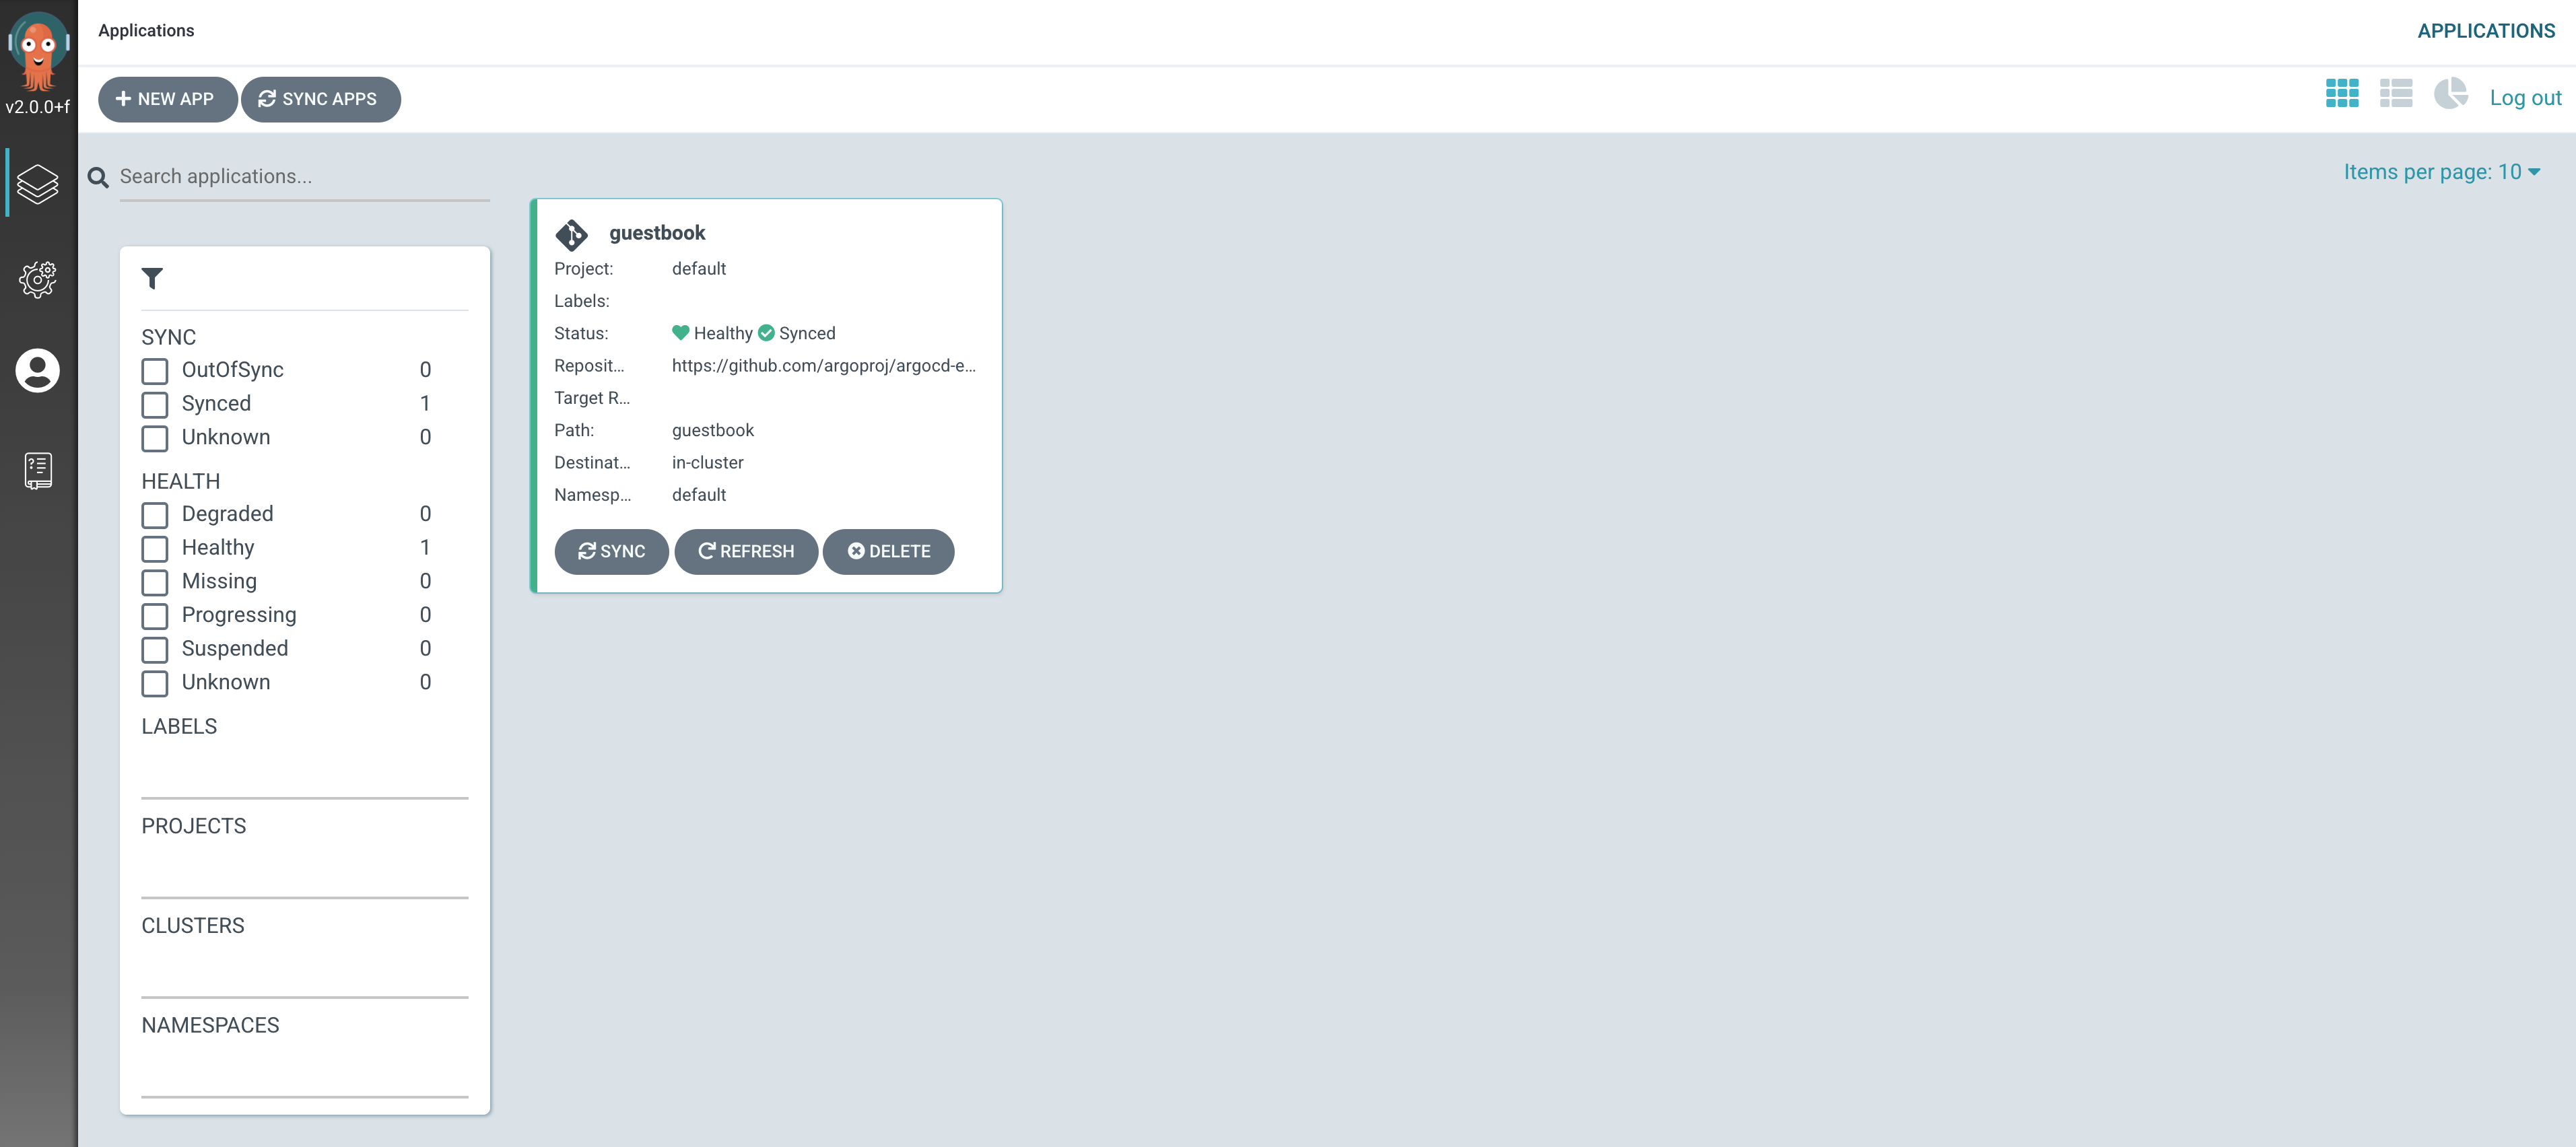
アプリケーションが出来ると、リポジトリに格納されているk8sのマニフェストファイルを参照して以下のように自動的に各種リソースをデプロイしてくれます。
アプリケーションの宣言的管理
上記ではargocdコマンドでアプリケーションを作成しましたが、この方法は宣言的ではありません。実際の運用ではアプリケーションをマニフェストファイルとして設定します。
試しに先ほど作成したguestbookを宣言的にデプロイしてみます。
※上記で作成したguestbookは削除しておいてください(Applicationsの画面から削除できます)
argocd-config.yml
guestbook用のマニフェストファイルを書く前に、アプリケーションを管理するアプリケーションのマニフェストファイルを書きます。
これはArgoCDでApp of Appsという名前で紹介されているパターンで、こうすることで複数のアプリケーションをまとめて管理することができるようになります。
apiVersion: argoproj.io/v1alpha1
kind: Application
metadata:
  name: argocd-config
  namespace: argocd
spec:
  project: default
  source:
    repoURL: https://github.com/ishii1648/example-gitops-apps.git
    targetRevision: main
    path: chapter01/argocd-config
  destination:
    server: https://kubernetes.default.svc
    namespace: argocd
  syncPolicy:
    automated:
      prune: true
      selfHeal: true
※自身の環境で試される場合はrepoURLは自分のリポジトリURLに置き換えてください
guestbook.yml
apiVersion: argoproj.io/v1alpha1
kind: Application
metadata:
  name: guestbook
  namespace: argocd
spec:
  project: default
  source:
    repoURL: https://github.com/argoproj/argocd-example-apps.git
    path: guestbook
  destination:
    server: https://kubernetes.default.svc
    namespace: default
  syncPolicy:
    automated:
      prune: true
      selfHeal: true
ディレクトリ構成
ここでは上記2ファイルを以下のようなディレクトリ構成で配置して、Gitリポジトリに push します。
├ chapter01/
 ├ argocd-config/
    └ argocd-config.yml
    └ guestbook.yml
デプロイ & 動作確認
以下コマンドを実行するとargocd-configとguestbookのアプリケーションが作成されます。
$ kubectl apply -f chapter01/argocd-config/argocd-config.yml
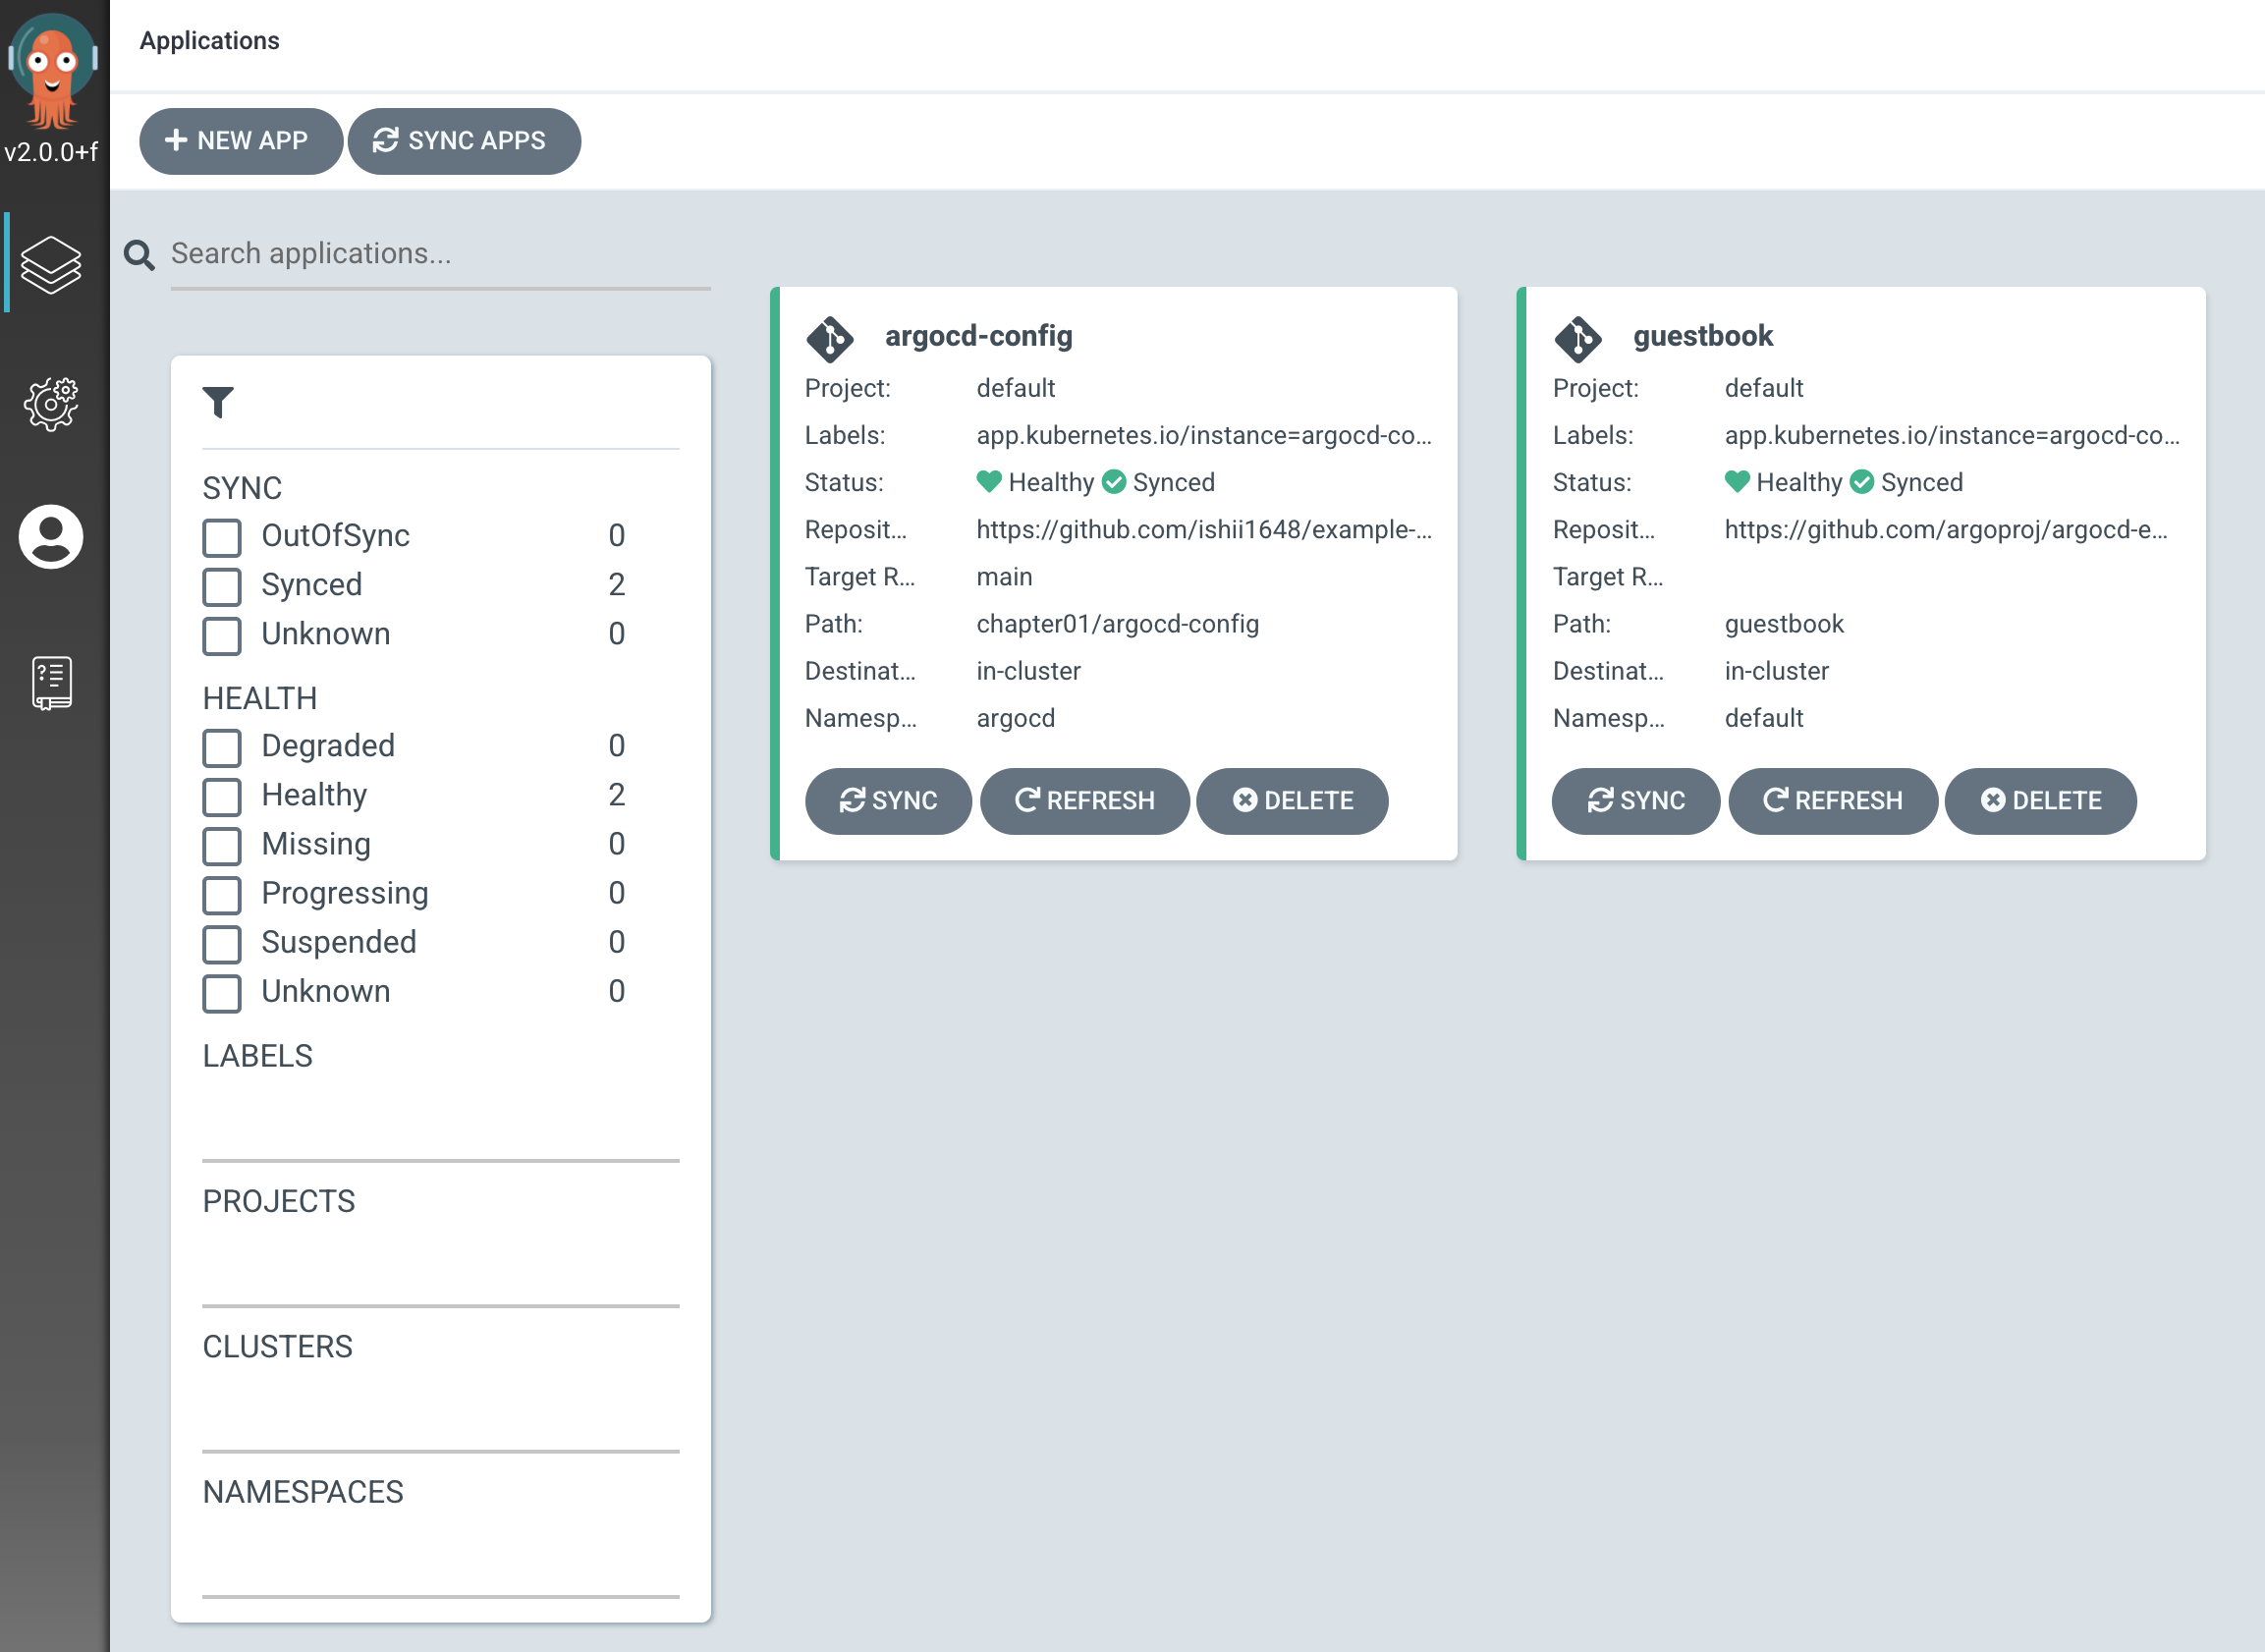
動作順序としては、まずargocd-configが作成され、その後argocd-configが監視しているGitリポジトリのパス(chapter01/argocd-config)にguestbookのマニフェストファイルが格納されている事を検知して、自動でguestbookが作成されます。
以上が「ArgoCDでProgressive Deliveryを実装するまで(1) - 導入編」になります。
次回以降はArgoCDのより実践的な使い方や、高度なデプロイ戦略の実装方法などについて解説していこうと思います。


