前回はArgoCDの導入方法と基本的な使い方を解説しました。
今回は Blue/Green Deployment の実装を解説していくとともに、もう少しArgoCDの実践的な使い方を見ていこうと思います。
- ArgoCDでProgressive Deliveryを実装するまで(1) - 導入編
- ArgoCDでProgressive Deliveryを実装するまで(2) - Blue/Green Deployment編
- ArgoCDでProgressive Deliveryを実装するまで(3) - Blue/Green Deployment Deep Dive編
- ArgoCDでProgressive Deliveryを実装するまで(4) - Canary Release編
- ArgoCDでProgressive Deliveryを実装するまで(5) - Progressive Delivery編
Blue/Green Deployment を実装するために
Blue/Green Deployment はArgo Rolloutsというツールを使うことで実装することができます。
Argo RolloutsはArgoCDと同じArgoプロジェクトでホストされているツールでIngressやService Meshと組み合わせることで Blue/Green Deployment や Canary Release が出来るようになります。
このシリーズではArgo RolloutsとNGINX Ingressを組み合わせる方法を解説していきます。また、インフラ環境は Google Cloud を使っていきます。
Blue/Green Deployment の実装
ディレクトリ構成は以下になります。
├ chapter02/
 ├ argocd-config/
    └ argocd-config.yml
    └ argo-rollout.yml
    └ blue-green.yml
    └ ingress-nginx.yml
また、実際の設定ファイル一覧は以下リポジトリに格納しています。
ingress-nginx.yml
apiVersion: argoproj.io/v1alpha1
kind: Application
metadata:
  name: ingress-nginx
  namespace: argocd
spec:
  project: default
  source:
    repoURL: https://github.com/kubernetes/ingress-nginx.git
    targetRevision: helm-chart-3.28.0
    path: charts/ingress-nginx
    helm:
      parameters:
        - name: "controller.admissionWebhooks.enable"
          value: "false"
  destination:
    server: https://kubernetes.default.svc
    namespace: ingress-nginx
  syncPolicy:
    automated:
      prune: true
      selfHeal: true
    syncOptions:
      - CreateNamespace=true
まずはArgo Rolloutsを使うために必要なNGINX Ingressをデプロイする設定ファイルです。
前回の記事では通常のk8sマニフェストファイルが格納されているリポジトリを spec.source.repoURL として指定していましたが、今回は Helm のテンプレートを利用しています。
ArgoCDでは Helm や Kustomize のテンプレートも利用することができて、 Helm の場合は以下のようにパラメータを指定することもできます。
また、今回は default ではない専用の namespace にデプロイしたかったので、 spec.destination.namespace に ingress-nginx を spec.snycOptions で CreateNamespace=true を指定しています。こうする事によってArgoCD ingress-nginx namspace の作成とデプロイを同時に行ってくれます。
Helm は便利な反面、宣言的に管理しづらい側面もあるのでこういった書き方で利用できるのはとても便利です。
argo-rollout.yml
apiVersion: argoproj.io/v1alpha1
kind: Application
metadata:
  name: argo-rollouts
  namespace: argocd
spec:
  project: default
  source:
    repoURL: https://github.com/argoproj/argo-helm.git
    targetRevision: master
    path: charts/argo-rollouts
  destination:
    server: https://kubernetes.default.svc
    namespace: argo-rollouts
  syncPolicy:
    automated:
      prune: true
      selfHeal: true
    syncOptions:
      - CreateNamespace=true
こちらも Helm リポジトリを参照しています。
また、spec.source.targetRevision に master を指定していますが、この設定だと参照先のリポジトリの Masterブランチ が進んだタイミングで変更が反映されてしまいます。
Argoプロジェクトのブログにて 5 GitOps Best Practices でも言及されていますが、外部環境の変化によってマニフェストが書き換わってしまうことは避けるべきなので、実際の運用では Gitタグ を指定するなどしてバージョンを固定する必要があります。
※今回は検証用コードなので細部は無視します
blue-green.yml
apiVersion: argoproj.io/v1alpha1
kind: Application
metadata:
  name: blue-green
  namespace: argocd
spec:
  project: default
  source:
    repoURL: https://github.com/argoproj/rollouts-demo.git
    targetRevision: master
    path: examples/blue-green
  destination:
    server: https://kubernetes.default.svc
    namespace: default
  syncPolicy:
    automated:
      prune: true
ここが今回の Blue/Green Deployment でもで利用するマニフェストファイルになります。Argoプロジェクトがデモ用に提供してくれているリポジトリがあるのでそちらを参照しています。
一点補足なのですが、このマニフェストファイルのみ spec.syncPlicy.automated.selfHeal を設定していません。
ここが true に設定されていると、ArgoCDがGitリポジトリとKubernetesリソースに差分を検知したタイミングで自動的にデプロイを実施してくれるのですが、以降のデモを進めるのに不都合なので敢えて削っています。
argocd-config.yml
apiVersion: argoproj.io/v1alpha1
kind: Application
metadata:
  name: argocd-config
  namespace: argocd
spec:
  project: default
  source:
    repoURL: https://github.com/ishii1648/example-gitops-apps.git
    targetRevision: main
    path: chapter02/argocd-config
  destination:
    server: https://kubernetes.default.svc
    namespace: argocd
  syncPolicy:
    automated:
      prune: true
      selfHeal: true
こちらは前回の記事で解説しているので説明は省略します。
アプリケーションのデプロイ
以下コマンドで上記マニフェストファイルをデプロイします。
$ kubectl apply chapter02/argocd-config/argocd-config.yml
前回の記事でも触れましたが、argocd-config のみ手動でデプロイすれば後はArgoCDが argocd-config で指定しているリポジトリに配置してあるマニフェストファイルを自動でデプロイしてくれます。
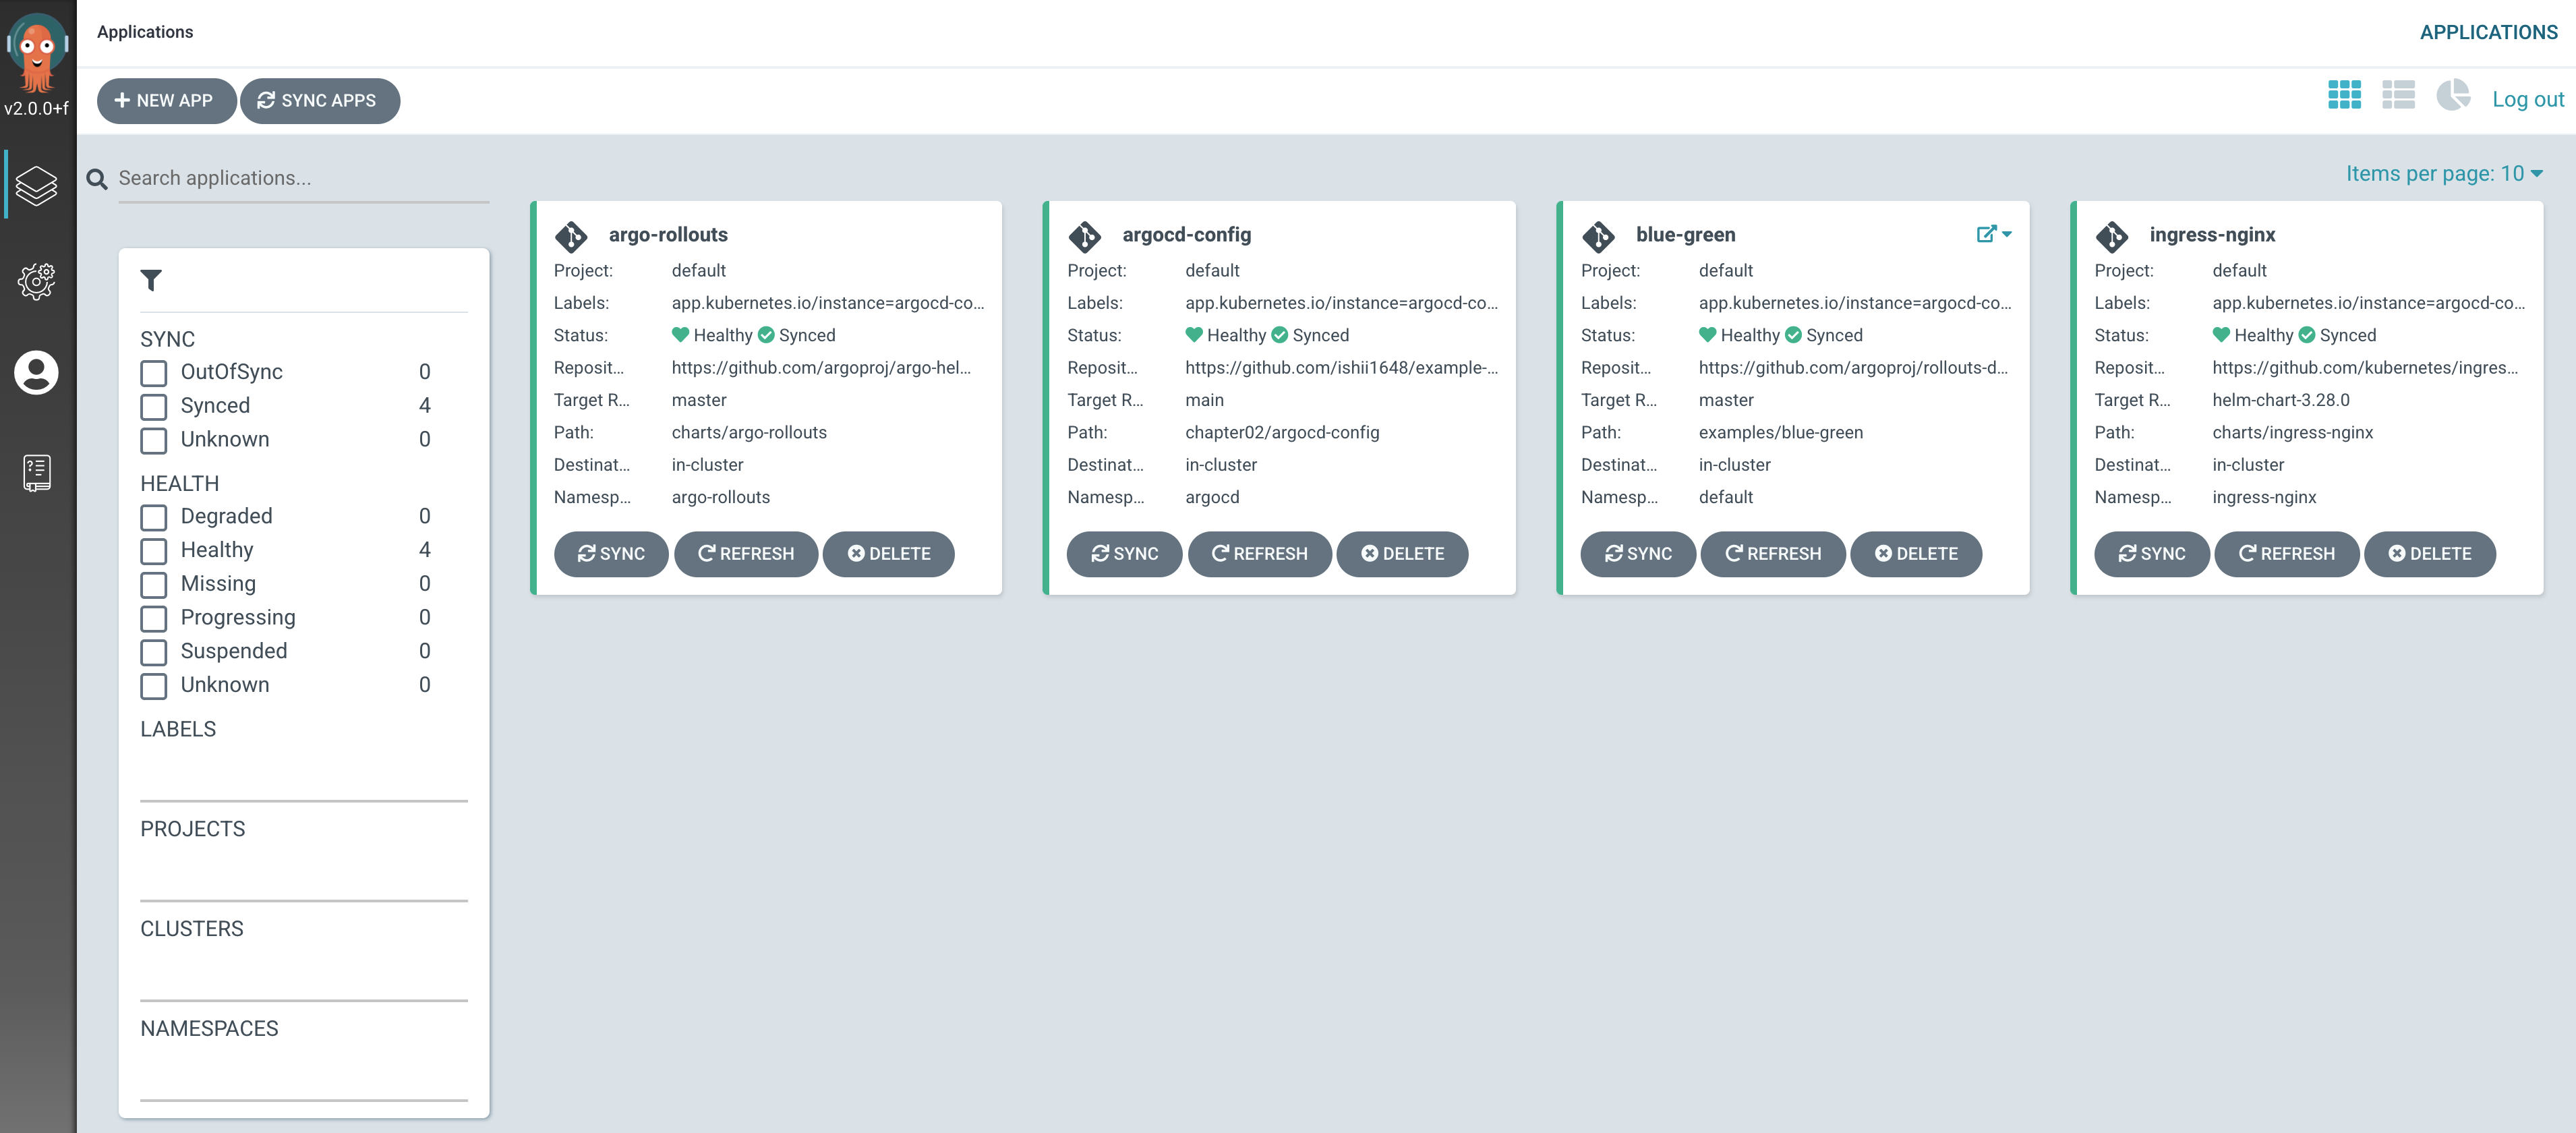
デプロイが完了するとArgoCDの画面は以下のようになっているはずです。
Blue/Green Deployment を試してみる
事前準備 & 事前確認
上記マニフェストファイルのなかで Ingress の設定をしているので、クラウド上で LoadBalancer が作成されています。
この LoadBalancer の IP と Ingress で設定されているホスト名を確認して /etc/hosts に追加します。
LoadBalancer の IP を確認
$ gcloud compute forwarding-rules list
NAME                              REGION      IP_ADDRESS      IP_PROTOCOL  TARGET
a58b83c6804de4500ae67c24f98d3d58  asia-east1  35.236.164.44   TCP          asia-east1/targetPools/a58b83c6804de4500ae67c24f
98d3d58
a7836a86f496a41a6abf782bc3a1a91d  asia-east1  35.229.202.197  TCP          asia-east1/targetPools/a7836a86f496a41a6abf782bc
3a1a91d
今回の例だと、 35.236.164.44 が設定すべき IP になります。
※下はkubeviewの IP です
ホスト名を確認
Blue/Green Deployment では、1つの IP に対して本番用とプレビュー用2つのホスト名が付与されます。
上記のマニフェストファイルで参照しているリポジトリを見ると Ingressオブジェクト が以下のように設定されています。
bluegreen-ingress.yaml
apiVersion: networking.k8s.io/v1beta1
kind: Ingress
metadata:
  name: bluegreen-demo
  annotations:
    ingress.kubernetes.io/proxy-body-size: 100M
    kubernetes.io/ingress.class: nginx
    ingress.kubernetes.io/app-root: /
spec:
  rules:
  - host: blue-green.dev.argoproj.io
    http:
      paths:
      - path: /
        backend:
          serviceName: bluegreen-demo
          servicePort: 80
bluegreen-preview-ingress.yaml
apiVersion: networking.k8s.io/v1beta1
kind: Ingress
metadata:
  name: bluegreen-demo-preview
  annotations:
    ingress.kubernetes.io/proxy-body-size: 100M
    kubernetes.io/ingress.class: nginx
    ingress.kubernetes.io/app-root: /
spec:
  rules:
  - host: blue-green-preview.dev.argoproj.io
    http:
      paths:
      - path: /
        backend:
          serviceName: bluegreen-demo-preview
          servicePort: 80
本番用のホスト名が blue-green.dev.argoproj.io でプレビュー用のホスト名が blue-green-preview.dev.argoproj.io となっているので /etc/hosts に設定する内容は以下のようになります。
35.236.164.44 blue-green-preview.dev.argoproj.io
35.236.164.44 blue-green.dev.argoproj.io
画面確認
/etc/hosts を設定したらそれぞれのホスト名にアクセスしてみてください。
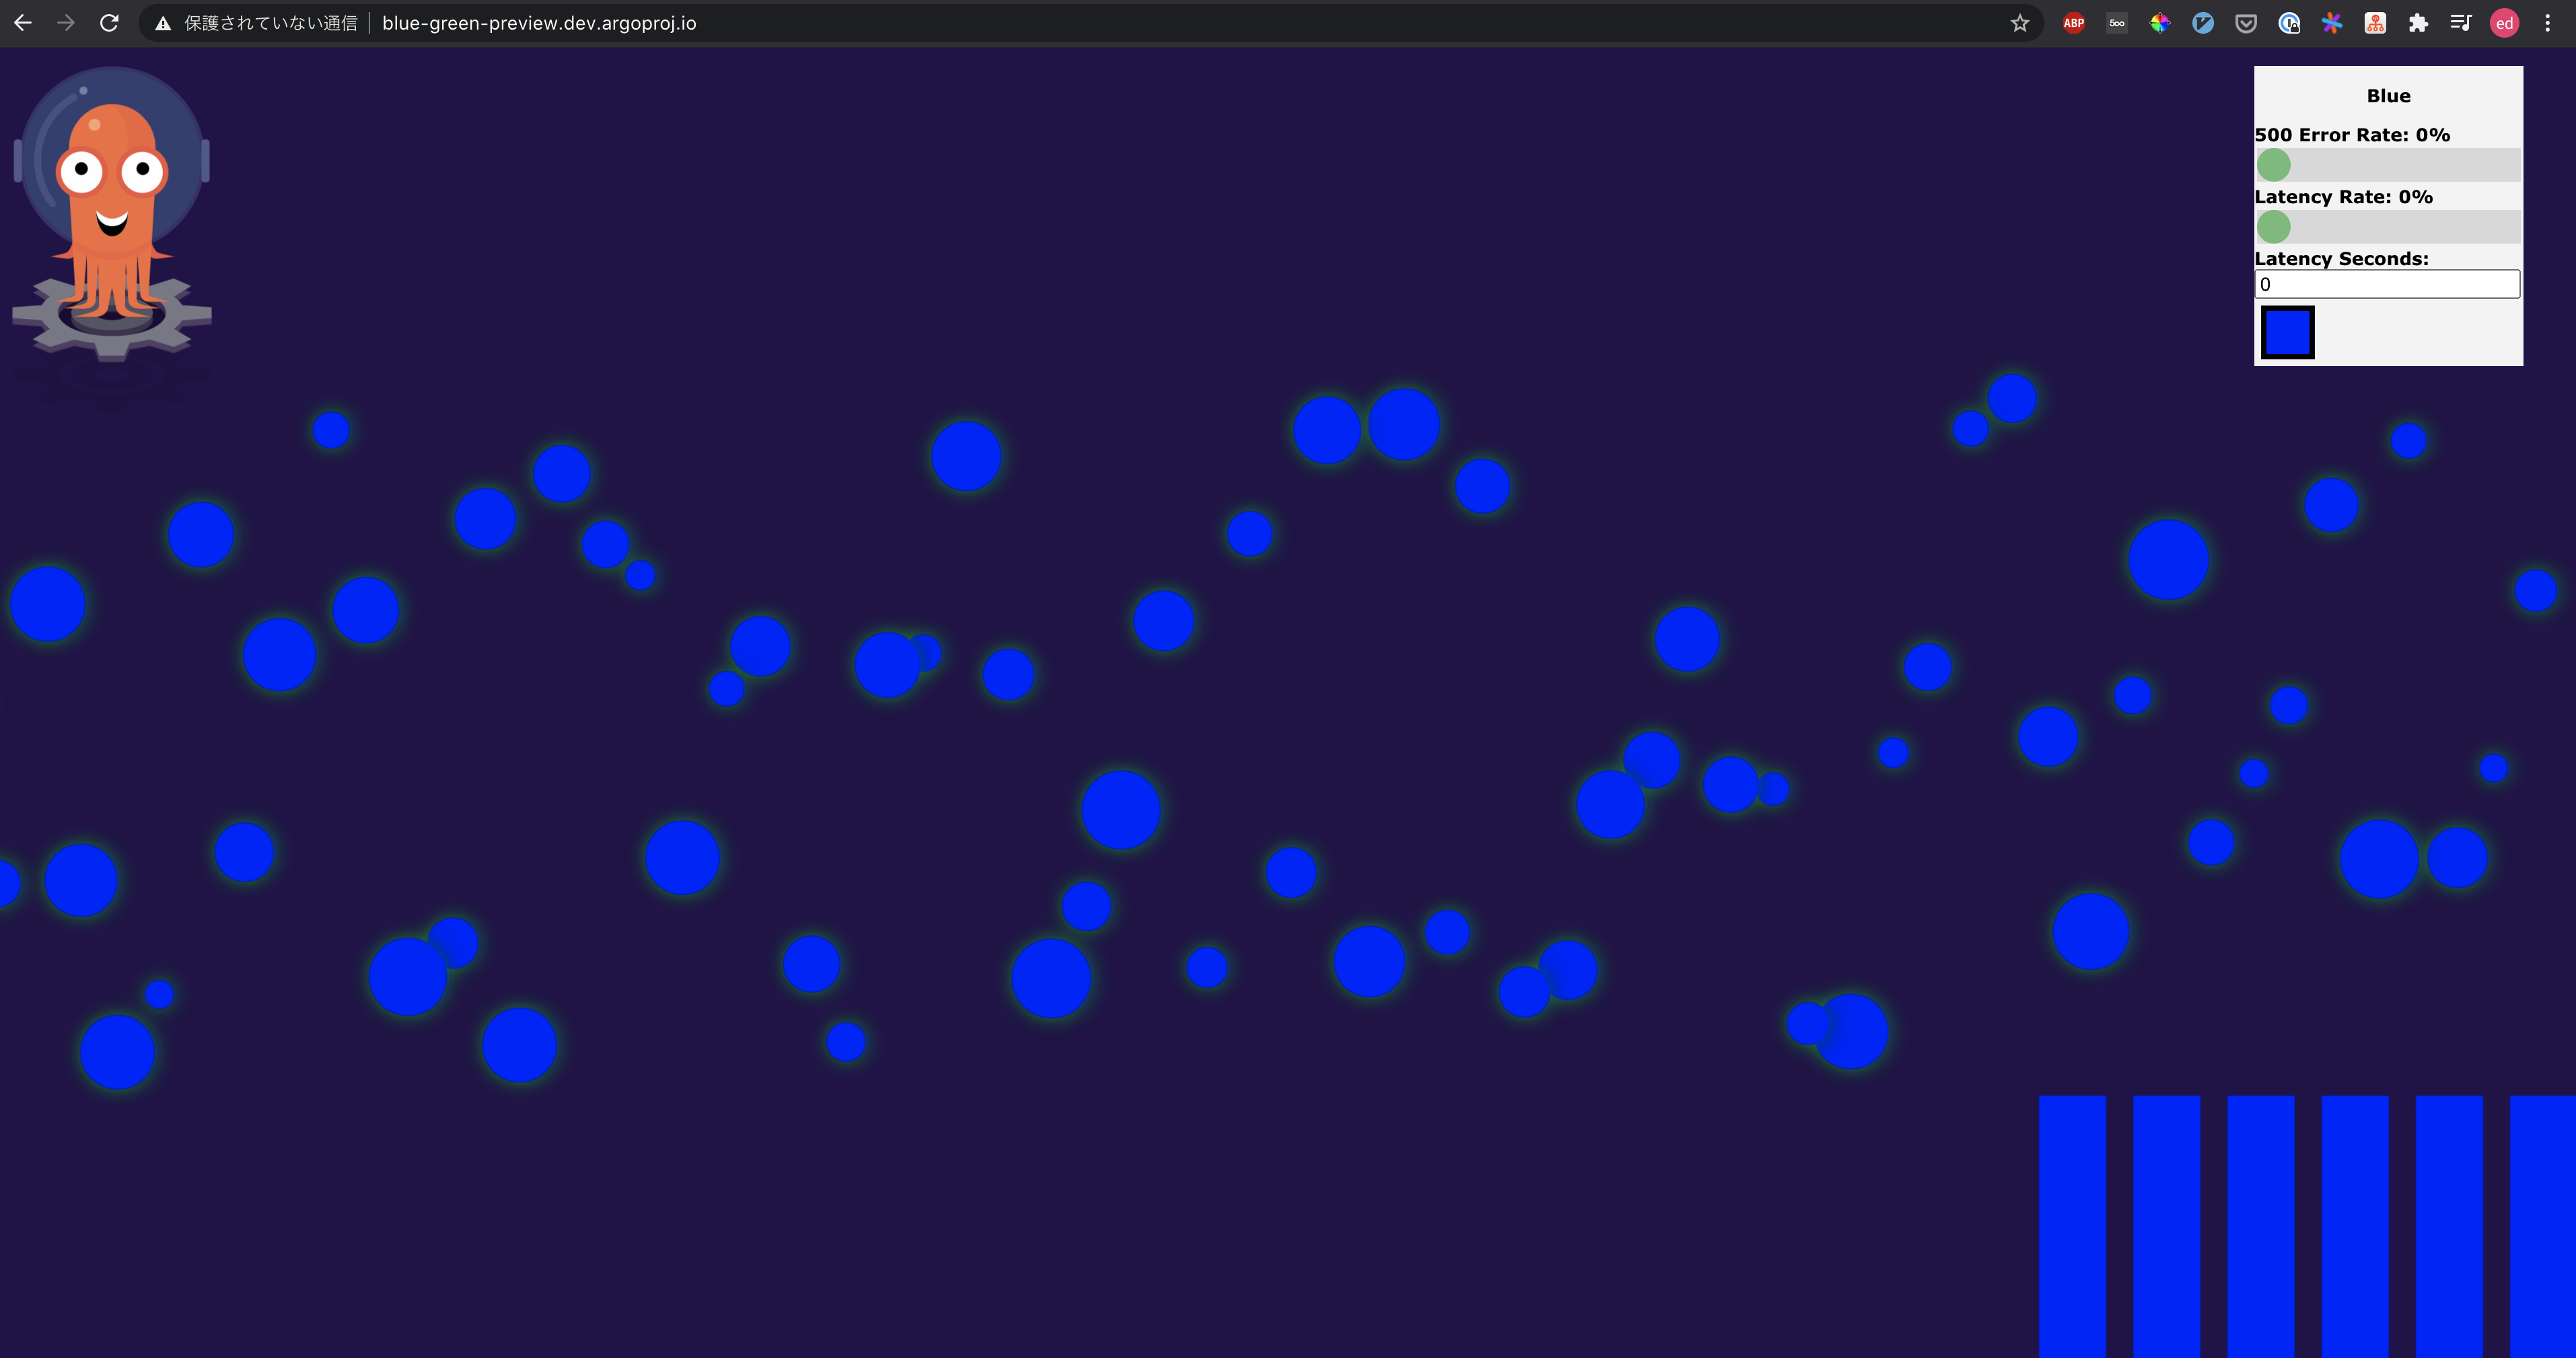
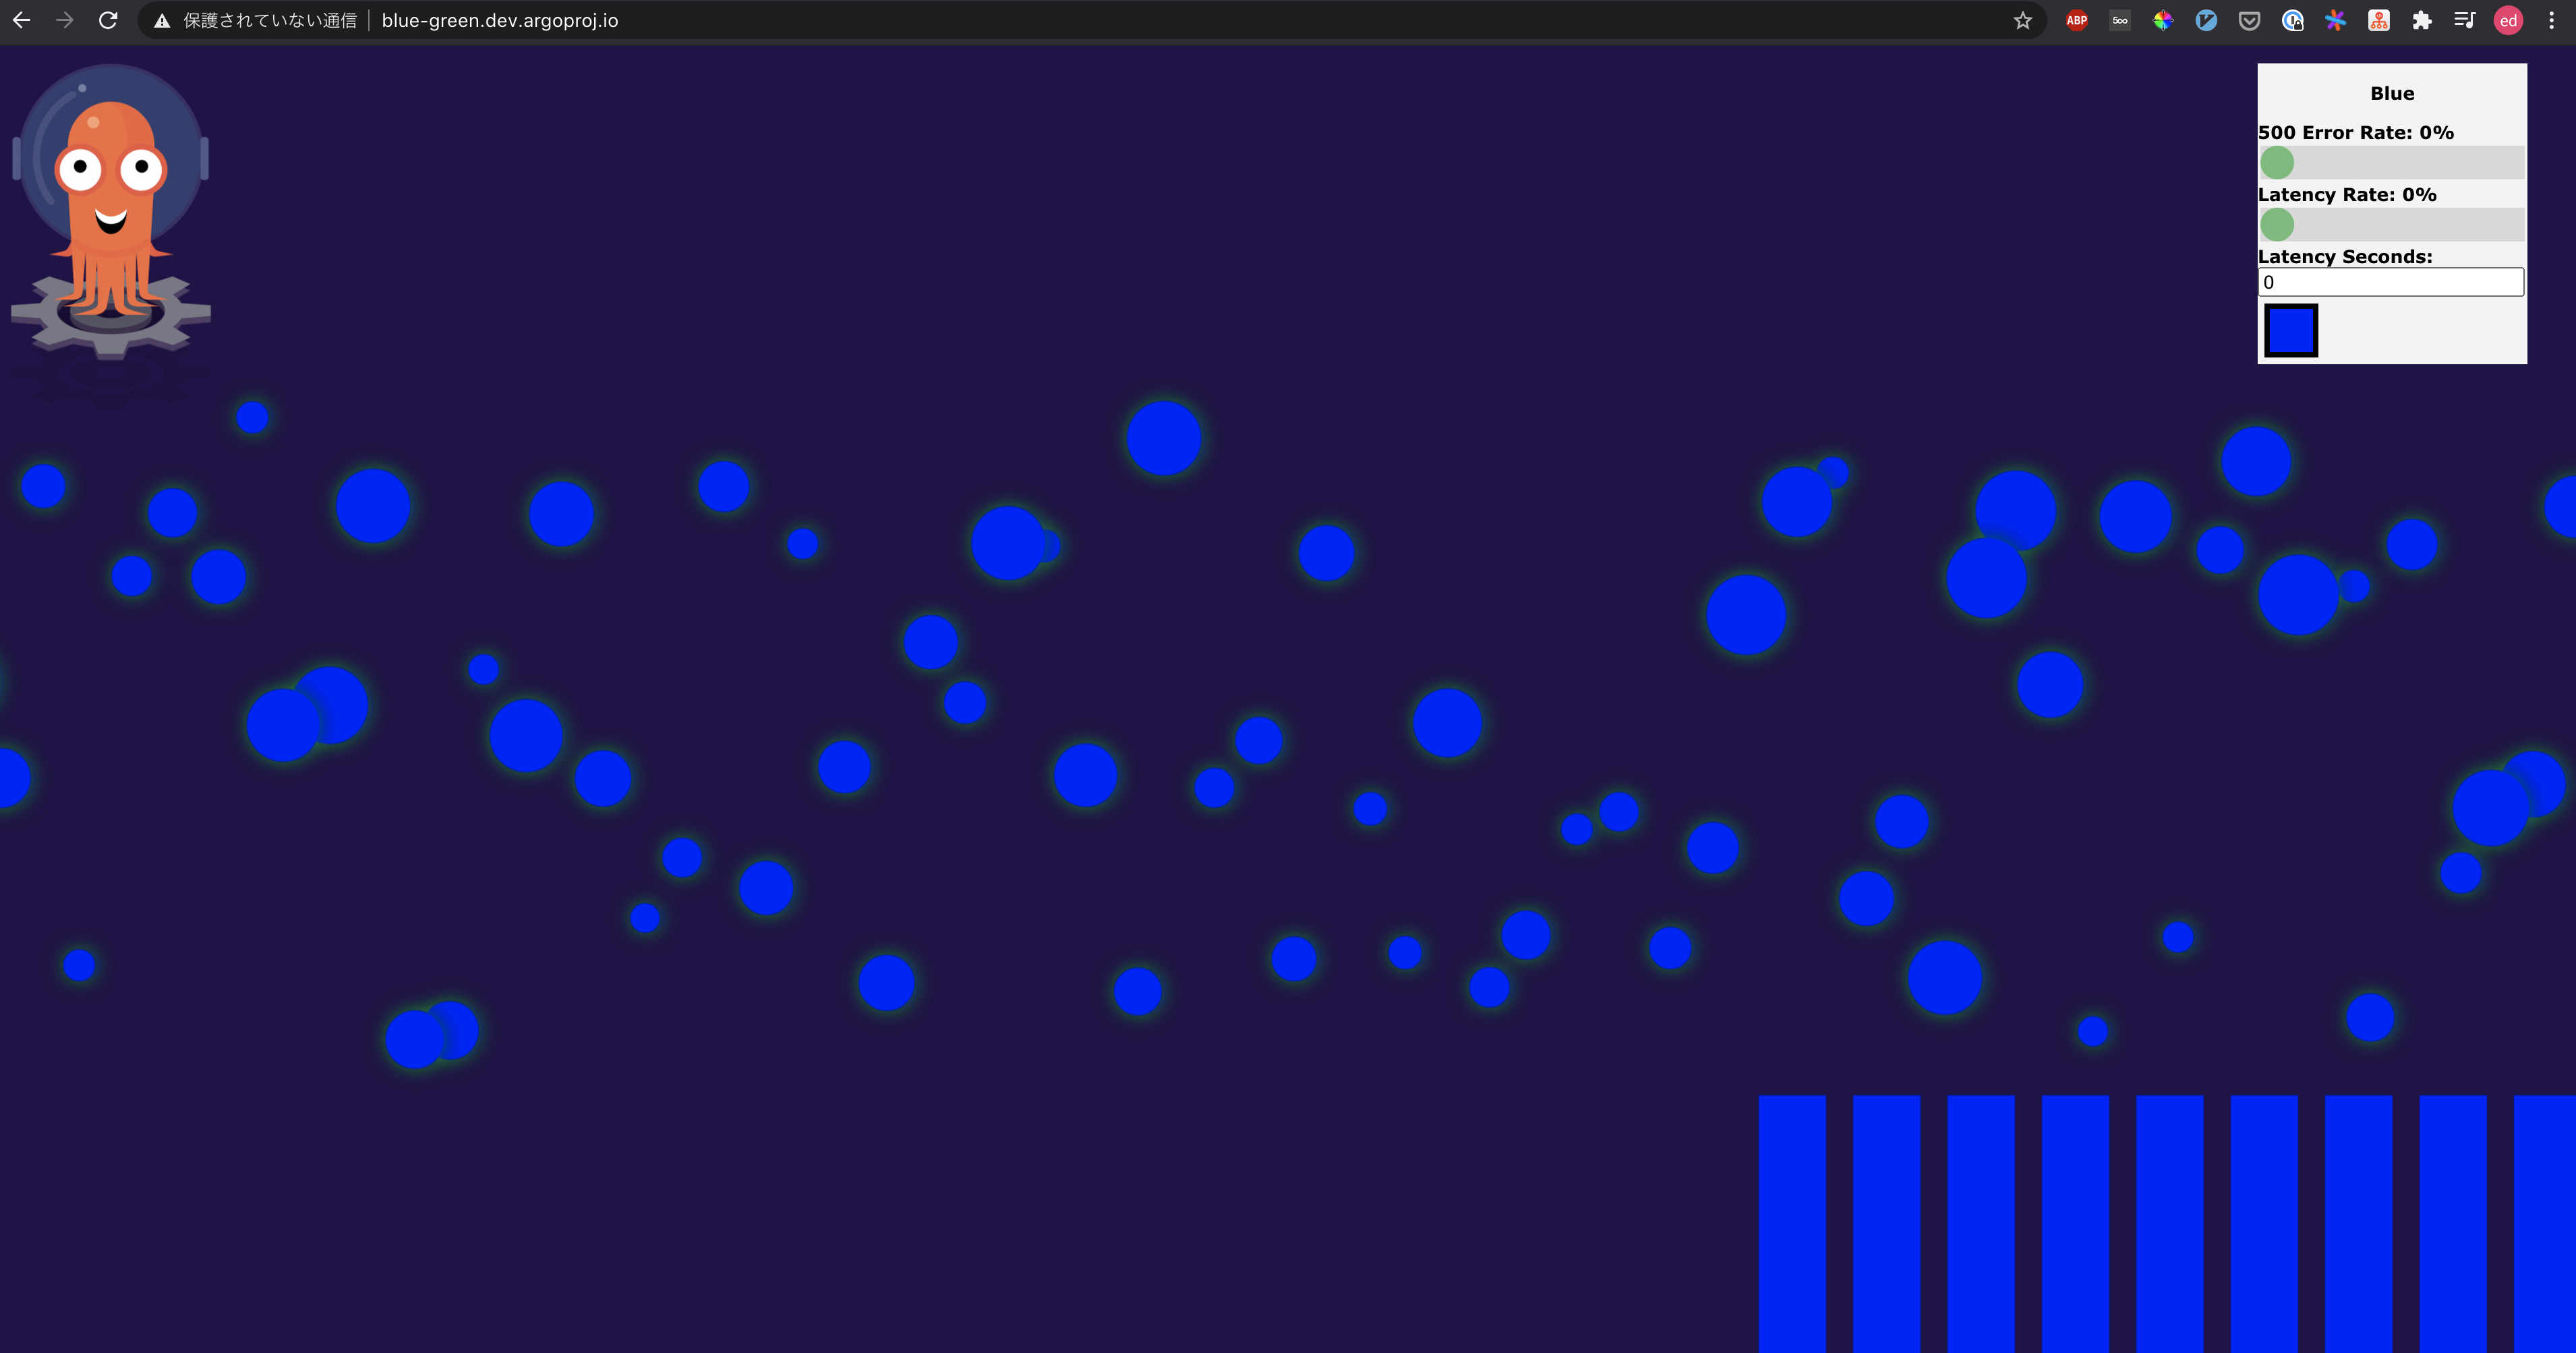
どちらのホスト名でアクセスしたときも以下のように同じような表示になっているかと思います。
この画面が確認できたら、いよいよ Blue/Green Deployment を試していきたいと思います。
Blue/Green Deployment を実行
まずは以下のコマンドでコンテナイメージを差し替えていきます。
$ kubectl argo rollouts set image bluegreen-demo bluegreen-demo=argoproj/rollouts-demo:green
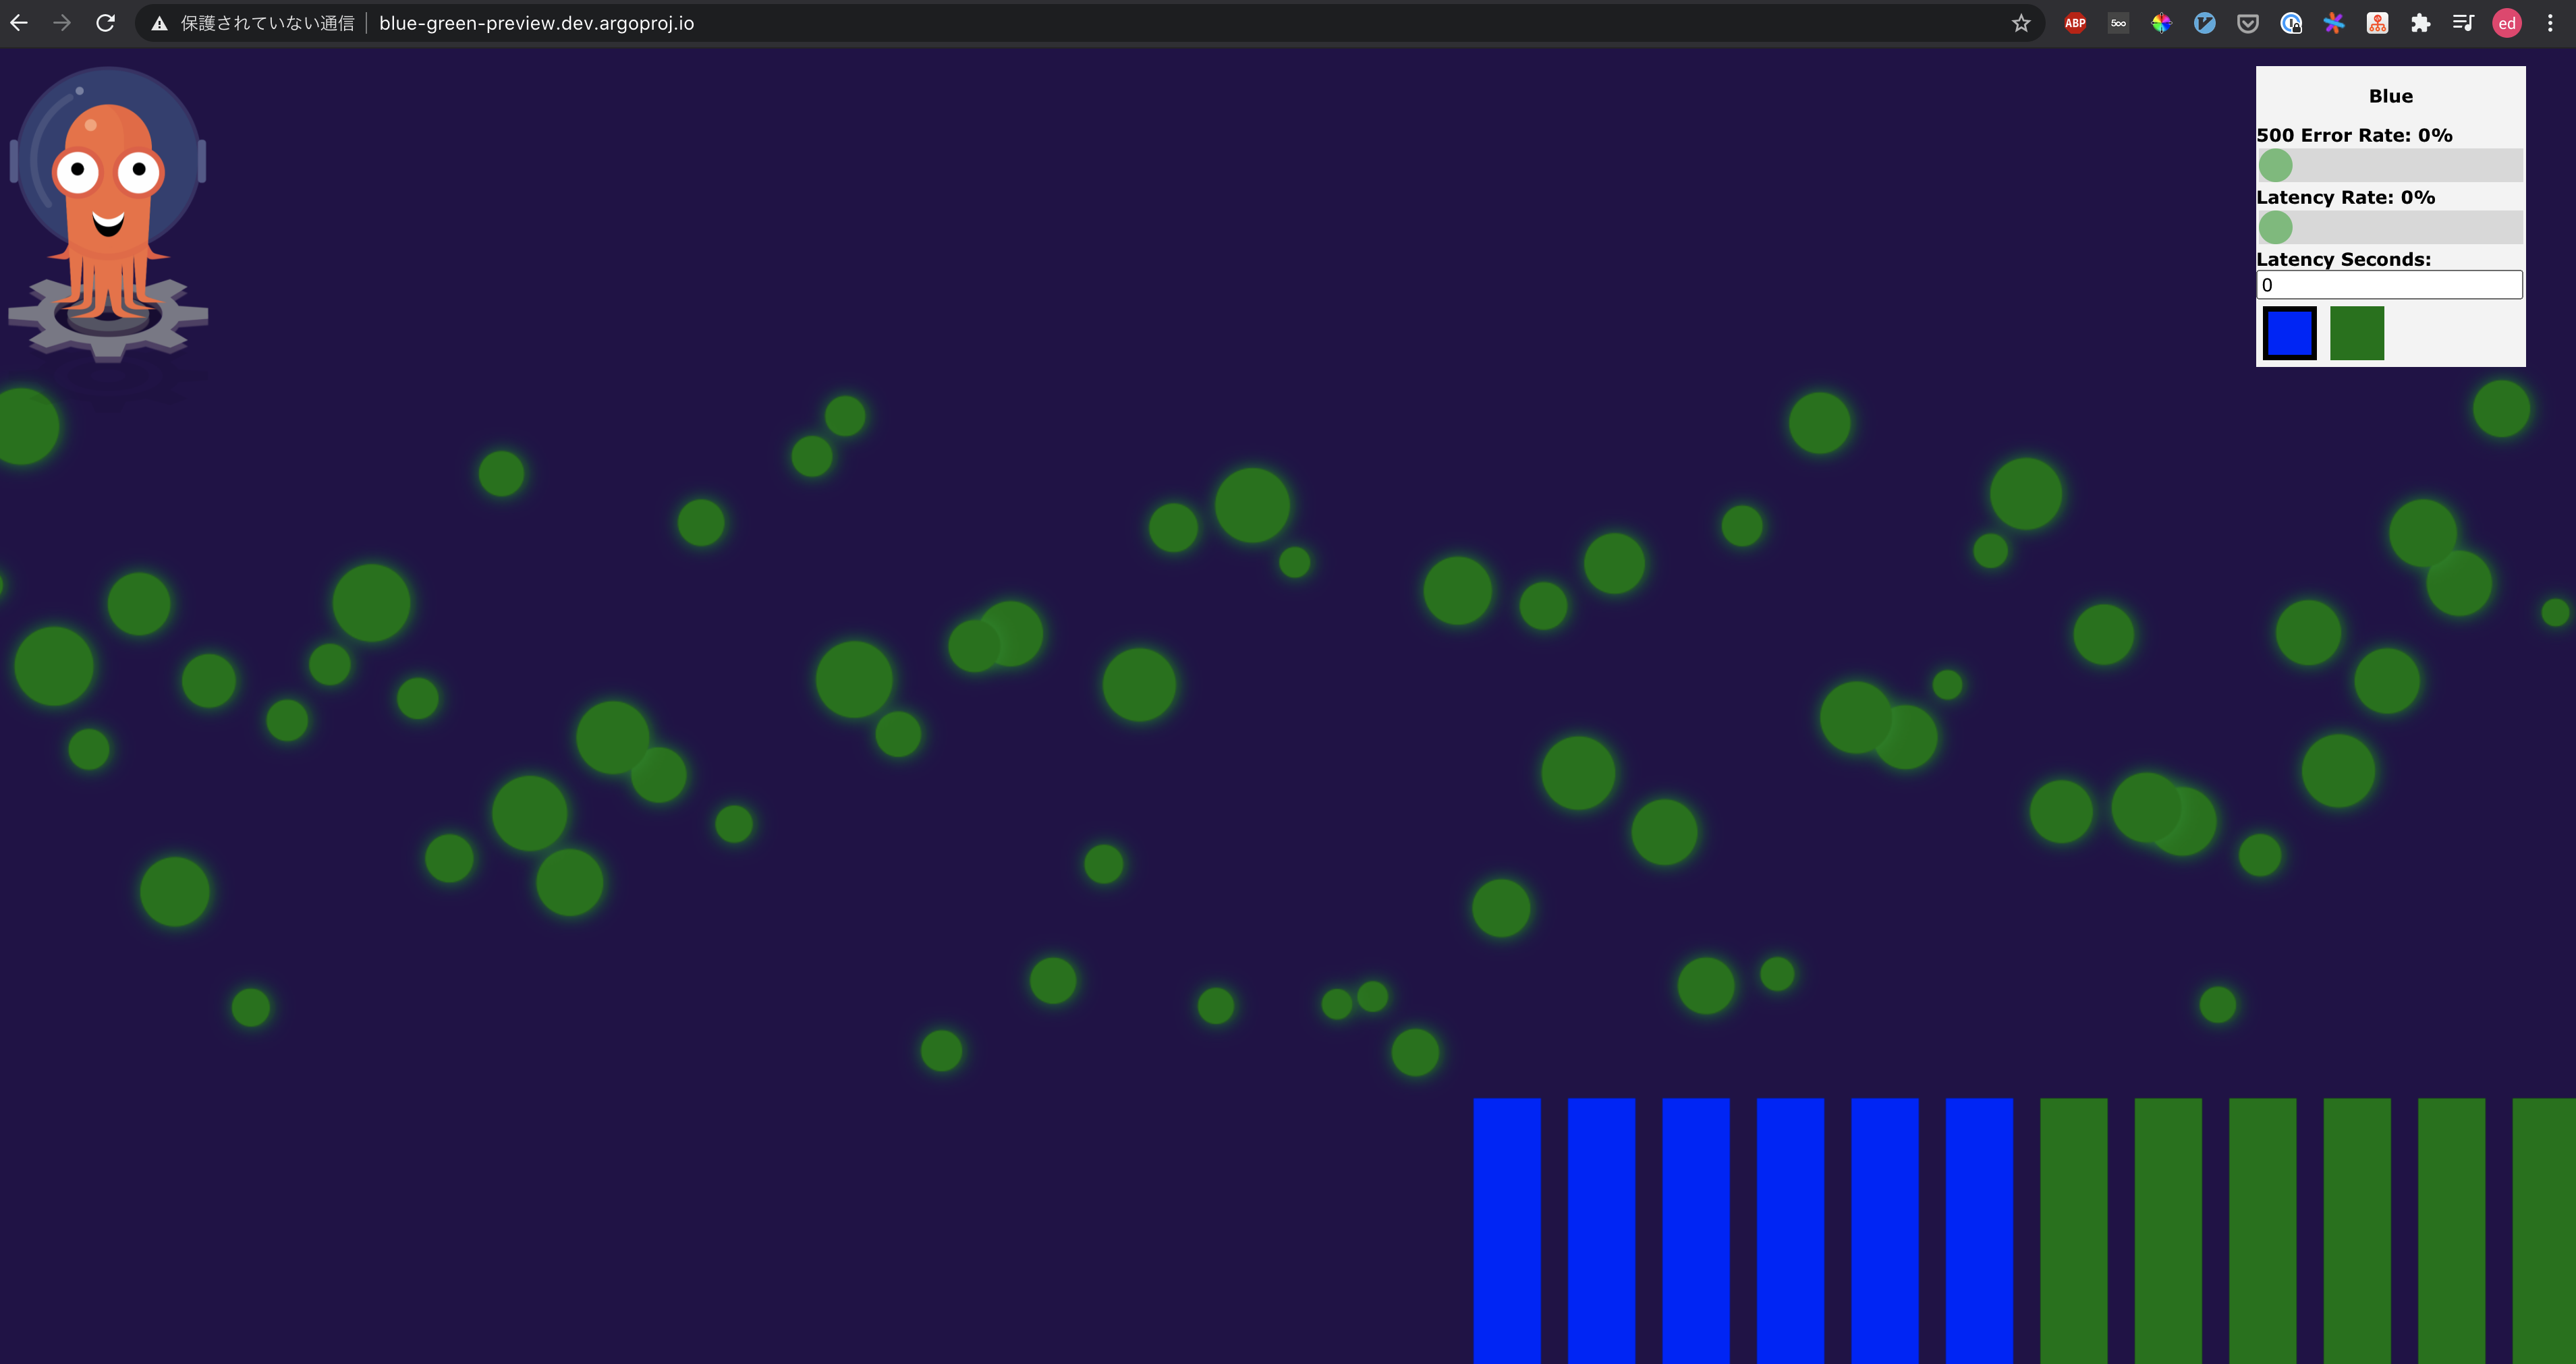
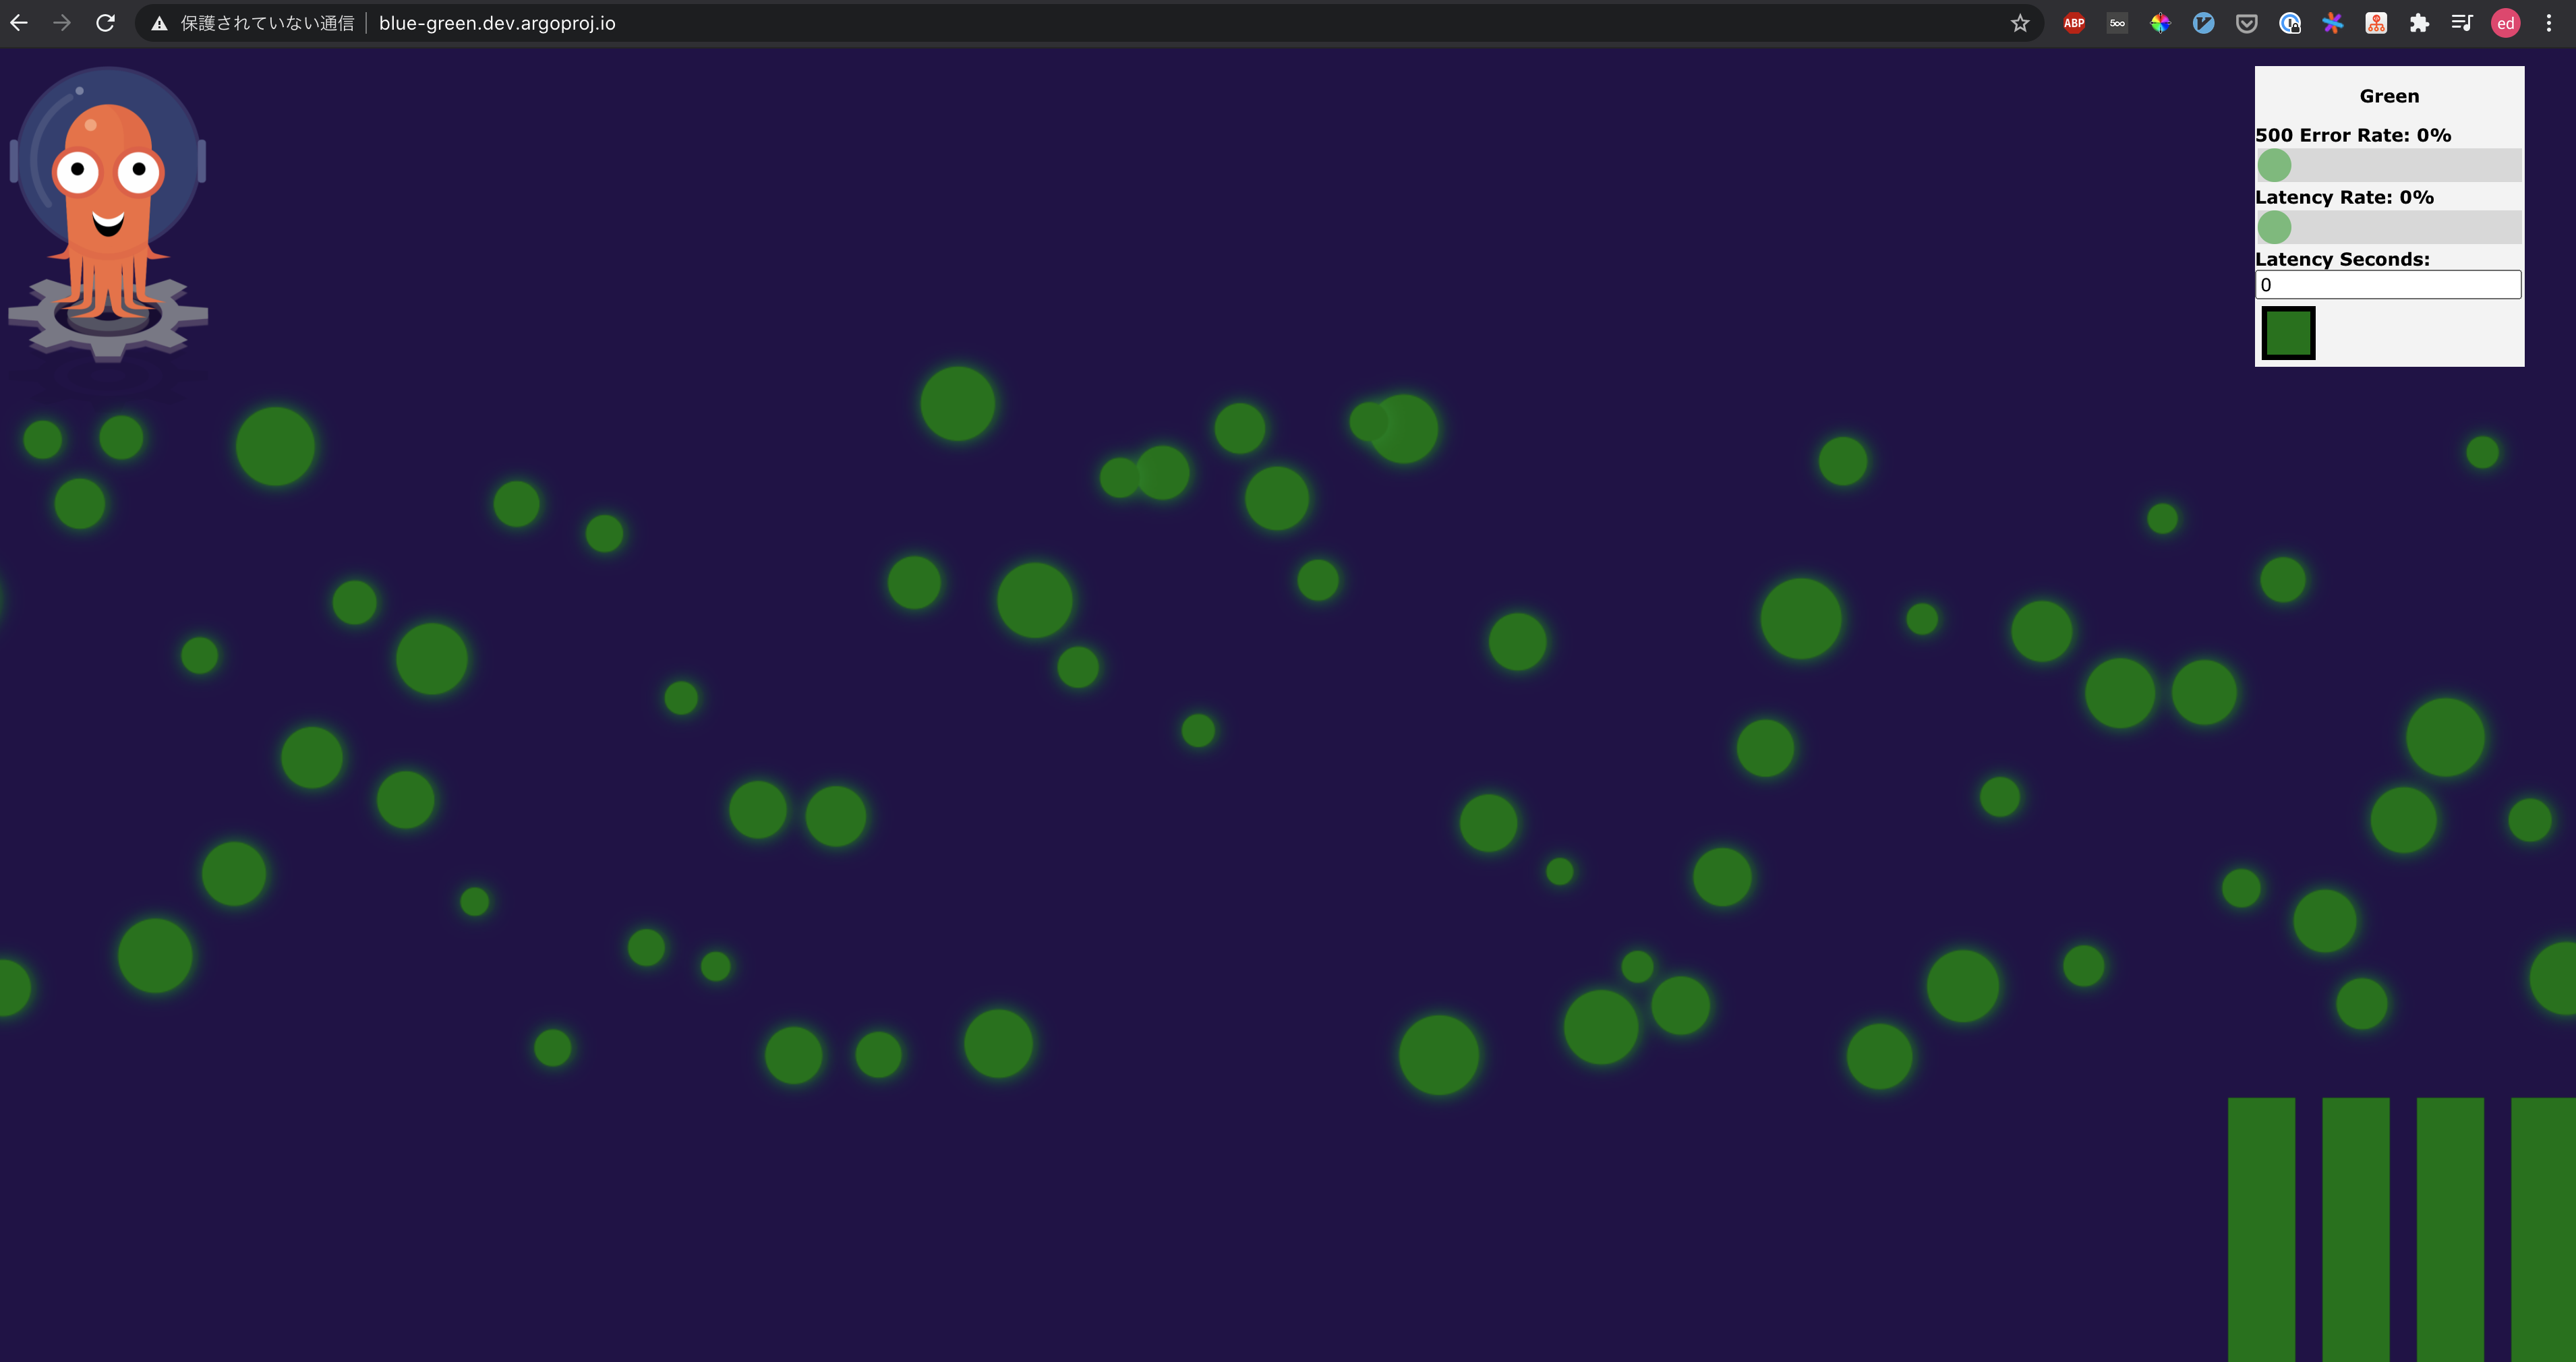
実行後プレビュー用のホスト名でアクセスした場合のみ表示が切り替わります。本番用のホスト名でアクセスした場合は先程の画面と変わりません。
プレビュー用のホストで画面表示がされている事を確認したら、次のコマンドで本番ホストにも変更を反映します。
$ kubectl argo rollouts promote bluegreen-demo
すると本番ホストでもプレビュー同様に表示が切り替わります。
以上がArgo Rolloutsで実装する Blue/Green Deployment になります。
Argo Rolloutsを導入すると Blue/Green Deployment が直感的に実装できるので比較的分かりやすかったのではないかと思います。全体的な動きを掴んでもらうことを目的としたためArgo Rolloutsの具体的な設定など、細部の説明をかなり省略してしまったため、もう少し詳しい内容に興味のある方は後続の記事もご覧ください。
