今回は前回のスクレイピングプログラムをクラウドに載せて自動実行させることを目指しますが、まずはクラウドにテスト用PGMを載せて、正常稼働させるところまで持っていきます。
Pythonでのウェブスクレイピング学習のロードマップ
(1)ローカルでとりあえず目的のブツのスクレイピングに成功する。
(2)ローカルでスクレイピングした結果をGoogleスプレッドシートに連携する。
(3)ローカルでcron自動実行を行う。
(4)クラウドサーバー上での無料自動実行に挑戦する。(Google Compute Engine)
(4)-1 クラウドにテスト用PGMを載せて、CloudShell上で正常稼働させる ←いまココ
(4)-2 スクレイピングPGMをリポジトリに追加し、CloudShell上で正常稼働させる。
(4)-3 ComputeEngineのVMインスタンスを作成して、スクレイピングを自動実行させる。
(5)クラウド上で、サーバーレスでの無料自動実行に挑戦する。(たぶんCloud Functions + Cloud Scheduler)
GCPに資源を持ち上げる手順
(1)gitを使って、GCPにgitリポジトリを作成(GitHubのアカウント要)
(2)ローカルにクローンを作成
(3)ローカルのリポジトリにGCPに上げたいプログラムをインデックスに追加しcommit
(4)GCP上のmasterにpush
(1)gitを使って、GCPにgitリポジトリを作成
GcloudSDKを入れていない場合はインストールします。
gcloudlコマンドが、目的のプロジェクトに設定されていることを確認します。(新規プロジェクトはgcloud initコマンドでプロジェクトを設定します。)
16:03:04 [~] % gcloud config list
[core]
account = hogehoge@gmail.com
disable_usage_reporting = False
project = my-hoge-app

Your active configuration is: [default]
Cloud Source Repositoriesに新しいリポジトリを作成します。
16:41:59 [~] %
16:42:00 [~] % gcloud source repos create gce-cron-test
Created [gce-cron-test].
WARNING: You may be billed for this repository. See https://cloud.google.com/source-repositories/docs/pricing for details.
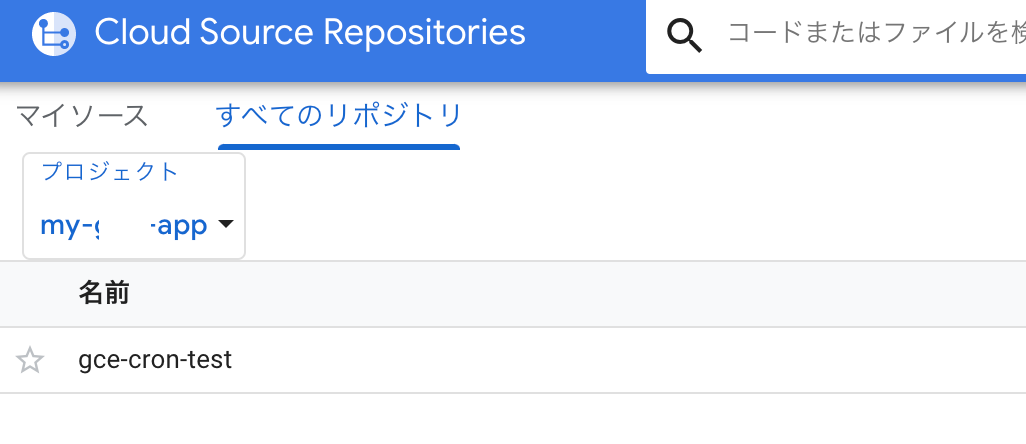
こんな感じで対象のプロジェクトに空のリポジトリが作成されます。

(2)ローカルにクローンを作成
Cloud Source Repositoriesに作ったリポジトリのクローンをローカルに作成します。
16:44:10 [~] %
16:44:10 [~] % gcloud source repos clone gce-cron-test
Cloning into '/Users/hoge/gce-cron-test'...
warning: You appear to have cloned an empty repository.
Project [my-hoge-app] repository [gce-cron-test] was cloned to [/Users/hoge/gce-cron-test].
作成されたローカルレポジトリにpyファイルを格納した状態。(gitリポジトリであることがわかります。)
16:46:15 [~] %
16:46:15 [~] % cd gce-cron-test
16:46:44 [~/gce-cron-test] % ls -la
total 8
drwxr-xr-x   4 hoge  staff   128  9 23 16:45 .
drwxr-xr-x+ 45 hoge  staff  1440  9 23 16:45 ..
drwxr-xr-x   9 hoge  staff   288  9 23 16:45 .git
-rw-r--r--   1 hoge  staff   146  9 21 15:29 cron-test.py
(3)ローカルのリポジトリにGCPに上げたいプログラムをインデックスに追加しcommit
git addコマンドでファイルをインデックスに追加し、
git commitコマンドでローカルリポジトリにコミットします。
16:47:21 [~/gce-cron-test] %
16:47:21 [~/gce-cron-test] % git add .
16:48:03 [~/gce-cron-test] %
16:48:04 [~/gce-cron-test] % git commit -m "Add cron-test to Cloud Source Repositories"
[master (root-commit) 938ea70] Add cron-test to Cloud Source Repositories
 1 file changed, 5 insertions(+)
 create mode 100644 cron-test.py
(4)GCP上のmasterにpush
master(Cloud Source Repositories)にpushします。
16:50:15 [~/gce-cron-test] %
16:50:15 [~/gce-cron-test] % git push origin master
Enumerating objects: 3, done.
Counting objects: 100% (3/3), done.
Delta compression using up to 4 threads
Compressing objects: 100% (2/2), done.
Writing objects: 100% (3/3), 349 bytes | 116.00 KiB/s, done.
Total 3 (delta 0), reused 0 (delta 0)
To https://source.developers.google.com/p/my-hoge-app/r/gce-cron-test
 * [new branch]      master -> master
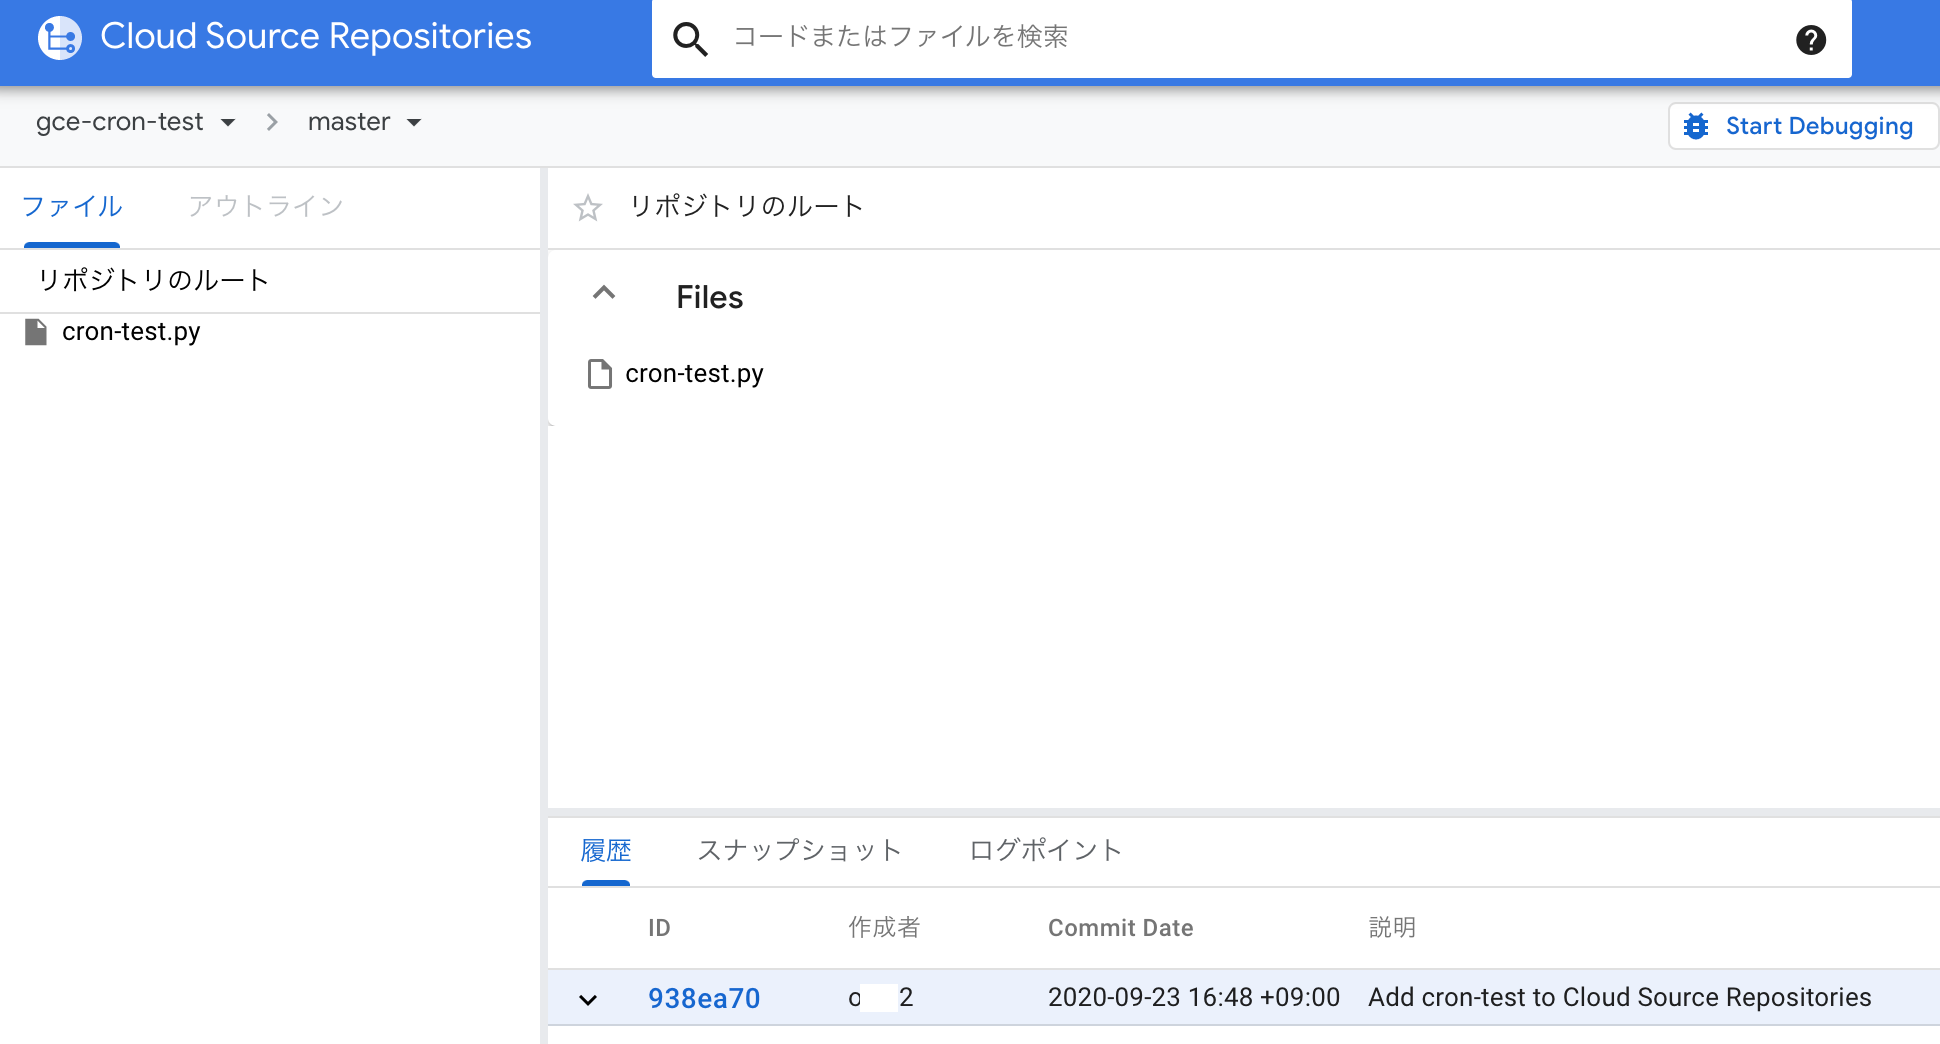
commitのメッセージとともに、masterにpushできたことが確認できます。

CloudShellで稼働確認
GCP上のCloudShellに乗っけてテストして見ます。
目的のプロジェクトを選択してCloudShellを起動します。

ローカルの時と同様、gitリポジトリをmasterからクローンします。
cloudshell:09/25/20 02:59:00 ~ $ gcloud source repos clone gce-cron-test
Cloning into '/home/hoge/gce-cron-test'...
remote: Total 3 (delta 0), reused 3 (delta 0)
Unpacking objects: 100% (3/3), done.
Project [my-xxx-app] repository [gce-cron-test] was cloned to [/home/hoge/gce-cron-test].
クローンされました。
cloudshell:09/25/20 03:01:49 ~ $ cd gce-cron-test
cloudshell:09/25/20 03:02:09 ~/gce-cron-test $ ls -la
total 20
drwxr-xr-x  3 hoge hoge 4096 Sep 23 10:59 .
drwxr-xr-x 13 hoge rvm  4096 Sep 23 11:18 ..
-rw-r--r--  1 hoge hoge  146 Sep 23 09:03 cron-test.py
drwxr-xr-x  8 hoge hoge 4096 Sep 23 09:03 .git
pythonのパスとバージョンを確認しておきます。
この環境には予めpyenvで3.8.5を入れてあります。
cloudshell:09/25/20 03:02:21 ~/gce-cron-test $ which python
/home/hoge/.pyenv/shims/python
cloudshell:09/25/20 03:02:42 ~/gce-cron-test $ python -V
Python 3.8.5
以下の通り、CloudShell上でも、まぁ普通に動きます。
cloudshell:09/25/20 03:02:50 ~/gce-cron-test $ python cron-test.py
2020/09/25 03:03:11 cronが動いた!
cloudshell:09/25/20 03:03:12 ~/gce-cron-test $
ただし、crontabは動きませんでした。
CloudShell環境はインタラクティブな対話型コマンドのみ受け付ける環境のようです。。。
次回は、スクレイピングPGMをリポジトリに追加し、CloudShell上で正常稼働させます。
おまけ:CloudShellについて
CloudShellはgoogleのクラウド上で使えるIDE環境で、5GBのDiskを備える一種の仮想VM環境で、Theiaベースのコードエディターも使えます。
隠しファイルをエディターで編集することも、
$ cloudshell edit $HOME/.bashrc
ダウンロードもできたりします。
$ cloudshell download $HOME/.bashrc
[CloudShell] https://cloud.google.com/shell/?hl=ja
