作業メモです。(2017/09/27 実施)
スクショばっかりでスミマセン。
巷では環境構築でトラブったという噂も耳にしますがとりあえず今現在の最新版を使ったら特にトラブルなくすんなり済みました。
環境
Windows 10 Pro(Creators Update 適用済)
Core i7-3610QM, RAM 16 GB, 64 bit
※ Hyper-V が有効化できないバージョンの Windows だとダメ
Docker for Windows インストール
Docker Toolbox を使うのはもはやレガシー とのこと。
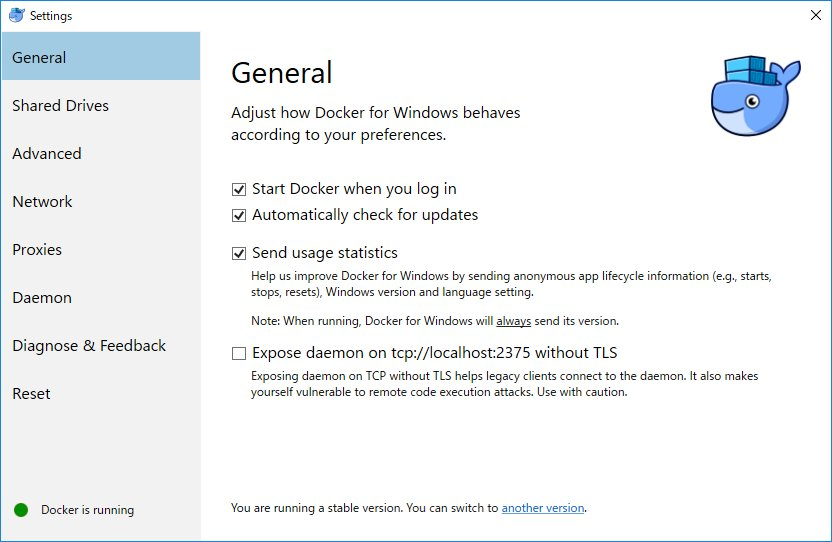
Docker 公式 からインストーラーをダウンロードして実行するだけ。
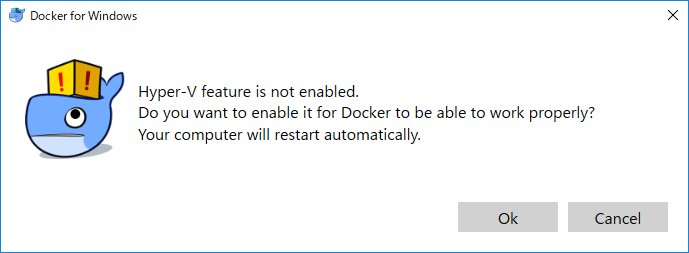
途中で Hyper-V の有効化を求められたりして1、2回再起動が必要。
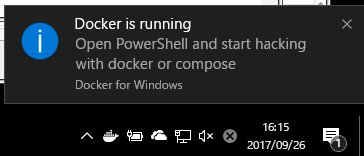
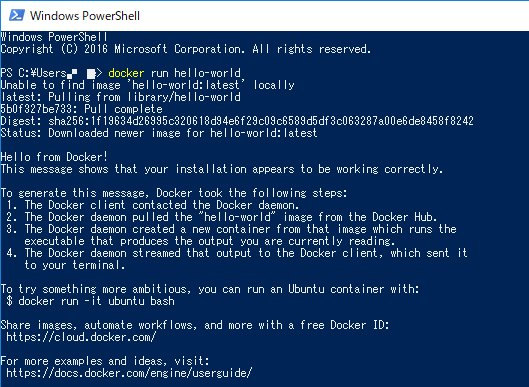
特にトラブルなく動いてしまった。
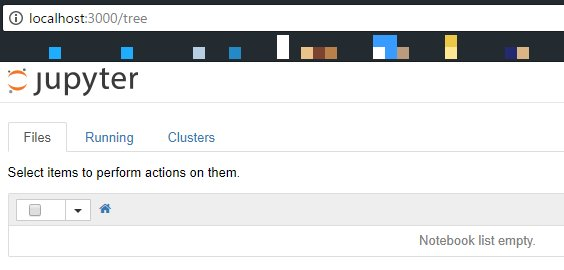
Jupyter Notebook 環境
Windows 側のディレクトリをマウントしたい場合
起動時に指定する。
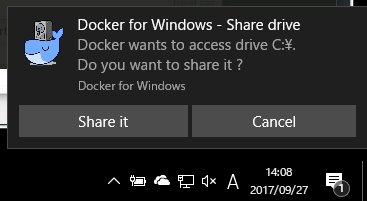
ドライブへのアクセス許可の確認が出る。
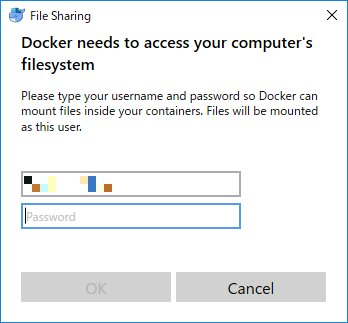
Windows 側のユーザとしてログインを求められるのでパスワードを入れればOK。
Windows 側の領域が Docker 側にマウントされており、どちら側からもファイル操作等可能。
Tensorflow / Tensorboard 起動
jupyter notebook 用と Tensorboard 用にポートを指定しておく。
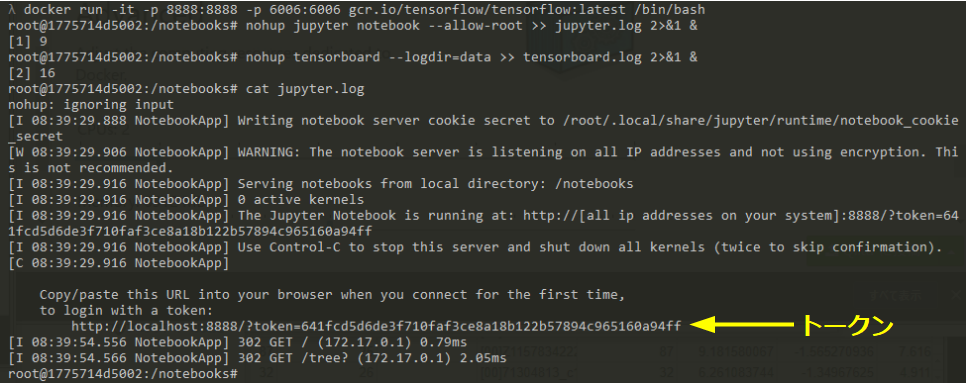
docker run -it -p 8888:8888 -p 6006:6006 gcr.io/tensorflow/tensorflow:latest /bin/bash
jupyter notebook、tensorboard 共にバックグラウンドで走らせておく。
nohup jupyter notebook --allow-root >> jupyter.log 2>&1 &
nohup tensorboard --logdir=data >> tensorboard.log 2>&1 &
これで
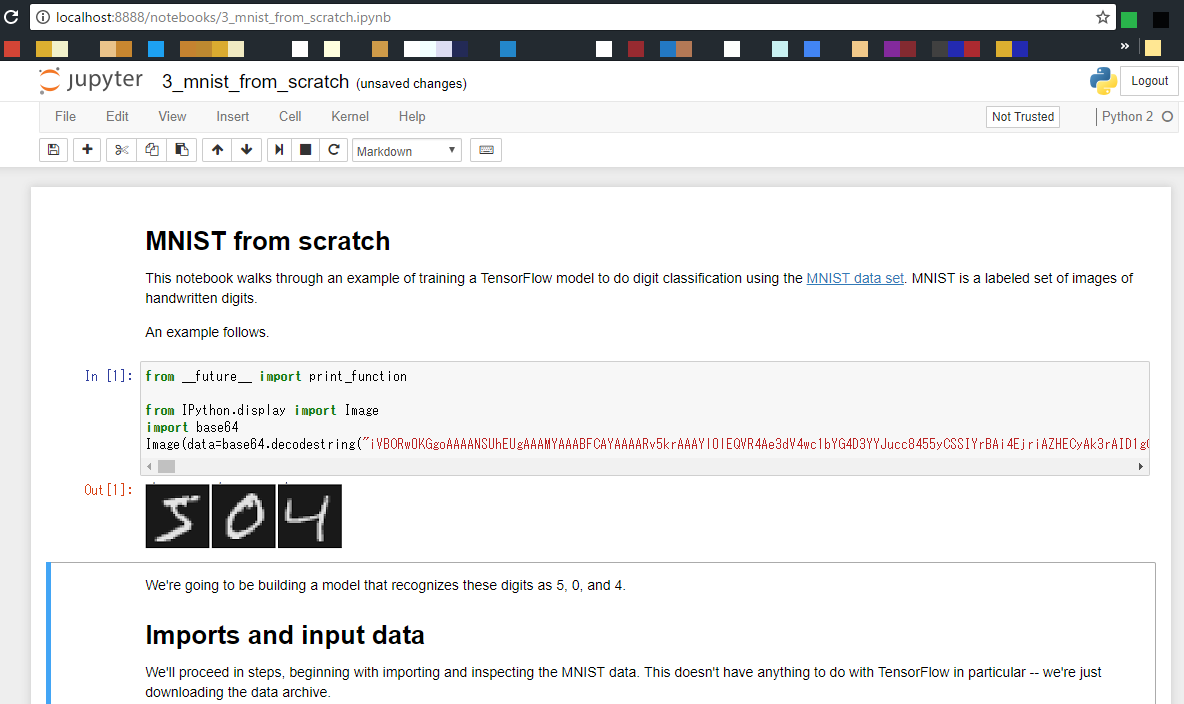
- jupyter notebook は localhost:8888
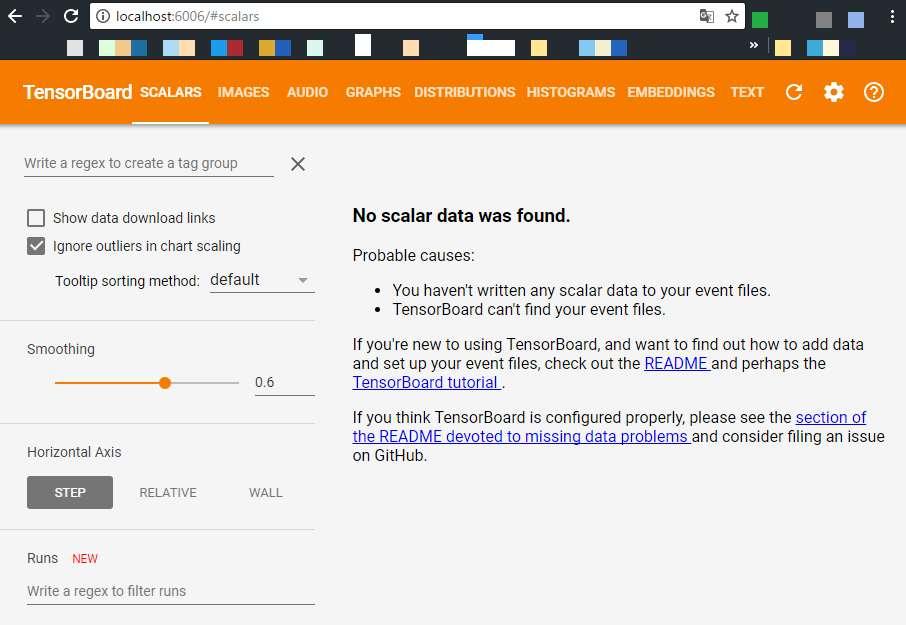
- tensorboard は localhost:6006
にて繋がる。
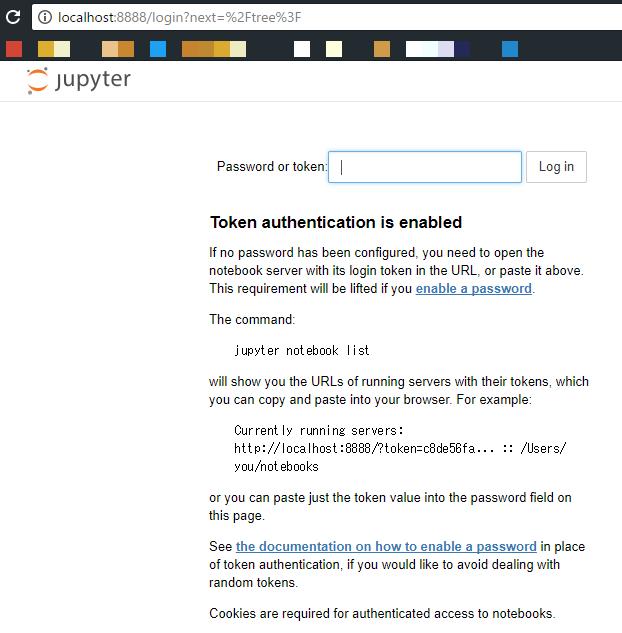
Jupyter notebook へのアクセス時はトークン求められるのでログから拾ってコピペ。
これでアクセスできた。
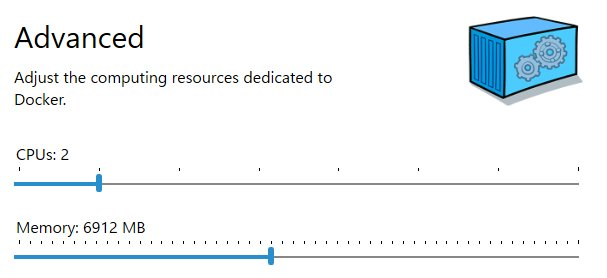
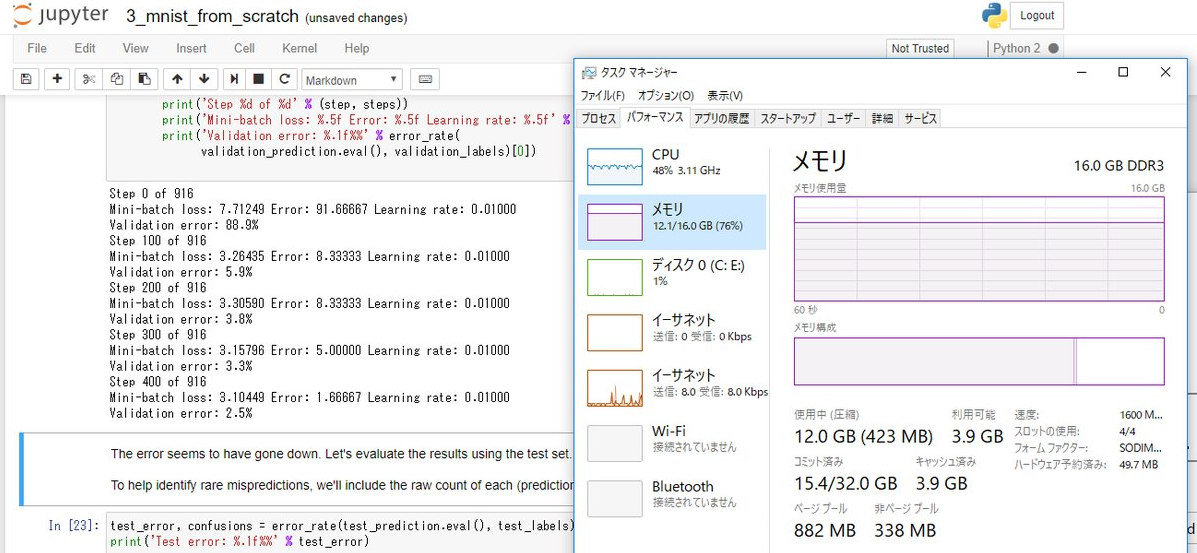
なお Docker の設定をデフォルトのままでやっていたら MNIST のトレーニング回すところで jupyter が落ちた。

問題なく動いてくれた。
Docker for Windows からの GPU アクセスは今んところ出来ないんですかね?
nvidia-docker for Windows はよ
