はじめに
Nuxt.jsやNext.jsといったJavaScriptフレームワークでは、SPA(Single Page Application) を気軽に作成する事ができます。
通常のWebサイトではページ遷移時にリロードがかかるため画面が白くなりますが、SPAではページ遷移時にコンテンツが変わる部分のみを切り替えているので、その特性を利用してシームレスなアニメーションを実装する事ができます。
私が以前案件でページ遷移時のアニメーションを実装する際に、Nuxt.jsの公式ドキュメントやエンジニアさんのブログなどで実装方法を探していた時に中々ドンピシャな記事が見つからなかったので、備忘録としても残しておきます。
やりたいこと
環境のセットアップ
任意のディレクトリを用意します。(今回は/source/ディレクトリを使います。)
Nuxt.js インストール
/source/ ディレクトリにNuxt.js をインストールします。
$npm init nuxt-app <project-name>
ローカルサーバー立ち上げ
インストール後のディレクトリで、ローカルサーバーを立ち上げます。
$npm run dev
http://localhost:3000/ を開くと、Nuxt.jsがインストールされていて、デフォルト表示されています。

ソースファイルの確認
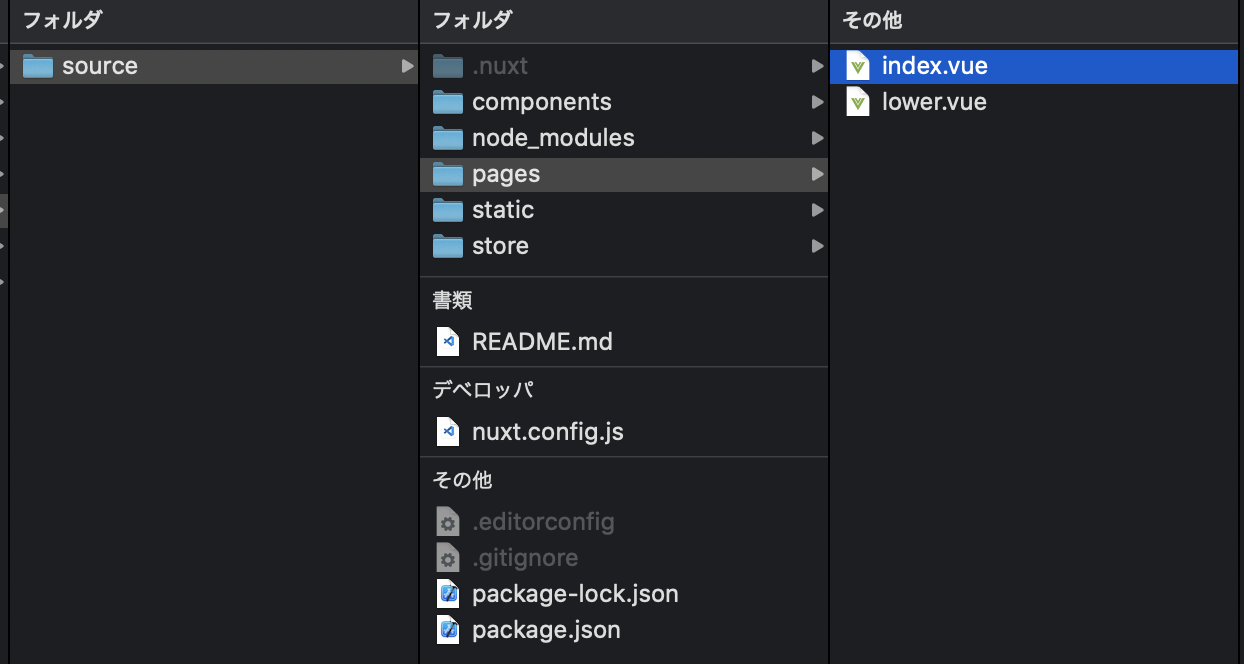
/source/ ディレクトリを確認すると、Nuxt.jsのファイル群が生成されています。

使うファイルは2つだけ
下層ページ用に、 /pages/index.vue をコピーして、/pages/lower.vue を作成します。
今回はページ遷移のアニメーションの実装なので、使うファイルは、2ファイルのみです。
-
/pages/index.vue(トップページ) -
/pages/lower.vue(下層ページ)
いざ実装
トップページ に下層ページへのリンクを配置
<template>
  <div class="topPage">
    <nuxt-link to="/lower/" class="bnr">to Lower Page</nuxt-link>
  </div>
</template>

<style>
.topPage {
  width: 100vw;
  height: 100vh;
  display: flex;
  justify-content: center;
  align-items: center;
}

.bnr {
  padding: 15px 30px;
  display: inline-block;
  position: relative;
  color: #fff;
  text-decoration: none;
}
.bnr::before {
  content: "";
  width: 100%;
  height: 100%;
  position: absolute;
  top: 50%;
  left: 50%;
  transform: translate(-50%, -50%);
  background: #000;
  z-index: -1;
}
</style>
/lower/ ページへ遷移するためのリンク(<nuxt-link>) に.bnr classを付けてスタイリングしています。
ページ遷移時にバナーの黒背景部分を拡大するので、疑似要素::before にしています。
/lower/ページ をスタイリング
<template>
  <div class="lowerPage">
    <h1 class="title">Lower Page</h1>
  </div>
</template>

<style>
.lowerPage {
  width: 100vw;
  height: 100vh;
  display: flex;
  justify-content: center;
  align-items: center;
  background: #000;
}

@keyframes fadeInUp {
  0% {
    opacity: 0;
    transform: translateY(20px);
  }
  100% {
    opacity: 1;
    transform: none;
  }
}

.title {
  font-size: 30px;
  font-weight: bold;
  text-align: center;
  color: #fff;

  animation: fadeInUp 0.8s 0s ease-in-out forwards;
}
</style>
「Lower Page」 のタイトルを中央表示した上で、CSSの@keyframes で下からフワっとフェードインするようアニメーションを設定しています。
これで各ページの下準備は完了です。
/pages/index.vue に Nuxtのtransitionコンポーネントを設定
<template>
  <!-- 省略 -->
</template>

<script>
export default {
  transition: "expandFade",
};
</script>
Vue.js (Nuxt.js) ではtransitionコンポーネントを設定することで、ページ遷移時にコンポーネントにclassを付けたり、遷移の秒数を設定する事ができます。
※詳しくは公式ドキュメント参照
これでトップページから他ページに遷移する際に、index.vue の.topPage に .expandFade-leave-active が付加されるようになります。
CSSにてページ遷移時のアニメーションを設定
pages/index.vue に下記のCSSコードを追加します。
<style>
/* 省略 */

@keyframes expandFadeOut {
  0% {
  }
  100% {
    width: 100vw;
    height: 100vh;
  }
}

.expandFade-leave-active {
  transition: 0.8s;
}

.expandFade-leave-active .bnr::before {
  animation: expandFadeOut 0.8s 0s ease-in-out forwards;
}
</style>
トップページからページ遷移する際に、 .topPageに .expandFade-leave-active classが付加されるため、その配下にあるリンク(.bnr) に@keyframesアニメーションがかかる仕組みです。
@keyframesアニメーション内では、最初に作ったリンクの黒背景部分(::before) のwidth, heightを画面幅まで広げています。
こちらで実装完了となります。
まとめ
Vue.js(Nuxt.js) では transitionコンポーネント を用いる事で、ページ遷移時にコンポーネントにclassを付加する事ができます。
このclassを使う事で、CSSにてアニメーションを自由に実装する事ができます。


