前書き
firebaseのメール確認付きのユーザー認証の方法が、
・フォーマットが決まってしまう
・メール確認前にauthに登録されてしまう
等と少し問題があるように感じたので
(もしかしたら他の方法で対処できるのかもしれませんが...)
一応(無料で)対処できるかもよということで共有したいと思います。
方針としては、
createUserForm -> メールに確認用生成コード送信 -> 記入 -> 登録
という方針で進んでいきます。
(時折記事の書き直しをしているので、是非足りない説明などがあれば質問投げてください!!!)
(直していきます!!)
本編
僕は、vue cliで慣れてるので、
vue ui
でvueprojectを作成していきます
(ここは省略します。色々他記事であると思うので参照してください)
作成が完了したら、HelloWorld.vueを編集して認証をできるように
front側を完成させていきます。
<template>
  <div class="hello">
    <h1>{{ msg }}</h1>
    <input type="text" placeholder="email" v-model="email">
    <input type="password" placeholder="Password" v-model="password">
    <button>submit</button>
  </div>
</template>

<script>
export default {
  name: 'HelloWorld',
  props: {
    msg: String
  },
  data () {
    return {
      password: '',
      email: ''
    }
  }
}
</script>

<!-- Add "scoped" attribute to limit CSS to this component only -->
<style scoped>
h3 {
  margin: 40px 0 0;
}
ul {
  list-style-type: none;
  padding: 0;
}
li {
  display: inline-block;
  margin: 0 10px;
}
a {
  color: #42b983;
}
</style>
(もしかしたら、ESLintなどの関係でこのまま動かないかもしれません)
firebase連携
次に、firebaseとの連携をしていきます。
firebase:https://console.firebase.google.com/
へ移動し、プロジェクトを作成を押下し、プロジェクト名を入力し、その他は適当に入力していきます(今回のプロジェクトに関してはデフォルトでも大丈夫だと思われます。僕はプロジェクト名をconfirmEmailとしました。)
次にアプリに Firebase を追加して利用を開始しましょうのところから、ウェブを押下し、アプリのニックネームを追加し、
import Vue from 'vue'
import App from './App.vue'
import router from './router'
import store from './store'
import firebase from 'firebase'

Vue.config.productionTip = false

const firebaseConfig = {
  apiKey: 'YOUR_KEY',
  authDomain: 'YOUR_DOMAIN.firebaseapp.com',
  databaseURL: 'YOUR_DOMAIN.firebaseio.com',
  projectId: 'YOUR_ID',
  storageBucket: 'YOUR_BUCKET_ID.appspot.com',
  messagingSenderId: 'YOUR_SENDER_ID'
}
firebase.initializeApp(firebaseConfig)

new Vue({
  router,
  store,
  render: h => h(App)
}).$mount('#app')
Firebase SDKを追加していきます
(プロジェクト作成時に表示される Firebase SDKの追加の firebaseConfigか、アプリの設定全般画面で見れるFirebase SDK snippetを設定してください。)
このままでは、プロジェクトにfirebaseがないと思うので、プロジェクトにfirebaseをインストールしてください(npmなら npm install --save firebase)
次に、firebase cloud Functions を追加していきます。
firebaseを触ったことない人は、
npm install --global firebase-tools
等とし、firebase loginまではできるようにしてください。
次に
firebase init
をし、firebase functionにチェックを付け、先ほど作成した、firebaseprojectを選択し、聞かれた質問に適当に答えて行ってください。
次に上手く出来たら、projectのディレクトリにfunctionsが出来てると思うので、
そこに移動し、
バックエンド
npm install nodemailer
とし、nodemailerをinstallしてください
const functions = require('firebase-functions');
const nodemailer = require('nodemailer')
const gmailEmail = functions.config().gmail.email
const gmailPassword = functions.config().gmail.password
const mailTransport = nodemailer.createTransport({
    service: 'gmail',
    auth: {
        user: gmailEmail,
        pass: gmailPassword
    }
})

exports.sendMail = functions.https.onCall((data, context) => {
    let email = {
        from: gmailEmail,
        to: data.destination,
        subject: 'confirmMail',
        text: 'securityCode:' + data.securityCode
    }
    mailTransport.sendMail(email, (err, info) => {
        if (err) {
            return console.log(err)
        }
        return console.log('success')
    })
})
と記入してください。
次に送信するようのgmailアカウントが必要なので、適当に作成してください(安全性の低いアプリのアクセスを有効にしといてください。)
作成出来たら
firebase functions:config:set gmail.email="youremail@gmail.com" gmail.password="yourpassword"
とプロジェクト内で先ほど作成した、gmail,passwordを入力して実行
(firebase functions:config:getを実行すると確認が出来ます。)
そこまで出来たら、
npmなら
npm install nodemailer
firebase deploy --only functions
を順に実行
フロント手直し
次にフロント部分を作成します。
<template>
  <div class="hello">
    <h1>{{ msg }}</h1>
    <div v-if="!confirm">
      <input type="text" placeholder="email" v-model="email">
      <input type="password" placeholder="Password" v-model="password">
      <button @click="sendSecurityMail()">submit</button>
    </div>
    <div v-else>
      <span v-if="success">success</span>
      <input type="text" placeholder="confirm" v-model="confirmcode">
      <button @click="checkCode()">submit</button>
    </div>
  </div>
</template>

<script>
import firebase from 'firebase'
export default {
  name: 'HelloWorld',
  props: {
    msg: String
  },
  data () {
    return {
      password: '',
      email: '',
      sequrity: '',
      confirmcode: '',
      confirm: false,
      success: false
    }
  },
  methods: {
    sendSecurityMail: function () {
      const sendMail = firebase.functions().httpsCallable('sendMail')
      const destination = this.email
      const security = this.generateSecurityCode()
      this.confirm = true
      return sendMail({ destination: destination, securityCode: security }).then(function (res) {
      })
    },
    generateSecurityCode: function () {
      let code = []
      for (let i = 0; i < 4; i++) {
        code.push(String(Math.floor(Math.random() * 10)))
      }
      this.sequrity = code.join('')
      return code.join('')
    },
    checkCode: function () {
      console.log('sended')
      if (this.confirmcode === this.sequrity) {
        this.success = true
      }
    }
  }
}
</script>

<!-- Add "scoped" attribute to limit CSS to this component only -->
<style scoped>
h3 {
  margin: 40px 0 0;
}
ul {
  list-style-type: none;
  padding: 0;
}
li {
  display: inline-block;
  margin: 0 10px;
}
a {
  color: #42b983;
}
</style>
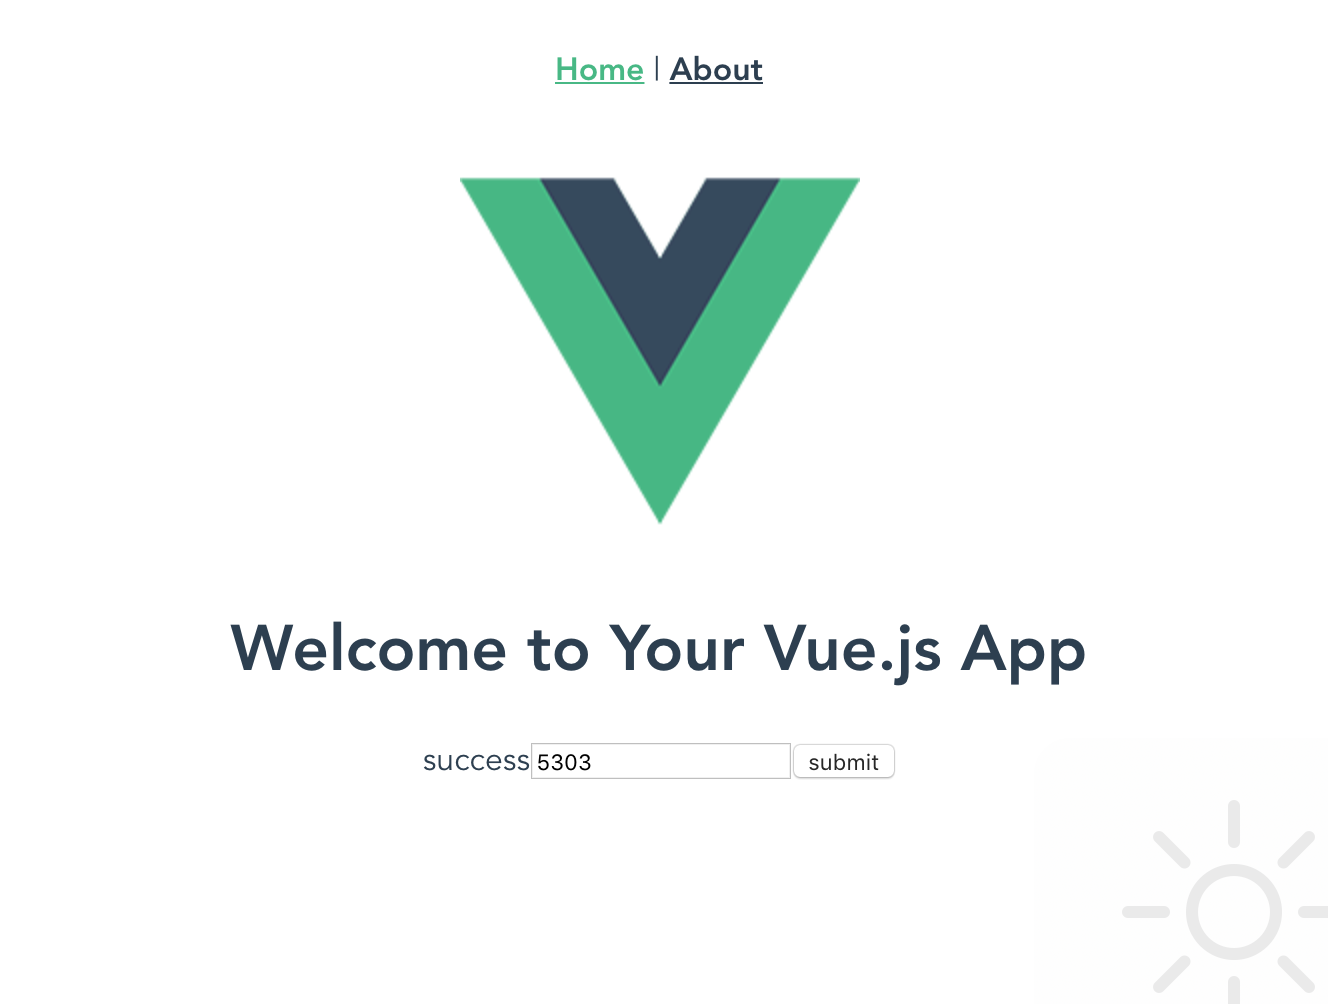
メールの疎通を確認するために、
mail,password入力 -> メール送信 -> code入力 -> func続行まで実装します。
実際に入力をしてみると、入力した後にsuccessと出ます。
ここまで出来たら、あとはfirebaseのユーザー登録を実装して行けば出来ます。
<template>
  <div class="hello">
    <h1>{{ msg }}</h1>
    <div v-if="!confirm">
      <input type="text" placeholder="email" v-model="email">
      <input type="password" placeholder="Password" v-model="password">
      <button @click="sendSecurityMail()">submit</button>
    </div>
    <div v-else-if="!success">
      <span v-if="fail">Failure code</span>
      <input type="text" placeholder="confirm" v-model="confirmcode">
      <button @click="checkCode()">submit</button>
    </div>
    <div v-else>
      {{ this.email }}でuserを作成しました!
    </div>
  </div>
</template>

<script>
import firebase from 'firebase'
export default {
  name: 'HelloWorld',
  props: {
    msg: String
  },
  data () {
    return {
      password: '',
      email: '',
      sequrity: '',
      confirmcode: '',
      confirm: false,
      success: false,
      fail: false
    }
  },
  methods: {
    sendSecurityMail: function () {
      const sendMail = firebase.functions().httpsCallable('sendMail')
      const destination = this.email
      const security = this.generateSecurityCode()
      this.confirm = true
      return sendMail({ destination: destination, securityCode: security }).then(function (res) {
      })
    },
    generateSecurityCode: function () {
      let code = []
      for (let i = 0; i < 4; i++) {
        code.push(String(Math.floor(Math.random() * 10)))
      }
      this.sequrity = code.join('')
      return code.join('')
    },
    checkCode: function () {
      console.log('sended')
      if (this.confirmcode === this.sequrity) {
        firebase.auth().createUserWithEmailAndPassword(this.email, this.password)
          .then(user => {
            this.success = true
            alert('Create account: ', user.email)
          })
          .catch(error => {
            alert(error.message)
          })
      } else {
        this.fail = true
      }
    }
  }
}
</script>

<!-- Add "scoped" attribute to limit CSS to this component only -->
<style scoped>
h3 {
  margin: 40px 0 0;
}
ul {
  list-style-type: none;
  padding: 0;
}
li {
  display: inline-block;
  margin: 0 10px;
}
a {
  color: #42b983;
}
</style>
先ほどのコードのcheckcodeに、登録処理を付け加えています。
さらに、もともとsuccessで成功判定はみれてましたが、コードが間違ってた時に発火するイベントに変えましょう。
front側はこれで完成ですが、firebaseの方でauthの許可を与えないといけません。
firebase consoleに移動して、Authenticationのログイン方法にメール/パスワードを有効にしてください。
出来たら実行していくと...
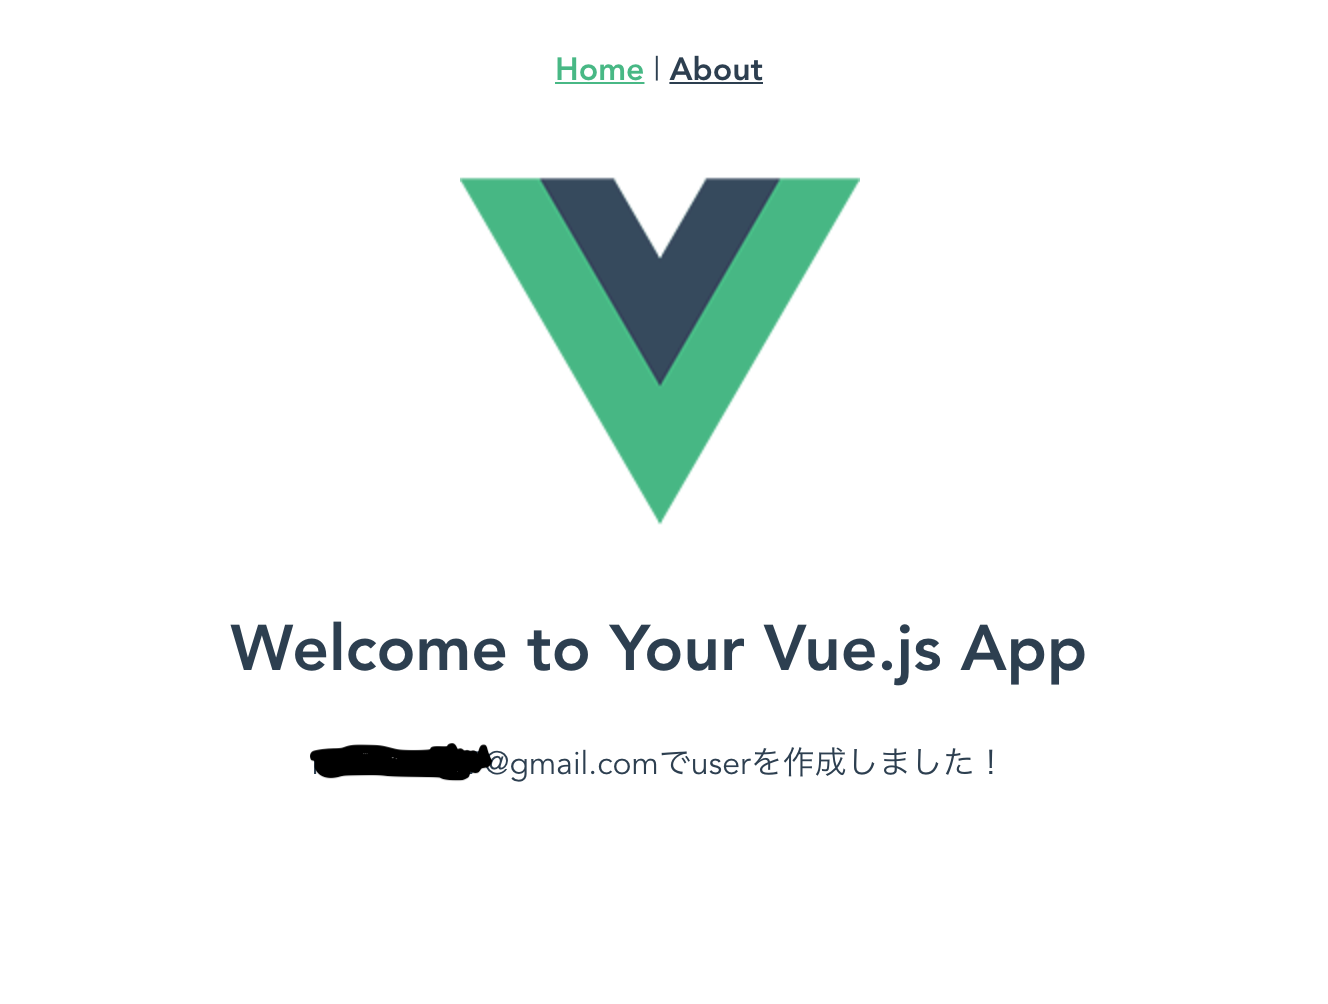
と出て有効メールの確認をした後に登録処理が走ったのが確認出来ました!
試しにfirebase consoleの方のAuthenticationを確認すると登録出来てるのがわかると思います。
問題点はいくつかあると思います。
・gmailに直接ログインして、行なっていること
・js上で行なっているので確認コードの所在自体があまり堅固ではなさそうなところ
はあると思いますが、
・gmailは別途作成し、絶対に漏れないように管理すること
・セキュリティ的に多少甘くても良いサービス
であれば採用検討してもいいのかな(mailの確認が必要なのか微妙ですが)とは考えてます。
(他にいい感じの方法があれば是非教えて欲しいです!!1)
参考記事
Vue.js + Firebase を使って爆速でユーザ認証を実装する
https://qiita.com/sin_tanaka/items/ea149a33bd9e4b388241
Firebase Cloud Functionsを使ってGmail送信機能を作る
https://qiita.com/numaC/items/8701de4a836719c0653d
Firebaseにおける環境変数の設定方法
https://qiita.com/nerdyboy_cool/items/695c8af7ca8d22761927
VuejsとFirebaseでメール送信機能を実装する
https://qiita.com/Hiroyuki1993/items/1ab9266ca6fc422113e3