やりたいこと
FastAPIで作成したアプリをApp Serviceにデプロイします。
Azure Portalからリポジトリを参照して手動デプロイすることも可能ですが、デプロイするたびに作業するのが面倒なのでmainブランチにマージされたら自動デプロイしてくれるようにしたいです。
DevOpsでPipelineを作成して、Dockerのコンテナイメージの管理とApp Serviceへのデプロイを自動化させます。
フローの流れ
① 開発者がローカルで書いたソースコードをReposにPushします。
② ReposのmasterブランチにPushされたことを検知して、Pipelineを自動で実行させます。
③ PipelineからContainer Registryに新しいコンテナイメージをアップします。
④ 新しいコンテナイメージをApp Service側に配置して、デプロイさせます。
使うサービス
◾️ FastAPI
Pythonの軽量フレームワークで、APIの開発に特化。
アプリはこのFastAPIで作成してます。
◾️ Docker
Dockerについての詳しい内容は記載しませんが、使用。
◾️ Azure Container Registry
Dockerをクラウド側で管理するために使用。
◾️ App Service
作成したアプリをデプロイするために使用。
◾️ Azure Pipelines
デプロイを自動化するために使用
事前準備
◾️ Azureの環境を用意
Subscriptionを作成し、リソースグループを一つ作成
◾️ App Service Planを作成
App Serviceを作成するために必要です。
◾️ Azure Container Registryを作成
Dockerのコンテナイメージを管理するために必要です。
◾️ Azure Devopsの用意
Reposでのソースコードの管理、Pipelinesの作成を行うために必要です。
手順
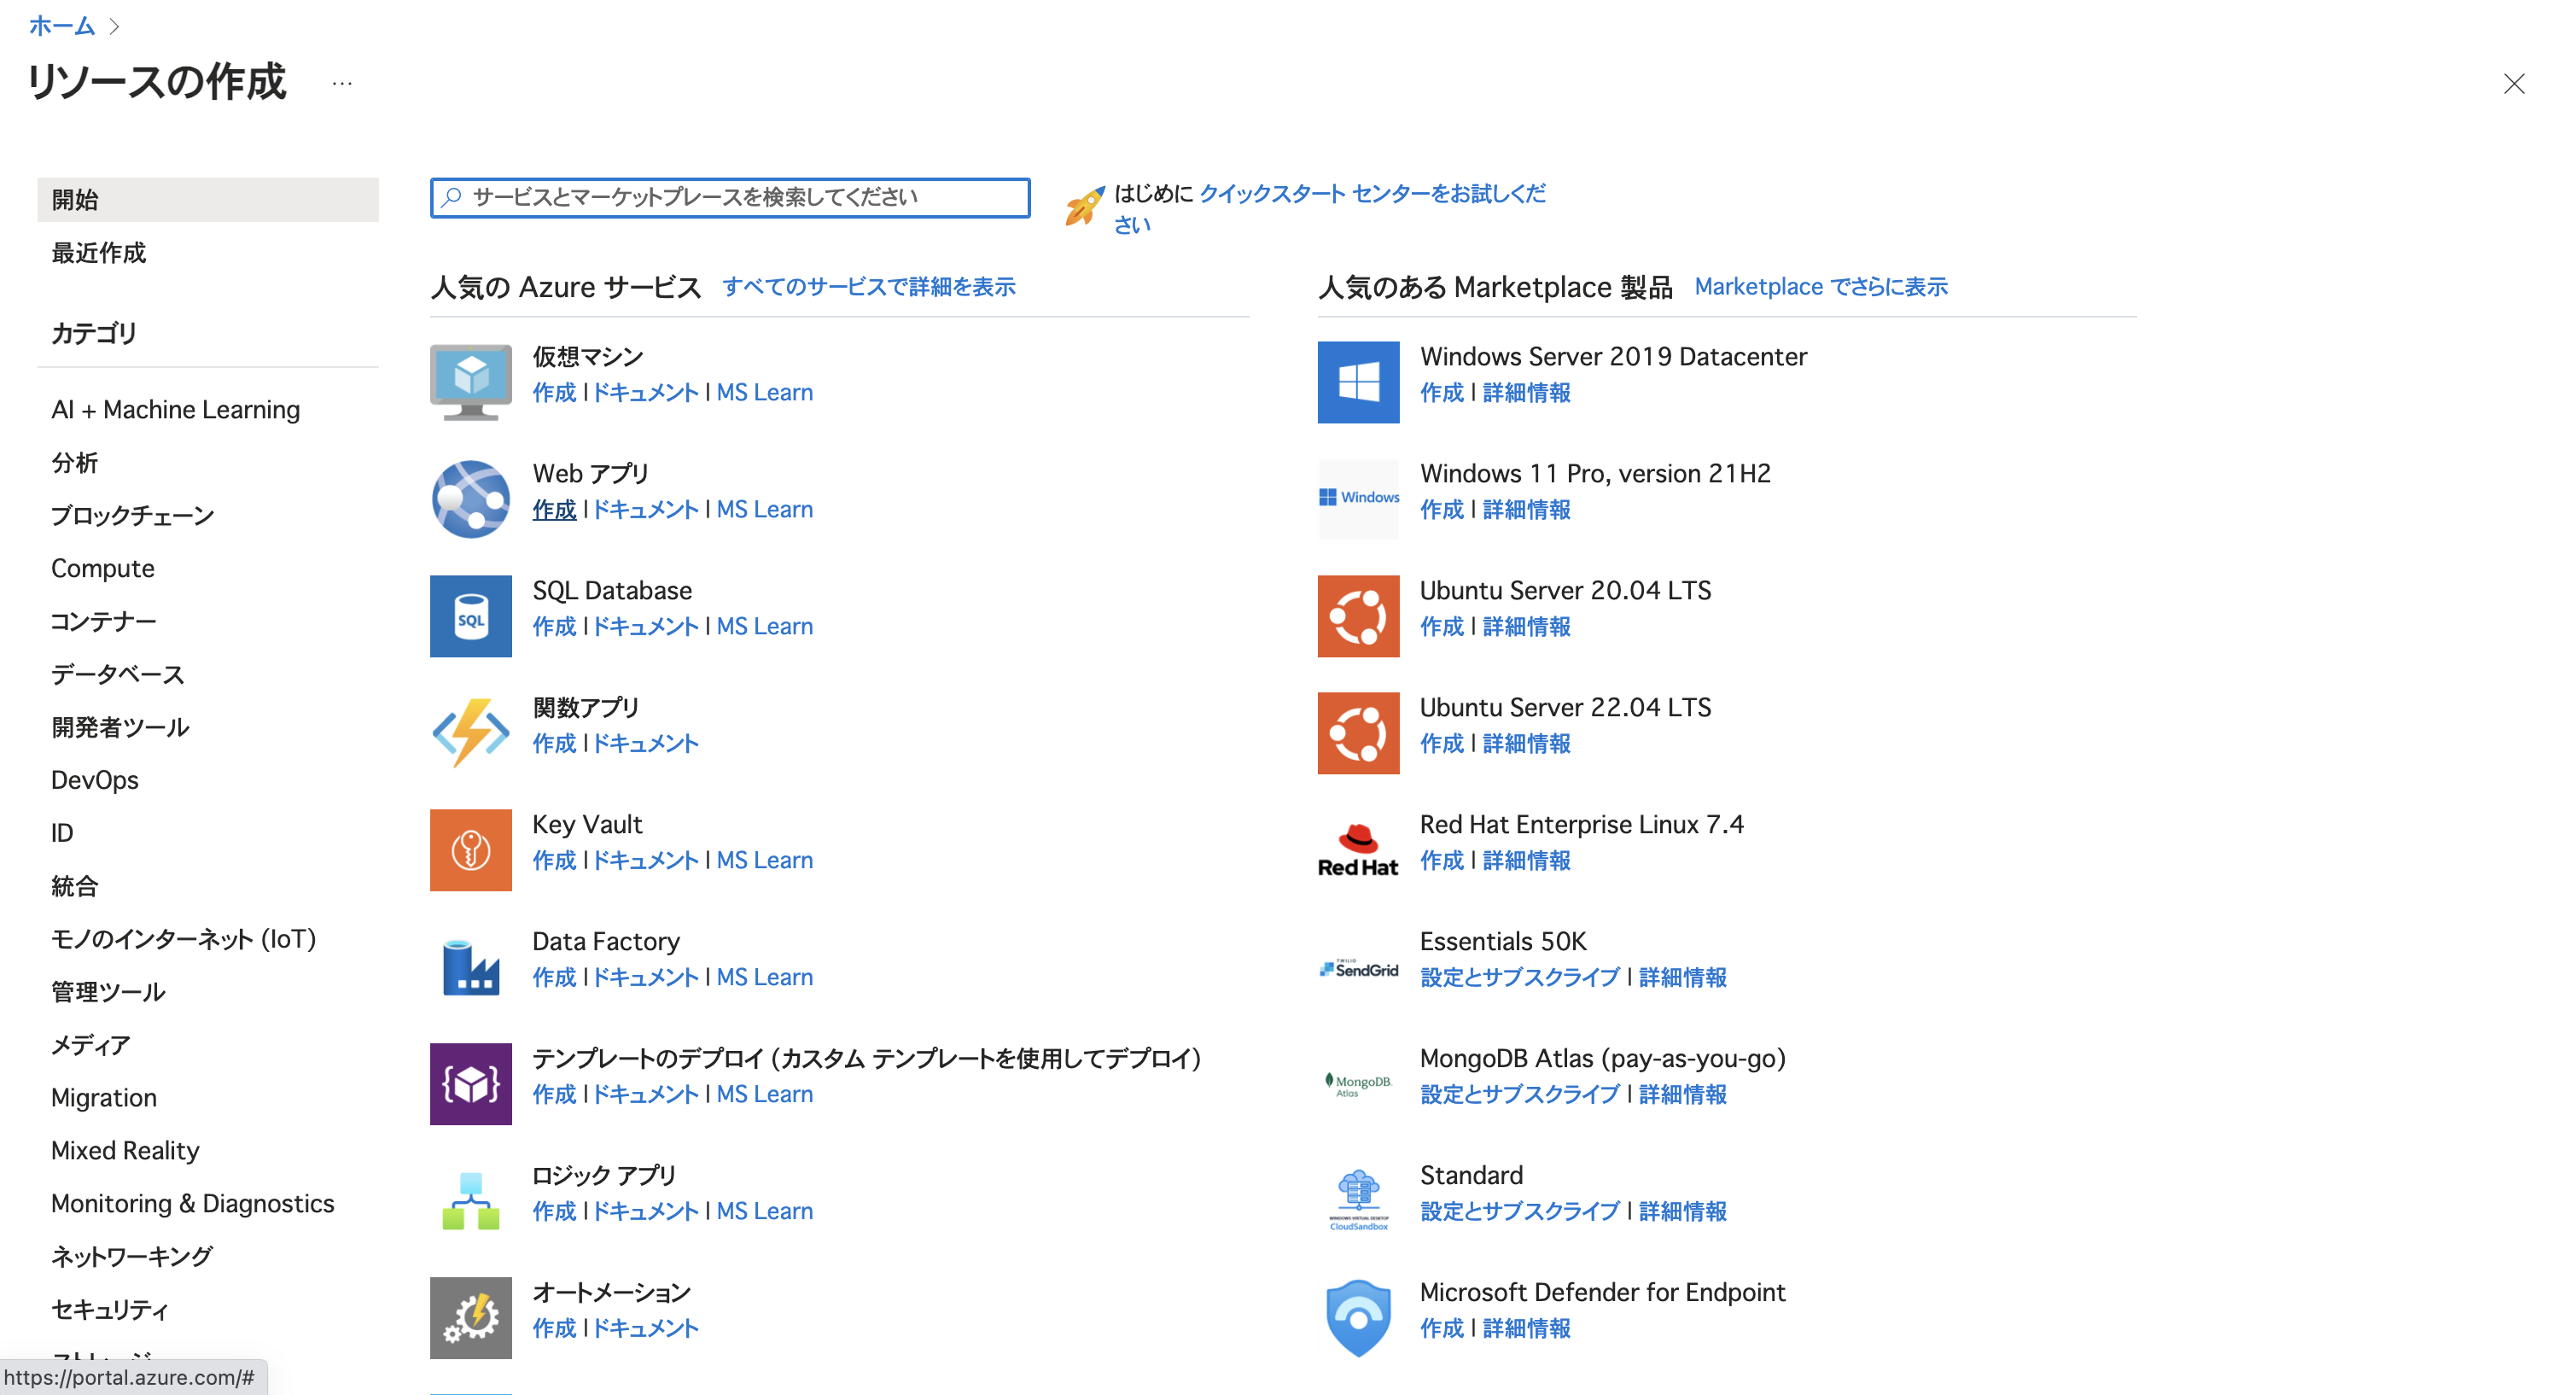
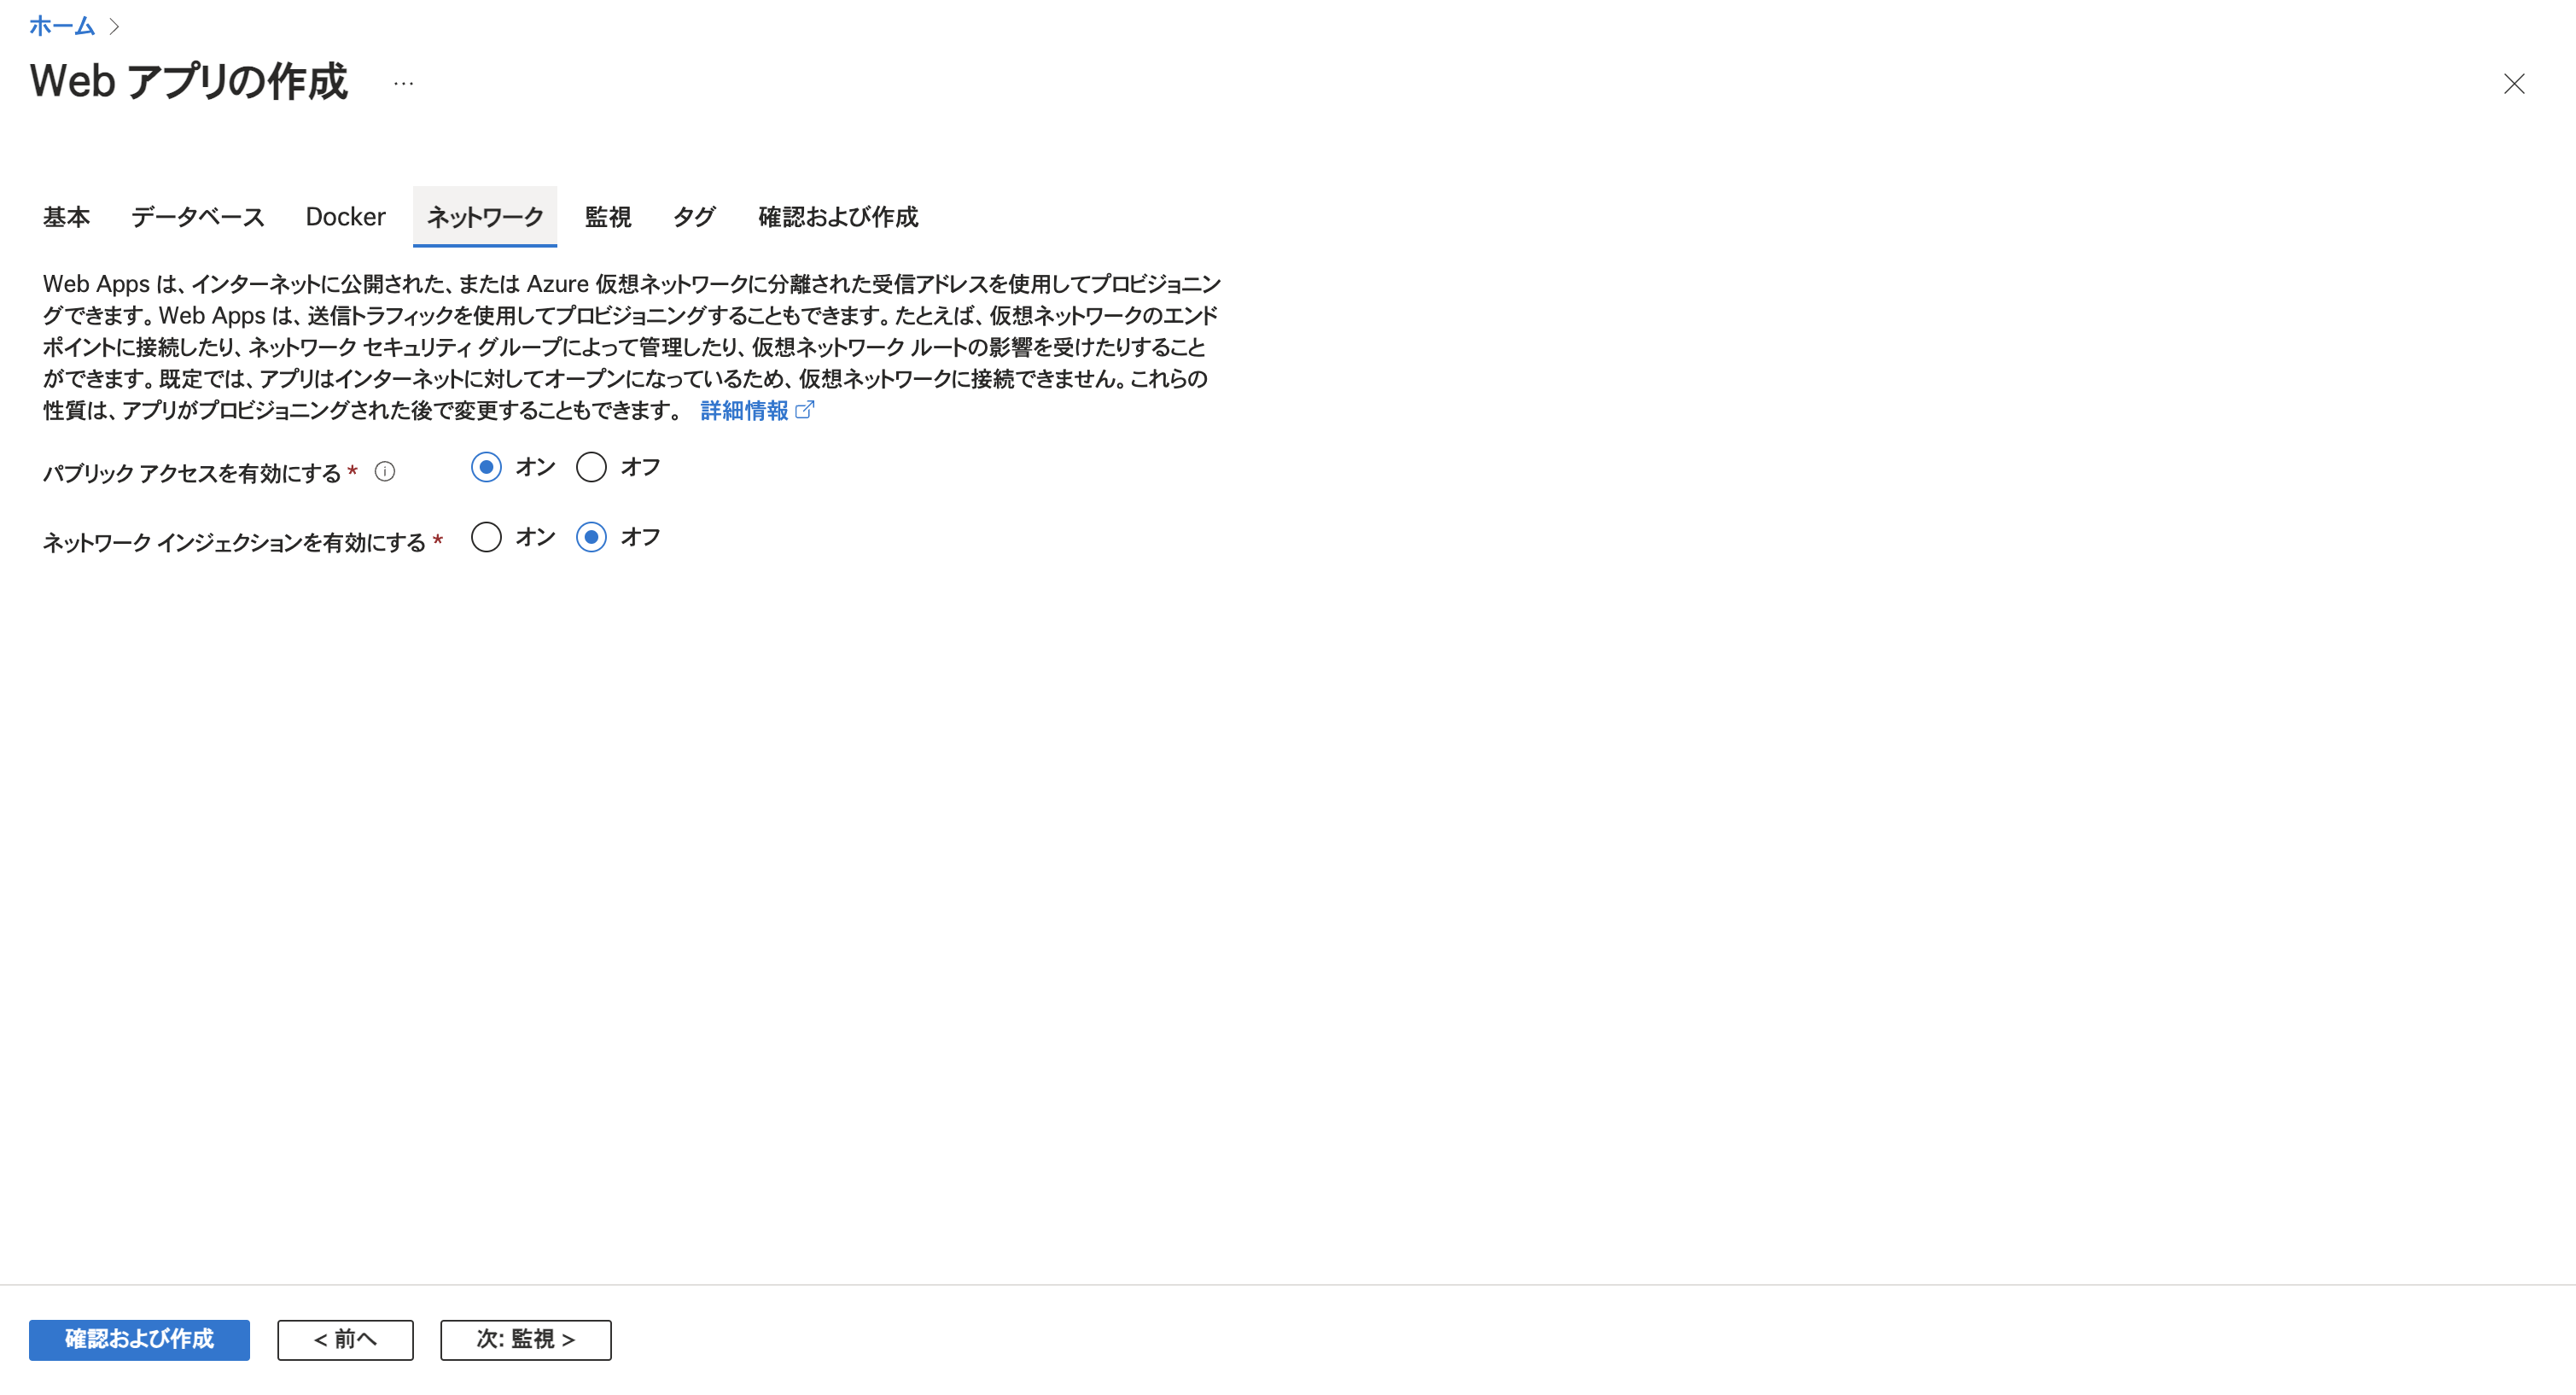
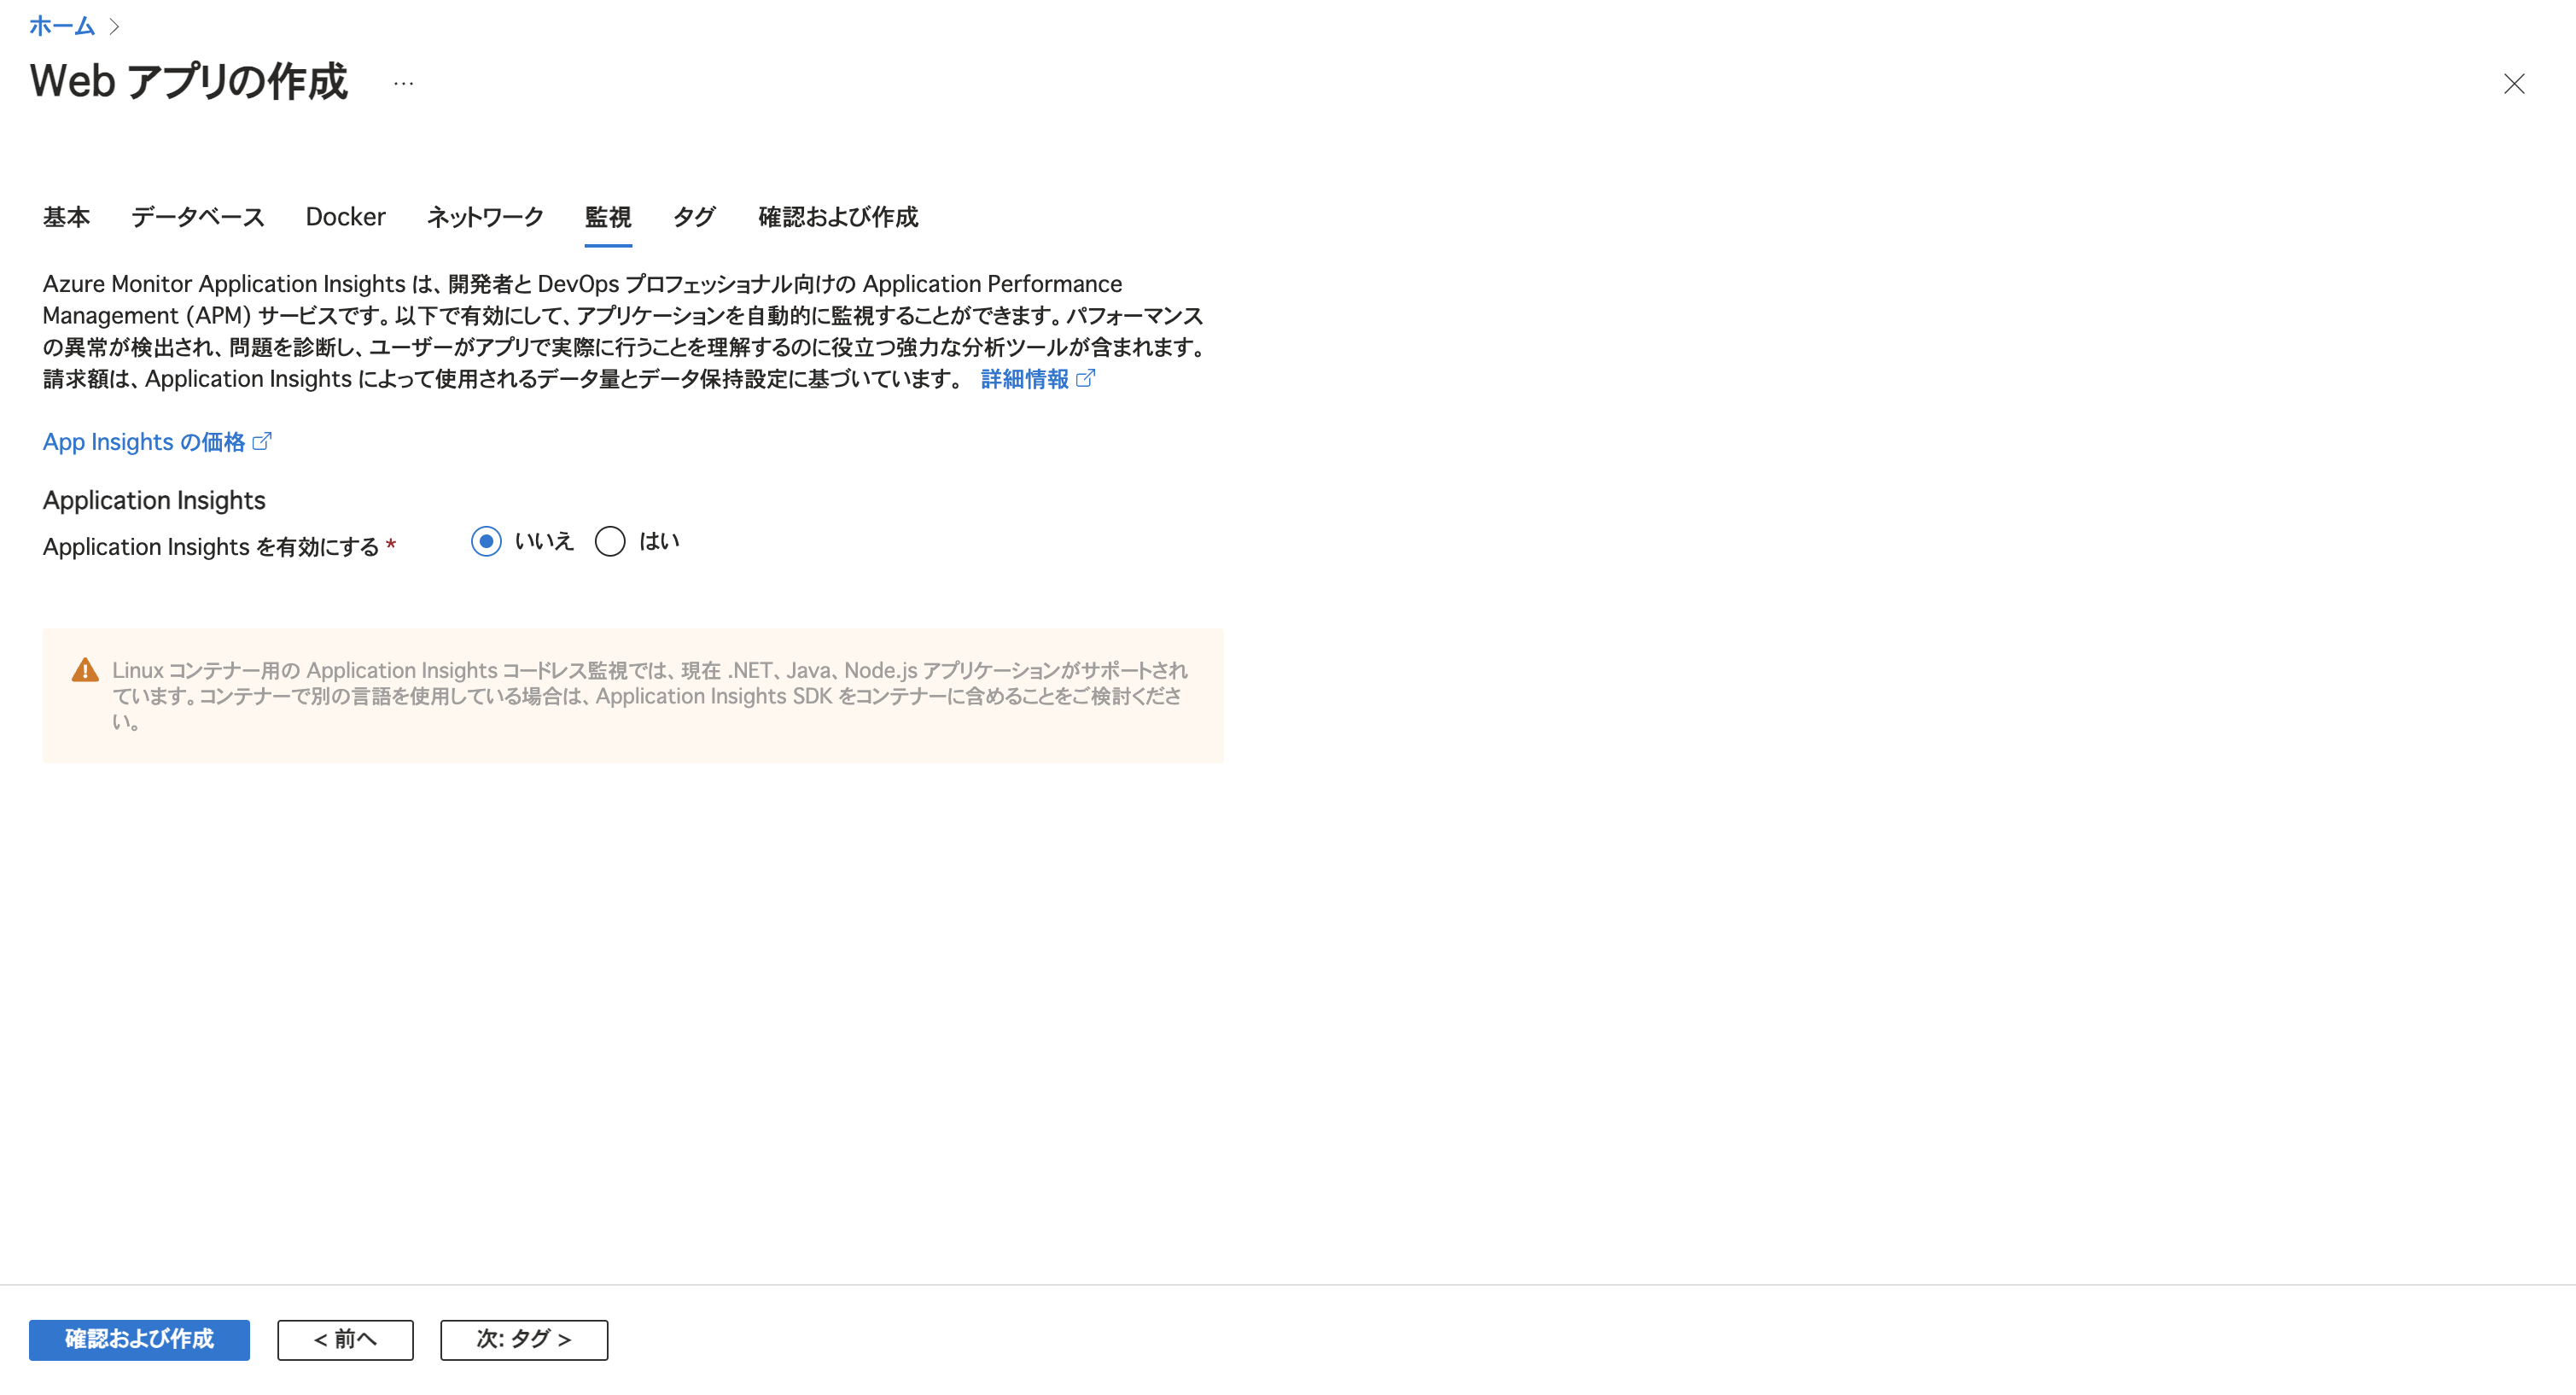
1. App Serviceを作成
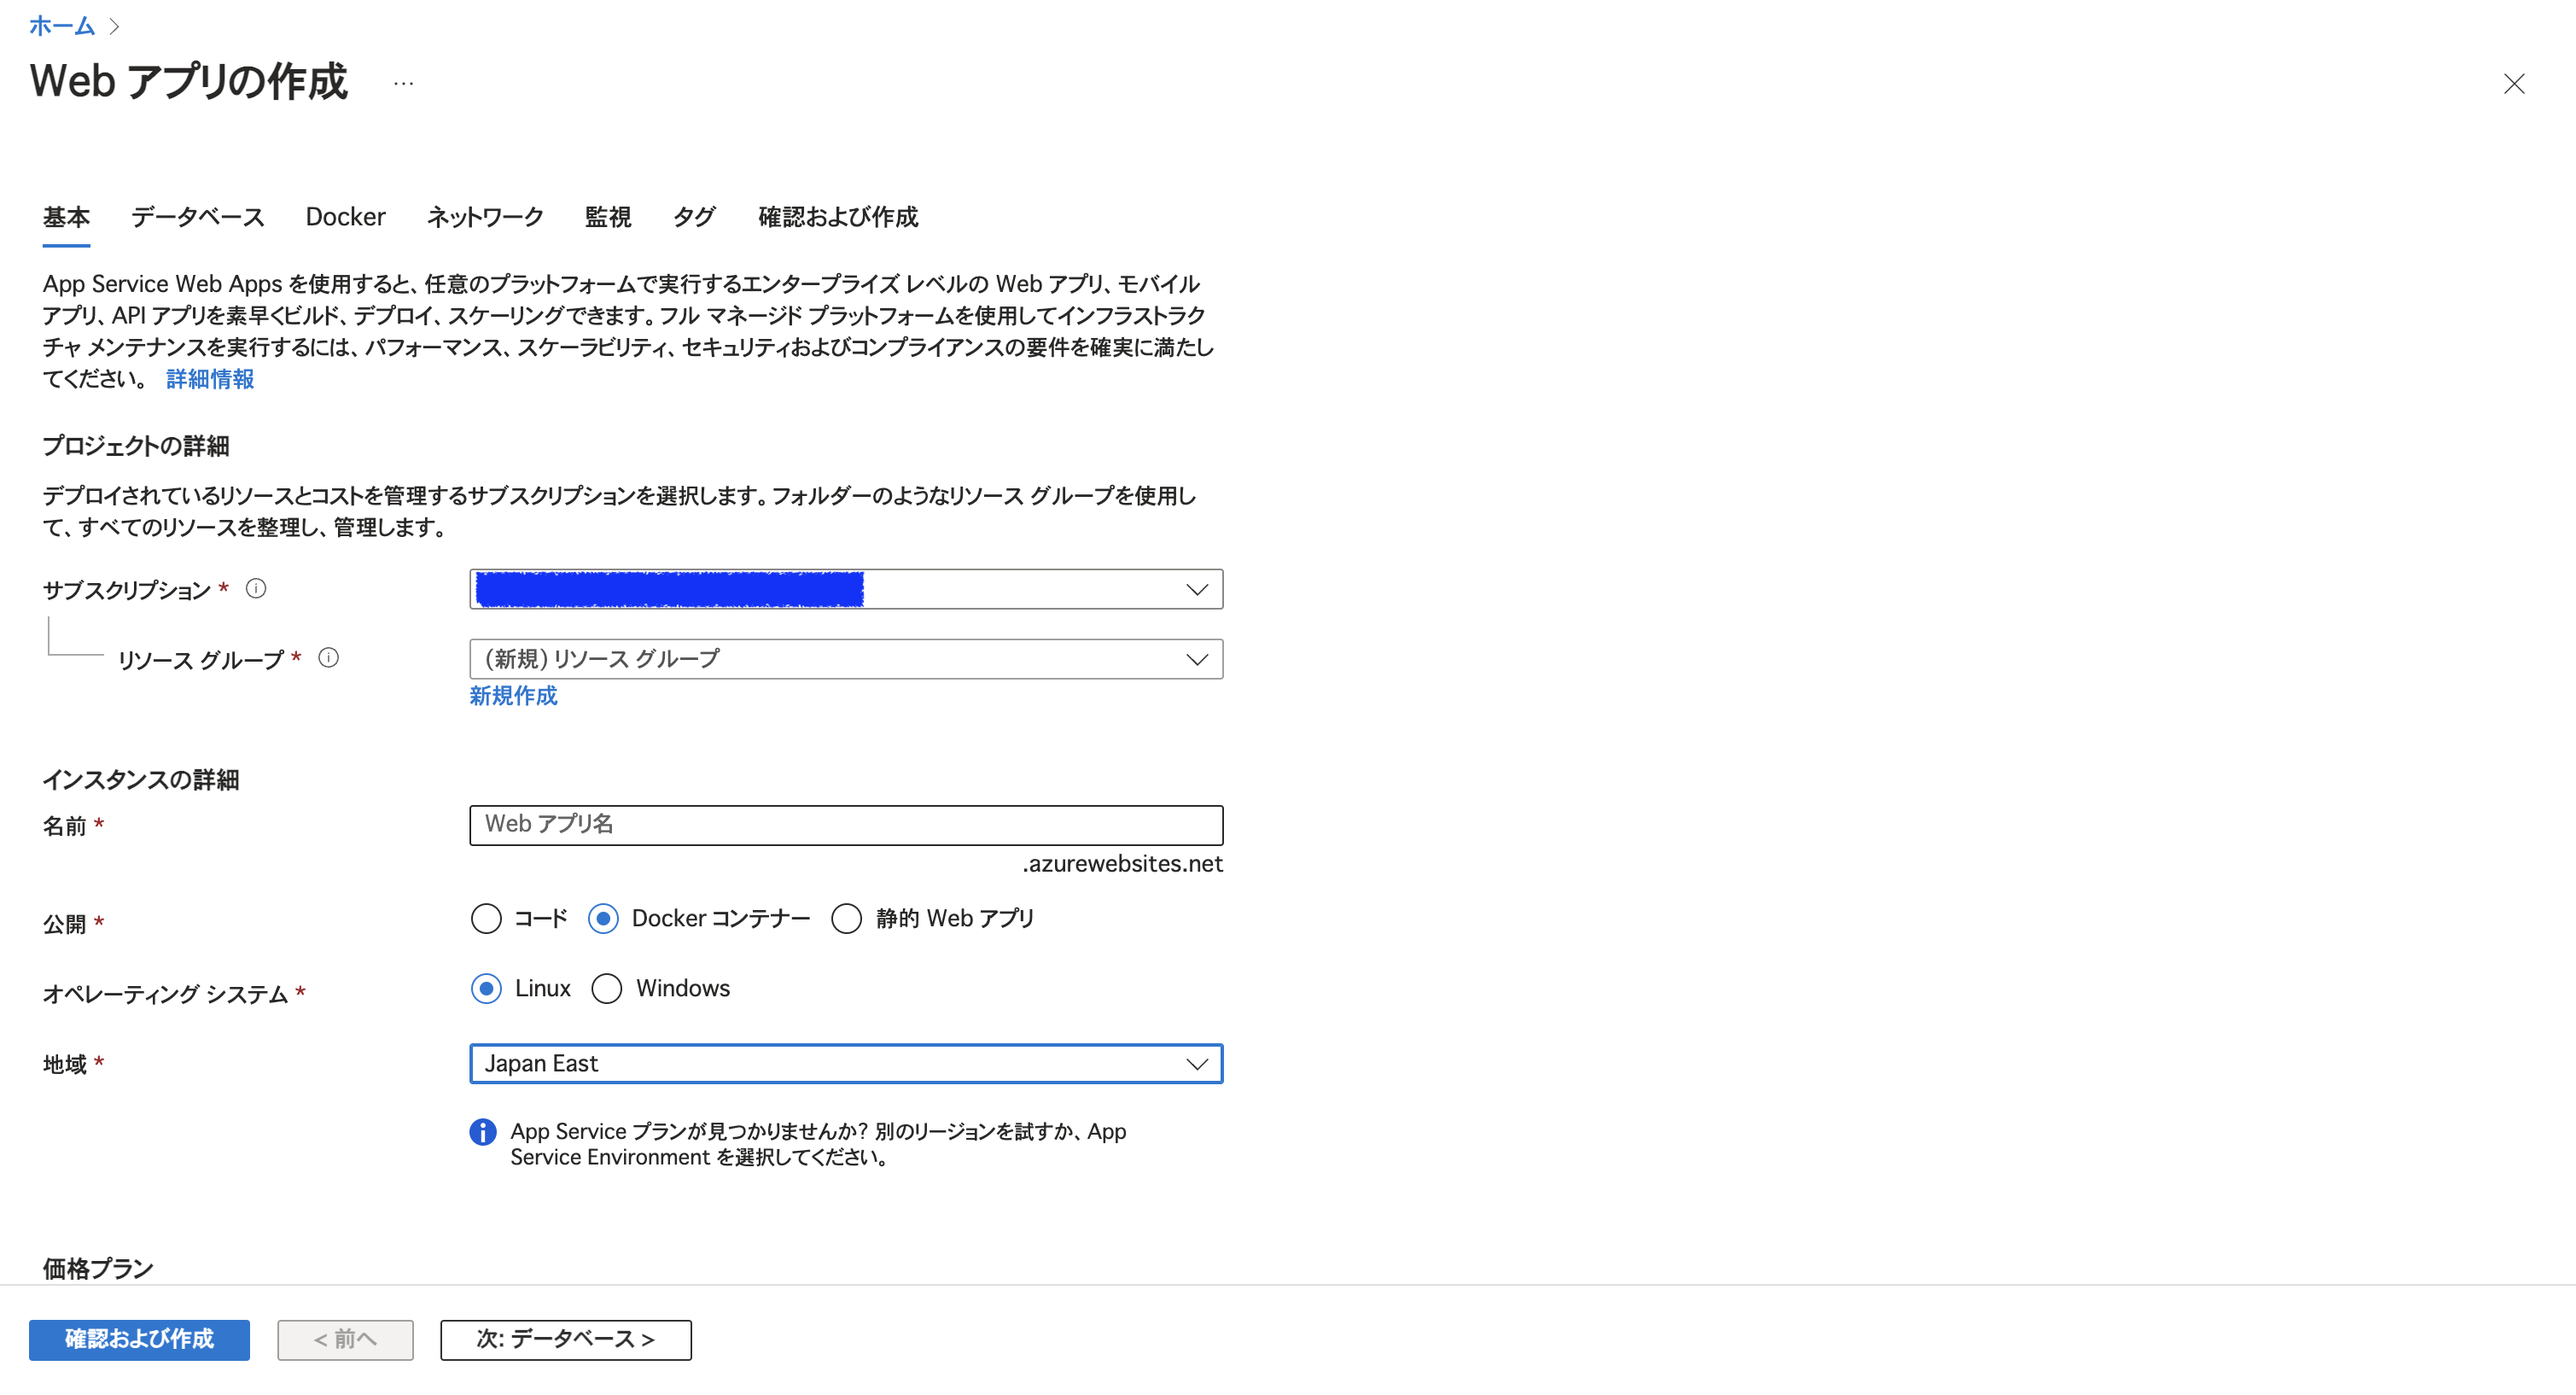
公開方法は「Dockerコンテナー」にします。
OSとRegionはApp Services Planと同じにしてください。
自分はPlan作成時にJapan Eastにしたので、App Serviceも同様に「Japan East」にします。
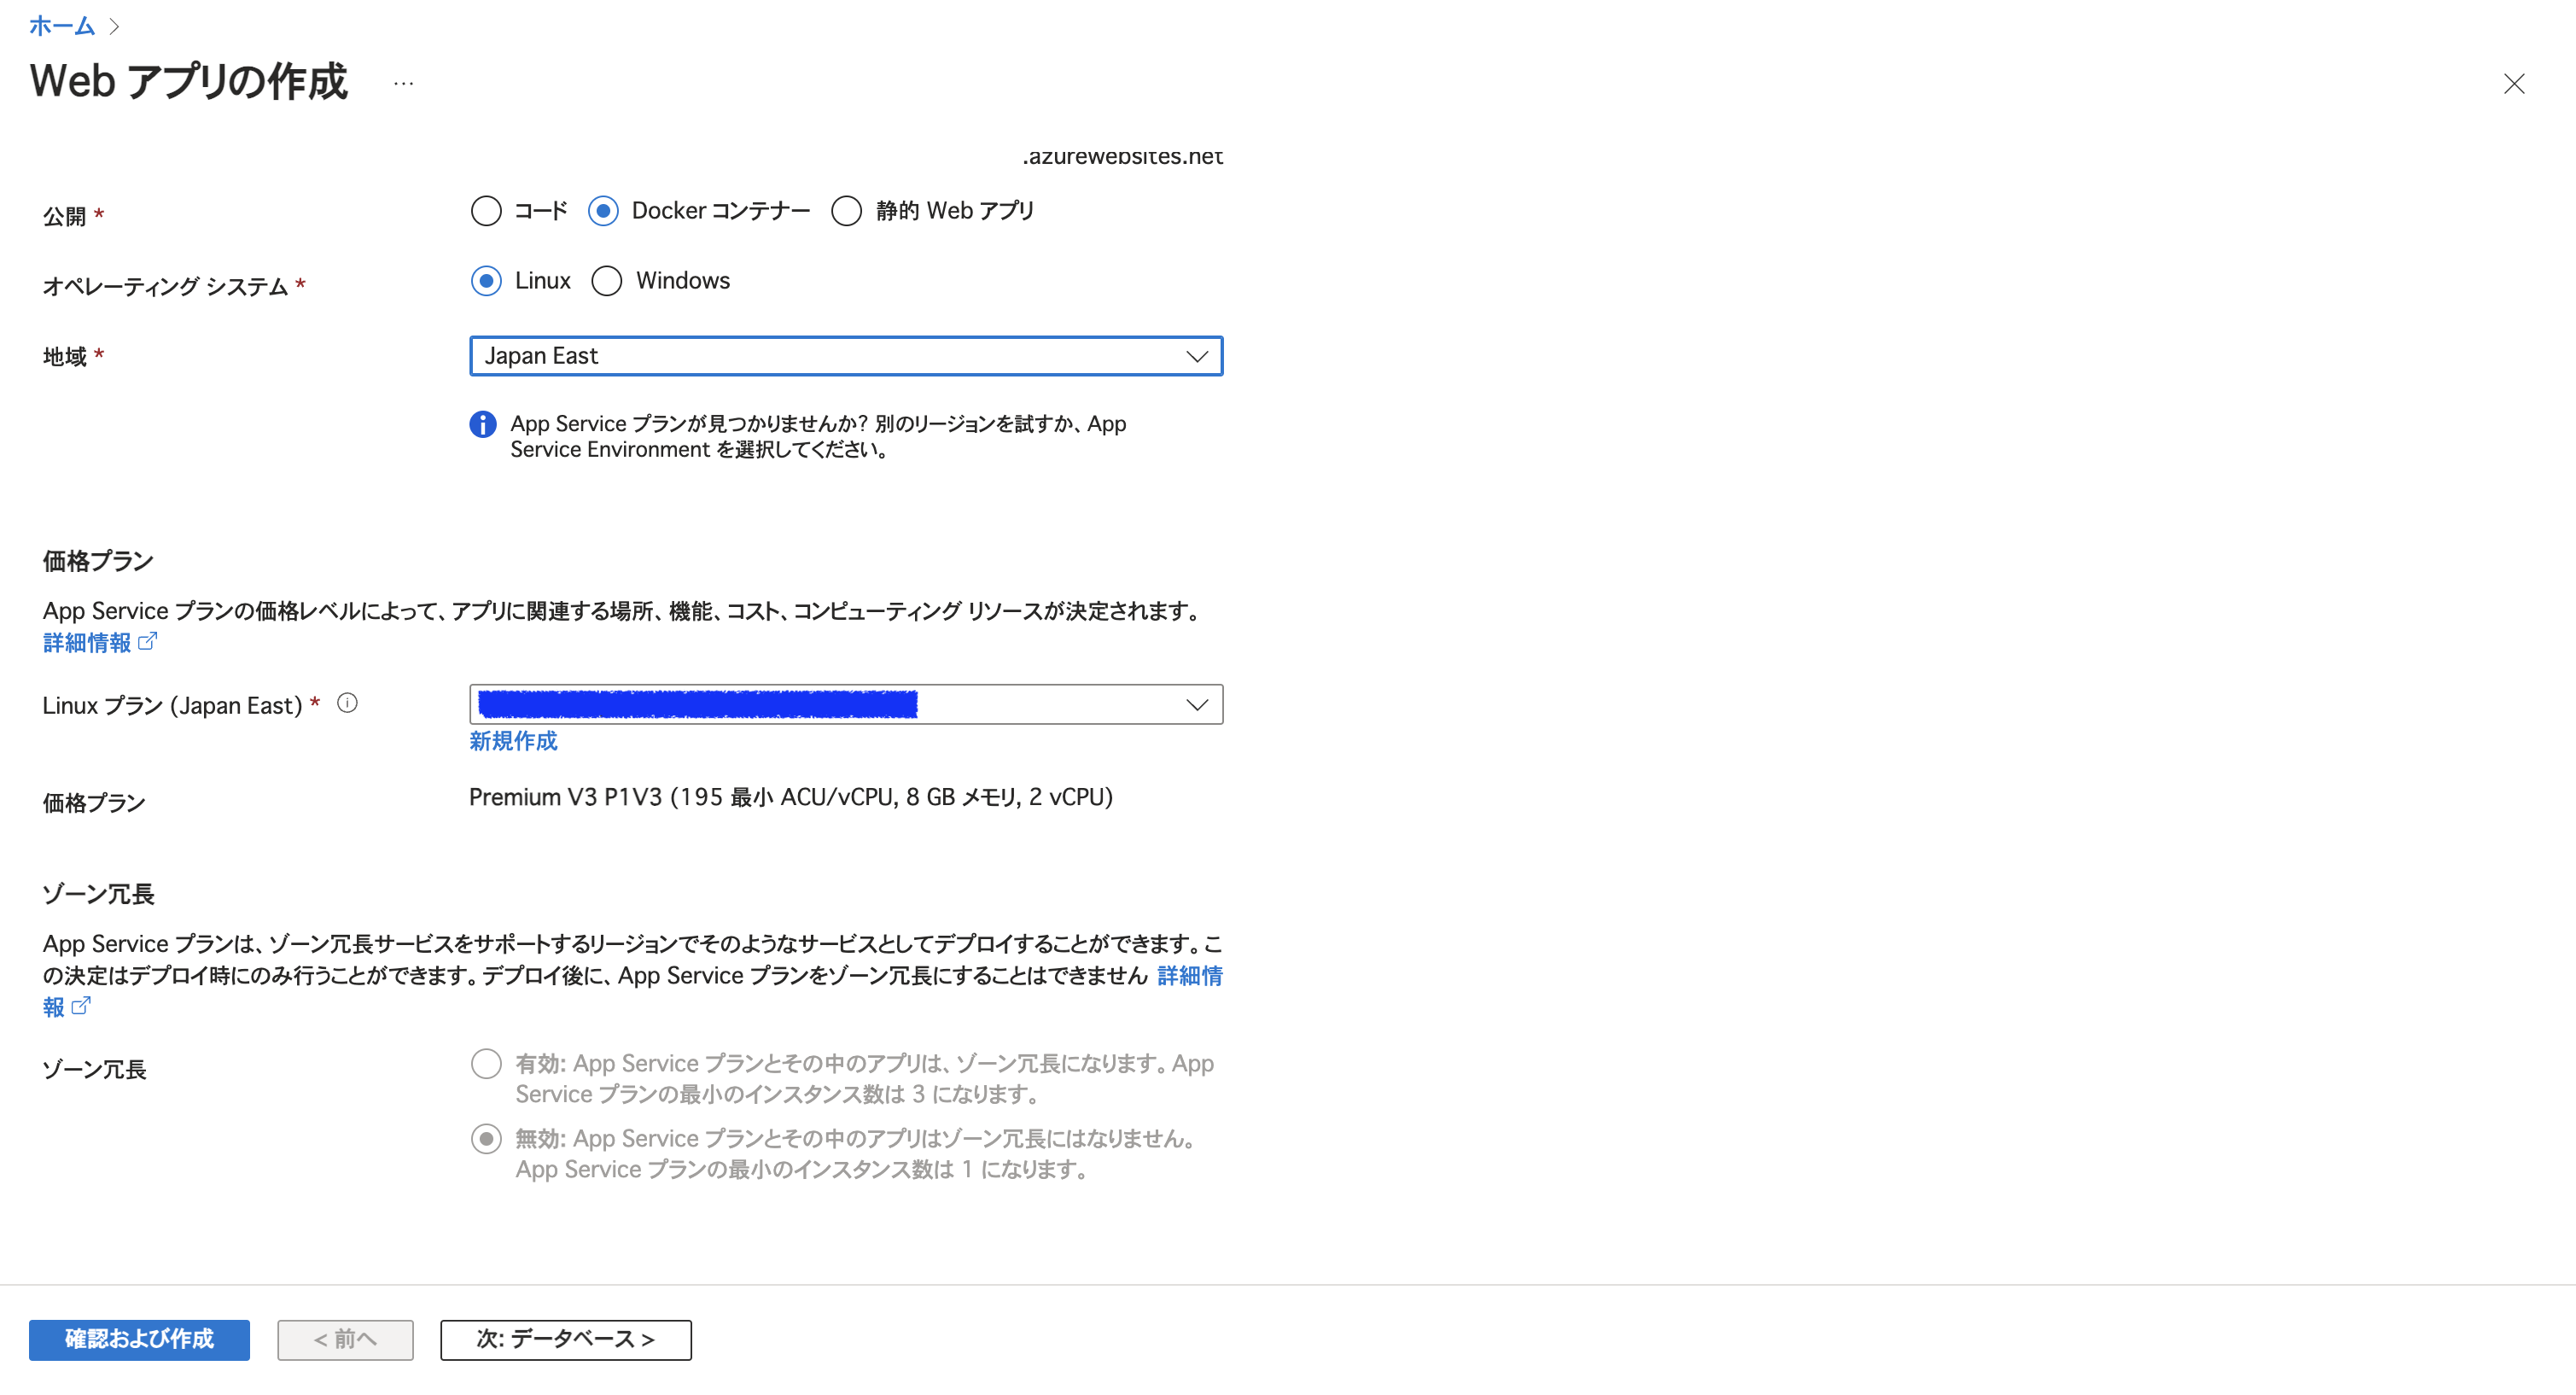
OSとRegionをApp Service Planと同じに合わせると「価格プラン」に作成したApp Service Planが出てくると思うので、選択。

「データベース」タブはスキップして、「Docker」タブに移動。
イメージソースは「クイックスタート」を選択。

既にContainer Registryにイメージをアップしている場合は、イメージソースを「Azure Container Registry」にしてレジストリ、イメージ、タグを選択することでApp Serviceリソース作成と同時にDockerの情報をもとにデプロイしてくれます。
「確認および作成」を選択して、リソース作成完了。
2. ローカルで簡単なアプリを作成
今回はFastAPIでアプリを作成してます。
1. プロジェクト作成
mkdir <プロジェクト名>
2. プロジェクト直下に移動
cd <プロジェクト名>
3. pythonファイルを一つ作成
touch main.py
4. 仮想環境を作成
python -m venv .venv
5. 仮想環境に入る
source .venv/bin/activate
6. 必要なパッケージをインストール
pip install fastapi uvicorn gunicorn
7. main.pyに記載
from fastapi import FastAPI
from fastapi.middleware.cors import CORSMiddleware

app = FastAPI()

app.add_middleware(
    CORSMiddleware,
    allow_origins=["*"],
    allow_credentials=True,
    allow_methods=["*"],
    allow_headers=["*"],
)


@app.get("/")
def root():
    return {"message": "Hello World"}
デプロイできたことを確認できればいいので、必要最低限のみ記載。
3. Dockerの用意
1. Dockerファイルを作成
touch Dockerfile
2. Dockerfileに記載
FROM python:3.9

WORKDIR /code

COPY requirements.txt .

RUN apt-get update && apt-get -y upgrade

RUN pip install --no-cache-dir --upgrade -r requirements.txt

COPY . .

EXPOSE 3100

CMD ["gunicorn", "main:app"]
3. .dockerignoreファイルを作成
touch .dockerignore
4. .dockerignoreファイルに記載
.git*
**/*.pyc
.venv/
4. デプロイ設定
1. 依存関係を出力するファイルを作成
touch requirements.txt
2. パッケージをrequirements.txtファイルに出力。
pip freeze > requirements.txt
3. gunicornの構成ファイルを作成
touch gunicorn.conf.py
4. gunicorn.conf.pyに記載
# Gunicorn configuration file
import multiprocessing

max_requests = 1000
max_requests_jitter = 50

log_file = "-"

bind = "0.0.0.0:3100"

worker_class = "uvicorn.workers.UvicornWorker"
workers = (multiprocessing.cpu_count() * 2) + 1
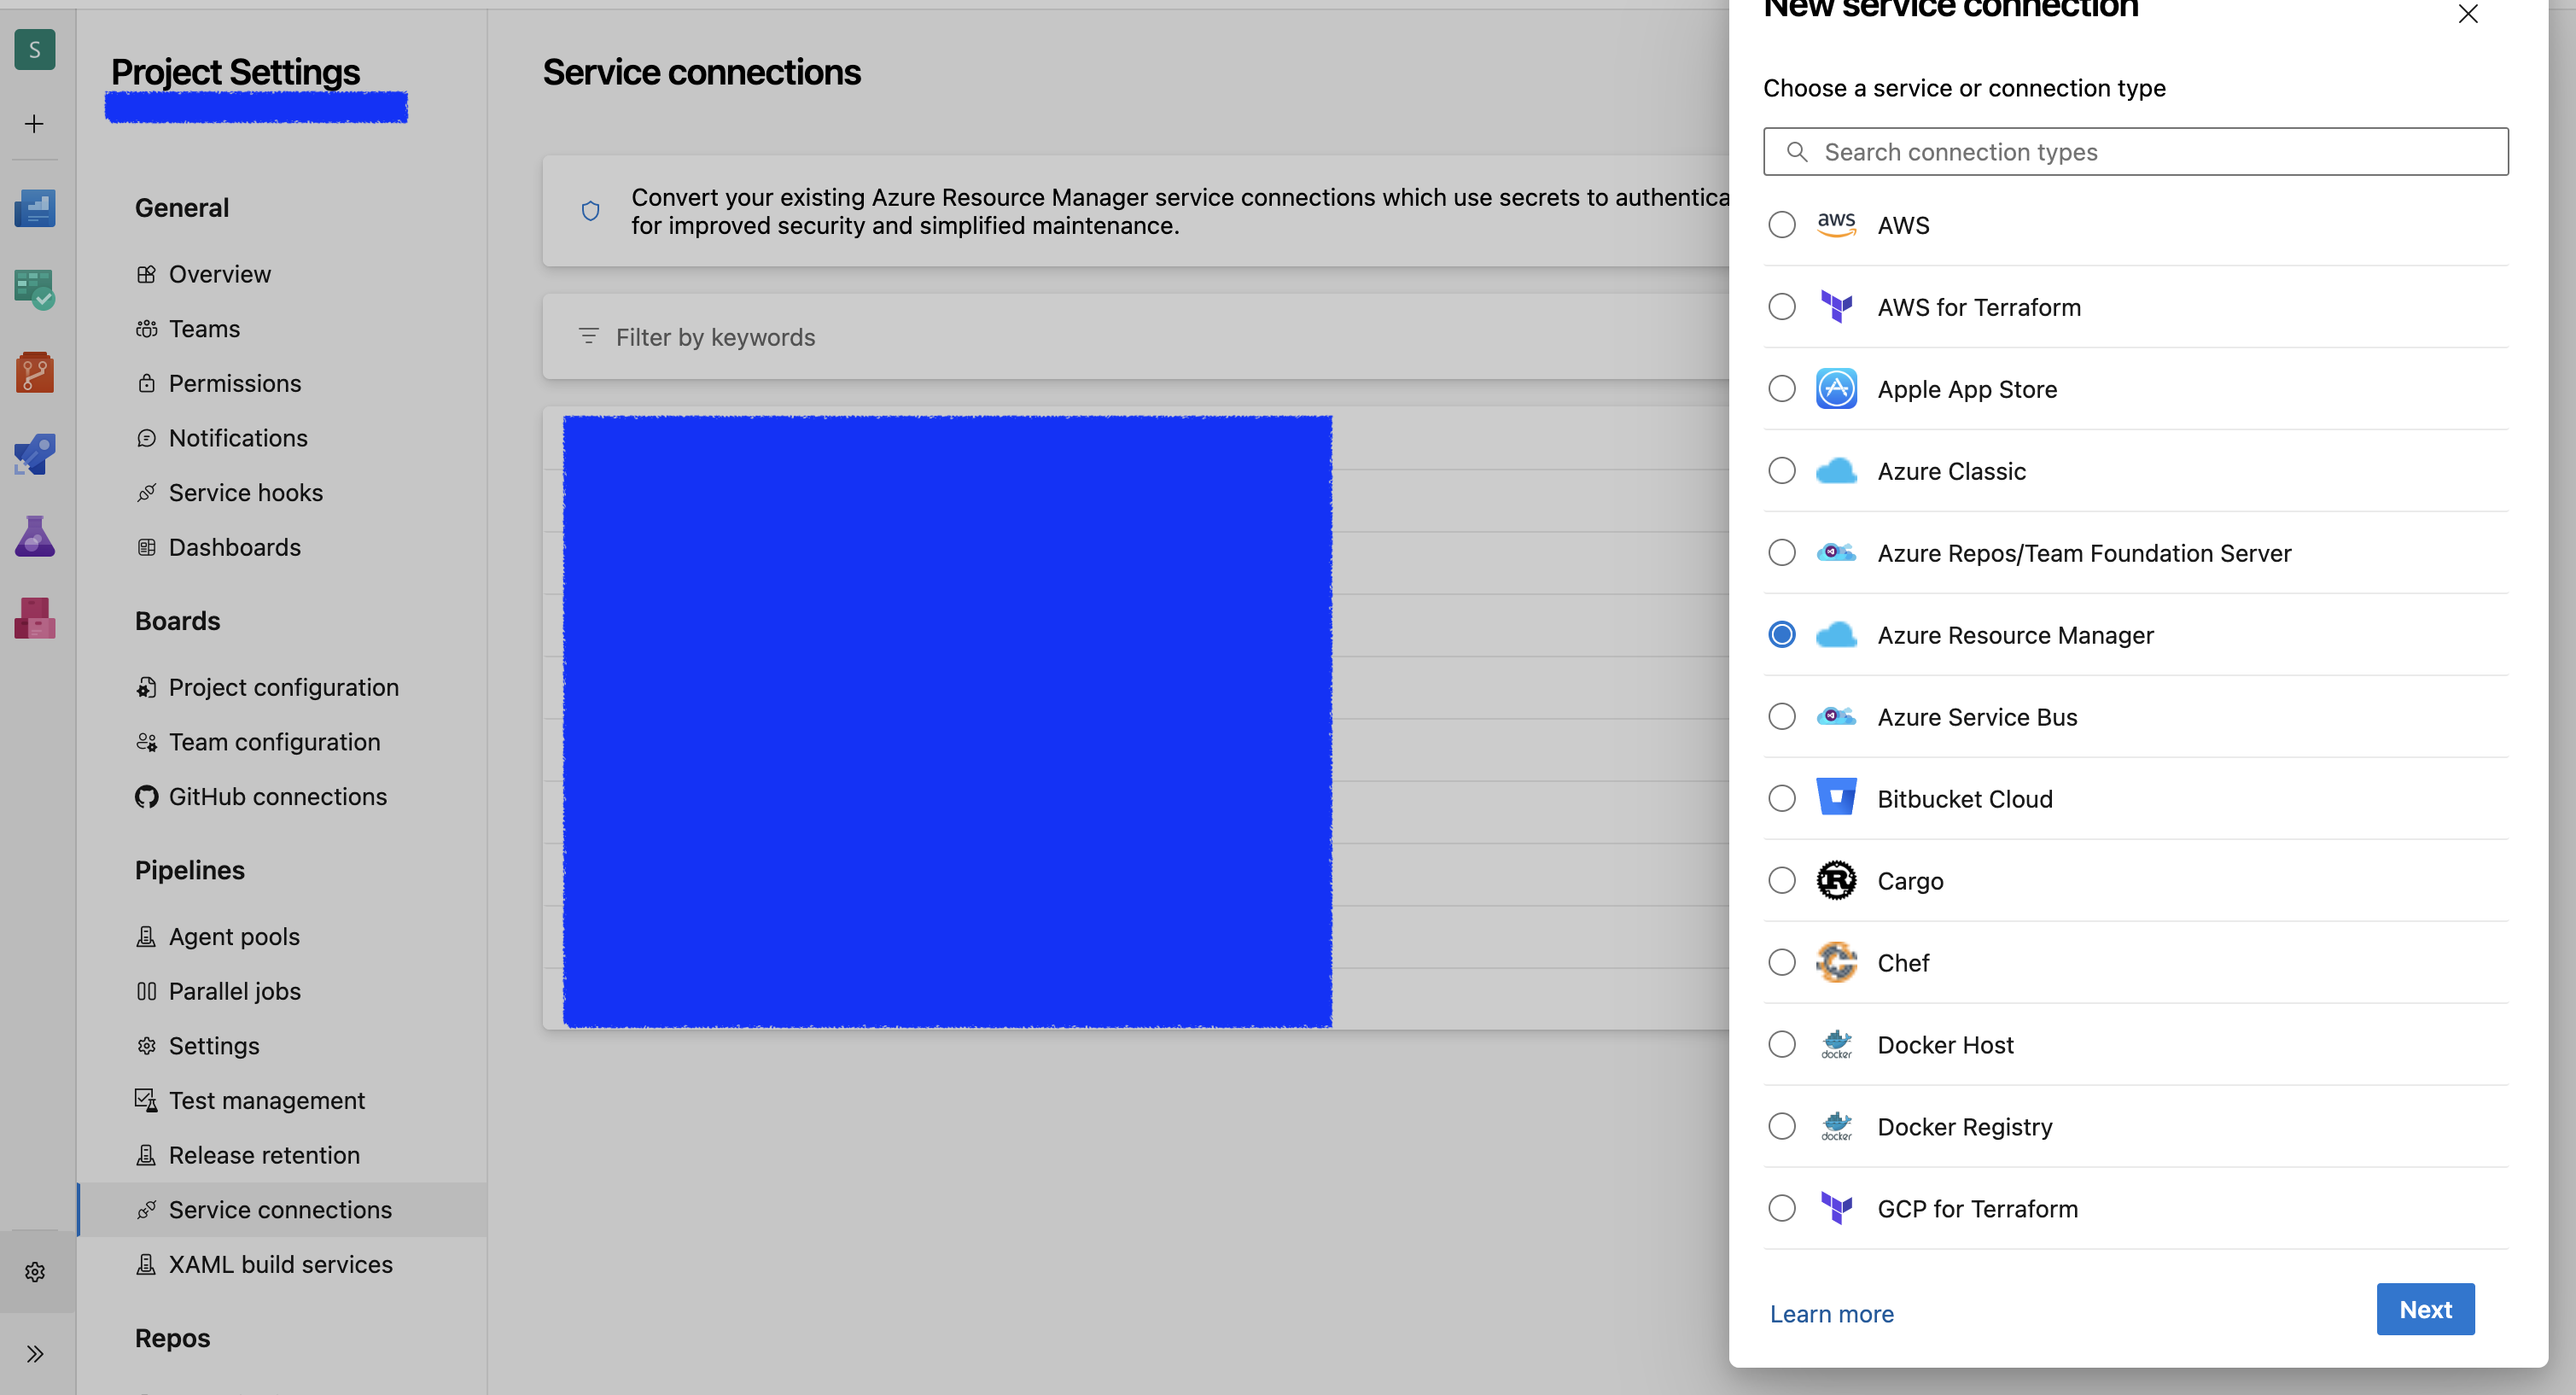
5. service connectionの作成

Devopsの左下にある設定ボタンを選択して、「Service connections」を選択。
右上の「New service connection」から新しいservice connectionを作成。
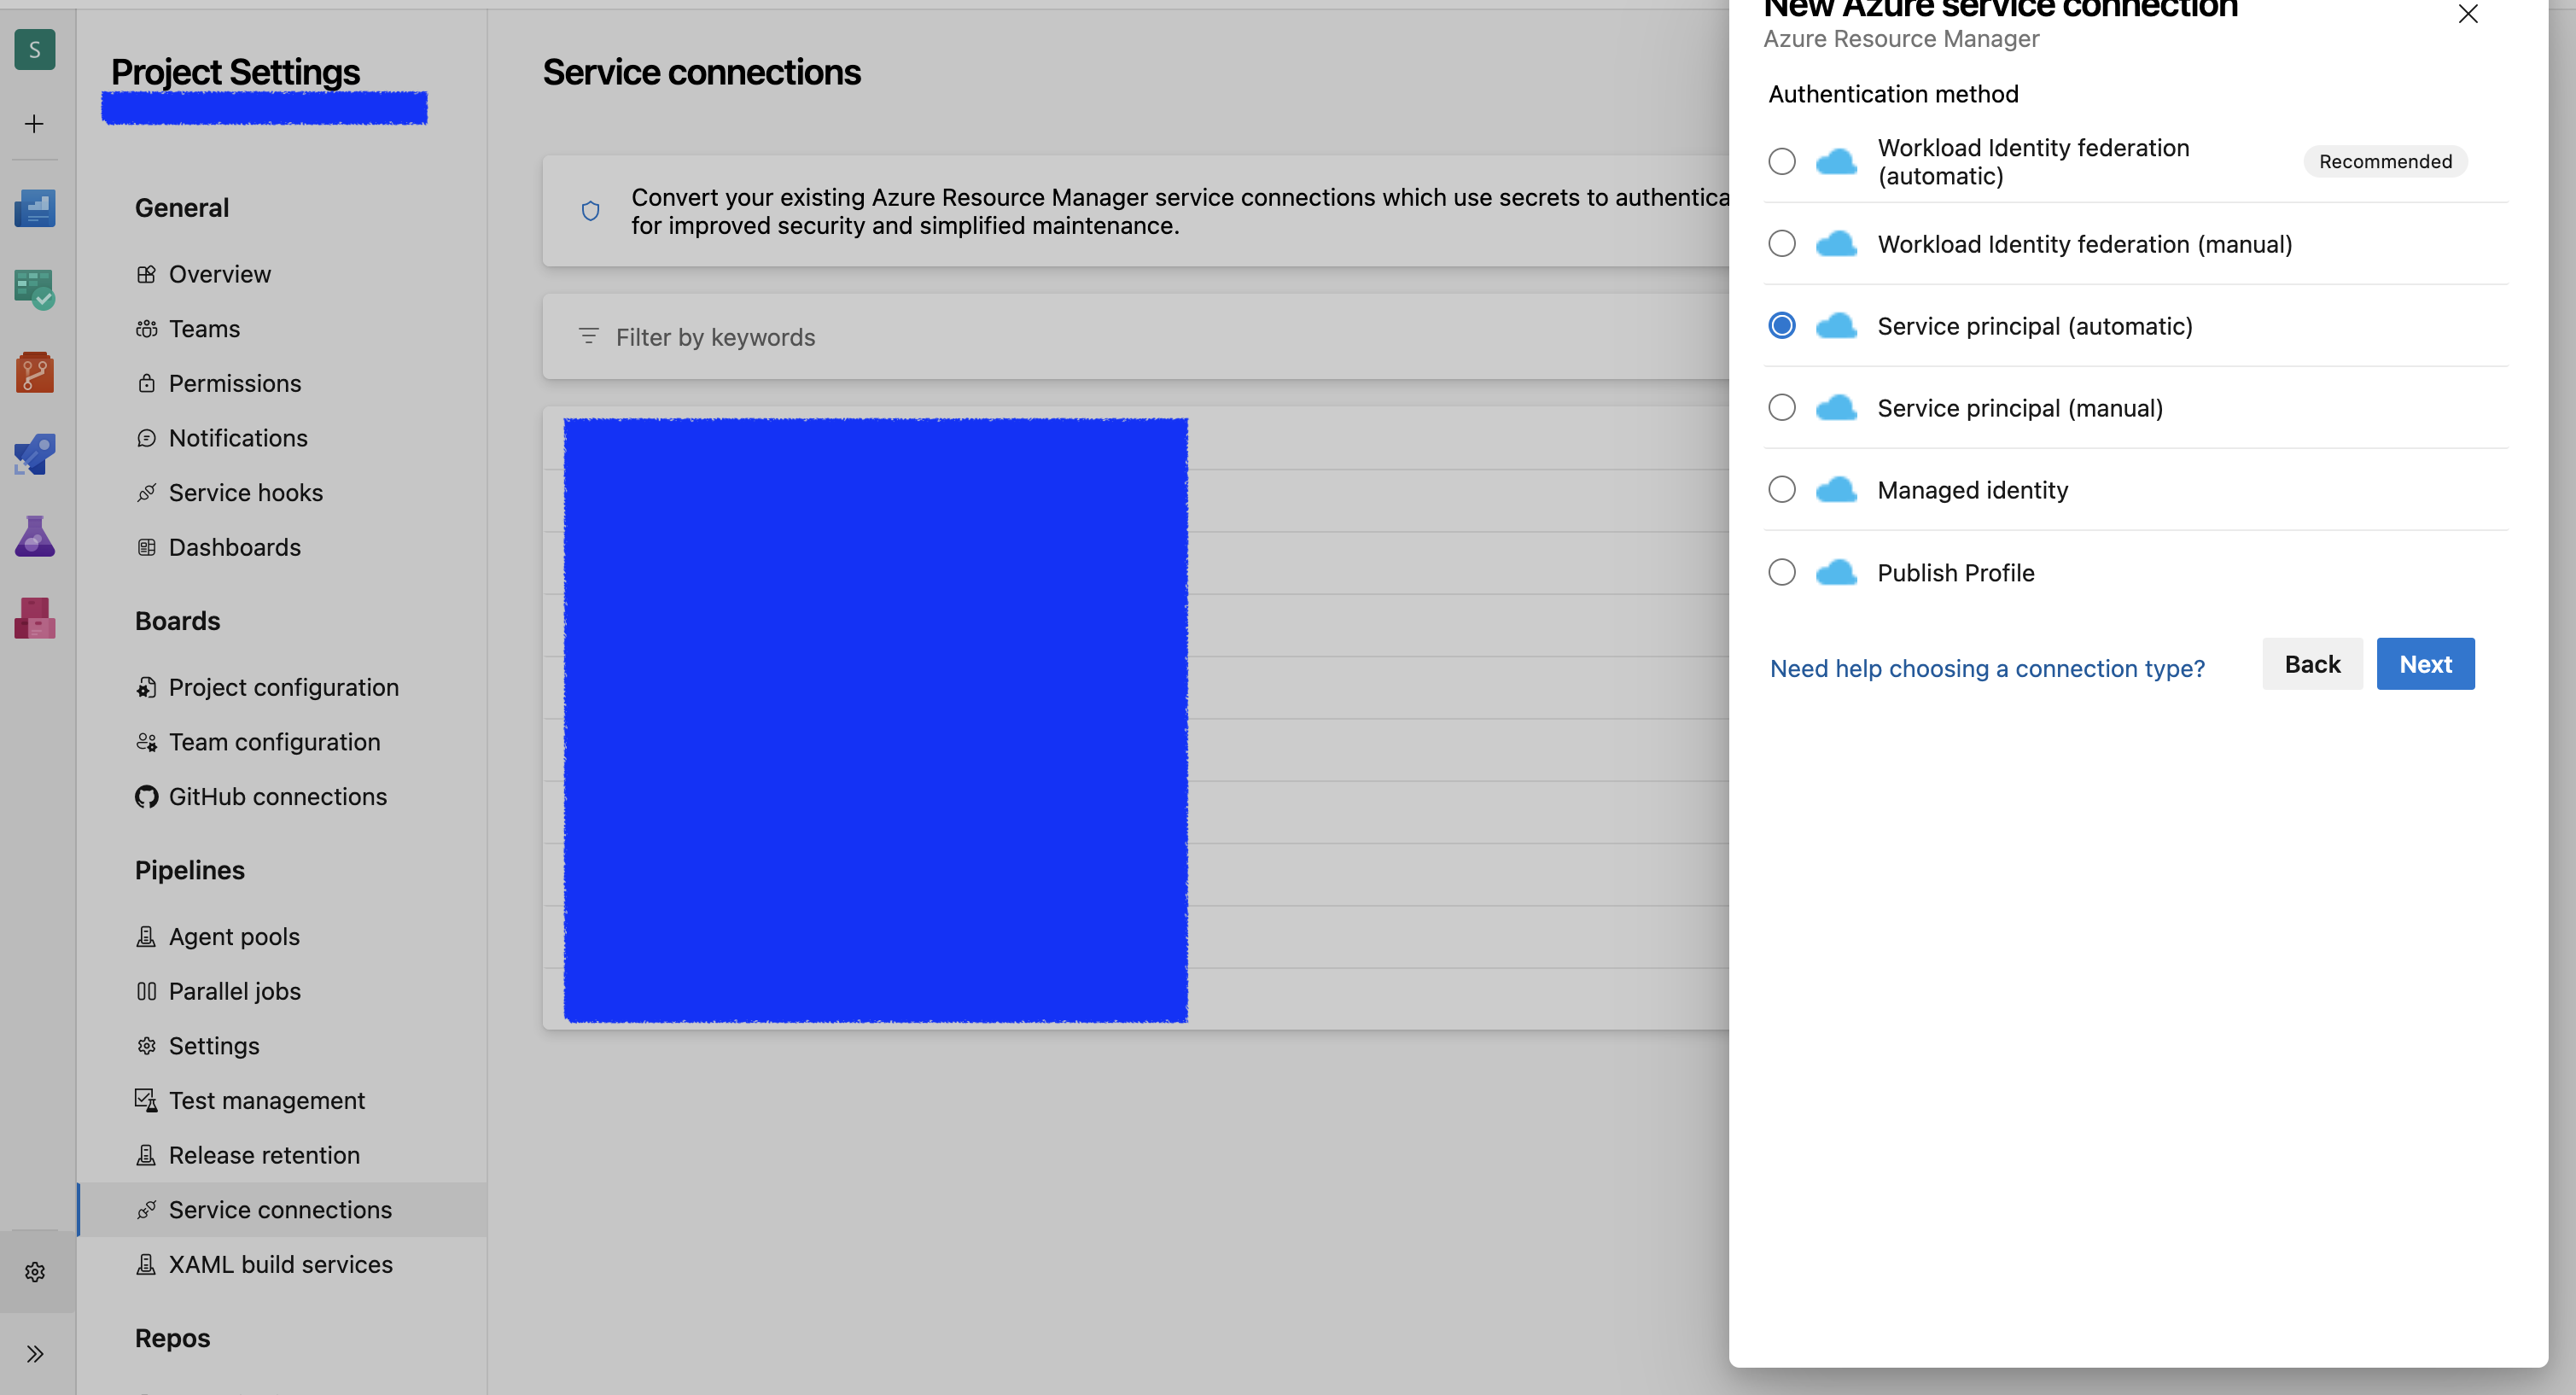
「Service principal(automatic)」を選択。

対象のSubscriptionとResource Groupを選択して、適当な名前のService connection nameを入力して、「Save」をクリック。
これでservice connectionは作成完了。
6. Pipelineを作成

サイドメニューから「Pipelines」 を選択して、「New pipeline」から新しいパイプラインを作成。

対象のリポジトリを選択。
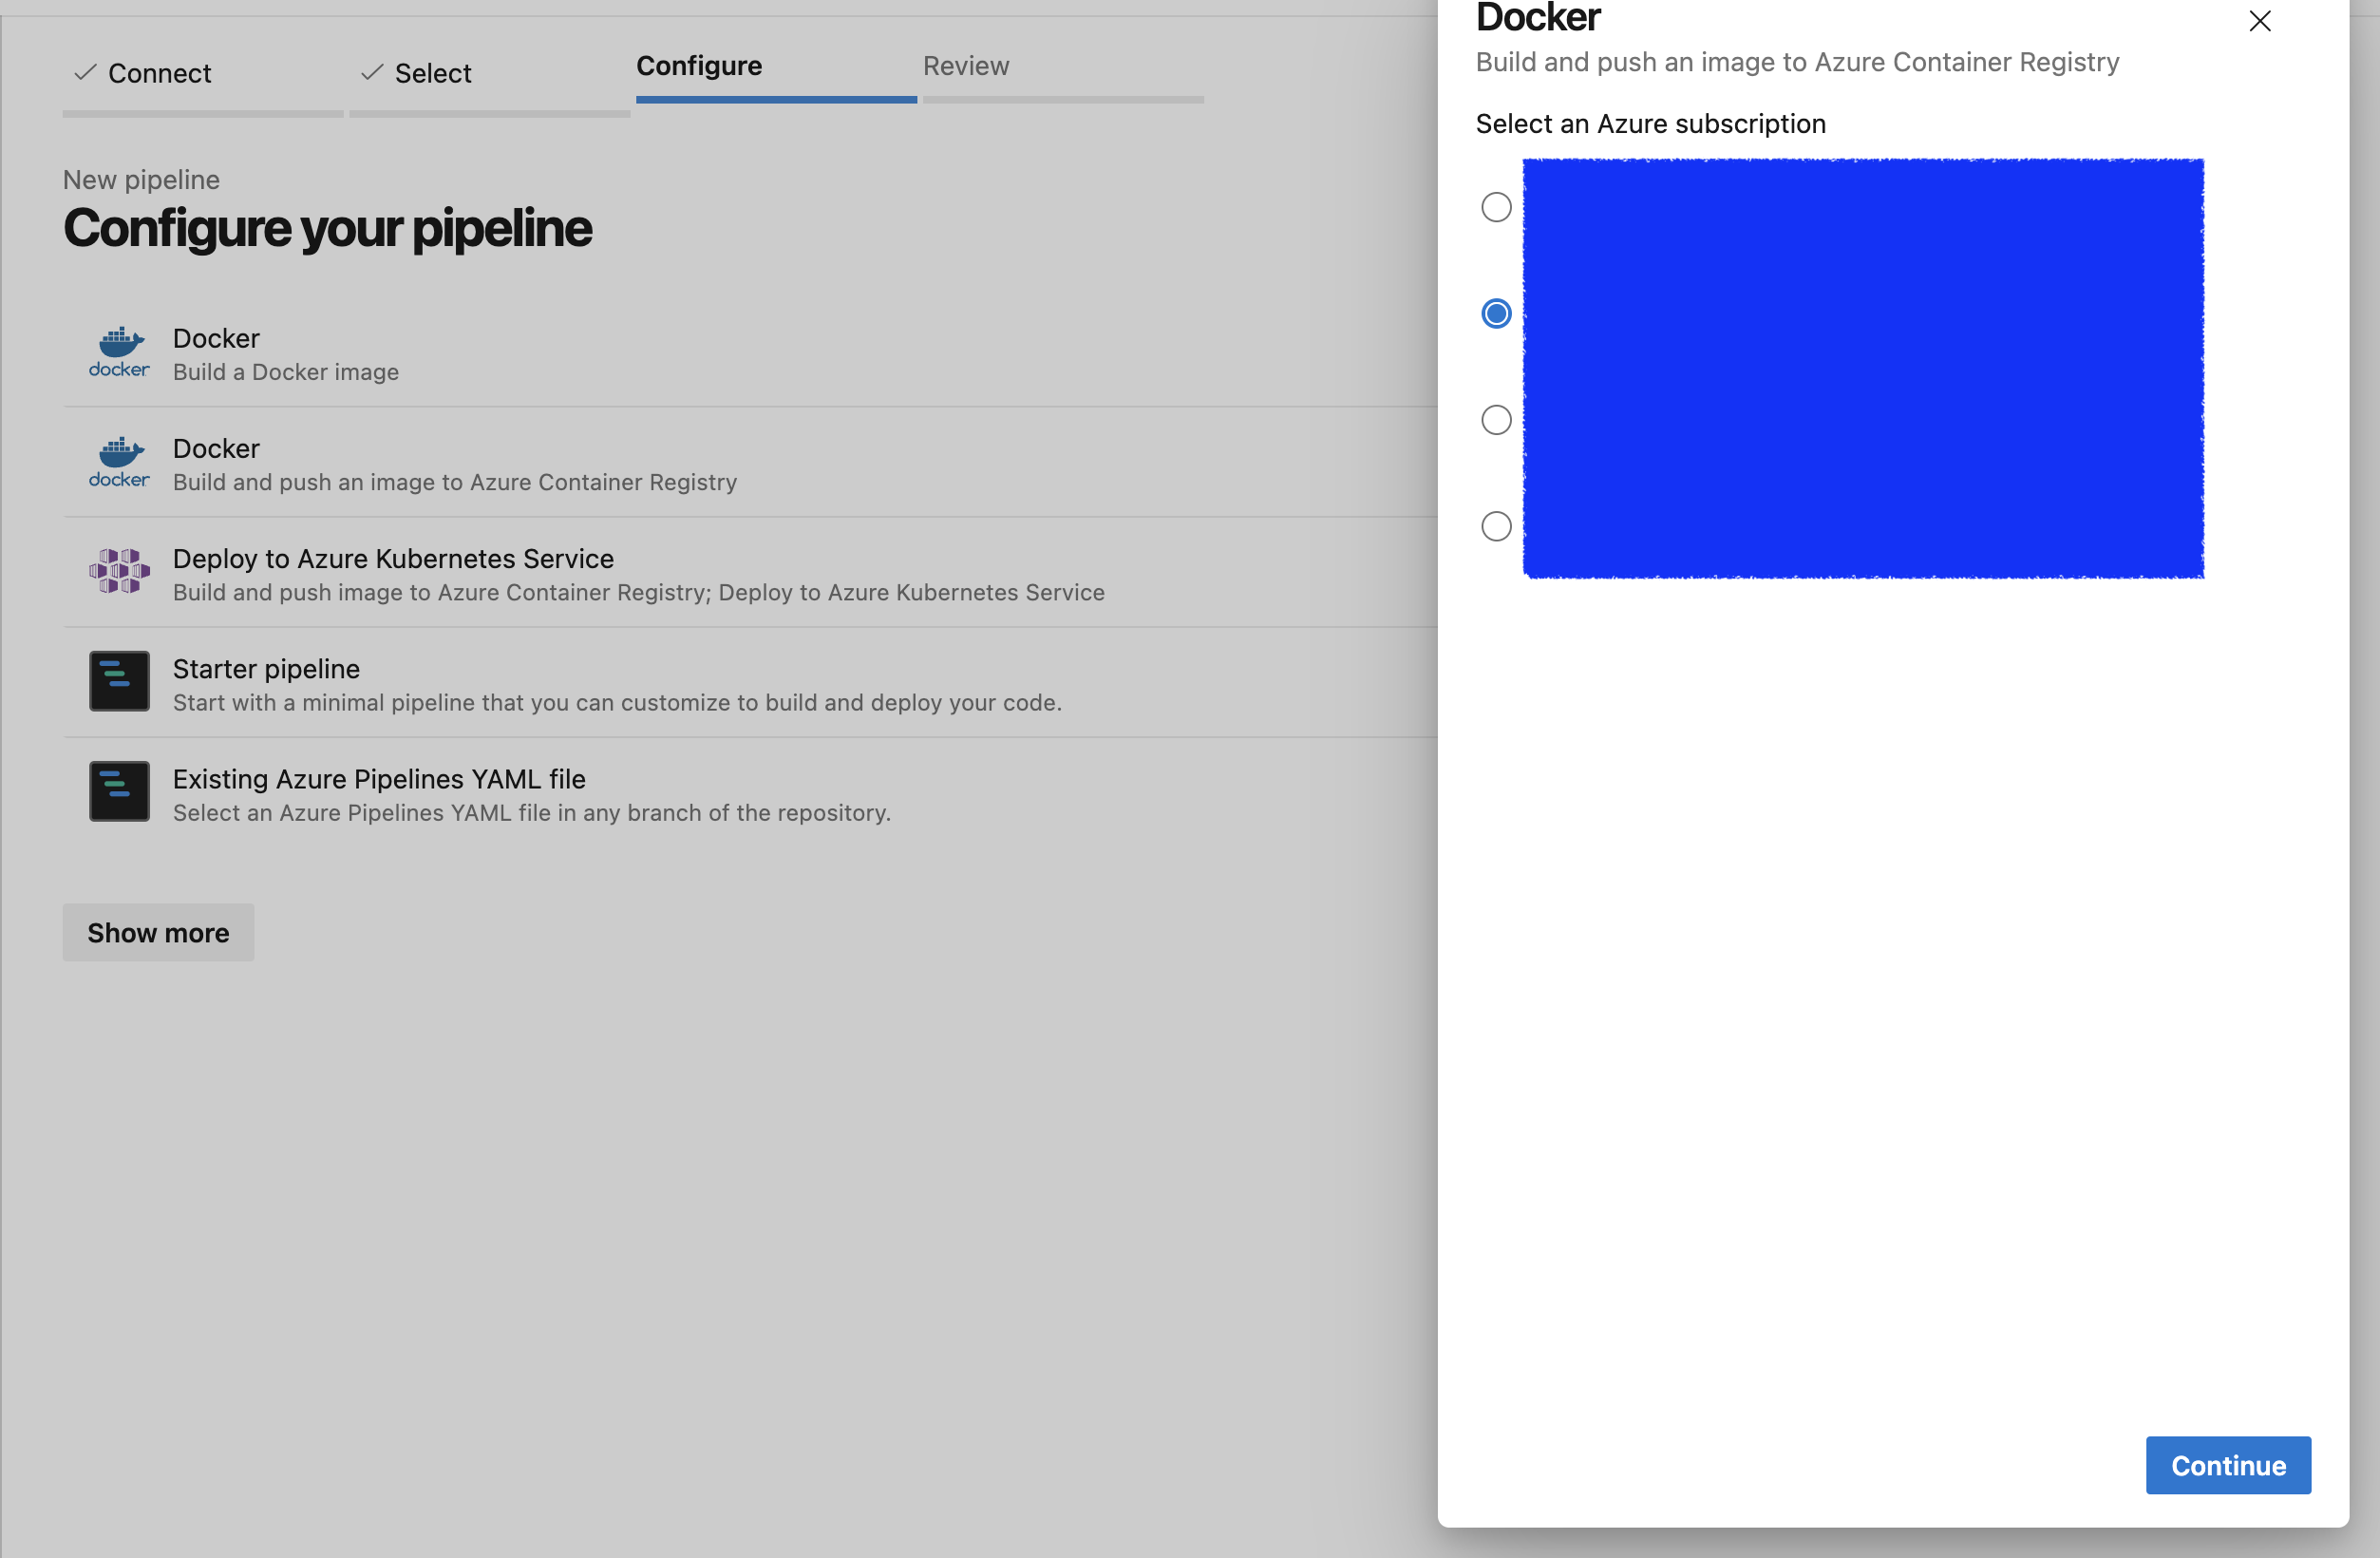
二つある「Docker」のうち、「Build and push an image to Azure Container Registry」の方を選択。
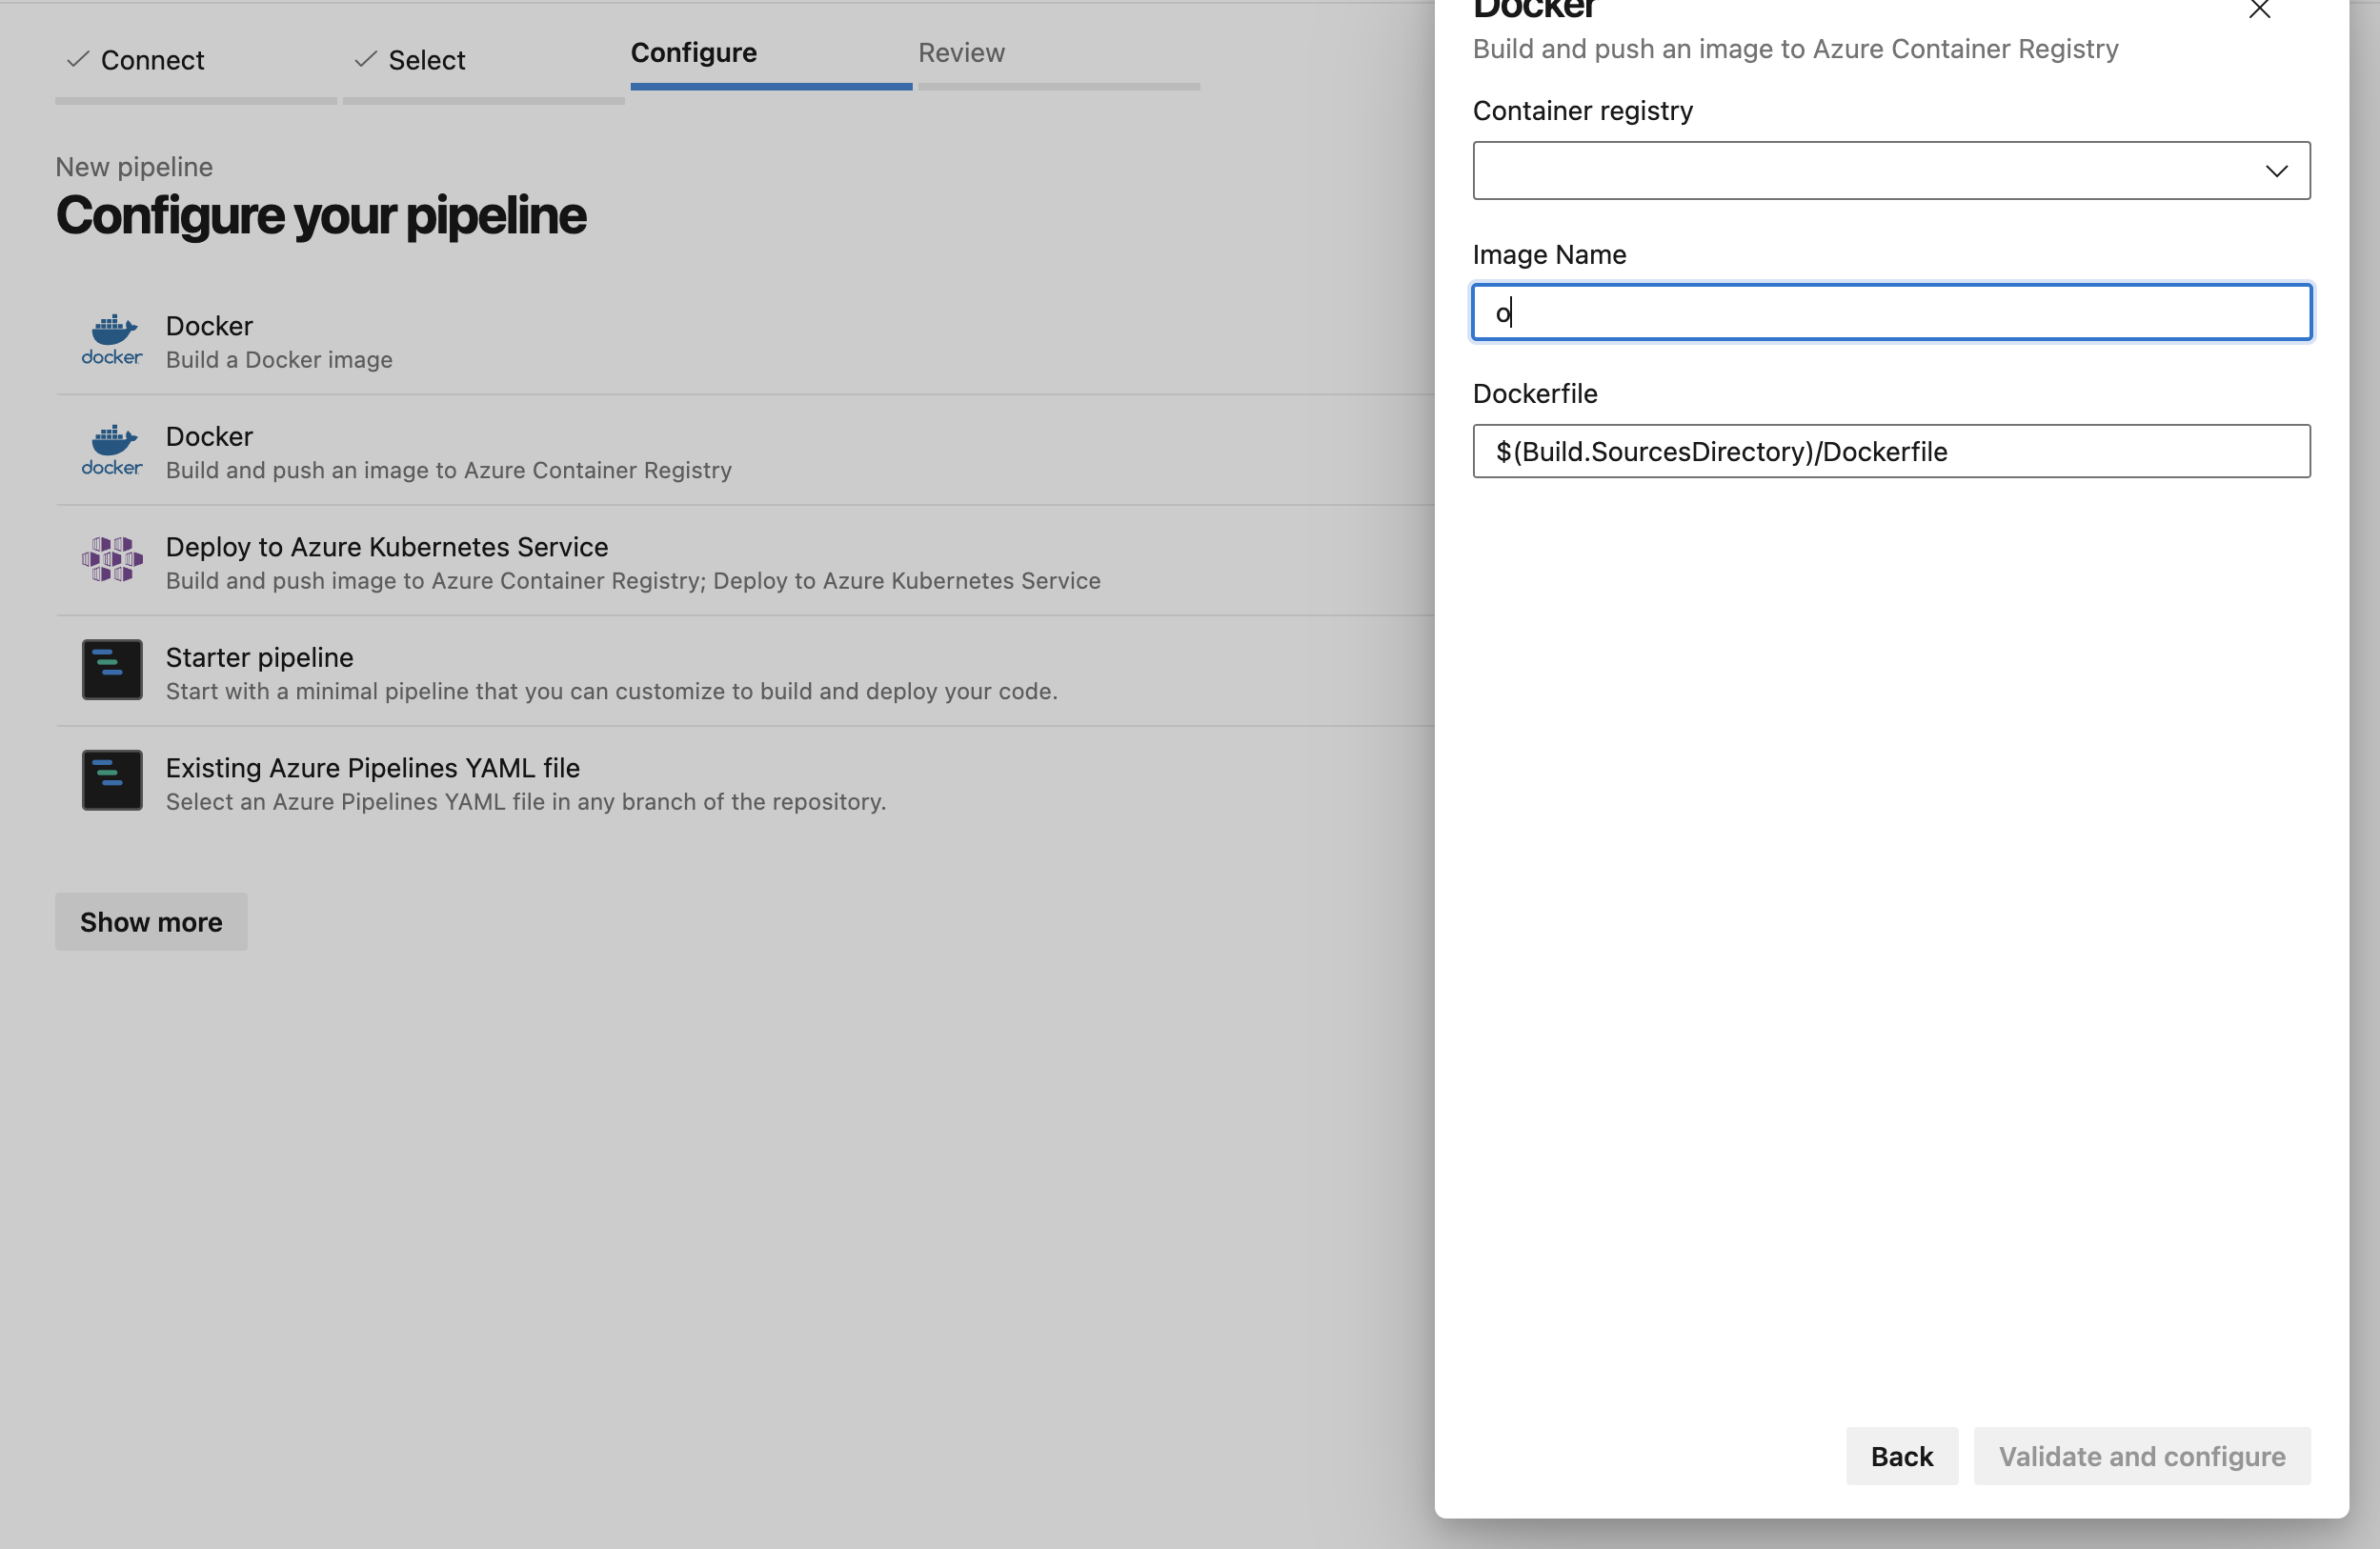
認証が通った後、Container Registryを選択して、適当なImage Nameをつける。
「Validate and configure」をクリック。
7. ymlファイルを記載
# Docker
# Build and push an image to Azure Container Registry
# https://docs.microsoft.com/azure/devops/pipelines/languages/docker

trigger:
- master

resources:
- repo: self

variables:
  # 以下追記
  azureSubscription: '<5.で作成したservice connection>'
  appName: '<App Serviceリソース名>'

  # Container registry service connection established during pipeline creation
  dockerRegistryServiceConnection: '<規定のまま>'
  imageRepository: '<規定のまま>'
  containerRegistry: '<規定のまま>'
  dockerfilePath: '**/Dockerfile-deploy'
  tag: '$(Build.BuildId)'

  # Agent VM image name
  vmImageName: 'ubuntu-latest'

stages:
- stage: Build
  displayName: Build and push stage
  jobs:
  - job: Build
    displayName: Build
    pool:
      vmImage: $(vmImageName)
    steps:
    - task: Docker@2
      displayName: Build and push an image to container registry
      inputs:
        command: buildAndPush
        repository: $(imageRepository)
        dockerfile: $(dockerfilePath)
        containerRegistry: $(dockerRegistryServiceConnection)
        tags: |
          $(tag)

# 追記
- stage: Deploy
  dependsOn: Build
  condition: succeeded()
  displayName: Deploy to App Services
  jobs:
    - job: Deploy
      displayName: Deploy
      pool:
        vmImage: $(vmImageName)
      steps:
        - task: AzureWebAppContainer@1
          displayName: Azure Web App on Container Deploy
          inputs:
            azureSubscription: $(azureSubscription)
            appName: $(appName)
            imageName: $(containerRegistry)/$(imageRepository):$(tag)
▪️ triggerは「master」に設定しているため、masterにpushされるたびに実行されます。もし自動で実行されたくない場合は「none」とする。
▪️ stageの「Build」ではContainer Registryにイメージをpushします。
▪️ stageの「Deploy」でApp Serviceにデプロイします。
8. 実行
...

