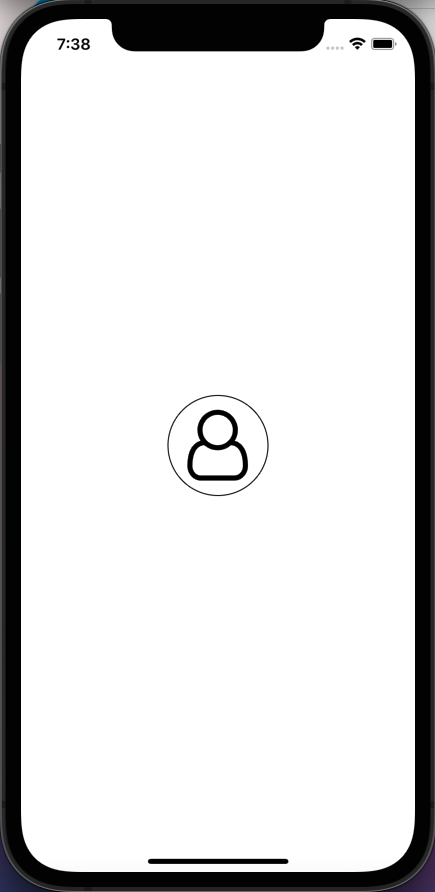
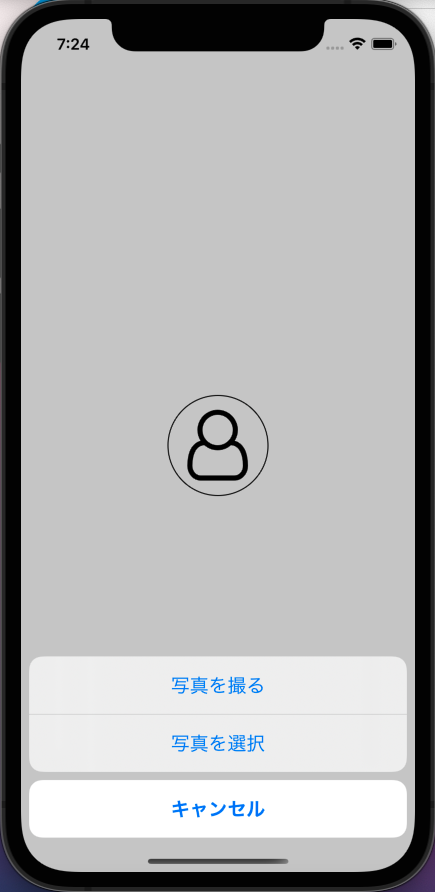
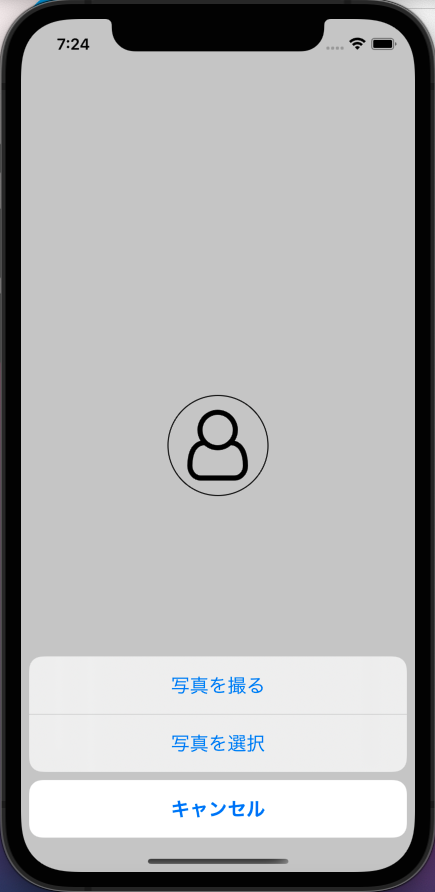
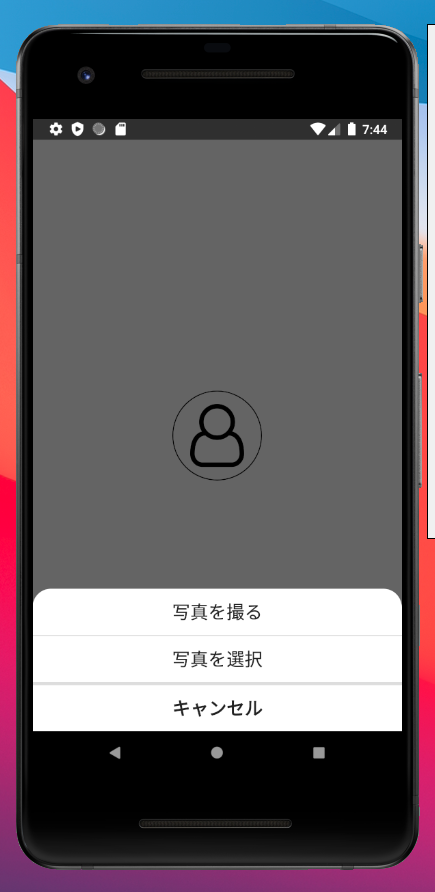
画像のようなタップしたときに下から出てくる選択欄(アクションシート)を実装
この機能はよくアプリのアイコンや写真を設定する時に使われていると思います。
実際にはiPhoneのappleIDのアイコンやLINEのトップ画を設定するときに使われています
プロジェクト作成、必要なライブラリをインストール
まずはReact-Nativeプロジェクトを作成します。
ちなみにExpoではなく、素のReactNativeで作っていきます。
作成方法はドキュメントなどを参考に進めてください。
次に必要なライブラリをインストール
yarnの場合yarn add react-native-cross-actionsheet npmの場合```npm install react-native-cross-actionsheet
####iOSだけの実装ならReactNativeの標準に入ってるのでインストールする必要はないです
実はReactNativeの公式にActionSheetIOSという同じようなUIを作れるものがありますが、それだとiOSにしか実装できません。
iOSだけならそれでもいいですが、Androidも作る予定の人はライブラリをインストールしてください。
作り方自体はほとんど一緒です。

##実装
今回はアクションシート用のコンポーネントを作成して、それをApp.jsから呼び出しているかたちです

```javascript
import React from 'react';
import {
  StyleSheet,
  View,
} from 'react-native';
import { ActionSheetPage } from './src/components/ActionSheet';

const App = () => {
  return (
    <View style={styles.screen}>
      <ActionSheetPage/>
    </View>
  );
};

const styles = StyleSheet.create({
 screen: {
   flex:1,
   justifyContent:'center',
   alignItems:'center'
 }
});

export default App;
次にアクションシートを実装するコンポーネントを作成していきます。
import React from 'react';
import {TouchableOpacity, View} from 'react-native';
import Icon from 'react-native-vector-icons/FontAwesome';

export const ActionSheetPage = () => {
  return (
    <View>
      <TouchableOpacity>
        <View>
          <Icon name="user-o" size={70} />
        </View>
      </TouchableOpacity>
    </View>
  );
};
ベースを作り、TouchableOpacityでタップした時の挙動にアクションシートを使っていきます
import React from 'react';
import {StyleSheet, TouchableOpacity, View} from 'react-native';
import {ActionSheet} from 'react-native-cross-actionsheet';
import Icon from 'react-native-vector-icons/FontAwesome';

export const ActionSheetPage = () => {
  const onPressAction = () => {
    return ActionSheet.options({
      options: [
        {text: '写真を撮る', onPress: () => console.log('create')},
        {text: '写真を選択', onPress: () => console.log('update')},
      ],
      cancel: {text: 'キャンセル'},
    });
  };

  return (
    <View>
      <TouchableOpacity onPress={onPressAction}>
        <View style={styles.iconButton}>
          <Icon style={styles.icon} name="user-o" size={70} />
        </View>
      </TouchableOpacity>
    </View>
  );
};

const styles = StyleSheet.create({
  iconButton: {
    borderWidth: 1,
    width: 100,
    height: 100,
    borderRadius: 100,
    marginLeft: 'auto',
    marginRight: 'auto',
  },
  icon: {
    marginLeft: 'auto',
    marginRight: 'auto',
    marginTop: 'auto',
    marginBottom: 'auto',
  },
});
options内のtextに入れたい文字を入れ、onPressにタップした時の挙動を実装すれば完成です


