やってみる系の記事でございます。
業務でAmplifyを使っておりますが、とある検索フォームがありまして、そのフォームでは地域とか商品のカテゴリとかを選択できます。
そしてAmplifyではPinpointを簡単に使う仕組みがあります。
これにユーザーIDをキーにした複数の条件をぶち込んでってみたらどんな感じで表示できるのだろうか、と思ったので深く考えずに試してみます。
Analytics.recordってやるだけでいいので、DB作ってほにゃららってやるよりは楽そうなんですよね。
やってみる事
- Amplify + Analyticsを使う
- AnalyticsにはユーザーIDを含めたjsonをpushする
- 管理画面で確認してみる
Amplify + Analyticsを使う
ではさっくりと準備していきます。
さっくりやりたいので、simpleにvueでいきます。ただ、vue3に対応してるとの事なので3で。
amplify cliのインストール
入ってる前提で進めてしまいます。
プロジェクト生成
$ npm install -g @vue/cli
$ vue create analiticsExample
Invalid project name: "analiticsExample"
Warning: name can no longer contain capital letters
km@kenoMacBook-Pro ~ % vue create analitics-example
?  Your connection to the default npm registry seems to be slow.
   Use https://registry.npm.taobao.org for faster installation? Yes


Vue CLI v4.5.12
? Please pick a preset: Default (Vue 3 Preview) ([Vue 3] babel, eslint)


Vue CLI v4.5.12
✨  Creating project in /Users/km/analitics-example.
🗃  Initializing git repository...
⚙️  Installing CLI plugins. This might take a while...


added 1285 packages in 1m
🚀  Invoking generators...
📦  Installing additional dependencies...


added 77 packages in 9s
⚓  Running completion hooks...

📄  Generating README.md...

🎉  Successfully created project analitics-example.
👉  Get started with the following commands:

 $ cd analitics-example
 $ npm run serve
analytics追加
これだけでいけるはず。
$ cd analitics-example
$ npm install --save aws-amplify
$ amplify init
Note: It is recommended to run this command from the root of your app directory
? Enter a name for the project analiticsexample
The following configuration will be applied:

Project information
| Name: analiticsexample
| Environment: dev
| Default editor: Visual Studio Code
| App type: javascript
| Javascript framework: vue
| Source Directory Path: src
| Distribution Directory Path: dist
| Build Command: npm run-script build
| Start Command: npm run-script serve

? Initialize the project with the above configuration? Yes
Using default provider  awscloudformation
For more information on AWS Profiles, see:
https://docs.aws.amazon.com/cli/latest/userguide/cli-configure-profiles.html

? Please choose the profile you want to use default

...


$ amplify add analytics
? Select an Analytics provider Amazon Pinpoint
? Provide your pinpoint resource name: analiticsexample
Adding analytics would add the Auth category to the project if not already added.


...

$ amplify push
Do you want to allow guests and unauthenticated users to send analytics events? の所をYesにしてもAuthのリソースが作られます。
Signin関係なしに使いたいんだけどな。
AnalyticsにはユーザーIDをキーとしたjsonをpushする
簡単な画面を作りつつ、Pinpointにpushしてみます。
ただ、Signinしないとうまくいかなかったので先にSigninフォームを生やす。
なお、Vue3のsignIn周りはちょっと変わってました。
一旦、main.jsとApp.jsは上記と同じやつにします。
@aws-amplify/ui-components
これで SignIn画面が作られるので、適当にユーザー作ってログインしておきます。
次に、App.vueを変更します。
<template>
  <div>
    <img alt="Vue logo" src="./assets/logo.png">
    <div v-if="authState !== 'signedin'">You are signed out.</div>
    <amplify-authenticator>
      <div v-if="authState === 'signedin' && user">
        <div>Hello, {{user.username}}</div>
      </div>
      <amplify-sign-out></amplify-sign-out>
      <p>
        <label>userId: </label>
        <input v-model="userId" />
      </p>
      <p>
        <select v-model="pref">
          <option v-for="pref in prefList" v-bind:key="pref.value">
            {{ pref.text }}
          </option>
        </select>
        <select v-model="item">
          <option v-for="item in itemList" v-bind:key="item.value">
            {{ item.text }}
          </option>
        </select>
      </p>
      <p>
        <button @click="sendData">sendData</button>
      </p>
    </amplify-authenticator>
  </div>
</template>

<script>
import { onAuthUIStateChange } from '@aws-amplify/ui-components'
import { Analytics } from 'aws-amplify';

export default {
  name: 'App',
  created() {
    this.unsubscribeAuth = onAuthUIStateChange((authState, authData) => {
      this.authState = authState;
      this.user = authData;
    })
  },
  data() {
    return {
      user: undefined,
      authState: undefined,
      unsubscribeAuth: undefined,
      userId: "",
      pref: "山形県",
      item: "マグロ",
      prefList: [
        { text: "山形県", value:1 },
        { text: "山梨県", value:2 },
        { text: "山口県", value:3 },
        { text: "その他", value:9 },
      ],
      itemList: [
        { text: "マグロ", value:1 },
        { text: "はまち", value:2 },
        { text: "えんがわ", value:3 },
        { text: "わかめ", value:4 },
      ],
    }
  },
  methods: {
    sendData: function () {
      const val = {
        name: "searchHistory",
        attributes: {
          userId: this.userId,
          pref: this.pref,
          item: this.item,
        }
      }
      Analytics.record(val);
      console.log(val);
      return true;
    },
  },
  beforeUnmount() {
    this.unsubscribeAuth();
  },
}
</script>
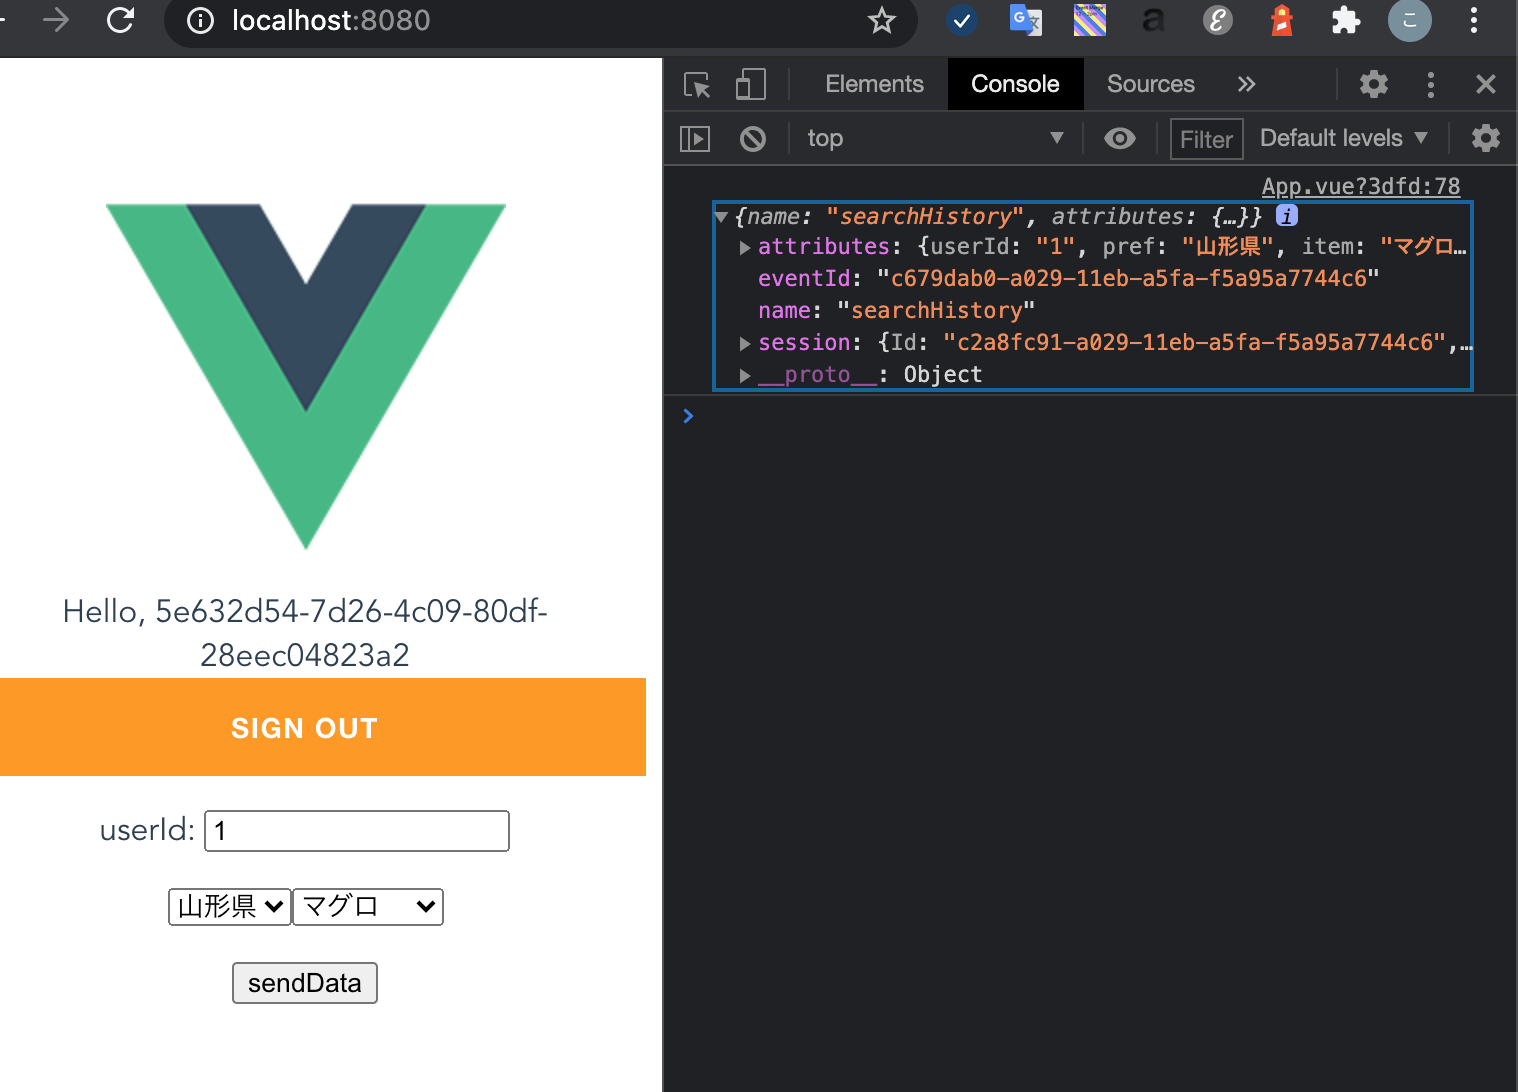
inputフォームとSelectボックスを二つつくりました。
ユーザーIDと都道府県と商品名。
これをまとめてPinpointに投げてみてます。
SearchHistoryって名前で検索値がattributesで入ってきてるはず。
管理画面で確認してみる
さて、じゃあPinpointの画面でみてみましょう。
なお、Amplifyのコンソールからたどれるかと思いました・・が・・
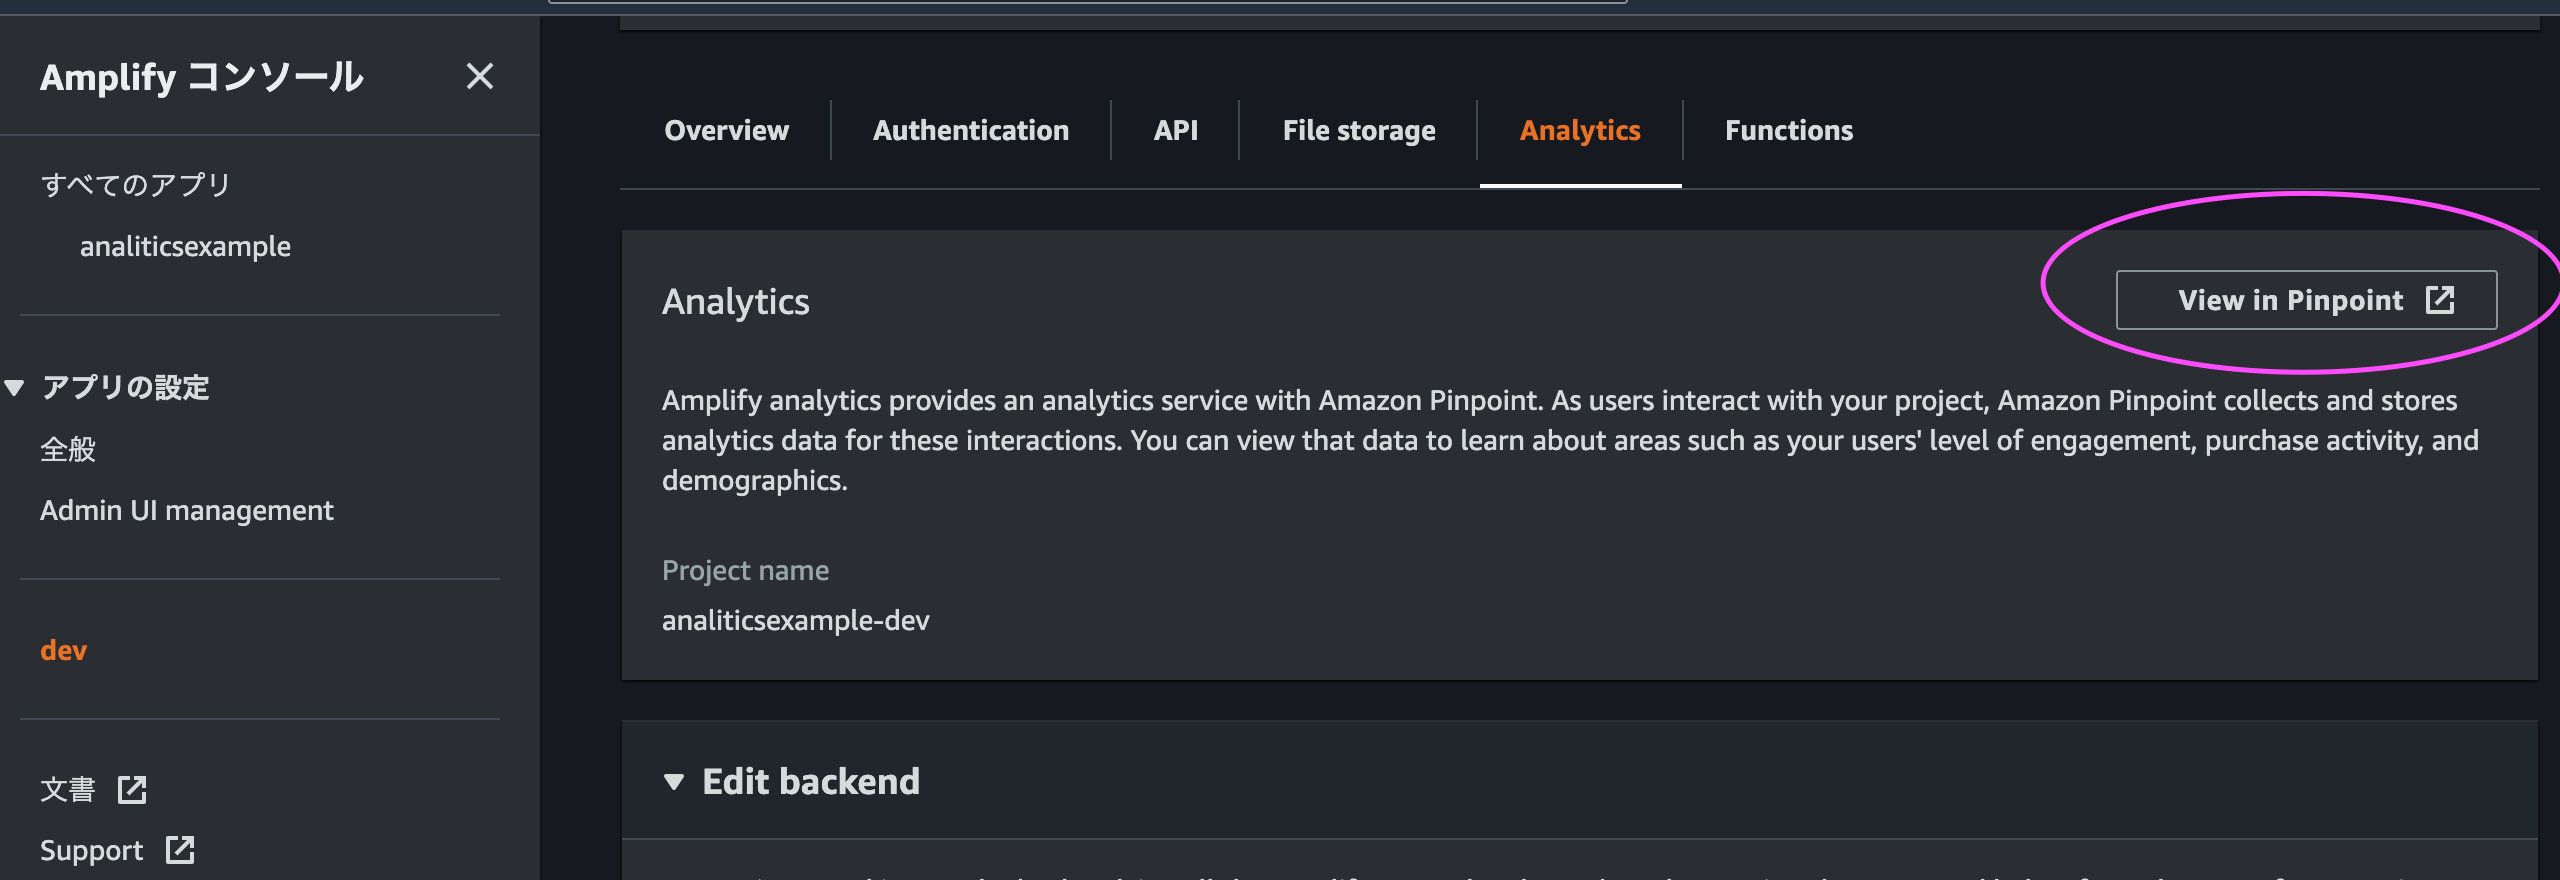
なぜだかus-east-2に作られてて、リージョンを切り替えないとみれませんでした。
Pinpointの画面
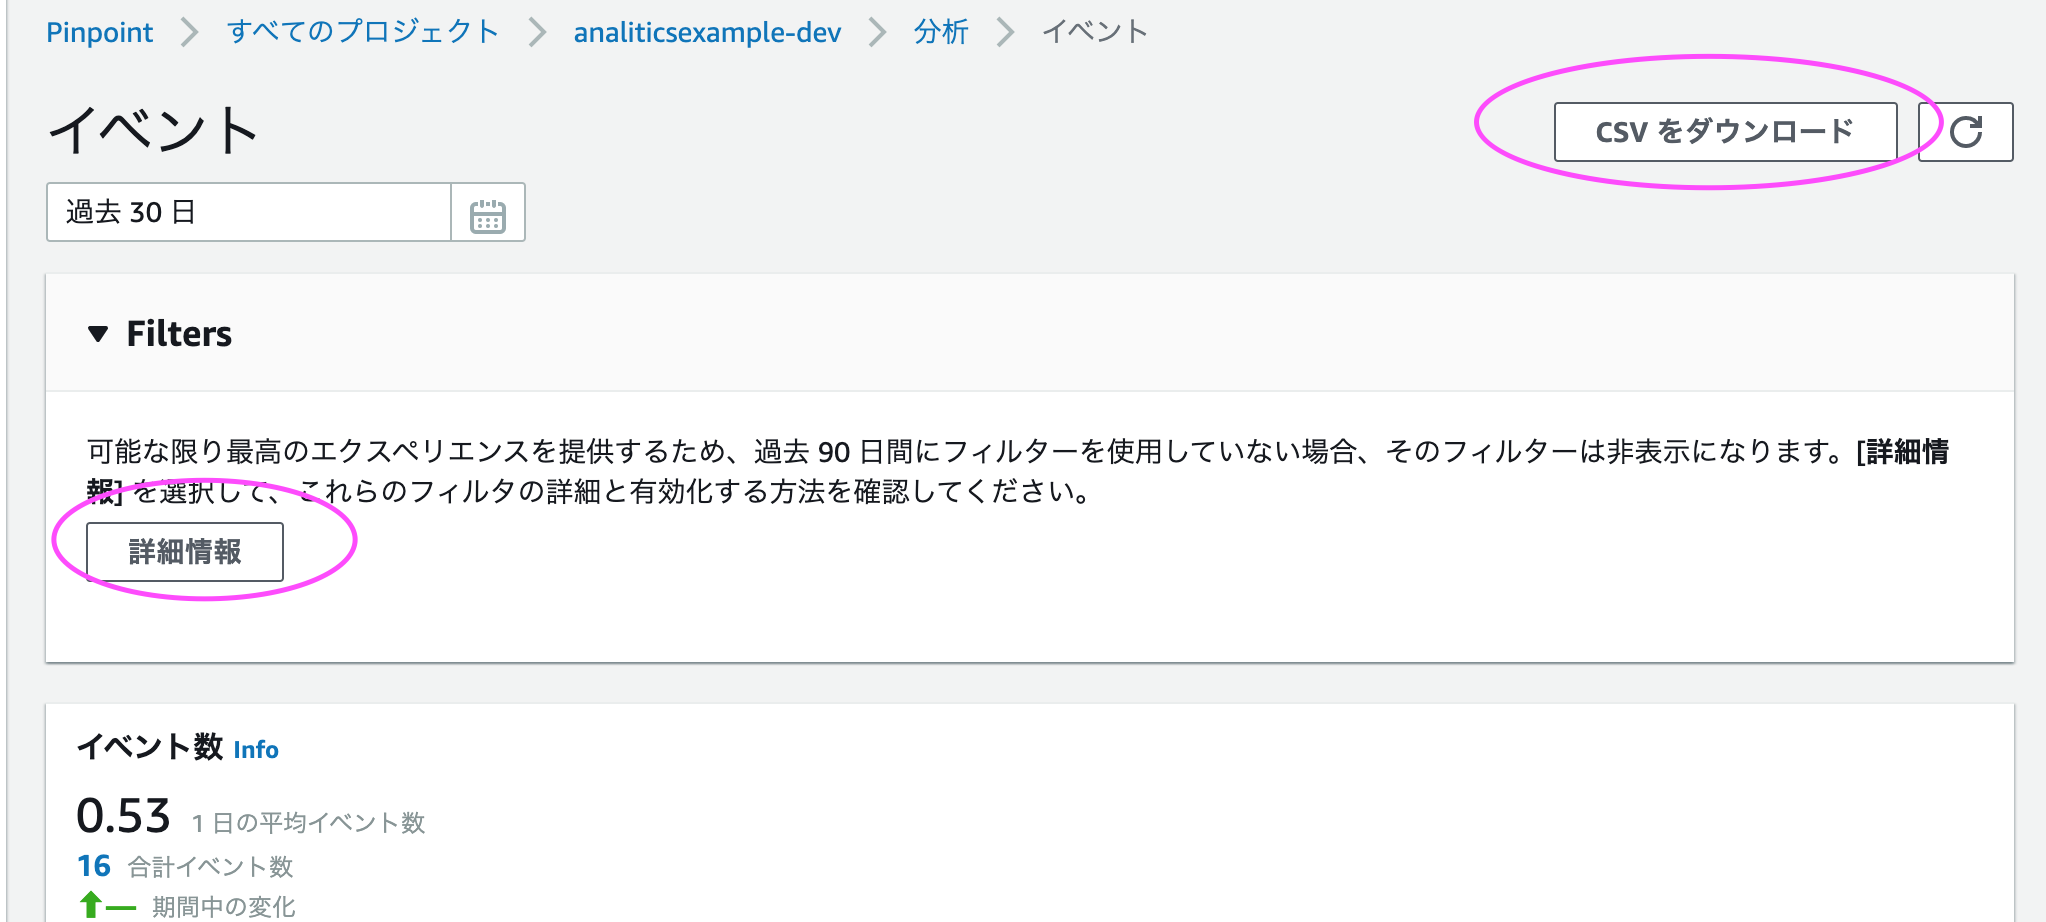
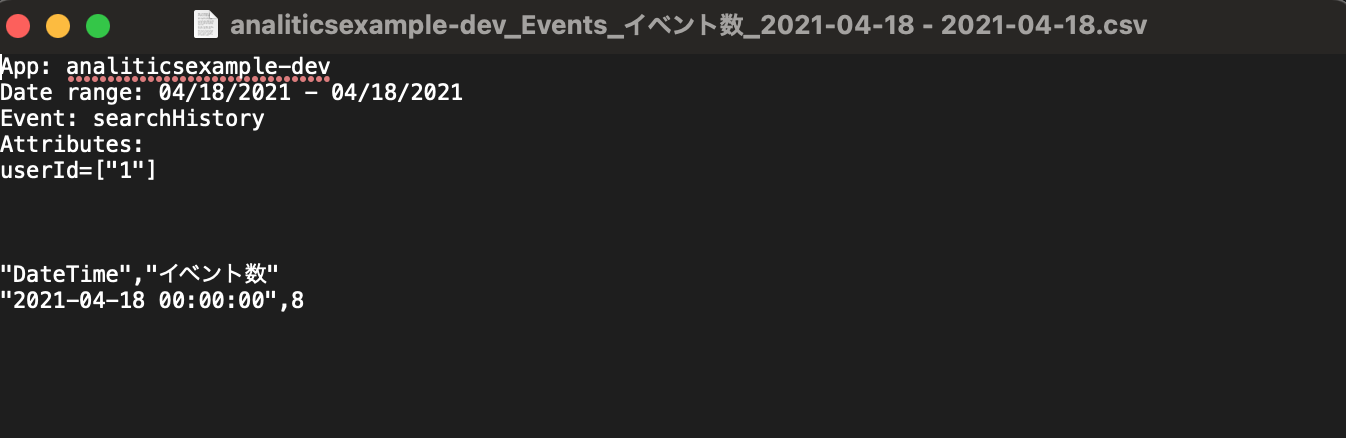
まず、イベント情報のCSVはあっさりとDLできましたが、
日別のイベント数、セッション数、エンドポイント数しか取れてませんでした。
この詳細情報っていうのを有効にしないといけない?
ということで早速有効化してみます。
詳細の有効化後
有効化されるまでに30分程度かかりましたが、無事にフィルターでイベントを選択できるようになってました。
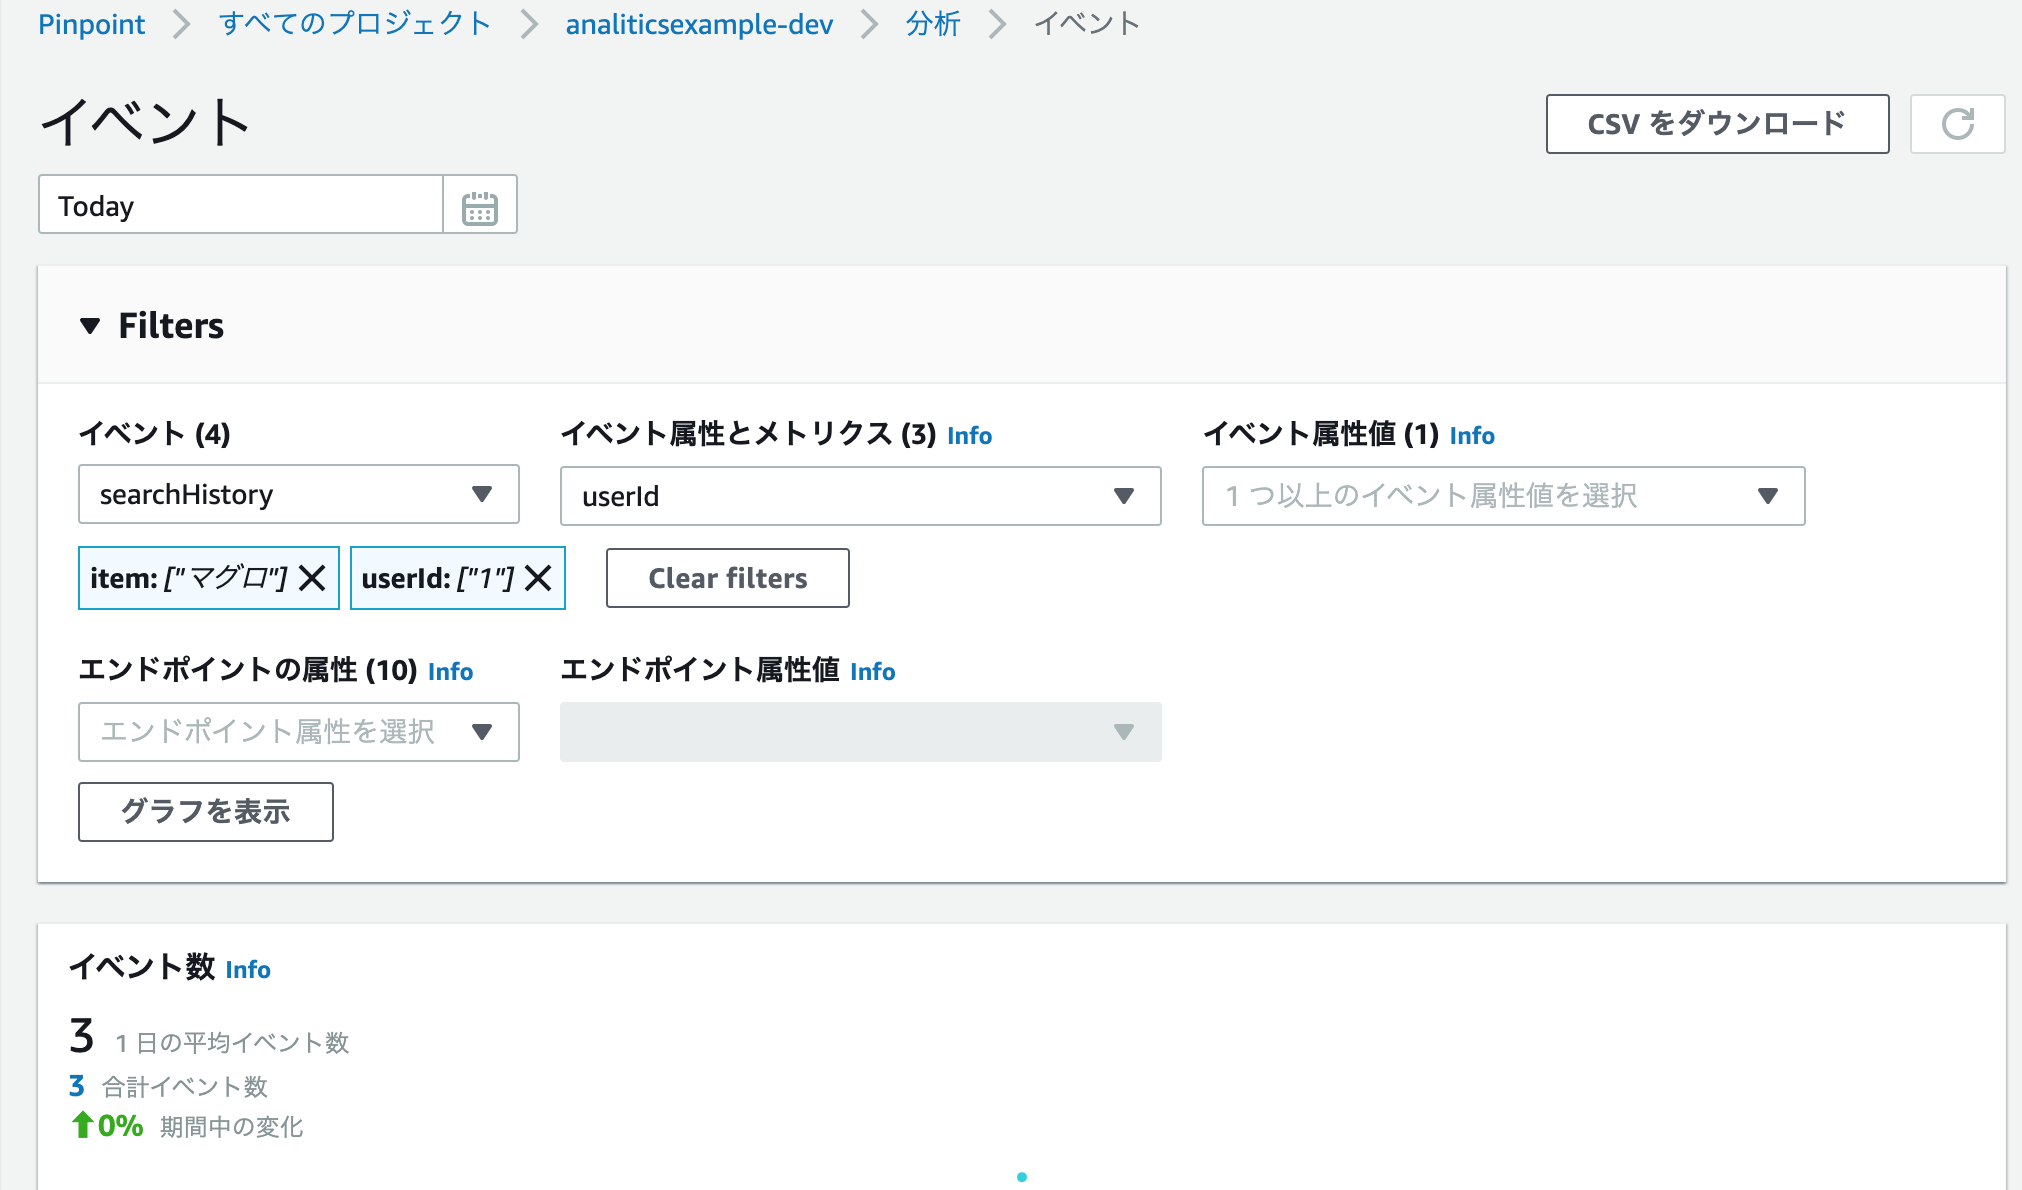
なお、CSVのDLはフィルターで絞り込まれたものが落ちてきます。
んー、一括で属性入りのやつを落としたいんだけど、、そういう事やるにはKinesis Streamとかに垂れながすしかないのかな。
理想を言うと、1つの属性(例えばユーザーID)で絞り込んだ時に、他の属性の選択状況が表示されてほしかったが、だいぶ違った。
まとめ
analyticsは今回のような目的で使うもんじゃない。あくまでGA的な使い方。
データを蓄積したいならシンプルにapi叩いてDBに差し込むのが良い?
もし、統計も見たいし、データも貯めたいのであればPinpoint+EventStream+Lambdaの形がいいかもしれない。
(PinpointがPush通知だとかそういうマーケティングに生きるものだというのは知ってる)