🎉 はじめに
iOS開発をしているみなさんは、普段どんなライブラリーを使っているのでしょうか。
今回は僕が気に入ったライブラリーを紹介していきたいと思います。
これらのライブラリーを使ってみて、2019年の開発スピードアップを一緒に目指しましょう!
💻 この記事の環境
- Xcode 10.1
- Swift 4.2
💡 イケてるライブラリーたち
SnapKit [ ⭐️ 14,046 ]
SnapKit is a DSL to make Auto Layout easy on both iOS and OS X.
iOS開発においては、コードでUIを実装している人は結構多いと思います。特にiPhoneのサイズが多様化してきた原因で、AutoLayout で対応するのは一般的ではないかと考えられます。
しかしながら、Appleさんが提供しているAPIを使うと、とんでもないことになります。
たとえば、縦横中央揃えに 100×100 のラベルを置きたい場合を見てみましょう。
label.translatesAutoresizingMaskIntoConstraints = false
view.addSubview(label)
view.addConstraints([
    NSLayoutConstraint(
        item: label,
        attribute: .width,
        relatedBy: .equal,
        toItem: nil,
        attribute: .width,
        multiplier: 1.0,
        constant: 100
    ),
    NSLayoutConstraint(
        item: label,
        attribute: .height,
        relatedBy: .equal,
        toItem: nil,
        attribute: .height,
        multiplier: 1.0,
        constant: 100
    ),
    NSLayoutConstraint(
        item: label,
        attribute: .centerX,
        relatedBy: .equal,
        toItem: view,
        attribute: .centerX,
        multiplier: 1.0,
        constant: 0.0
    ),
    NSLayoutConstraint(
        item: label,
        attribute: .centerY,
        relatedBy: .equal,
        toItem: view,
        attribute: .centerY,
        multiplier: 1.0,
        constant: 0.0
    ),
])
これはさすがに書きたくないですよね。さて、SanpKitはどいう風にこの問題を解決してくれるのでしょうか。
view.addSubview(label)
label.snp.makeConstraints { (make) in
    make.size.equalTo(100)
    make.center.equalToSuperview()
}
これだけです!SnapKit を使えばコードの量はかなり減るということが分かります。
初めての方はこの記事Storyboard派がコードでUIを実装するためのチュートリアルを読んでもらえば、SnapKit について勉強できると思います。
SwifterSwift [ ⭐️ 6,587 ]
SwifterSwift is a collection of over 500 native Swift extensions, with handy methods, syntactic sugar, and performance improvements for wide range of primitive data types, UIKit and Cocoa classes –over 500 in 1– for iOS, macOS, tvOS, watchOS and Linux.
SwifterSwift というライブラリーは上の紹介通り、500以上の extension たちが入っているライブラリーで、個人的には普段結構重複したコードを extionsion として書いていますが、このライブラリーを使ってみたら、「ほとんどここに書いてあったじゃないか」と気づいて、すぐ自分のプロジェクトに導入しました。
iOS開発においては、UITableView と UICollectionView がほぼどのプロジェクトでも使われていて、特に cell の登録と所得のところは面倒だと思います。この辺に役立つ extension を例として紹介します。
一般的のやり方だと、
tableView.register(UITableViewCell.self, forCellReuseIdentifier: "UITableViewCell")

...

func tableView(_ tableView: UITableView, cellForRowAt indexPath: IndexPath) -> UITableViewCell {
    if let cell = tableView.dequeueReusableCell(withIdentifier: "UITableViewCell") {
        return cell
    } else {
        return UITableViewCell()
    }
}
というように、forCellReuseIdentifier で文字列を指定しなければならないですが、ここの文字列は cell のクラスネームと同じのが一般的で、SwifterSwift を使えば、そこの文字列を cell のクラスネームとして自動的に入力してくれるので、タイピングによるミスを無くして効率が上がると思います。
tableView.register(cellWithClass: UITableViewCell.self)

...

func tableView(_ tableView: UITableView, cellForRowAt indexPath: IndexPath) -> UITableViewCell {
    let cell = tableView.dequeueReusableCell(withClass: UITableViewCell.self, for: indexPath)
    return cell
}
他にも便利な extension たちがあるので、興味ある方は公式ドキュメントを是非読んでみて使ってください!
R.swift [ ⭐️ 5,673 ]
Get strong typed, autocompleted resources like images, fonts and segues in Swift projects
Android開発を経験した方は、R を見たらこのライブラリーの用途をすぐわかるかもしれないですが、一言で言えば、フォントや画像などのリソースを R クラスにまとめて管理する、というライブラリーです。
クラスにまとめて管理することによって、全てのリソースは自動補完で取得できて、特にXcode10の Image Literal が使いにくくなった今、開発に非常に役に立つと思います。
let icon = UIImage(named: "settings-icon")
let font = UIFont(name: "San Francisco", size: 42)
let color = UIColor(named: "indictator highlight")
let viewController = CustomViewController(nibName: "CustomView", bundle: nil)
let string = String(format: NSLocalizedString("welcome.withName", comment: ""), locale: NSLocale.current, "Arthur Dent")
のようなコードは次のように書けるわけです。
let icon = R.image.settingsIcon()
let font = R.font.sanFrancisco(size: 42)
let color = R.color.indicatorHighlight()
let viewController = CustomViewController(nib: R.nib.customView)
let string = R.string.localizable.welcomeWithName("Arthur Dent")
これは自動補完が大好き僕にとって、非常にありがたい機能ですね。
ViewAnimator [ ⭐️ 4,787 ]
ViewAnimator is a library for building complex iOS UIView animations in an easy way. It provides one line animations for any view included the ones which contain other views like UITableView and UICollectionView with its cells or UIStackView with its arrangedSubviews.
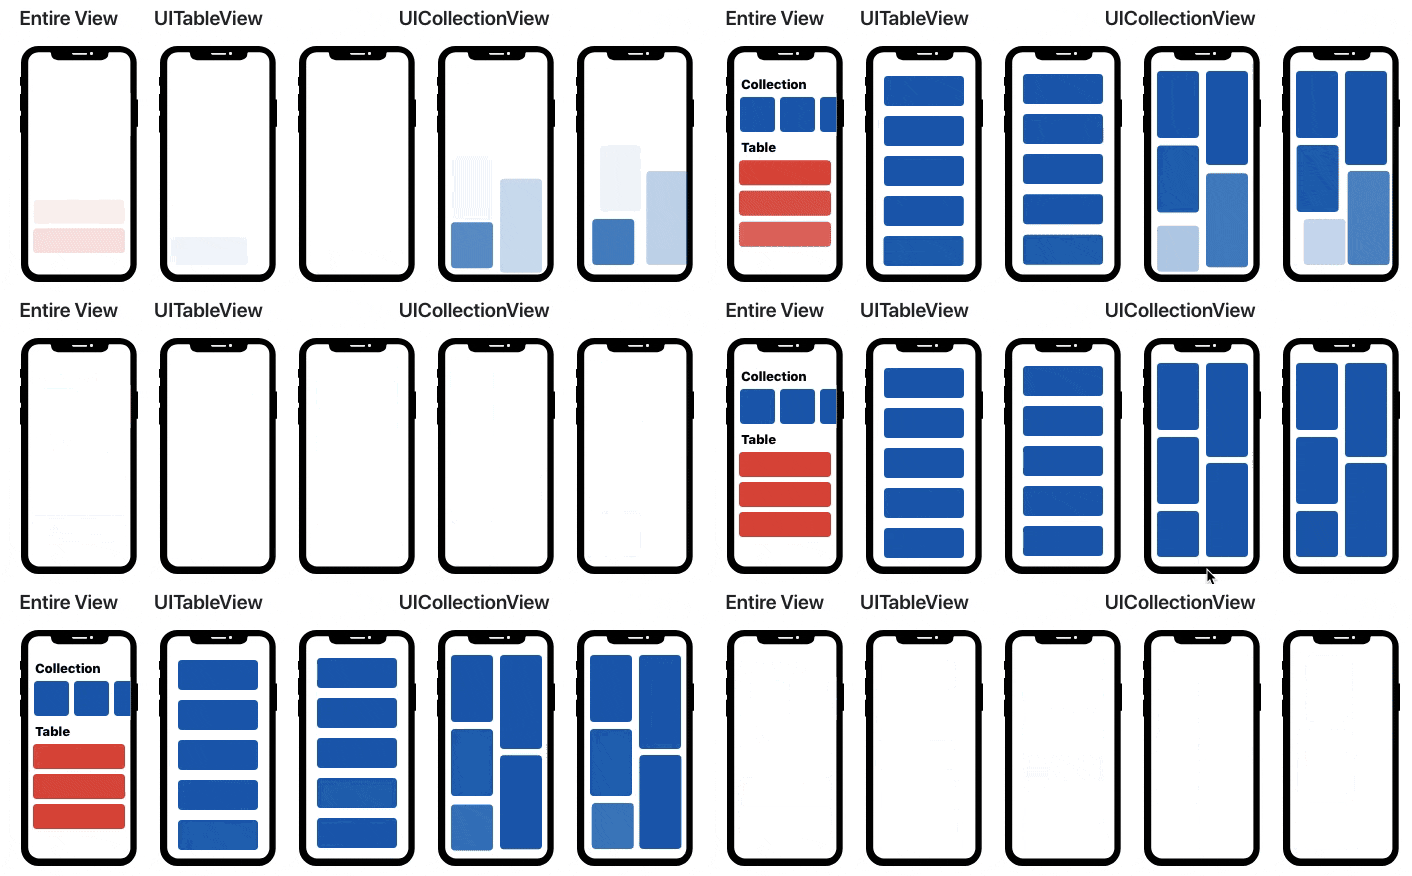
Appleさんがて今日しているアニメーションのAPIはすでに優秀だと思いますが、このライブラリーのおかげで、ほとんどのアニメーションは一行で完結できます。さらに cell の相性がよくて、簡単のコードでも UITableView と UICollectionView にアニメーションを加えるのは楽になりました。
例えば、UITableView の見えるセルが下から上にだんだん現れていくアニメーション(上記のgifの三番目)を実装するときは、
let animation = [AnimationType.from(direction: .bottom, offset: 50)]
UIView.animate(views: tableView.visibleCells, animations: [animation], duration: 0.2)
というように、綺麗なアニメーションを簡単に実装できます。
Then [ ⭐️ 2,599 ]
Super sweet syntactic sugar for Swift initializers.
Then というライブラリーは名前だけ見れば「なんだこれ」と思うかもしれないですが、Viewなどの初期化に使うと、よりシンプリに記述できると思います。
コードでUIを実装していくと、レイアウト以外は初期化で一番時間がかかるともいます。
例えば、あるラベルを初期化すると、
let label: UILabel = {
  let label = UILabel()
  label.textAlignment = .center
  label.textColor = .black
  label.text = "Hello, World!"
  return label
}()
ラベルの変数を一回宣言しなければいけないので、何回も書くとイライラしますね。
Then を使うと、かなり簡潔になると思います。
let label = UILabel().then {
  $0.textAlignment = .center
  $0.textColor = .black
  $0.text = "Hello, World!"
}
個人的には、Then を使う前にいつも最後の () を忘れてしまうので、Then を使うおかげでXcodeに怒られずに初期化コードを書けるようになりました。
🤩 まとめ
以上、イケてるライブラリー5選の紹介でした。
僕は、これらのライブラリーの導入で、開発がよりスピードアップできました。
みなさんもよろしければ少し試して使ってもらえばと思います!
それに、これらのライブラリーの開発者はとても積極的で、全て最新のSwiftのバージョン4.2に対応していて、おそらく今後のSwiftのバージョン上げでもすぐ対応してくれると思います。
新しい年に向けて、新しいライブラリーで開発スピードをどんどんアップしていきましょう!
