概要
参考 https://qiita.com/akatsuki174/items/c0b8b5126b6c12f62001
参考リンクに挙げた記事の通りUIKitのUIButtonのハイライト時の背景色を指定したい場合など、色から指定したいが仕様上UIImageでしか設定することができないという状況では、UIColorからUIImageを生成する必要があります。
iOS12までは参考リンクの通りで良いのですが、iOS13ではダークモードが搭載されたため特定のケースで上手く動かなくなることがあります。
本記事ではダークモードに対応したUIColorからUIImageを生成する方法を紹介していきます。
方法
先に方法だけ提示します。解説は以下の項に続きます。
extension UIImage {
    static func filledImage(byColor color: UIColor) -> UIImage {
        let createImage = { (rawColor: UIColor) -> UIImage in
            let rect = CGRect(x: 0, y: 0, width: 1, height: 1)
            UIGraphicsBeginImageContext(rect.size)
            let context = UIGraphicsGetCurrentContext()!
            context.setFillColor(rawColor.cgColor)
            context.fill(rect)
            let image = UIGraphicsGetImageFromCurrentImageContext()!
            UIGraphicsEndImageContext()
            return image
        }

        if #available(iOS 13.0, *) { //ダークモードはiOS13からなので分岐する必要がある
            let image = UIImage()
            let appearances: [UIUserInterfaceStyle] = [.light, .dark]
            appearances.forEach {
                let traitCollection = UITraitCollection(userInterfaceStyle: $0)
                image.imageAsset?.register(createImage(color.resolvedColor(with: traitCollection)),
                                           with: traitCollection) // ライトモードとダークモードの色を直接指定してImageを生成している
            }
            return image
        } else {
            return createImage(color)
        }
    }
}

extension UIColor {
    var image: UIImage {
        UIImage.filledImage(byColor: self)
    }
}
実装
まず従来の手順で実装してみましょう。
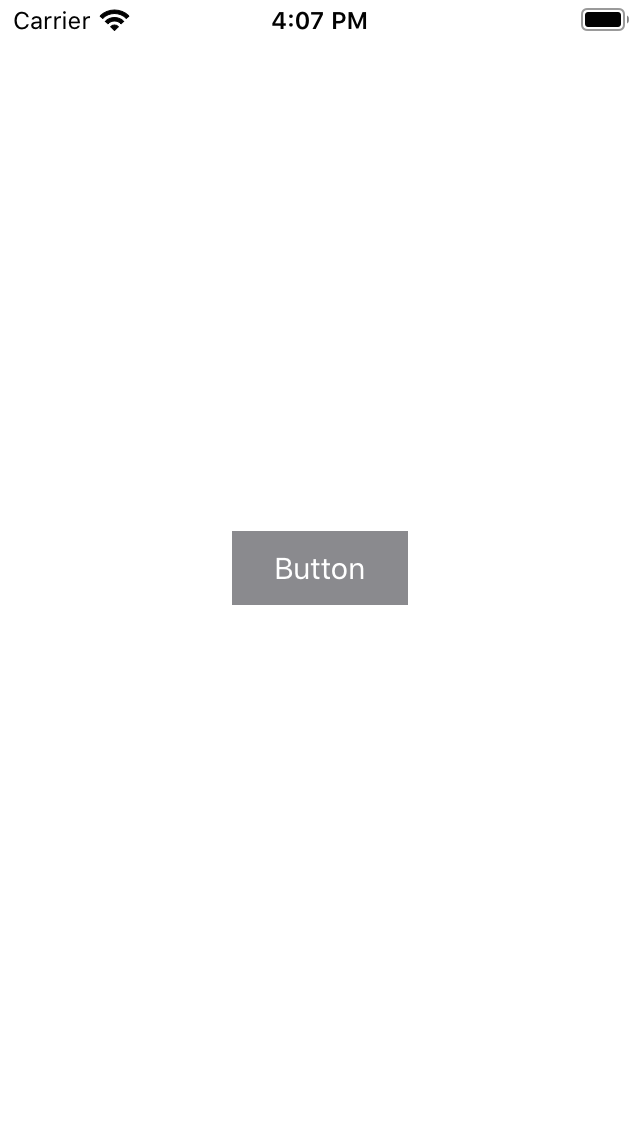
以下のような、普通のボタンと反転した見た目のボタンを表示する機能を実装します。
- 文字色が
UIColor.systemBackground - 通常時の背景色が
UIColor.label - ハイライト時の背景色が
UIColor.secondaryLabel
従来の手順
XCodeでSingle View Appを選択しプロジェクトを作成したら、まずUIColorからUIImageを生成するExtensionを実装します。
//  UIImage+Color.swift

import UIKit

extension UIImage {
    static func filledImage(byColor color: UIColor) -> UIImage {
        let rect = CGRect(x: 0, y: 0, width: 1, height: 1)
        UIGraphicsBeginImageContext(rect.size)
        let context = UIGraphicsGetCurrentContext()!
        context.setFillColor(color.cgColor)
        context.fill(rect)
        let image = UIGraphicsGetImageFromCurrentImageContext()!
        UIGraphicsEndImageContext()
        return image
    }
}

extension UIColor {
    var image: UIImage {
        UIImage.filledImage(byColor: self)
    }
}
これを利用し、適当にStoryBoard上でUIButtonを中央に置いたUIViewControllerに対してボタン色を設定します。
//  ViewController.swift

import UIKit

class ViewController: UIViewController {
    @IBOutlet var button: UIButton!

    override func viewDidLoad() {
        super.viewDidLoad()
        button.setTitleColor(.systemBackground, for: .normal)
        button.setBackgroundImage(UIColor.label.image, for: .normal)
        button.setBackgroundImage(UIColor.secondaryLabel.image, for: .normal)
    }
}
これをライトモード、ダークモードでそれぞれアプリを起動すると以下のような表示になります。上手く動いているように見えますね。
| Light | Dark |
|---|---|
 |
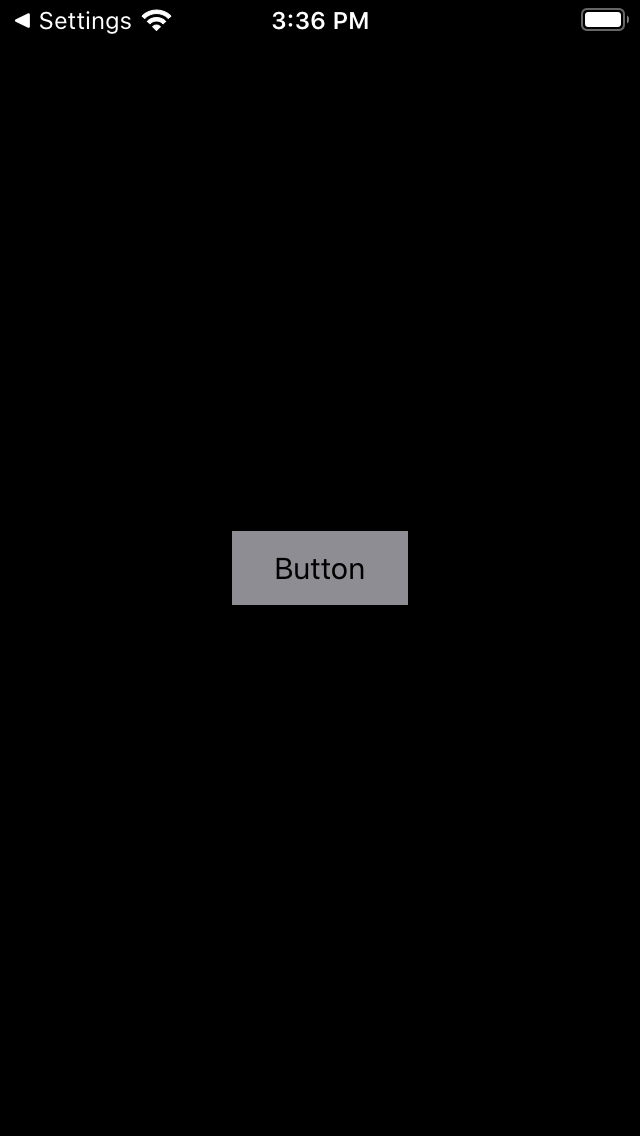 |
では、このUIViewControllerを表示したままiOSの設定を変更し、ライトモード/ダークモードを切り替えるとどうなるでしょうか?
| Light -> Dark | Dark -> Light |
|---|---|
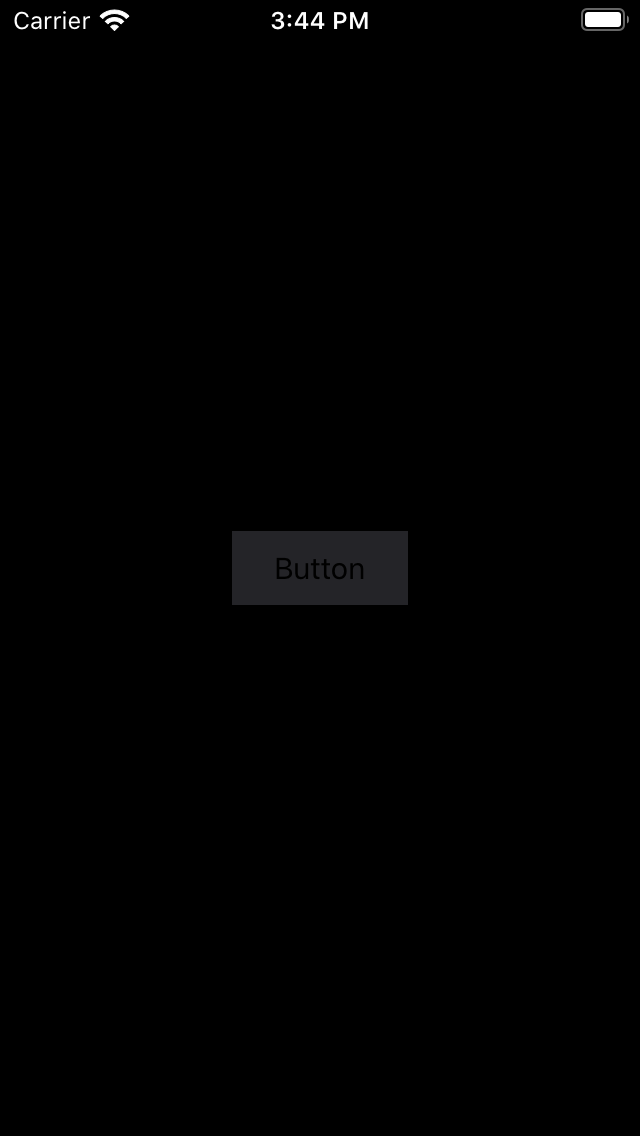 |
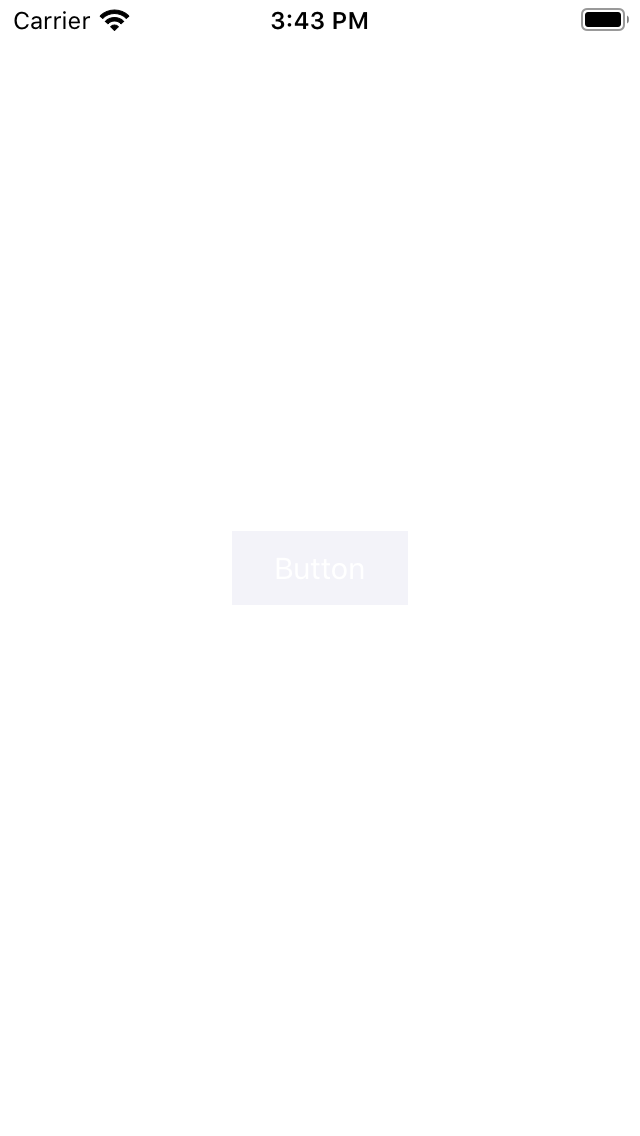 |
様子がおかしいですね。画面の背景色やボタンのテキストはモード変更に追従しているのにボタンの背景色だけが追従できていないようです。
なぜならUIButtonの背景色を設定した段階のUIImageで固定されてしまうためです。
iOS12まで通用していた方法では、画面の表示後に表示モードを切り替えられると不具合が発生してしまうのです。
対策の手がかり
UIImage.imageAsset
ライトモード/ダークモード変更に対処するための仕組みがUIImageには有り、以下のような形で利用することができます。
UIImage.imageAssetを利用するとそれぞれのモードに設定された適切な画像を自動で選択し、表示に反映します。
let image = UIImage()
image.imageAsset?.register(UIImage(named: "light.png")!,
                                   with: UITraitCollection(userInterfaceStyle: UIUserInterfaceStyle.light))
image.imageAsset?.register(UIImage(named: "dark.png")!,
                                   with: UITraitCollection(userInterfaceStyle: UIUserInterfaceStyle.dark))
UIColor.resolvedColor
UIColorはモード別の色を内包したクラスですが、UIColor.resolvedColorを利用すると特定のモードの色を直接取り出すことが可能です。
let color = UIColor.label
let lightColor = color.resolvedColor(with: UITraitCollection(userInterfaceStyle: UIUserInterfaceStyle.light))
let darkColor = color.resolvedColor(with: UITraitCollection(userInterfaceStyle: UIUserInterfaceStyle.dark))
解決
前述の内容を踏まえて冒頭に紹介したとおりにExtensionを書き換えてみましょう。
//  UIImage+Color.swift
extension UIImage {
    static func filledImage(byColor color: UIColor) -> UIImage {
        let createImage = { (rawColor: UIColor) -> UIImage in
            let rect = CGRect(x: 0, y: 0, width: 1, height: 1)
            UIGraphicsBeginImageContext(rect.size)
            let context = UIGraphicsGetCurrentContext()!
            context.setFillColor(rawColor.cgColor)
            context.fill(rect)
            let image = UIGraphicsGetImageFromCurrentImageContext()!
            UIGraphicsEndImageContext()
            return image
        }

        if #available(iOS 13.0, *) { //ダークモードはiOS13からなので分岐する必要がある
            let image = UIImage()
            let appearances: [UIUserInterfaceStyle] = [.light, .dark]
            appearances.forEach {
                let traitCollection = UITraitCollection(userInterfaceStyle: $0)
                image.imageAsset?.register(createImage(color.resolvedColor(with: traitCollection)),
                                           with: traitCollection) // ライトモードとダークモードの色を直接指定してImageを生成している
            }
            return image
        } else {
            return createImage(color)
        }
    }
}

extension UIColor {
    var image: UIImage {
        UIImage.filledImage(byColor: self)
    }
}
この実装をビルドしてアプリを起動し、UIViewControllerを表示したままiOSの設定を変更し、ライトモード/ダークモードを切り替えてみましょう。
| Light -> Dark | Dark -> Light |
|---|---|
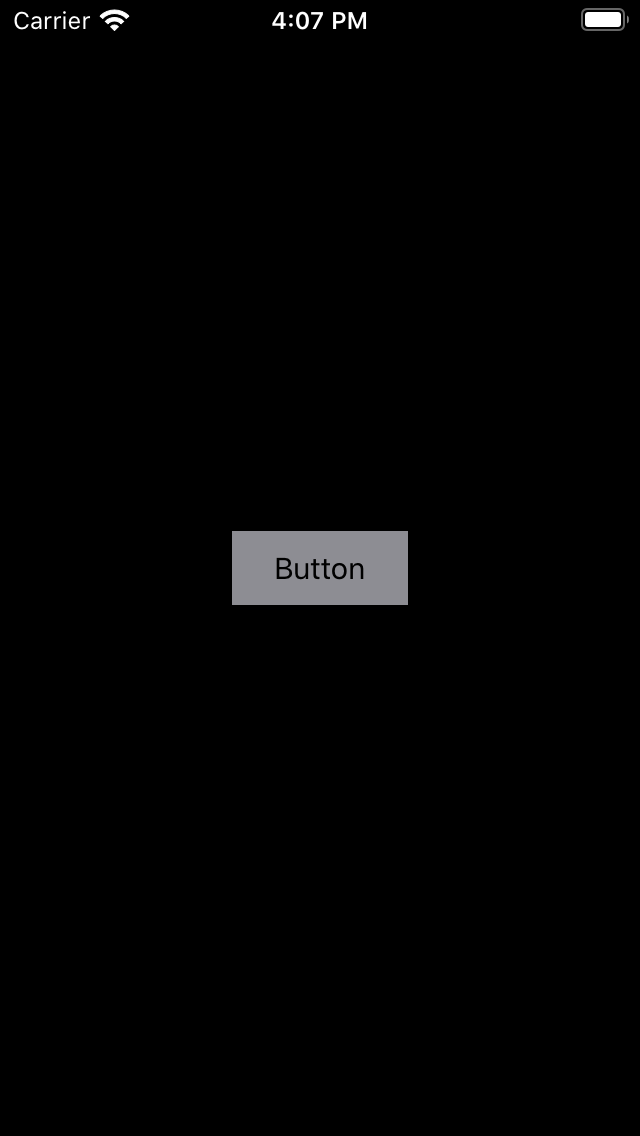 |
 |
どうでしょう。ボタンの背景色がモード変更に追従できているようです。
今回紹介した方法を使えば、UIColorから生成した単色のUIImageもダークモード対応できるようになるわけです。よかったですね。