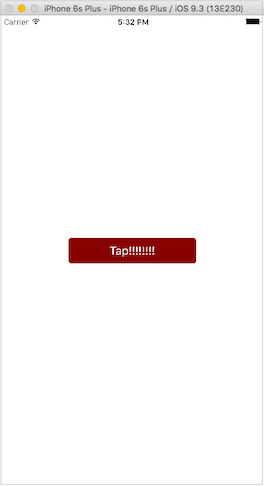
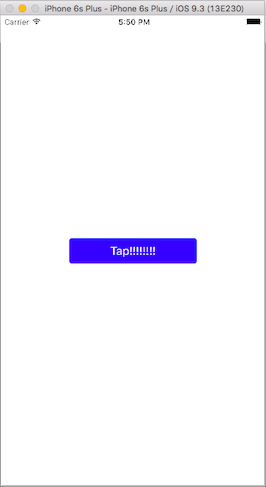
UIButtonをタップした時(ハイライトの状態の時)に背景色を変えたかったので調べてみました。今回は通常時は赤いボタンを、ハイライト時には青にするという処理を書きたいとします。
では調べてみた過程順に列挙していきたいと思います。
直接色を指定できるメソッドはあるのか
最初、普通にsetBackgroundColor(color: UIColor, forState state: UIControlState)的なメソッドがあるのかと思っていたのですが、UIButtonにそのようなメソッドはありません。
ハイライト時に何かを指定するメソッドはないのか
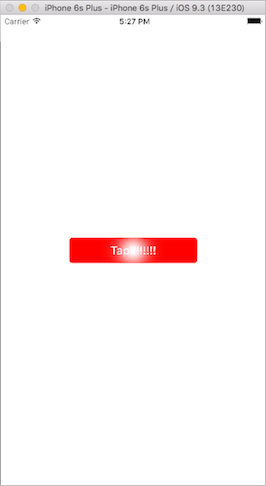
UIButtonクラスにshowsTouchWhenHighlightedという一瞬「これか!?」と思うようなメソッドはありましたが、これはハイライト状態の時にglowなフィードバックを返すというもので、私が期待しているものとは異なります。私はボタン全体の色が変わるようにしたいです。
↓ showsTouchWhenHighlighted = true にした場合

stateによって値を指定できるメソッドはないのか
colorではありませんが、stateによってimageを指定できるsetBackgroundImage(image: UIImage?, forState state: UIControlState)というメソッドを見つけました。
じゃあUIColorをUIImageに変換してそれを指定すればいいのでは??やってみました。
UIColor→UIImageへの変換
こちらを参考に、というかそのまま使います。
private func createImageFromUIColor(color: UIColor) -> UIImage {
  // 1x1のbitmapを作成
  let rect = CGRect(x: 0, y: 0, width: 1, height: 1)
  UIGraphicsBeginImageContext(rect.size)
  let context = UIGraphicsGetCurrentContext()
  // bitmapを塗りつぶし
  CGContextSetFillColorWithColor(context, color.CGColor)
  CGContextFillRect(context, rect)
  // UIImageに変換
  let image = UIGraphicsGetImageFromCurrentImageContext()
  UIGraphicsEndImageContext()
  return image
}
.Normalの時の色を指定する
今までこんな形で指定していましたが、
button.backgroundColor = UIColor.redColor()
これをこのように変えます。
button.setBackgroundImage(self.createImageFromUIColor(UIColor.redColor()), forState: .Normal)
ただ、「ハイライト時には青にする」という条件を満たしていないのでもうちょっと手を加えます。
.Highlightedの時の色を指定する
もうお分かりだと思いますが、.Normalの時と同じように.Highlightedに関しても色を指定します。
つまりこんなかんじです。
button.setBackgroundImage(self.createImageFromUIColor(UIColor.blueColor()), forState: .Highlighted)
まとめ
コードを載せます。
private var button: UIButton!

private func createImageFromUIColor(color: UIColor) -> UIImage {
  // 1x1のbitmapを作成
  let rect = CGRect(x: 0, y: 0, width: 1, height: 1)
  UIGraphicsBeginImageContext(rect.size)
  let context = UIGraphicsGetCurrentContext()
  // bitmapを塗りつぶし
  CGContextSetFillColorWithColor(context, color.CGColor)
  CGContextFillRect(context, rect)
  // UIImageに変換
  let image = UIGraphicsGetImageFromCurrentImageContext()
  UIGraphicsEndImageContext()
  return image
}

override func viewDidLoad() {
  super.viewDidLoad()
  self.view.backgroundColor = UIColor.whiteColor()

  button = UIButton()
  button.frame = CGRectMake(0,0,200,40)
  button.layer.masksToBounds = true
  button.setTitle("Tap!!!!!!!!", forState: UIControlState.Normal)
  button.setTitleColor(UIColor.whiteColor(), forState: UIControlState.Normal)
  button.setBackgroundImage(self.createImageFromUIColor(UIColor.redColor()), forState: .Normal)
  button.setBackgroundImage(self.createImageFromUIColor(UIColor.blueColor()), forState: .Highlighted)
  button.layer.cornerRadius = 5.0
  let frame = self.view.frame
  button.layer.position = CGPoint(x: frame.width/2, y:frame.height/2)
  self.view.addSubview(button)
}

