重要!
SwiftUIの公式ドキュメントが出ました。
以下の記述は公式ドキュメントが出る前の内容になりますので、ご認識ください。
要約
SwiftUIでUIViewRepresentableを用いてAdMobのバナー広告を表示します。
環境
Xcode 14.1
Google-Mobile-Ads-SDK 9.13.0
はじめに
SwiftUIでAdMobのネイティブ広告を表示します。いわゆるSwiftUI life cycleでの表示例です。
公式での実装ではないので何かしら問題が起こる可能性があります。
AdMobの導入が済んでいる事が前提となります。
https://developers.google.com/admob/ios/quick-start?hl=ja
以前にもSwiftUIでAdMob対応(バナー編)というタイトルで投稿していますが、以前の記事がUIViewControllerRepresentableで作成したViewControllerにバナーを内包した形だったのに対し、今回のものはUIViewRepresentableとして独立したViewを提供するものになります。
ポイント
AdMobのバナーGADBannerViewにはUIViewControllerとしてrootViewControllerを設定する必要があり、これをSwiftUIで用意しないといけません。rootViewControllerに適当なUIViewControllerを設定してしまうと、バナーとして広告の表示は出来ても、広告の種類によってはタップしても正常に動作しなかったり、infoマークなどを押したときに表示される「この広告について」的なWebView表示を行うものも正常に動かなくなるので、本来の広告として有効なものを表示するためには正しいUIViewControllerなどを取得する必要があります。
実装
こういった形でバナー表示を実現できます。
struct ContentView: View {
    @EnvironmentObject private var sceneDelegate: MySceneDelegate

    var body: some View {
        VStack {
            Text("Ad")
            Spacer()
            if let vc = sceneDelegate.window?.rootViewController {
                BannerView(viewController: vc, windowScene: sceneDelegate.windowScene)
                    .frame(width: 320, height: 50)
            }
        }
    }
}

コードと説明
説明に関しては、SwiftUIでAdMobネイティブ広告を表示すると共通するところがあります。
App
AdMobはAppDelegateでの初期化が必要なので、AppでUIApplicationDelegateAdaptorを実装してAdMobの初期化対応を行います。
後程SceneDelegateの対応も必要になるので実装します。
SceneDelegateではwindowやwindowSceneを取得できるように用意しておきます。
このAppDelegateやSceneDelegateの実装は公式の実装を参考にしています。
import SwiftUI
import GoogleMobileAds

@main
struct MyApp: App {
    @UIApplicationDelegateAdaptor(MyAppDelegate.self) var appDelegate
    var body: some Scene {
        WindowGroup {
            ContentView()
        }
    }
}

class MyAppDelegate: NSObject, UIApplicationDelegate, ObservableObject {
    func application(_ application: UIApplication, didFinishLaunchingWithOptions
                     launchOptions: [UIApplication.LaunchOptionsKey : Any]? = nil) -> Bool {
        GADMobileAds.sharedInstance().start(completionHandler: nil)
        return true
    }
}

class MySceneDelegate: NSObject, UIWindowSceneDelegate, ObservableObject {
    var windowScene: UIWindowScene?
    var window: UIWindow? {
        windowScene?.keyWindow
    }

    func scene(_ scene: UIScene, willConnectTo session: UISceneSession, options connectionOptions: UIScene.ConnectionOptions) {
        windowScene = scene as? UIWindowScene
    }
}

extension MyAppDelegate {
    func application(
        _ application: UIApplication,
        configurationForConnecting connectingSceneSession: UISceneSession,
        options: UIScene.ConnectionOptions
    ) -> UISceneConfiguration {
        let configuration = UISceneConfiguration(
            name: nil,
            sessionRole: connectingSceneSession.role)
        if connectingSceneSession.role == .windowApplication {
            configuration.delegateClass = MySceneDelegate.self
        }
        return configuration
    }
}
ContentView.swift
上記のContentView.swiftを実装します。
ポイントとしてはEnvironmentObjectとしてsceneDelegateを定義している部分で、先ほどのUIApplicationDelegateAdaptorのドキュメントにApp delegateの実装にObservableObjectが実装されていれば、EnvironmentObjectとして使える というものがあります。
If your app delegate conforms to the ObservableObject protocol, as in the example above, then SwiftUI puts the delegate it creates into the Environment. You can access the delegate from any scene or view in your app using the EnvironmentObject property wrapper
sceneDelegateも同様にEnvironmentObjectとして使えるので、UIWindowSceneを持たせています。
As with the app delegate, if you make your scene delegate an observable object, SwiftUI automatically puts it in the Environment, from where you can access it with the EnvironmentObject property wrapper, and create bindings to its published properties.
BannerViewにはUIViewControllerとUIWindowSceneが必要になるので、@EnvironmentObjectから引っ張ってきています。
BannerView.swift (UIViewRepresentable)
バナー部分をUIViewRepresentableで実装します。
UIViewTypeはAdMobのバナーを示すGADBannerViewで作成していきます。
makeUIViewでGADBannerViewを作成し、各種プロパティを設定していきます。
以下の例ではGADBannerViewDelegateの受け取り用にCoordinatorを作成していますが、こちらは必須ではありません。
ポイントとしては、GADBannerViewのadSizeを指定せずに生成するのと、GADRequestに対してsceneを設定しないとiPadに対して広告が表示されないので、UIViewControllerの他にUIWindowSceneもプロパティで受け取るようにします。
import Foundation
import SwiftUI
import GoogleMobileAds

struct BannerView: UIViewRepresentable {
    let viewController: UIViewController
    let windowScene: UIWindowScene?

    func makeCoordinator() -> Coordinator {
        .init()
    }

    func makeUIView(context: Context) -> GADBannerView {
        let bannerView = GADBannerView()
        bannerView.delegate = context.coordinator
        bannerView.rootViewController = viewController
        bannerView.adUnitID = "ca-app-pub-3940256099942544/2934735716"
        let request = GADRequest()
        request.scene = windowScene
        bannerView.load(request)
        return bannerView
    }

    func updateUIView(_ bannerView: GADBannerView, context: Context) {
    }

    class Coordinator: NSObject, GADBannerViewDelegate {
        func bannerView(_ bannerView: GADBannerView, didFailToReceiveAdWithError error: Error) {
        }
    }
}
画面サイズによって広告サイズを変える
このままでもバナーサイズが320×50で固定表示されますが、iPadなどでは広告が小さい表示になっているので、最適化されたサイズで表示したいと思います。
本来であればアンカー アダプティブ バナーのように画面幅に対して動的に最適化された広告を出すべきなのですが、現段階のSwiftUIではUIKitのUIContentContainer#viewWillTransitionの再現は不可能だと思うので1 、SizeClassのEnviromentからサイズ変更を検知してBannerViewを出し分ける方法を取ります。
horizontalSizeClassとverticalSizeClassの状態によって、バナーのサイズのframeを設定します。
horizontalSizeClass、verticalSizeClass共に大きい.regular の場合はGADAdSizeFullBannerのサイズに、それ以外は通常のGADAdSizeBannerのサイズになるようにframeを変更します。
struct ContentView: View {
    @Environment(\.horizontalSizeClass) private var horizontalSizeClass
    @Environment(\.verticalSizeClass) private var verticalSizeClass
    @EnvironmentObject private var sceneDelegate: MySceneDelegate

    var body: some View {
        VStack {
            Text("Ad")
            Spacer()
            if let vc = sceneDelegate.window?.rootViewController {
                switch (verticalSizeClass, horizontalSizeClass) {
                case (.regular, .regular):
                    BannerView(viewController: vc, windowScene: sceneDelegate.windowScene)
                        .frame(width: 468, height: 60)
                default:
                    BannerView(viewController: vc, windowScene: sceneDelegate.windowScene)
                        .frame(width: 320, height: 50)
                }
            }
        }
    }
}
上記のコードによって、SizeClassに変更があった場合、BannerViewをmakeUIViewで再生成して広告を読み込み、frameのサイズの広告が受け取れます。
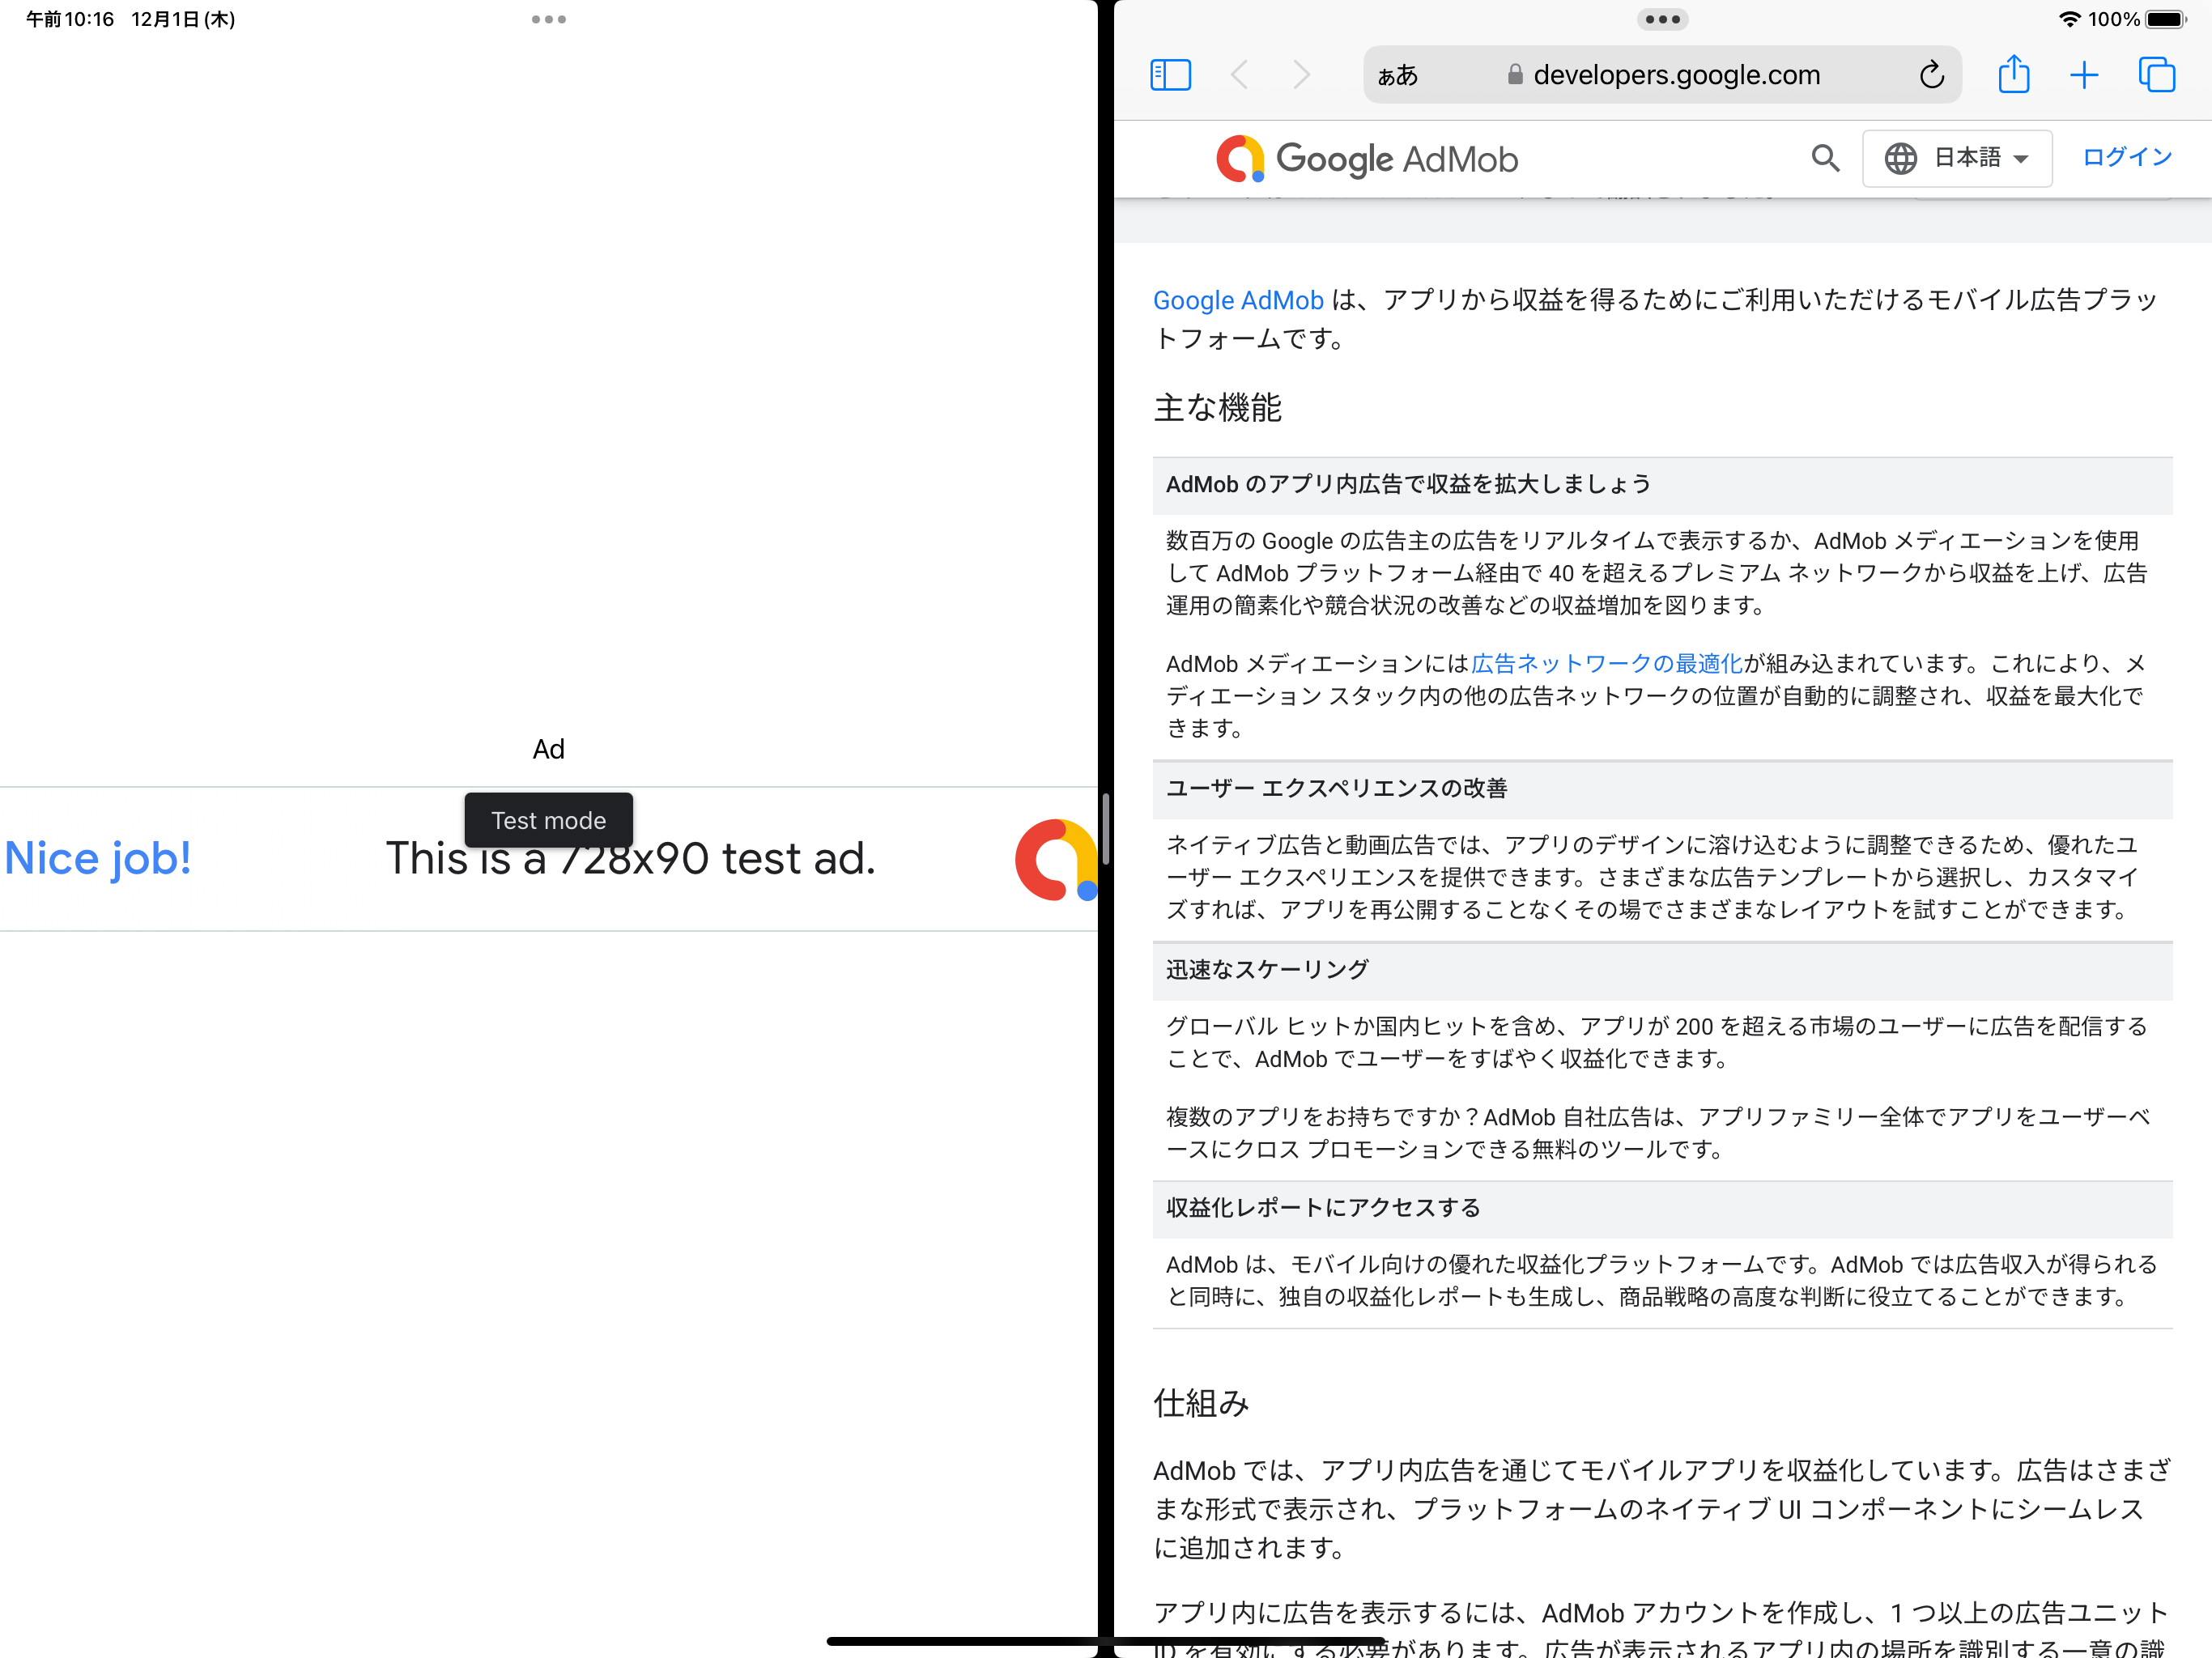
| regular | その他(Split View表示) |
|---|---|
 |
 |
regularの場合にGADAdSizeFullBannerよりもさらに大きいGADAdSizeLeaderboard(728×90)のサイズで表示しない理由としては、iPad Pro 12.9 inchの1/2 Split View表示だとSizeClassはregularとして判断されるけど、幅はGADAdSizeLeaderboardの728を下回ってしまうためです。
SwiftUIのバナー実装方法は、UIKitと比べて手バナーしに簡単とは言えないのですが←爆笑必至ポイント
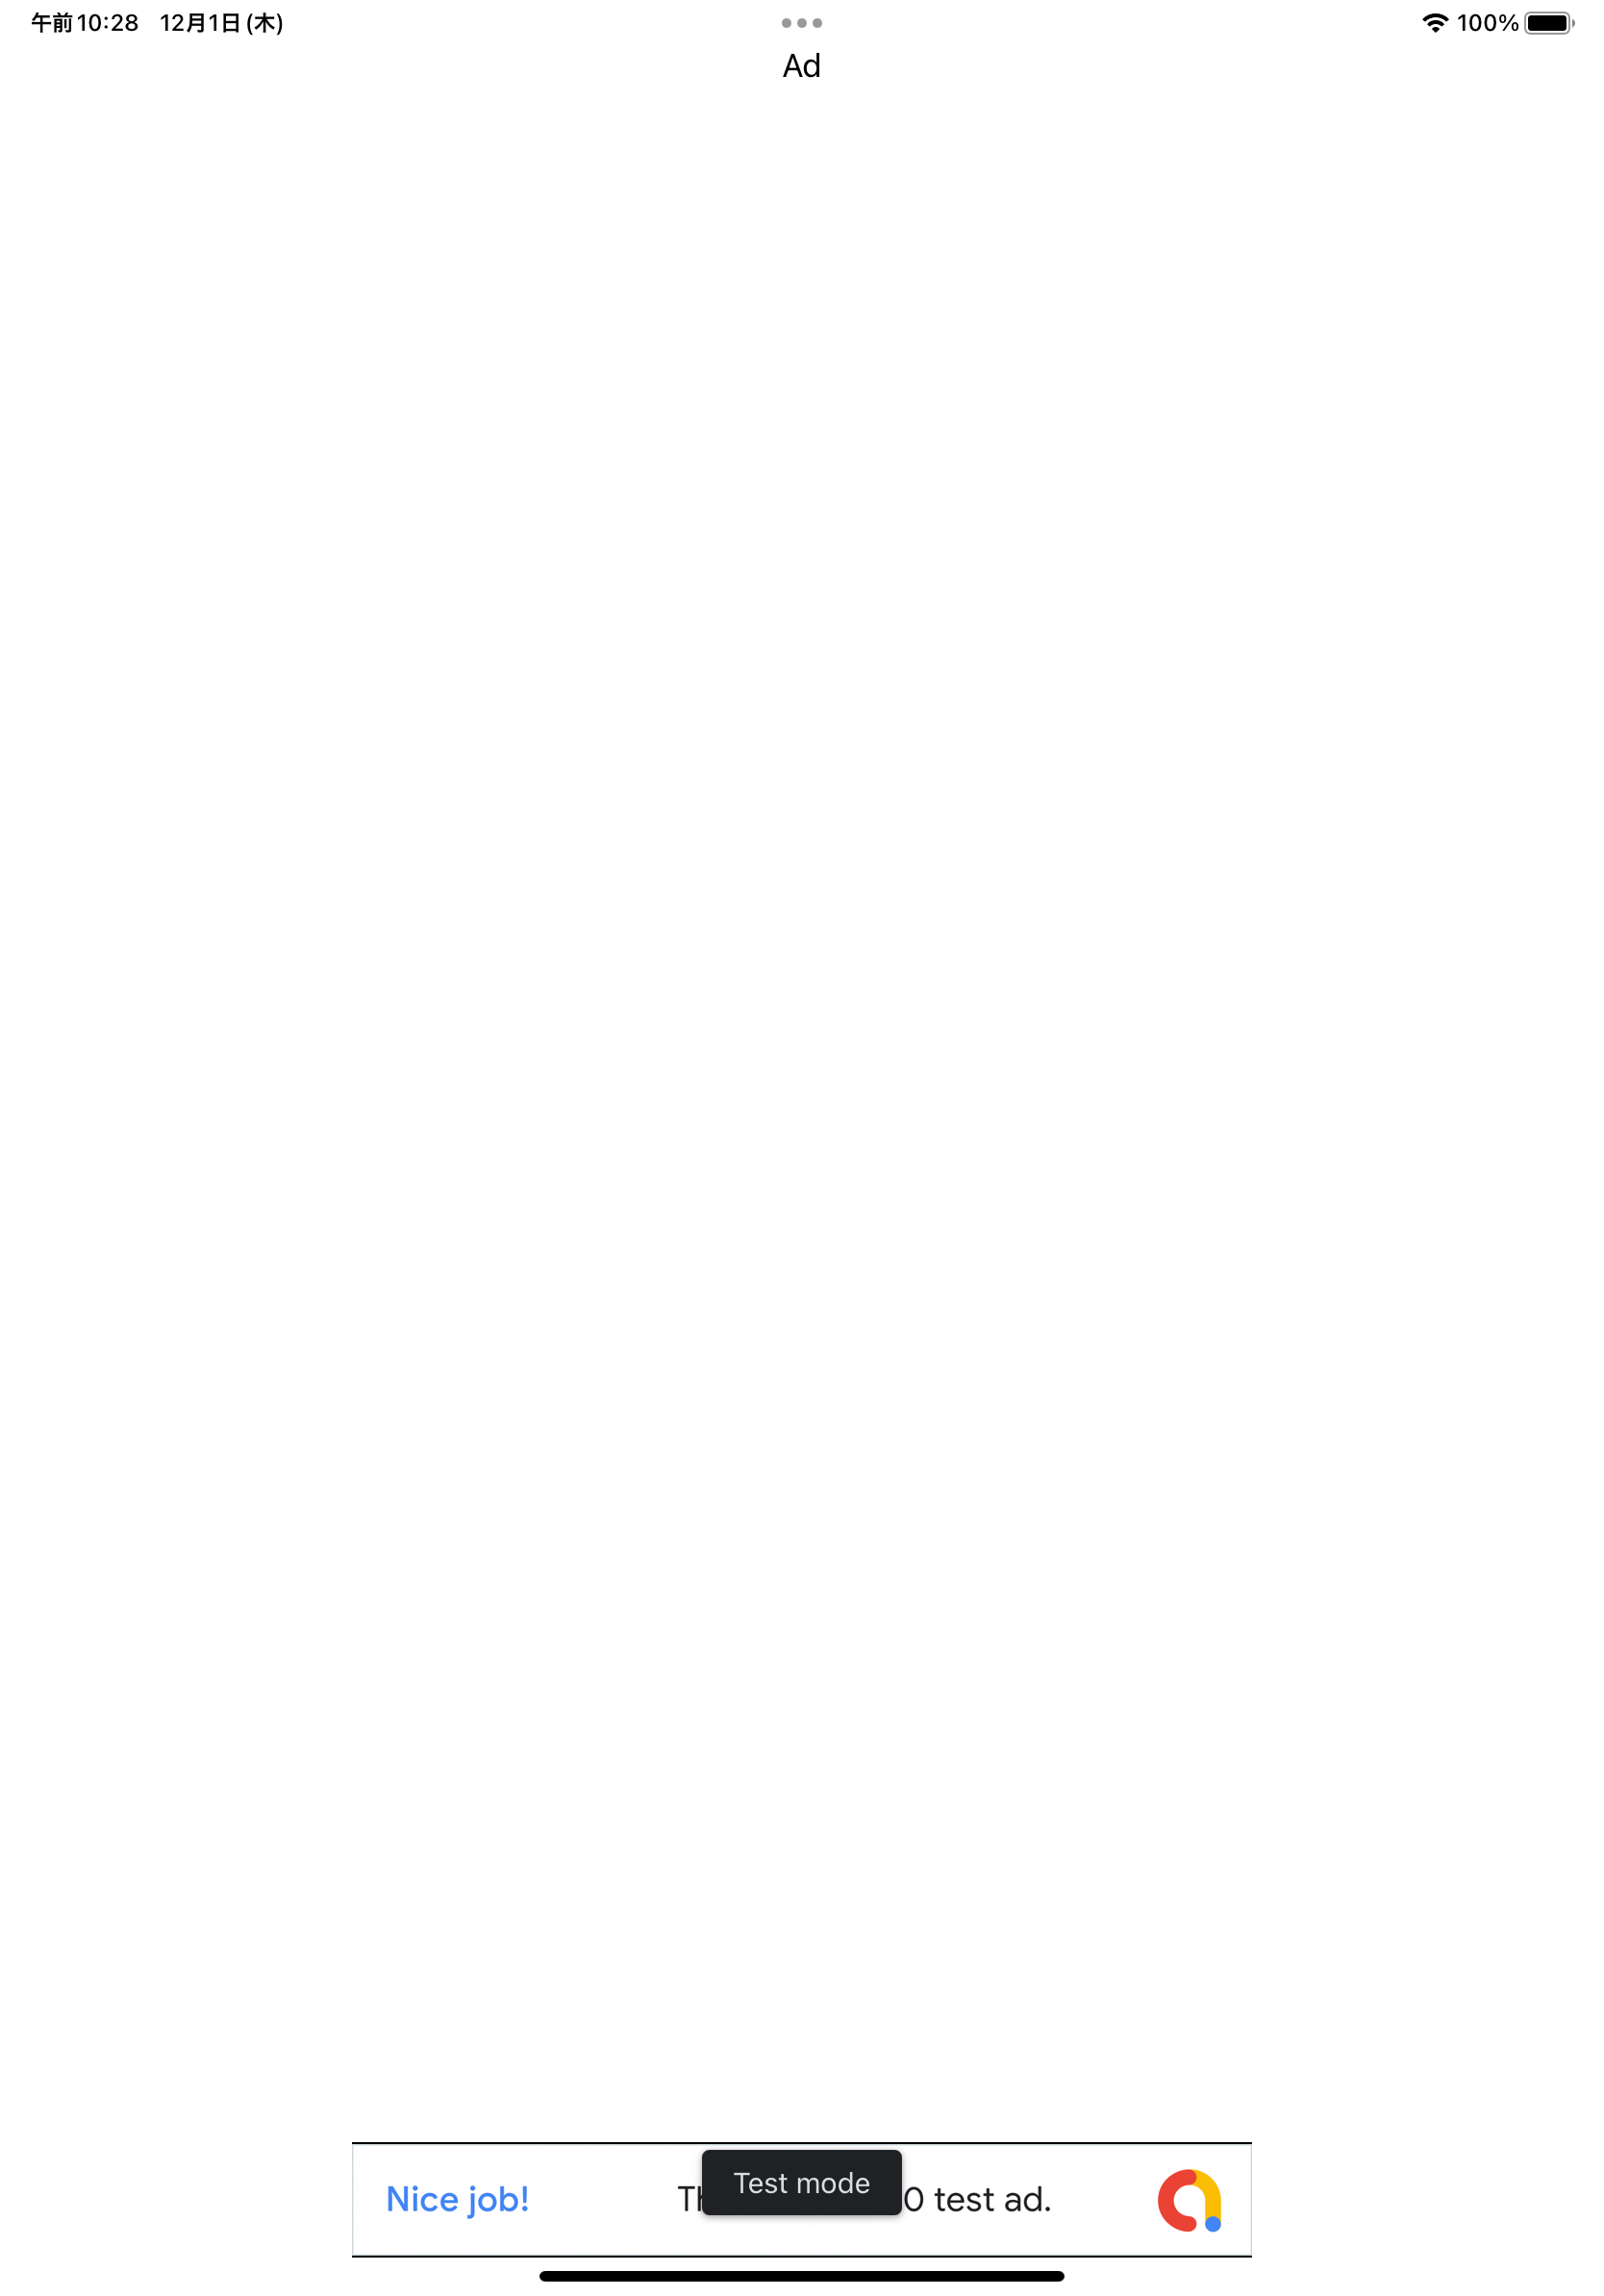
これでSwiftUIでのバナー広告が正しく動くようになります。
-
やり方がわかる方はぜひ教えてください。それに合わせて更新しようと思います。 ↩