Templates
~~ヾ(^∇^)こんにちは~
以前の記事にDjangoウェブサイトアプリのモデルとデータベースについて勉強できましたね
続いて今日はウェブサイトのテンプレートを学びに行こうと思います
HTMLを動的に生成する必要である為、最も一般的なアプローチはテンプレートに依存しています
テンプレートには目的のHTML出力の静的部分と動的コンテンツの挿入方法を説明する特別な構文が含まれています
テンプレートを使うDjangoプロジェクトは1つ又は複数のテンプレートエンジンで構成できます
DjangoにはDjangoテンプレート言語(DTL)と一般的な代替Jinja2の組み込みバックエンドが付属しています
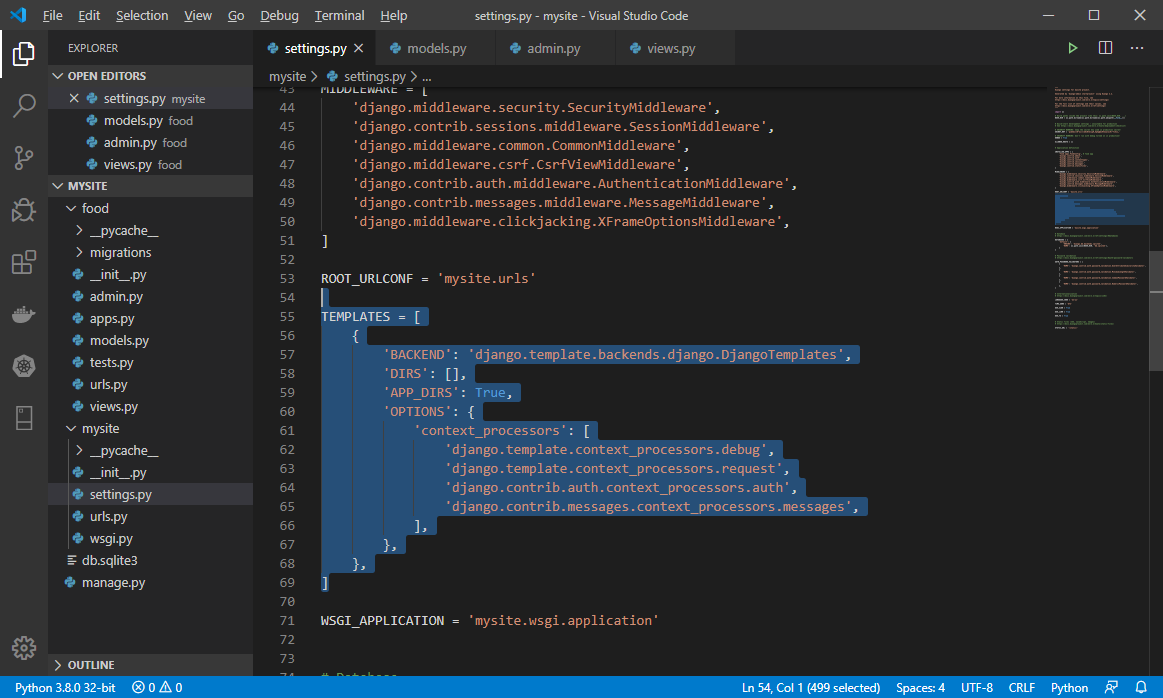
テンプレートエンジンのサポート
Djangoで使用されるすべてのテンプレートエンジンの設定を含むリストはsetting.pyにてデフォルトTEMPLATES変数で構成されます。
簡単にテンプレート使ってみよう
まず、アプリケーション内にtemplatesフォルダ(固定名)を作成してここにてテンプレートファイルを準備しておきます
myproject
├── myproject
├── myapp
├── manage.py
└── templates
    └── food
        ├── index.py
        └── detail.py
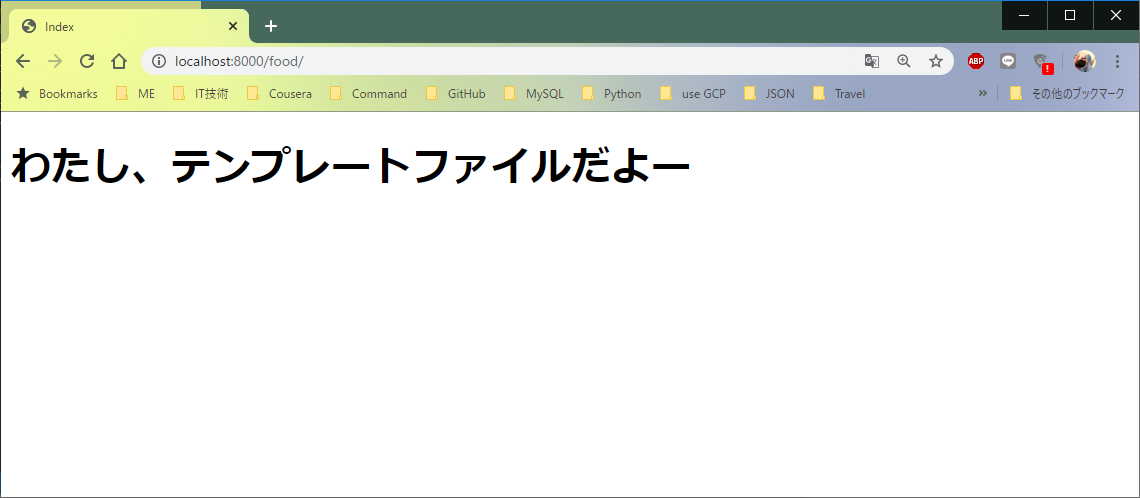
index.html

ここまで静的部分のみがあるテンプレートを作成しました、次はテンプレートを使うviews.pyを修正します
ポイントはrenderメソッドです
views.py
from django.shortcuts import render
from django.http import HttpResponse
from .models import Item

# Create your views here.
# index.html
def index(req):
    template_name = "food/index.html";
    context = {}
    return render(req, template_name, context)
renderメソッドを読んでDjangoはtemplatesフォルダにtemplate_nameを探して見つかったファイルにcontextをアプローチした後テンプレートを表すという流れの処理です。
Contextをアプローチする方法とは
context変数の値を編集します
from django.shortcuts import render
from django.http import HttpResponse
from .models import Item
# Create your views here.
# index.html
def index(req):
template_name = "food/index.html";
context = {
'title': 'Index',
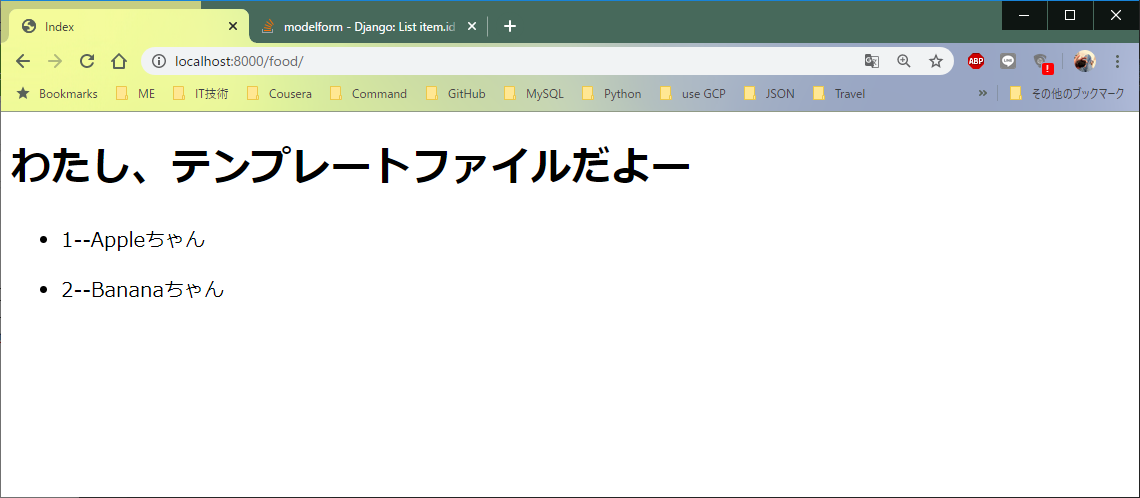
'item_list': Item.objects.all()
}
return render(req, template_name, context)
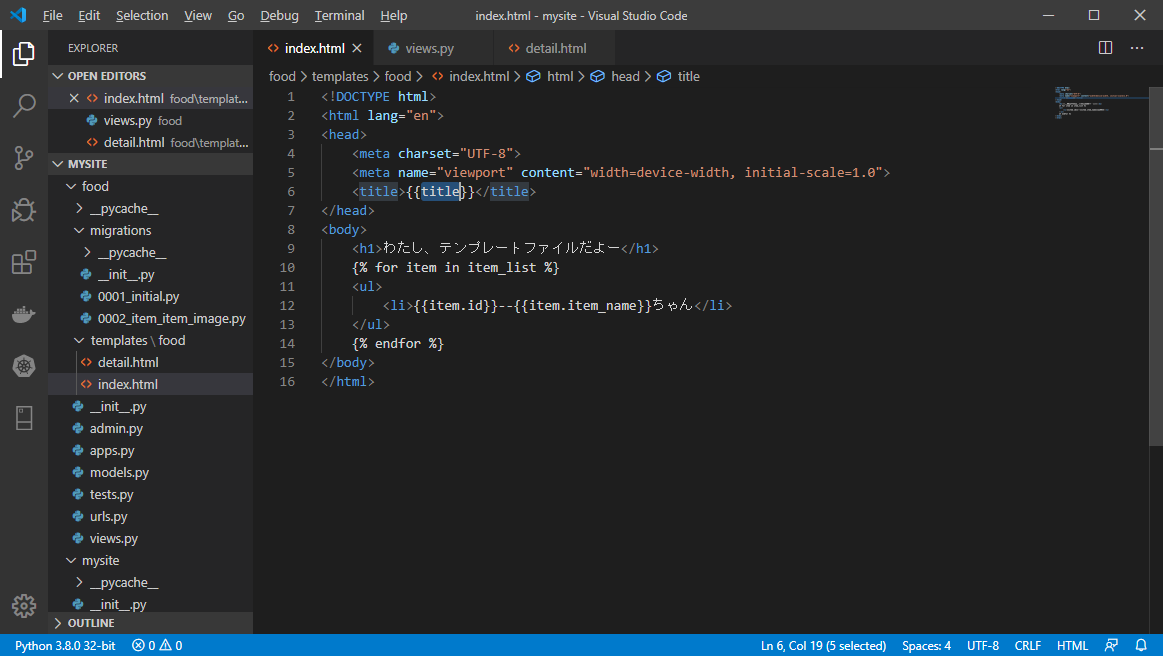
テンプレートを編集します
Djangoテンプレート言語と利用します、詳しくは[「Django template language」]
(https://docs.djangoproject.com/en/3.0/ref/templates/language/)を参考してね
注意、
目的なページにcontextオブジェクトのキーを呼びます。又は各テンプレートに同じblock名を2つ以上持つとは行きません
<!-- block content1 -->
{% block content %}
...
{% endblock %}

<!-- block content2 -->
{% block content %}
...
{% endblock %}
<!-- block head -->
{% block head %}
...
{% endblock %}

<!-- block content -->
{% block content %}
...
{% endblock %}
detail.html
ほぼ同じルールでdetail.htmlファイルを編集しましょ
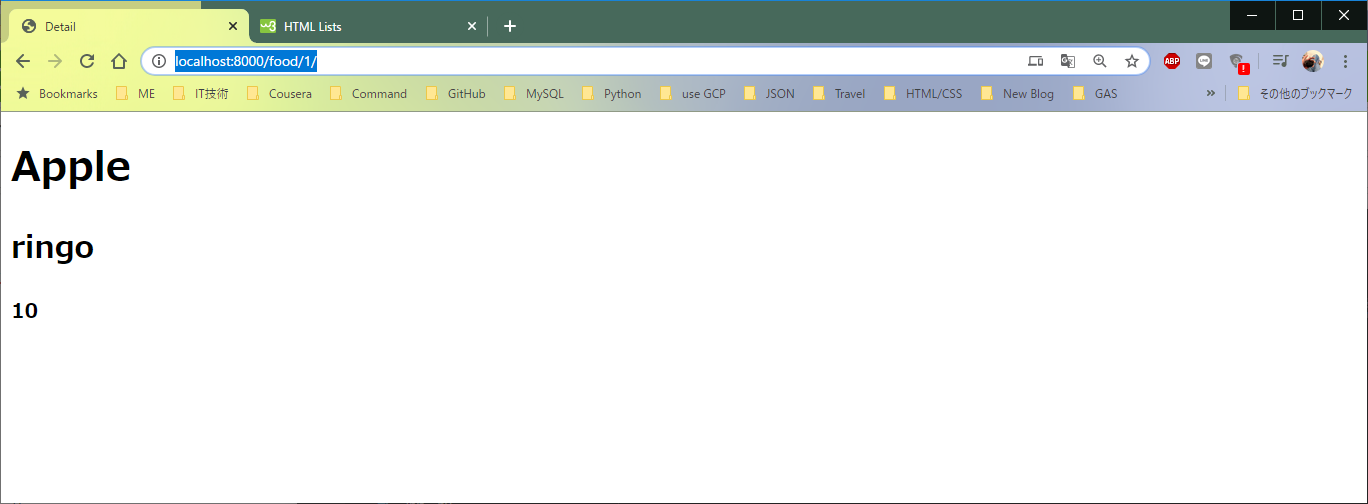
動く順番は、index.htmlにて対象なitemを選らんでitemの詳しく情報を持つdetail.htmlが表せます
このでHTMLの知識が必要ですので準備しておいてね
それではやろう
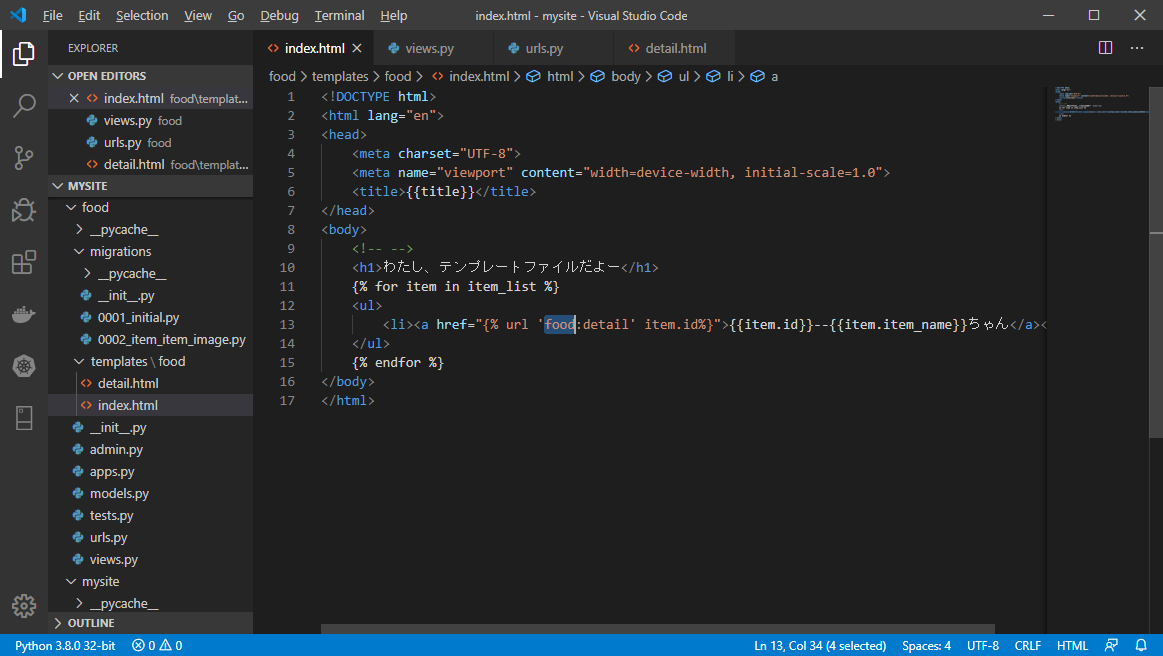
![]() index.htmlを編集します
index.htmlを編集します
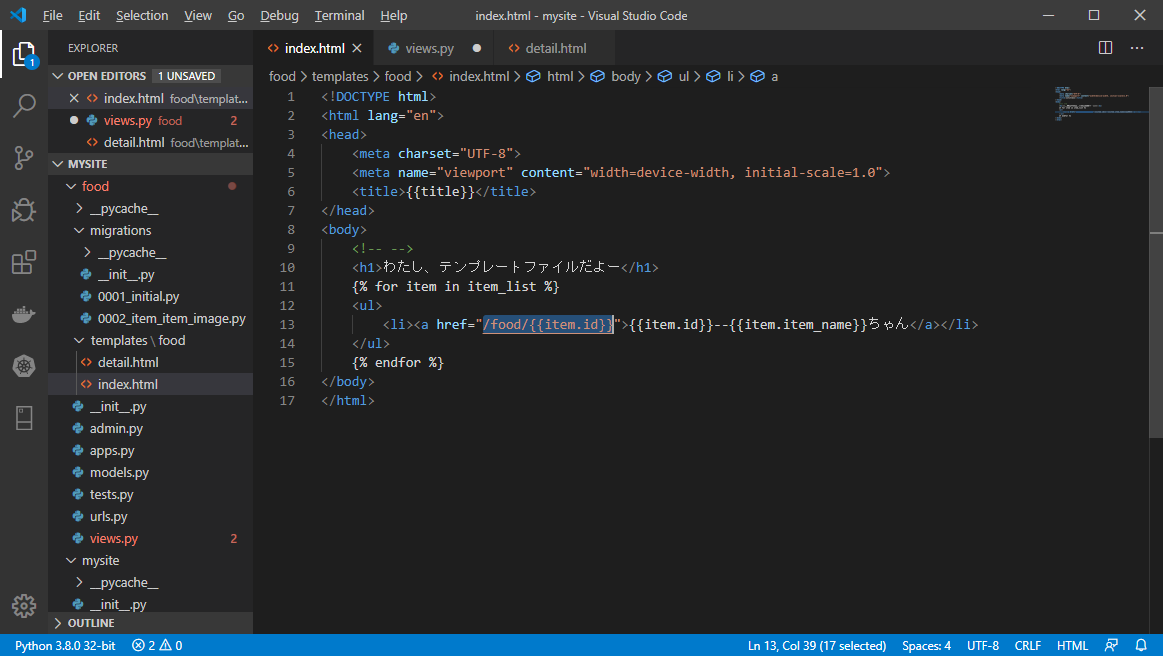
こういう風に同じdetail.htmlファイルを呼びますが異なるdetail.html URLがあり、item_idにようって情報が自動的に変るというテンプレートエンジンの特徴です
URLは http://localhost:8000/food/[item_id]/
覚えてますか2章にページを呼び出すのを解説しますたが忘れたら「2章:ViewsとURL Patterns」を参考してね
![]() urls.pyを編集します
urls.pyを編集します
from . import views
from django.urls import path

urlpatterns = [
    # index.html
    path('', views.index, name='index'),
    #
    path('item/', views.item, name='item'),
    # detail.html
    path('<int:item_id>/', views.detail, name='detail')
]
![]() views.pyを編集します
views.pyを編集します
from django.shortcuts import render
from django.http import HttpResponse
from .models import Item

# detail.html
def detail(req, item_id):
    template_name = "food/detail.html"
    context = {
        'item': Item.objects.get(pk=item_id)
    }
    return render(req, template_name, context)
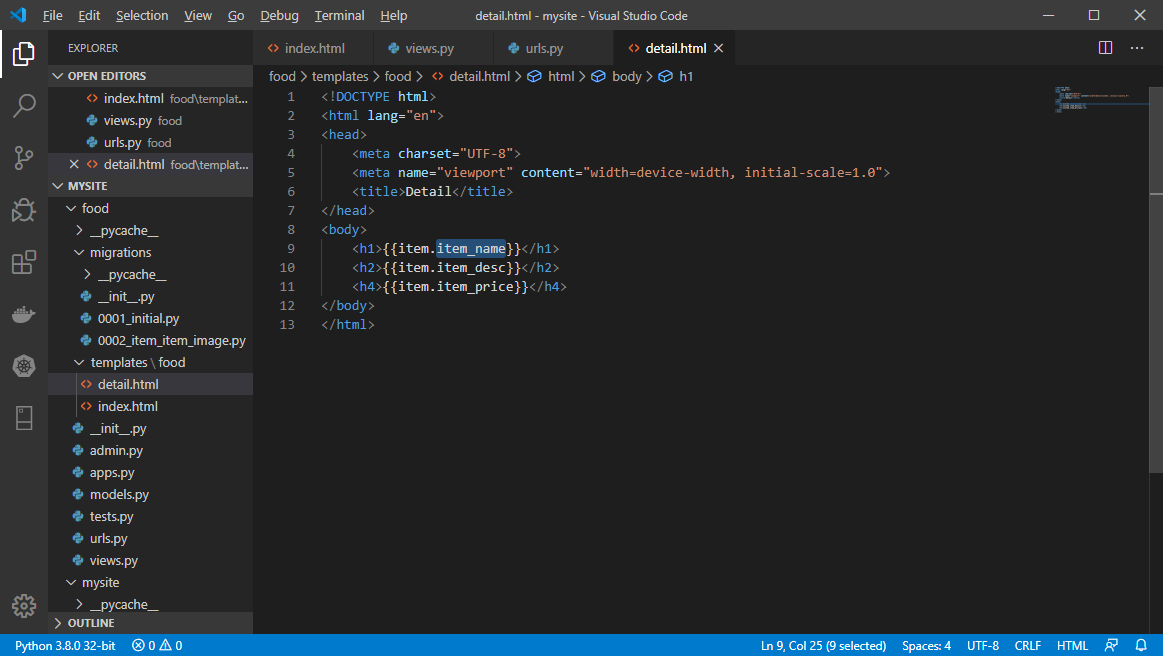
![]() detail.htmlを編集します
detail.htmlを編集します
結果を見よう
URLsにあるNameとApp_name
Nameを使います
urlpatterns = [
    # detail.html
    path('<int:item_id>/', views.detail, name='detail')
]
index.htmlを修正します
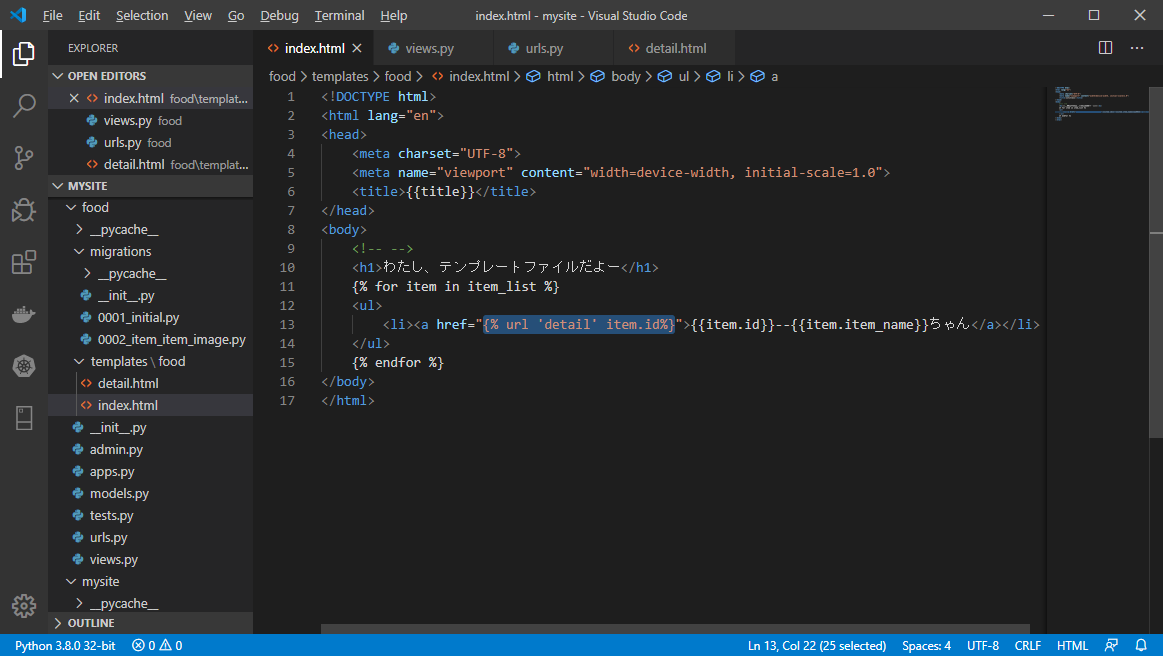
{% url 'name' variable %}
App_nameを使います
app_name = 'food'
urlpatterns = [
    # detail.html
    path('<int:item_id>/', views.detail, name='detail')
]
index.htmlを修正します
{% url 'app_name:name' variable %}
Staticファイル
Staticファイルとは
Webサイトは通常にimage、js、cssなどの追加ファイルを提供する必要があります。Djangoでは、これらのファイルを「静的ファイル」と呼びます
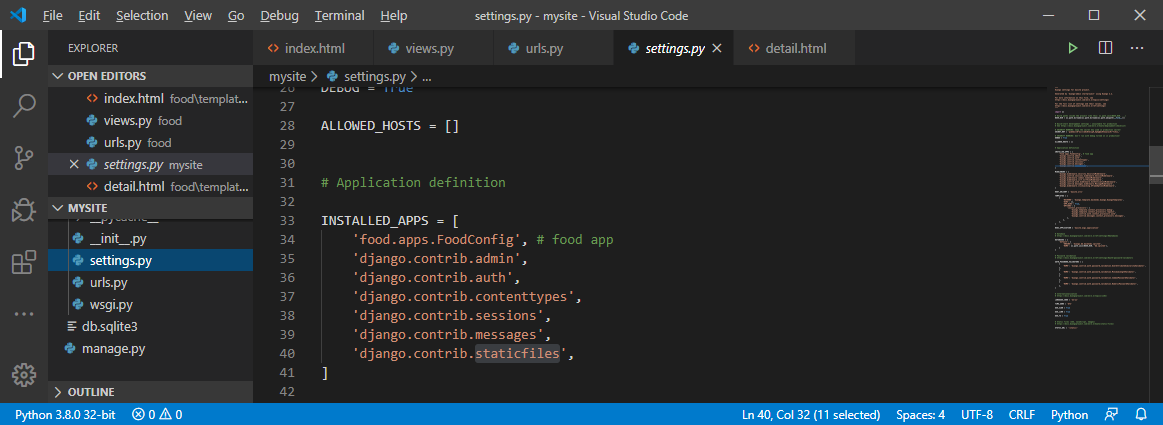
Staticファイルの管理を支援するを確認します
settings.pyファイルにあるINSTALLED_APPS変数の値はdjango.contrib.staticfilesがあります
StaticファイルへディレクトリーURLを確認します
settings.pyファイルにあるSTATIC_URL変数の値は/static/があります
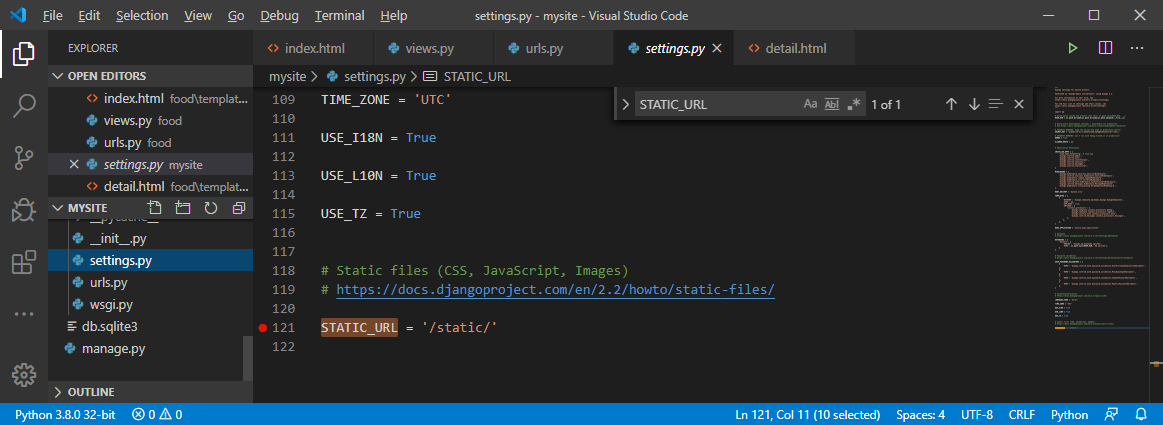
つまり、静的ファイルはstaticフォルダに置くべきです
Staticファイルの利用方法
以下のようにstaticファイルを準備しておきましょ
myproject
├── myproject
├── myapp
├── manage.py
├── templates
└── static
    └── myapp
        └── css
            └── body.css
body {
    background-color: rgb(198, 233, 235);
}
Staticファイルを呼び出します
テンプレートに指定するstaticファイルのULRを作成します
{% static "static fileのULR" %}
{% load static %}
<link rel="stylesheet" href="{% static "/food/css/body.css" %}"/>
結果を確認します
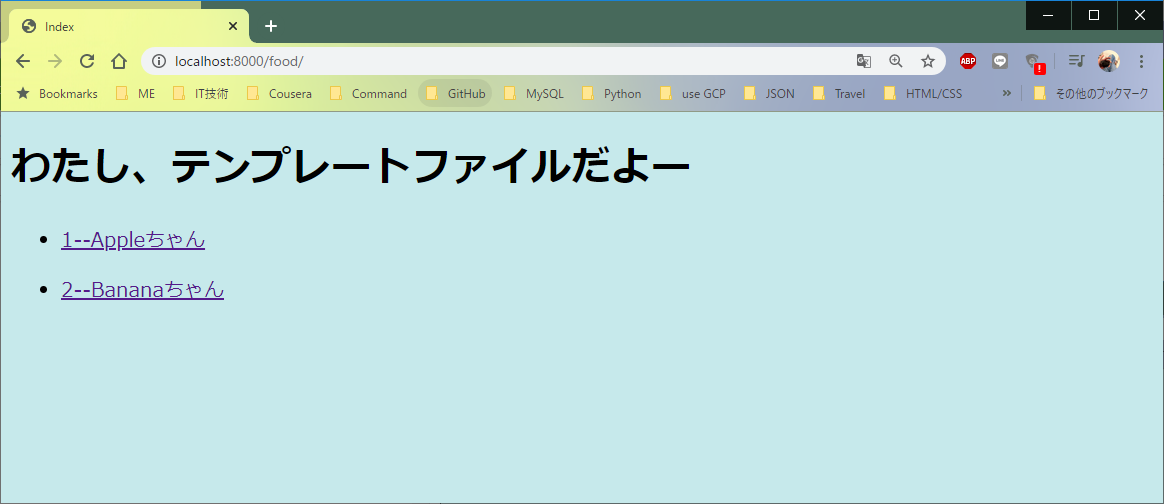
staticファイルを利用するテンプレートが作成されましたよね
最も分かればManaging static filesサイトをご参考下さい
サイトをデザインします
ページの構成
簡単なページにはを3つに分割されています
page.html
├── head
├── body
└── footer
で、共通部分を別のページを置いて各ページにそのページを購入するというイメージです
templates
└── food
    ├── base.html  # (head・footer部分があり)
    └── page.html  # (body部分のみ)
実際はどういう風に構成しますか、以下のように御覧ください
共通ページの仕組み
{% load static %}
<!DOCTYPE html>
<html lang="en">
<head>
<!-- ヘッダーのコンテンツはここに記述します -->
</head>

{% block body %}
{% endblock %}

<footer>
<!-- フッターのコンテンツはここに記述します -->
</footer>
</html>
各ページの仕組み
{% extends 'food/base.html' %}
<body>
    {% block body %}
    <!-- ボディのコンテンツはここに記述します -->
    {% endblock %}
</body>
{% extends 'template fileのURL' %}
では、試してみよう~
Bootstrapを使おう
サイトは綺麗で早く作れるため、フロントエンドフレームワークを使いましょ~
この記事はBootstrapフレームワークを使って行ないます
BootstrapをダウンロードするページにてBootstrapCDNのダウンロードはCSSとJSダウンロードリンクをコピーします
<link rel="stylesheet"
href="https://stackpath.bootstrapcdn.com/bootstrap/4.4.1/css/bootstrap.min.css"
integrity="sha384-Vkoo8x4CGsO3+Hhxv8T/Q5PaXtkKtu6ug5TOeNV6gBiFeWPGFN9MuhOf23Q9Ifjh"
crossorigin="anonymous">
<script src="https://stackpath.bootstrapcdn.com/bootstrap/4.4.1/js/bootstrap.min.js"
integrity="sha384-wfSDF2E50Y2D1uUdj0O3uMBJnjuUD4Ih7YwaYd1iqfktj0Uod8GCExl3Og8ifwB6"
crossorigin="anonymous"></script>
コピーしたリンクはbaseテンプレートファイルにペーストします
これからBootstrapさんを提供するCSSとJSファイルを利用できます
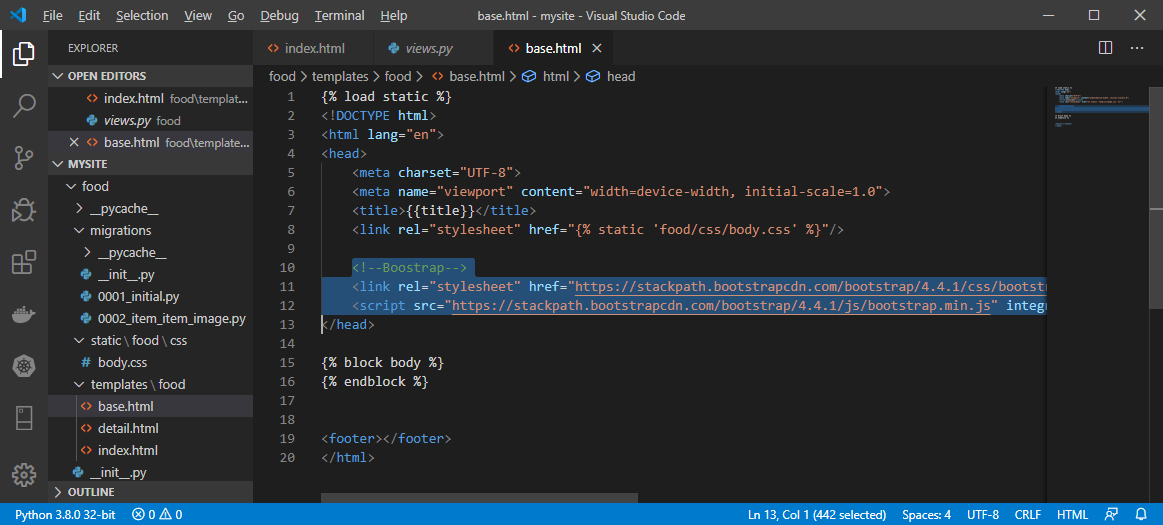
Base.htmlを作成
headタグにてNavコンポネントを作成します

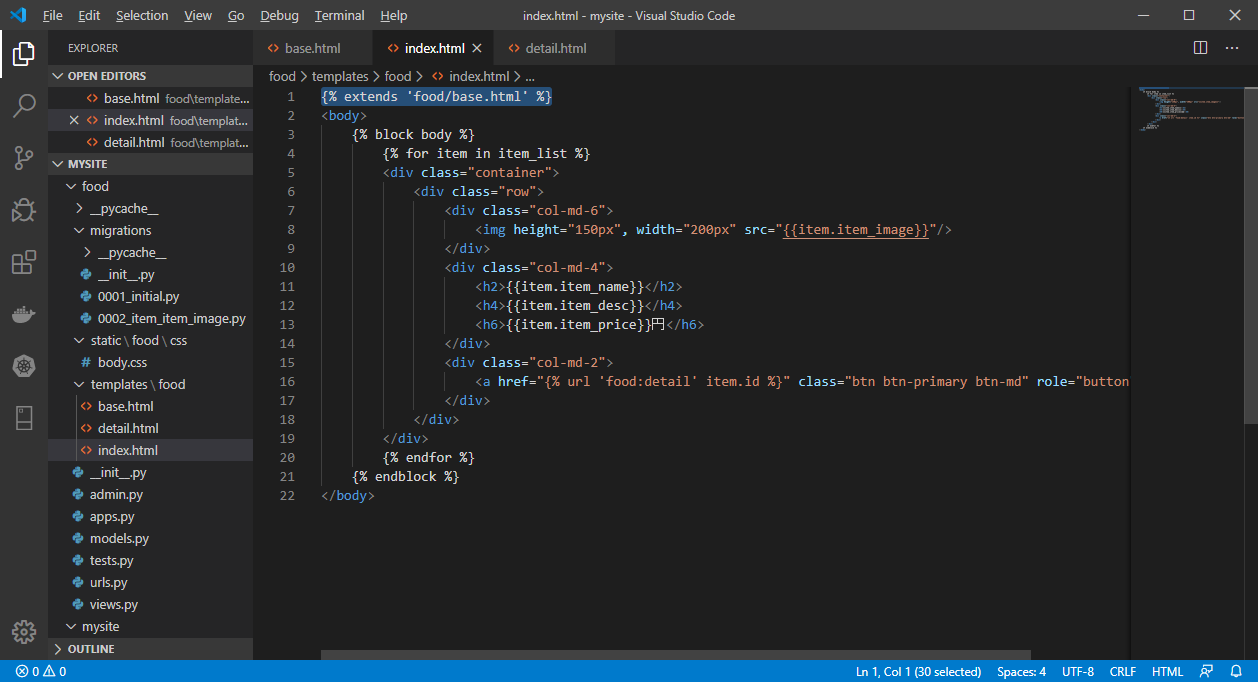
各ページを編集します
index.html
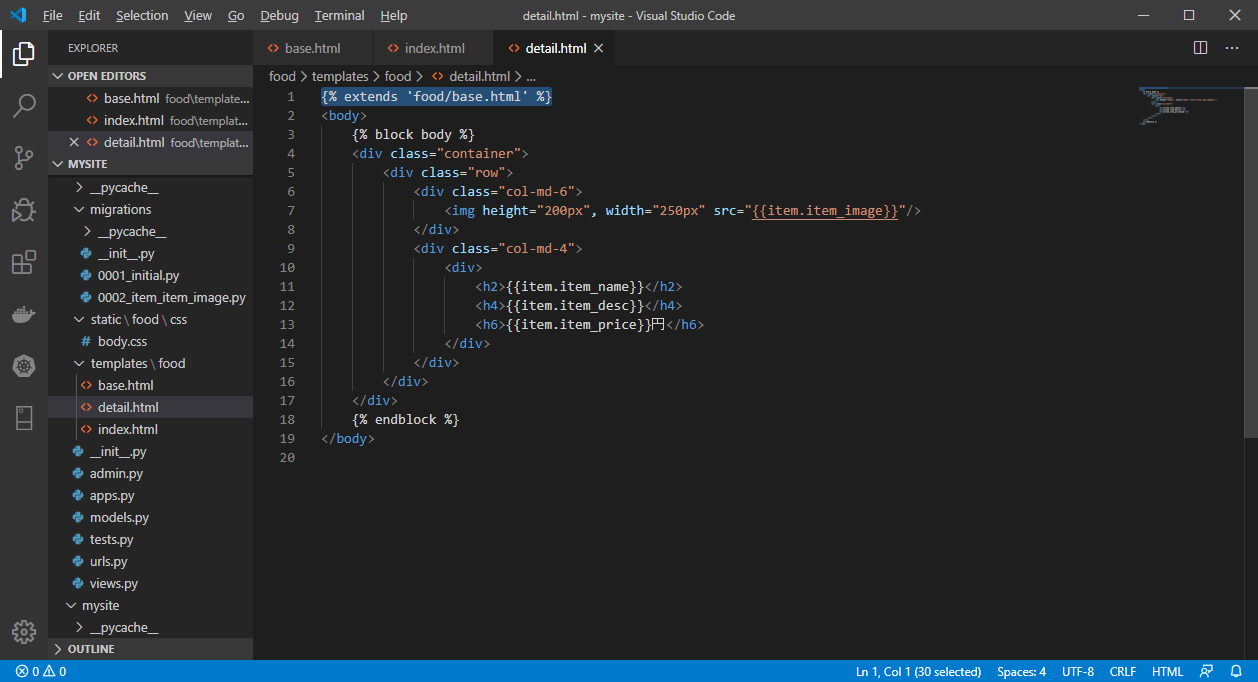
detail.html
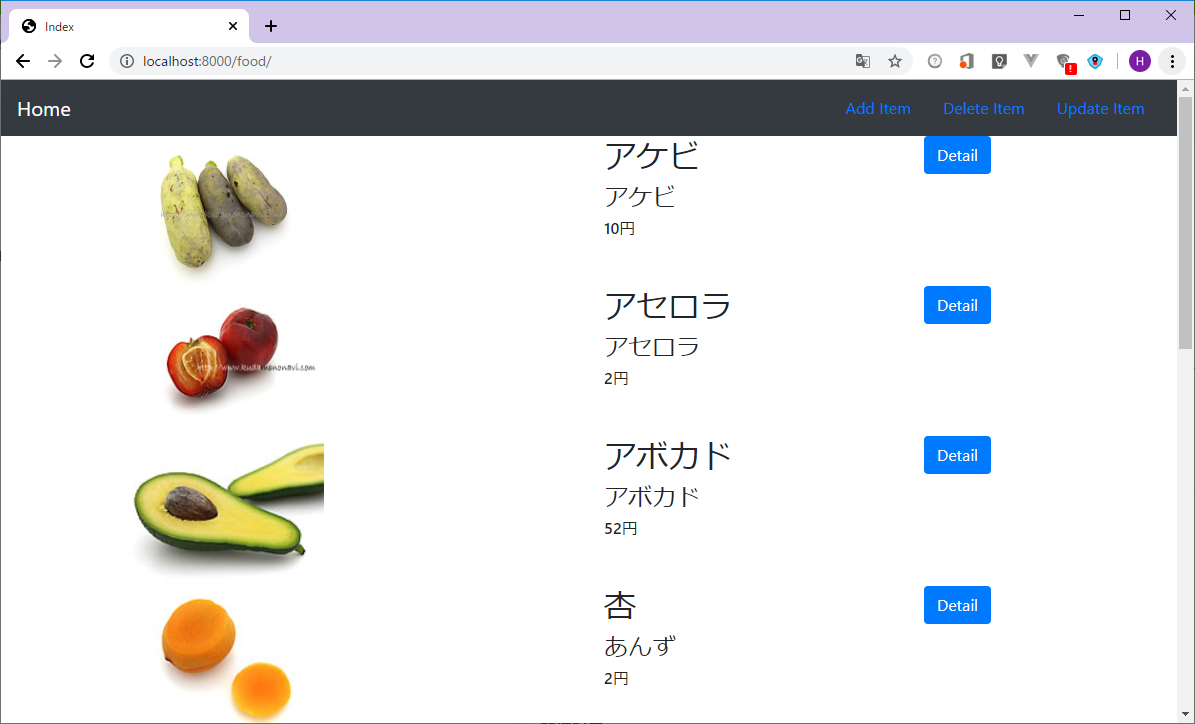
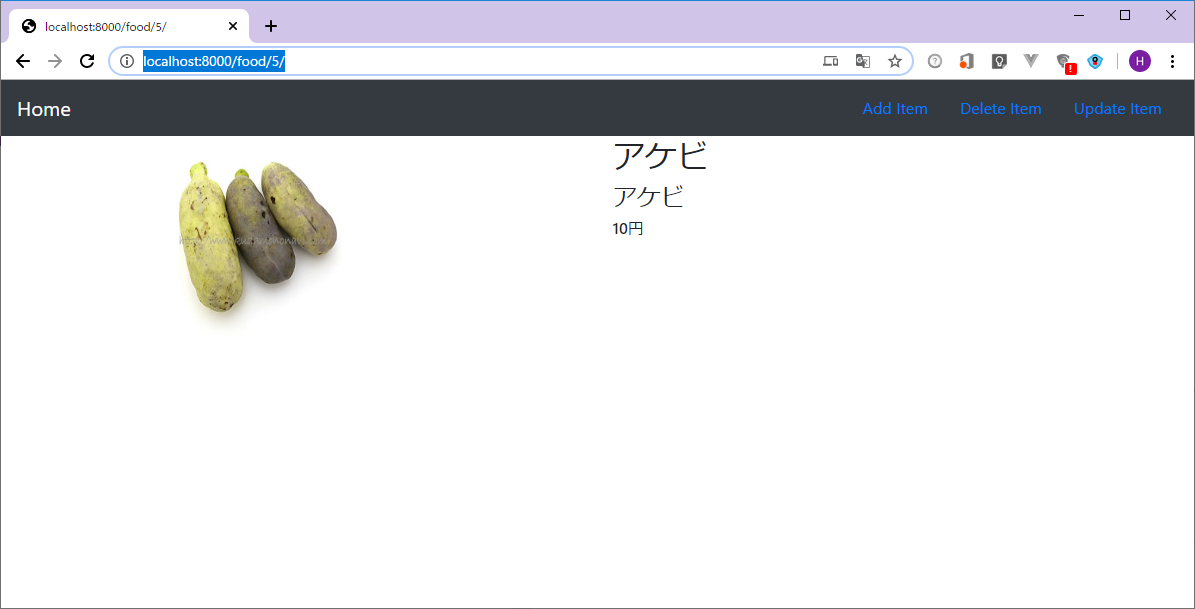
結果を確認します
indexページ
detailページ
お疲れ様です
此処まで御覧いただきまして有難うございます
参考サイト
[・Django template language]
(https://docs.djangoproject.com/en/3.0/ref/templates/language/)
・Django support for template engines
・Jinja2
関連記事
・【Django】Build web apps ~3章:Modelsとデータベース~
・【Django】Build web apps ~5章:Forms~
・【Django】Build web apps ~使ったコマンド~