注意
前回の記事の続きです。
※前回紹介したawesome-typescript-loaderに関して調べた結果、
現在はすでに更新されていないプラグインとのことでts-loaderかbabel-loaderを使用したほうがいいです。
目次
- React のチュートリアルを Typescript でやってみた【環境構築編】
- React のチュートリアルを Typescript でやってみた【環境構築編2】← ここ
- React のチュートリアルを Typescript でやってみた【ソース準備編】
- React のチュートリアルを Typescript でやってみた1
- React のチュートリアルを Typescript でやってみた2
- React のチュートリアルを Typescript でやってみた3
はじめに
前回でほとんどの設定をしたのですが、
以下のプラグインを導入することで、開発をもっと便利にします。
(やらなくてもコード変更後、ソースをビルドすればコーディングは確認は可能)
webpack-dev-server の導入と設定
以下のコマンドで webpack-dev-serverをインストールします。
npm install webpack-dev-server --save-dev
webpack-dev-server については以下の記事にわかりやすく書いてあります。
https://qiita.com/riversun/items/d27f6d3ab7aaa119deab
package.json に以下のコードを追加します。
各設定の説明は割愛します。自分で調べてみると面白いかもしれませんね。
  "scripts": {
    "test": "echo \"Error: no test specified\" && exit 1",
    "build": "webpack",
    "start": "webpack-dev-server --hot --inline "
  },
React での HMR 機能
HMRとは、Hot Module Replacementの頭文字を取ったもので、ページの再読み込み無しで、モジュールの交換・追加・削除をアプリケーションの動作中に行います。
React で HMR 機能を使う場合は、以下のプラグインをインストールする必要があります。
- react-hot-loader
また、react-hot-loaderで typescript を使用するために以下のプラグインをインストールします。
この箇所についてはreact-hot-loaderの公式の typescript の箇所を参考にしています。
react-hot-loader TypeScript
- @babel/core
- @babel/plugin-proposal-class-properties
- @babel/plugin-proposal-decorators
- @babel/preset-env
- @babel/preset-react
- @babel/preset-typescript
- babel-cli
- babel-loader
- fork-ts-checker-webpack-plugin
- @hot-loader/react-dom
コマンド
npm install --save-dev @babel/core
npm install --save-dev @babel/plugin-proposal-class-properties
npm install --save-dev @babel/plugin-proposal-decorators
npm install --save-dev @babel/preset-env
npm install --save-dev @babel/preset-react
npm install --save-dev @babel/preset-typescript
npm install --save-dev babel-cli
npm install --save-dev babel-loader
npm install --save-dev fork-ts-checker-webpack-plugin
npm install --save react-hot-loader @hot-loader/react-dom
html-webpack-plugin の導入
html-webpack-pluginを使用することで html を修正した際に検知し反映してくれるようになるのでインストールします。
npm install --save-dev html-webpack-plugin
config で設定しますが src のフォルダ内に、index.html を作成します。
<!DOCTYPE html>
<html>
  <head>
    <meta charset="UTF-8" />
    <title>TypeScript HelloWorld</title>
  </head>
  <body>
    <div id="app"></div>
  </body>
</html>
webpack.config.js
最終的にコンフィグの内容は以下の様になりました。
const path = require("path");
const webpack = require("webpack");
const HtmlWebpackPlugin = require("html-webpack-plugin");
const ForkTsCheckerWebpackPlugin = require("fork-ts-checker-webpack-plugin");

module.exports = {
  mode: "development",
  entry: ["react-hot-loader/patch", path.resolve(__dirname, "./src/index.tsx")],
  output: {
    path: path.resolve(__dirname, "dist/"),
    filename: "bundle.js"
  },
  devtool: "source-map",
  resolve: {
    modules: ["node_modules"],
    alias: {
      "react-dom": "@hot-loader/react-dom"
    },
    extensions: [".ts", ".tsx", ".js", ".jsx", ".json"]
  },
  module: {
    rules: [
      {
        test: /\.(j|t)s(x)?$/,
        exclude: /node_modules/,
        use: {
          loader: "babel-loader",
          options: {
            cacheDirectory: true,
            babelrc: false,
            presets: [
              ["@babel/preset-env"],
              "@babel/preset-typescript",
              "@babel/preset-react"
            ],
            plugins: [
              ["@babel/plugin-proposal-decorators", { legacy: true }],
              ["@babel/plugin-proposal-class-properties", { loose: true }],
              "react-hot-loader/babel"
            ]
          }
        }
      },
      {
        enforce: "pre",
        test: /\.ts(x?)$/,
        loader: "source-map-loader"
      }
    ]
  },
  devServer: {
    host: "0.0.0.0",
    contentBase: path.resolve(__dirname, "dist/")
  },
  plugins: [
    new ForkTsCheckerWebpackPlugin(),
    new webpack.NamedModulesPlugin(),
    new HtmlWebpackPlugin({ template: "./src/index.html" })
  ]
};
tsx を HMR が反映されるように修正する。
以下のように修正します。
import * as React from "react";
import * as ReactDOM from "react-dom";
import { hot } from "react-hot-loader/root";

const App = () => <div>Hello World!!!!!!</div>;
export default hot(App);

ReactDOM.render(<App />, document.getElementById("app"));
hot 機能を使用するためには、component を hot でラップする必要があります。以下の部分
const App = () => <div>Hello World!!!!!!</div>;
export default hot(App);
上記の内容で hot が反映されるようになりました。
実際に試してみる
webpack-dev-sarver を以下のコマンドで起動させます。
npm start
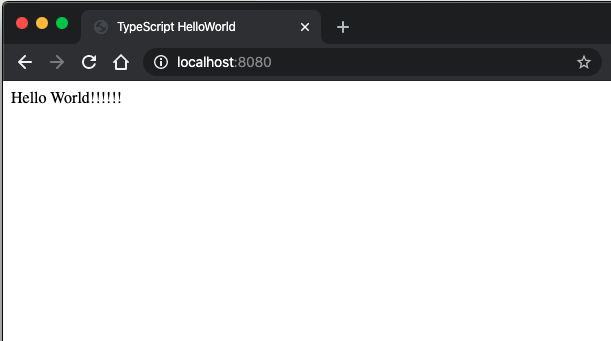
起動を確認し、http://localhost:8080/にアクセスします。
すると以下のような画面が表示されます。
そのまま webpack-dev-sarver を起動させた状態で、index.tsx の内容を変更します。
以下、変更内容
import * as React from "react";
import * as ReactDOM from "react-dom";
import { hot } from "react-hot-loader/root";
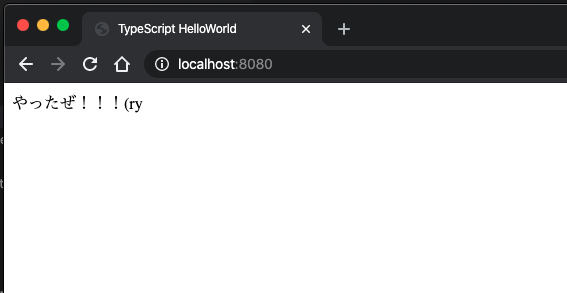
const App = () => <div>やったぜ!!!(ry</div>;
export default hot(App);
ReactDOM.render(<App />, document.getElementById("app"));
変更を保存したあと画面を確認すると変更した内容が反映されていることが確認できます。
まとめ
これで、開発がしやすくなったかと思います。
本来であれば、もっと早く次の記事を出す予定だったのですが、思ったよりreact-hot-loaderの設定に手間取りました。
最終的には、コンフィグの以下の内容が原因でした。
みなさんも気をつけてください。
エラー時の内容
extensions: [".ts", ".tsx", ".js", ".json"]
正しい内容
extensions: [".ts", ".tsx", ".js", ".jsx", ".json"]