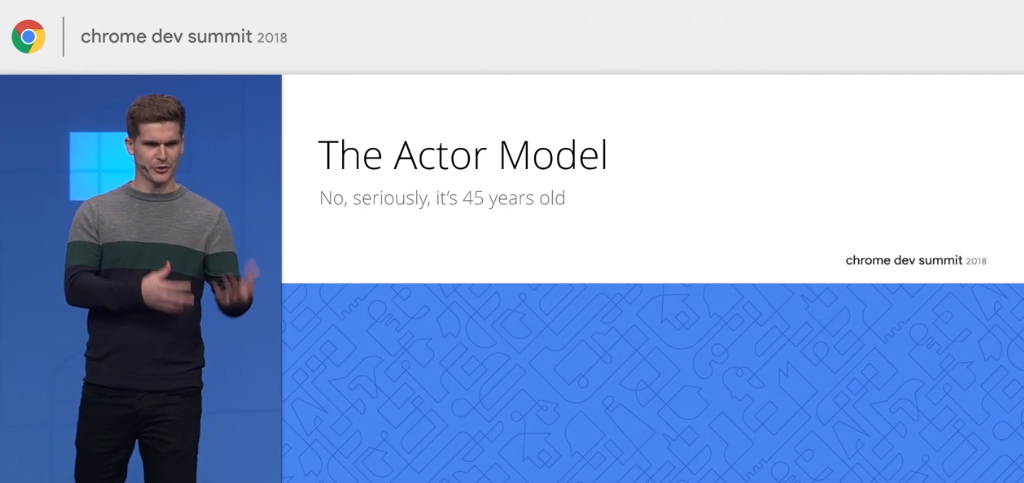
先日LitElementからReduxを使ってみたのですが、Chrome Dev Summit 2018のこちらのセッションでWeb Workerを使った状態管理ライブラリ(PolymerLabs/actor-helpers)の動画があったので、ちょっと触ってみました。

actor-helpersとは
- 歴史ある並列処理を得意としたErlangのようなプロセス間通信モデル(actor model:アクターモデル)であり、なにか新しい概念で作られたライブラリではない
- 別プロセスを
new Worker('worker.js')でつくり、Actor継承クラスをhookup()で立ち上げ、lookup()で見つけ、send(Message)で通信し、onMessage(Message)で受けとる - とっても軽量だけど、現状は正式なGoogleのプロジェクトではなく、npmレジストリにもない。ドキュメントもない(公式サンプルはこちら)
昔必死にErlangを勉強したことがあるので、ちょっと興味深いです。![]()
![]()
![]()
actor-modelでカウンター
Preactで書かれたサンプルを参考にばっくりLitElement+Typescriptで書いてみます。リポジトリはこちら。
|-- README.md
|-- index.html
|-- package-lock.json
|-- package.json
|-- rollup.config.js
|-- tsconfig.json
|-- src // ソースフォルダ
|   |-- actions.ts
|   |-- bootstrap.ts
|   |-- my-button.ts
|   |-- my-view.ts
|   |-- state-actor.ts
|   |-- states.ts
|   `-- worker.ts
`-- dist // 公開フォルダ
    |-- bootstrap.js
    |-- index.html
    `-- worker.js
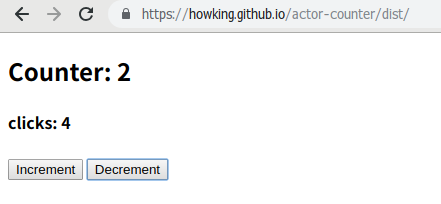
動作してるサイトはこちら。
各ファイルと流れの説明
<!doctype html>
<my-view></my-view>
<my-button></my-button>
<script src="bootstrap.js"></script>
index.htmlはmy-viewとmy-buttonのWebコンポーネントを表示し、bootstrap.jsを読み込むだけです。
import { initializeQueues } from 'actor-helpers/src/actor/Actor.js'
import './my-view.js'
import './my-button.js'

(async () => {
  await initializeQueues()
  new Worker('worker.js')
})()
bootstrap.jsでは initializeQueues()で初期化処理をしてから早速 worker.js でプロセスを分けます。
import { hookup } from 'actor-helpers/src/actor/Actor.js'
import StateActor from './state-actor.js'

hookup('state', new StateActor())
worker.jsでは状態管理用のアクター(StateActor)をhookup()で立ち上げるだけ。
import { lookup, Actor } from 'actor-helpers/src/actor/Actor.js'
import { Action } from './actions.js'
import { State, initialState } from './states.js'

export default class StateActor extends Actor<Action> {

  private ui = lookup('ui')

  private state:State = initialState

  async init(){
    this.ui.send(this.state)
  }

  onMessage(msg: Action) {
    switch (msg) {
      case Action.INCREMENT:
        this.state.counter += 1
        break
      case Action.DECREMENT:
        this.state.counter -= 1
        break
    }
    this.state.clicks += 1
    this.ui.send(this.state)
  }
}
StateActorはlookup()でUIのアクターを見つけつつ、stateの初期化処理や、Actionに応じて値を更新してメッセージを投げます。
import { LitElement, html, property, customElement } from '@polymer/lit-element'
import { hookup, actorMixin } from 'actor-helpers/src/actor/Actor.js'
import { State } from './states.js'

@customElement('my-view' as any)
export class MyView extends actorMixin(LitElement) {

  @property()
  counter? :number

  @property()
  clicks? :number

  async init() {
    hookup('ui', this)
  }

  onMessage({counter, clicks}:State) {
    this.counter = counter
    this.clicks = clicks
  }

  render(){
    return html`<h2>Counter: ${this.counter}</h2><h4>clicks: ${this.clicks}</h4>`
  }

}
HTMLElementをActorにするのは無理がある( ![]() 実際に別ウィンドウを出した時の挙動はおかしい )かもですが、いちおうMixinを使って起動時に自分自身が
実際に別ウィンドウを出した時の挙動はおかしい )かもですが、いちおうMixinを使って起動時に自分自身がuiだとしてhookup()して動かします。
StateActorからメッセージが飛んできたらonMessage()が呼ばれるので、プロパティを更新して描画します。
import { LitElement, html, property, customElement } from '@polymer/lit-element'
import { lookup } from 'actor-helpers/src/actor/Actor.js'
import { Action } from './actions.js'

@customElement('my-button' as any)
export class MyButton extends LitElement {

  @property()
  private state = lookup('state')

  render(){
    return html`
      <button @click=${()=>this.state.send(Action.INCREMENT)}>Increment</button>
      <button @click=${()=>this.state.send(Action.DECREMENT)}>Decrement</button>
    `
  }
}
ボタンを表示するエレメントはStateActorをlookup()してからActionを投げるだけです。
declare global {
  interface ActorMessageType {
    state: Action
  }
}

export enum Action {
  INCREMENT,
  DECREMENT
}
declare global {
  interface ActorMessageType {
    ui: State
  }
}

export interface State {
  counter: number
  clicks: number
}

export const initialState = { counter: 0, clicks: 0 }
ActionやStateの定義。Actorがやりとりするメッセージの対応関係はActorMessageTypeにグローバル宣言しておく必要があります。
Reduxのように使えそうなので、是非開発が進んでほしいところです。![]()
![]()
![]()
![]() FORK Advent Calendar 2018
FORK Advent Calendar 2018
![]() 01日目 CakePHPでpugる @kinoleaf
01日目 CakePHPでpugる @kinoleaf
![]() 03日目 vsixを使ったvscodeのアップデートに負けにくいCSSや拡張機能のカスタマイズ方法 @BigFly
03日目 vsixを使ったvscodeのアップデートに負けにくいCSSや拡張機能のカスタマイズ方法 @BigFly

