1.opencvのwindow同時表示
1.qt creatorでプロジェクト作成,ビルドシステムはcmakeを使用
2.プログラムを以下の様に変更
main.cpp
# include "mainwindow.h"
# include <QApplication>

# include <opencv2/opencv.hpp> // 追加

int main(int argc, char *argv[])
{
    QApplication a(argc, argv);
    MainWindow w;
    w.show();

    cv::Mat_<cv::Vec3b> img(300, 300, cv::Vec3b(0,200,0)); // 追加
    cv::imshow("", img ); // 追加

    return a.exec();
}
CMakeLists.txt
project(ddd LANGUAGES CXX)

set(CMAKE_INCLUDE_CURRENT_DIR ON)

set(CMAKE_AUTOUIC ON)
set(CMAKE_AUTOMOC ON)
set(CMAKE_AUTORCC ON)

set(CMAKE_CXX_STANDARD 11)
set(CMAKE_CXX_STANDARD_REQUIRED ON)

# QtCreator supports the following variables for Android, which are identical to qmake Android variables.
# Check http://doc.qt.io/qt-5/deployment-android.html for more information.
# They need to be set before the find_package(Qt5 ...) call.

# if(ANDROID)
#    set(ANDROID_PACKAGE_SOURCE_DIR "${CMAKE_CURRENT_SOURCE_DIR}/android")
#    if (ANDROID_ABI STREQUAL "armeabi-v7a")
#        set(ANDROID_EXTRA_LIBS
#            ${CMAKE_CURRENT_SOURCE_DIR}/path/to/libcrypto.so
#            ${CMAKE_CURRENT_SOURCE_DIR}/path/to/libssl.so)
#    endif()
# endif()

find_package(Qt5 COMPONENTS Widgets REQUIRED)
find_package(OpenCV REQUIRED) #追加

# 追加
include_directories(
 ${OpenCV_INCLUDE_DIRS}
)
# ここまで

if(ANDROID)
  add_library(ddd SHARED
    main.cpp
    mainwindow.cpp
    mainwindow.h
    mainwindow.ui
  )
else()
  add_executable(ddd
    main.cpp
    mainwindow.cpp
    mainwindow.h
    mainwindow.ui
  )
endif()

target_link_libraries(ddd PRIVATE Qt5::Widgets
  ${OpenCV_LIBRARIES} #追加
)
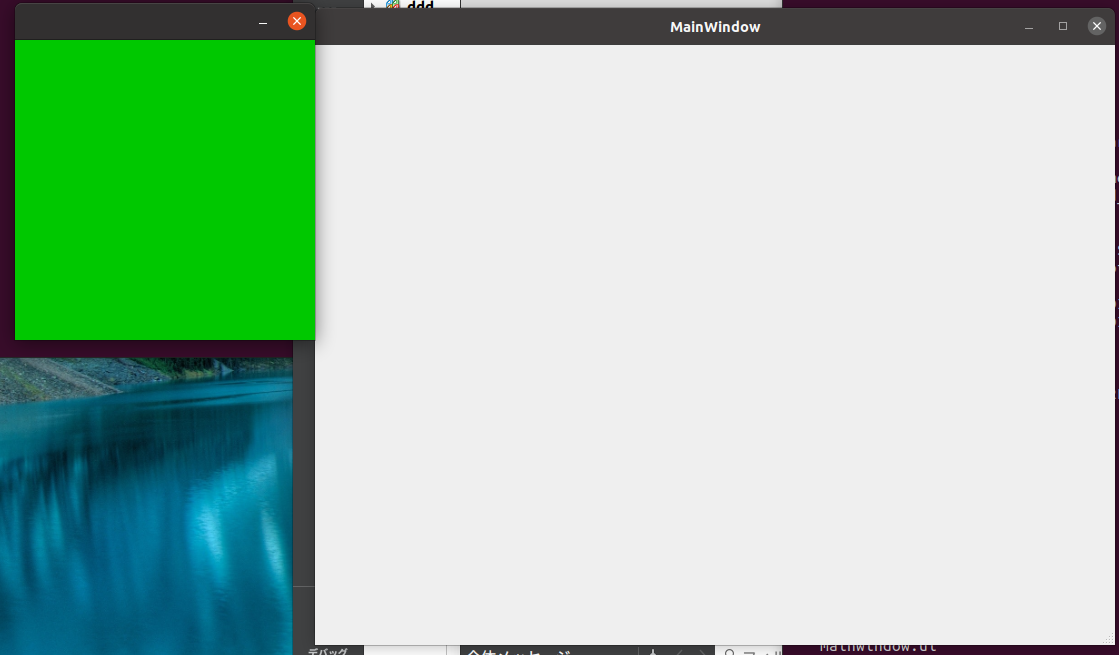
結果
標準のwindowに加え,単色画像のwindowが表示されます.
2.widget内でopencv関数を使用
1.qt creatorでプロジェクト作成,ビルドシステムはcmakeを使用
2.ui上にlabelを配置
3.プログラムを以下のように変更
mainwindow.cpp
# include "mainwindow.h"
# include "./ui_mainwindow.h"

# include <opencv2/opencv.hpp> // 追加

# include <QPixmap> // 追加

MainWindow::MainWindow(QWidget *parent)
    : QMainWindow(parent)
    , ui(new Ui::MainWindow)
{
    ui->setupUi(this);

    cv::Mat_<cv::Vec3b> mat(300, 300, cv::Vec3b(0,200,0)); // 追加

    ui->label->setPixmap(QPixmap::fromImage(QImage((unsigned char*) mat.data, mat.cols, mat.rows, QImage::Format_RGB888))); // 追加
}

MainWindow::~MainWindow()
{
    delete ui;
}
CMakeLists.txt
project(ddd LANGUAGES CXX)

set(CMAKE_INCLUDE_CURRENT_DIR ON)

set(CMAKE_AUTOUIC ON)
set(CMAKE_AUTOMOC ON)
set(CMAKE_AUTORCC ON)

set(CMAKE_CXX_STANDARD 11)
set(CMAKE_CXX_STANDARD_REQUIRED ON)

# QtCreator supports the following variables for Android, which are identical to qmake Android variables.
# Check http://doc.qt.io/qt-5/deployment-android.html for more information.
# They need to be set before the find_package(Qt5 ...) call.

# if(ANDROID)
#    set(ANDROID_PACKAGE_SOURCE_DIR "${CMAKE_CURRENT_SOURCE_DIR}/android")
#    if (ANDROID_ABI STREQUAL "armeabi-v7a")
#        set(ANDROID_EXTRA_LIBS
#            ${CMAKE_CURRENT_SOURCE_DIR}/path/to/libcrypto.so
#            ${CMAKE_CURRENT_SOURCE_DIR}/path/to/libssl.so)
#    endif()
# endif()

find_package(Qt5 COMPONENTS Widgets REQUIRED)
find_package(OpenCV REQUIRED) #追加

# 追加
include_directories(
 ${OpenCV_INCLUDE_DIRS}
)
# ここまで

if(ANDROID)
  add_library(ddd SHARED
    main.cpp
    mainwindow.cpp
    mainwindow.h
    mainwindow.ui
  )
else()
  add_executable(ddd
    main.cpp
    mainwindow.cpp
    mainwindow.h
    mainwindow.ui
  )
endif()

target_link_libraries(ddd PRIVATE Qt5::Widgets
  ${OpenCV_LIBRARIES} #追加
)
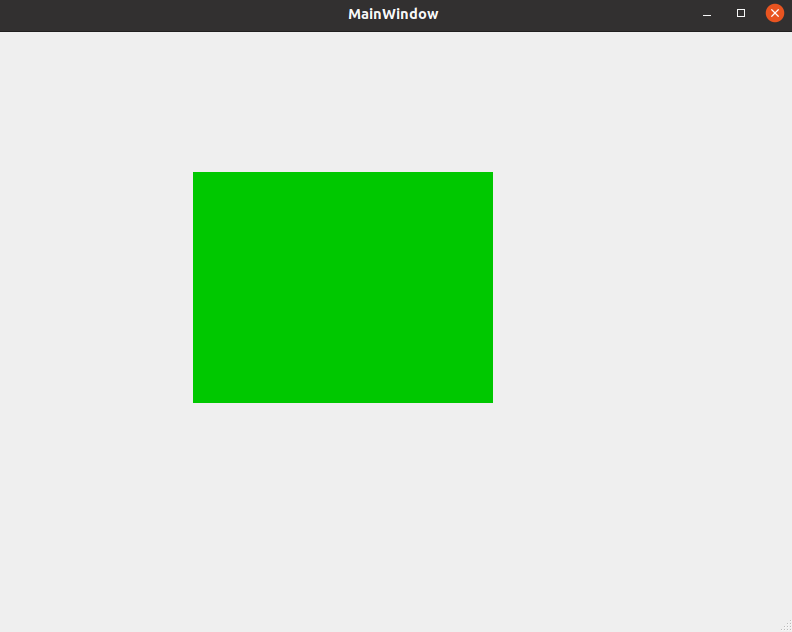
4.結果
mainwindow widget内に設置した.labelにopencvで生成したmatイメージが表示されました。
3.上のデモ画像の色をsliderから変化
1.上のデモuiにHorizontal Sliderを追加(maximunの値を99から255に変更) + valueChangedのslotを作成
2.mainwindow.cpp内に生成されたslotの関数内に以下のように記載
slot関数
void MainWindow::on_horizontalSlider_valueChanged(int value)
{
    cv::Mat_<cv::Vec3b> mat(300, 300, cv::Vec3b(0,value,0)); // 追加
    ui->label->setPixmap(QPixmap::fromImage(QImage((unsigned char*) mat.data, mat.cols, mat.rows, QImage::Format_RGB888))); // 追加
}
結果
ui設定でちゃんと配列.

canny
テスト画像ダウンロード
wget wget https://github.com/hoshianaaa/TestFiles/raw/master/gears/template.jpg
画像読み込み->labelに配置
    cv::Mat mat = cv::imread( "/home/hoshina/template.jpg"); // add
    ui->label->setPixmap(QPixmap::fromImage(QImage((unsigned char*) mat.data, mat.cols, mat.rows, mat.step, QImage::Format_RGB888))); // 追加
GrayScaleで読んで配置
    cv::Mat mat = cv::imread( "/home/hoshina/template.jpg",0); // add
    ui->label->setPixmap(QPixmap::fromImage(QImage((unsigned char*) mat.data, mat.cols, mat.rows, mat.step, QImage::Format_Indexed8))); // 追加
cannyの2つのパラメータをスライドバーから変更
1.画像をダウンロード
wget https://github.com/hoshianaaa/TestFiles/raw/master/gears/search2.jpg
2.uiにスライド2個目追加
3.プログラムを以下のように変更
mainwindow.cpp
# include "mainwindow.h"
# include "./ui_mainwindow.h"

# include <opencv2/opencv.hpp> // 追加

# include <QPixmap> // 追加

using namespace cv; // add

MainWindow::MainWindow(QWidget *parent)
    : QMainWindow(parent)
    , ui(new Ui::MainWindow)
{
    ui->setupUi(this);
    originalImg = cv::imread( "/home/hoshina/search2.jpg",0); // add
    cv::Canny(originalImg, mat, 50, 100);
    ui->label->setPixmap(QPixmap::fromImage(QImage((unsigned char*) mat.data, mat.cols, mat.rows, mat.step, QImage::Format_Indexed8))); // 追加

}

MainWindow::~MainWindow()
{
    delete ui;
}

void MainWindow::on_horizontalSlider_valueChanged(int value)
{
    cannyLowVal = value;
    cv::Canny(originalImg, mat, cannyLowVal, cannyHighVal);
    ui->label->setPixmap(QPixmap::fromImage(QImage((unsigned char*) mat.data, mat.cols, mat.rows, mat.step, QImage::Format_Indexed8))); // 追加
}

void MainWindow::on_horizontalSlider_2_valueChanged(int value)
{
    cannyHighVal = value;
    cv::Canny(originalImg, mat, cannyLowVal, cannyHighVal);
    ui->label->setPixmap(QPixmap::fromImage(QImage((unsigned char*) mat.data, mat.cols, mat.rows, mat.step, QImage::Format_Indexed8))); // 追加
}
mainwindow.h
# ifndef MAINWINDOW_H
# define MAINWINDOW_H

# include <QMainWindow>

# include <opencv2/opencv.hpp> // 追加

QT_BEGIN_NAMESPACE
namespace Ui { class MainWindow; }
QT_END_NAMESPACE

class MainWindow : public QMainWindow
{
    Q_OBJECT

public:
    MainWindow(QWidget *parent = nullptr);
    ~MainWindow();
private slots:
    void on_horizontalSlider_valueChanged(int value);

    void on_horizontalSlider_2_valueChanged(int value);

private:
    Ui::MainWindow *ui;
    cv::Mat originalImg, mat;
    int cannyLowVal, cannyHighVal;
};
# endif // MAINWINDOW_H
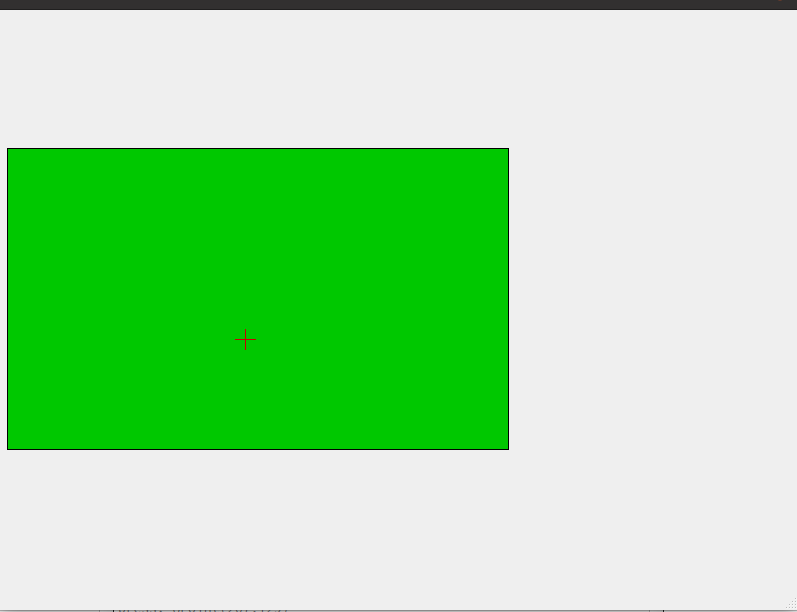
マウスクリック位置に描画
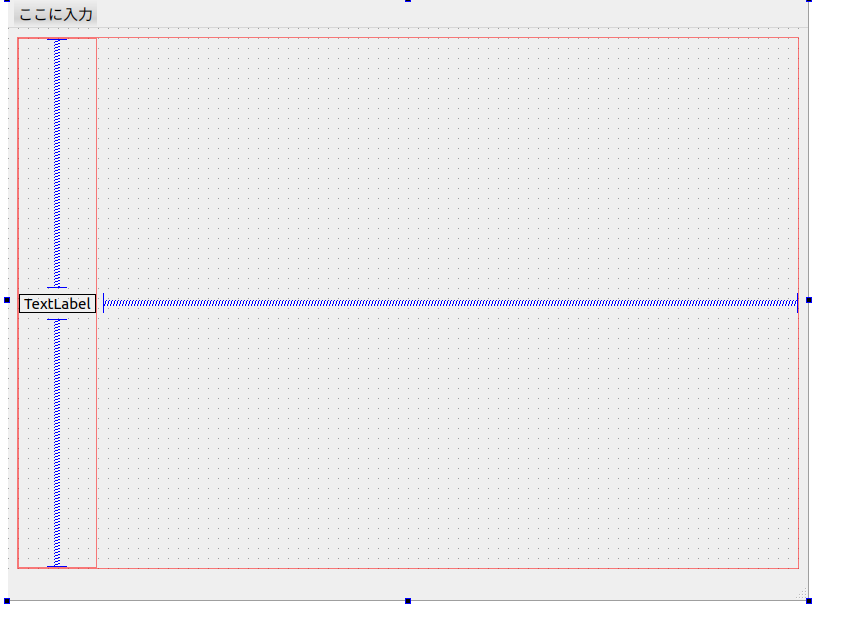
1.画像を貼り付けるlabelの余白が出ないようにバネを使って以下のようにuiを設定
2.プログラムを以下のように変更
mainwindow.h
# ifndef MAINWINDOW_H
# define MAINWINDOW_H

# include <QMainWindow>

QT_BEGIN_NAMESPACE
namespace Ui { class MainWindow; }
QT_END_NAMESPACE

class MainWindow : public QMainWindow
{
    Q_OBJECT

public:
    MainWindow(QWidget *parent = nullptr);
    ~MainWindow();
    void mousePressEvent(QMouseEvent *event); // add

private:
    Ui::MainWindow *ui;
};
# endif // MAINWINDOW_H
mainwindow.cpp
# include "mainwindow.h"
# include "./ui_mainwindow.h"

# include <opencv2/opencv.hpp> // 追加

# include <QPixmap> // 追加

# include <QMouseEvent> // add
# include <QtCore/QDebug> // add

MainWindow::MainWindow(QWidget *parent)
    : QMainWindow(parent)
    , ui(new Ui::MainWindow)
{
    ui->setupUi(this);

    cv::Mat_<cv::Vec3b> mat(300, 500, cv::Vec3b(0,200,0)); // 追加

    ui->label->setPixmap(QPixmap::fromImage(QImage((unsigned char*) mat.data, mat.cols, mat.rows, QImage::Format_RGB888))); // 追加
}

MainWindow::~MainWindow()
{
    delete ui;
}

void MainWindow::mousePressEvent(QMouseEvent *event)
{
        // get mouse pos:
        // 参考: https://www.qtcentre.org/threads/3073-How-to-get-mouse-s-position
        QPoint p = ui->label->mapFromGlobal(QCursor::pos());
        qDebug() << "press:" << p;

        cv::Mat_<cv::Vec3b> mat(300, 500, cv::Vec3b(0,200,0)); // 追加
        cv::drawMarker(mat, cv::Point(p.x(),p.y()), cv::Vec3b(200,0,0), cv::MARKER_CROSS);

        ui->label->setPixmap(QPixmap::fromImage(QImage((unsigned char*) mat.data, mat.cols, mat.rows, QImage::Format_RGB888))); // 追加

}
これで,qtでクリックした位置をopencvの画像位置に変換できました(pixmapのscaleが変割った場合の対応はできていない)