始めに
可愛いチュートリアル画面を探していたときに、Figmaのアプリを見つけた。
ログインする前に紹介ページを簡単に見れるのは良いなと思ったので作成してみる。
Storyboardでなく、コードでの実装となりますが、
Storyboardでやる場合も何となく雰囲気は掴めると思います!
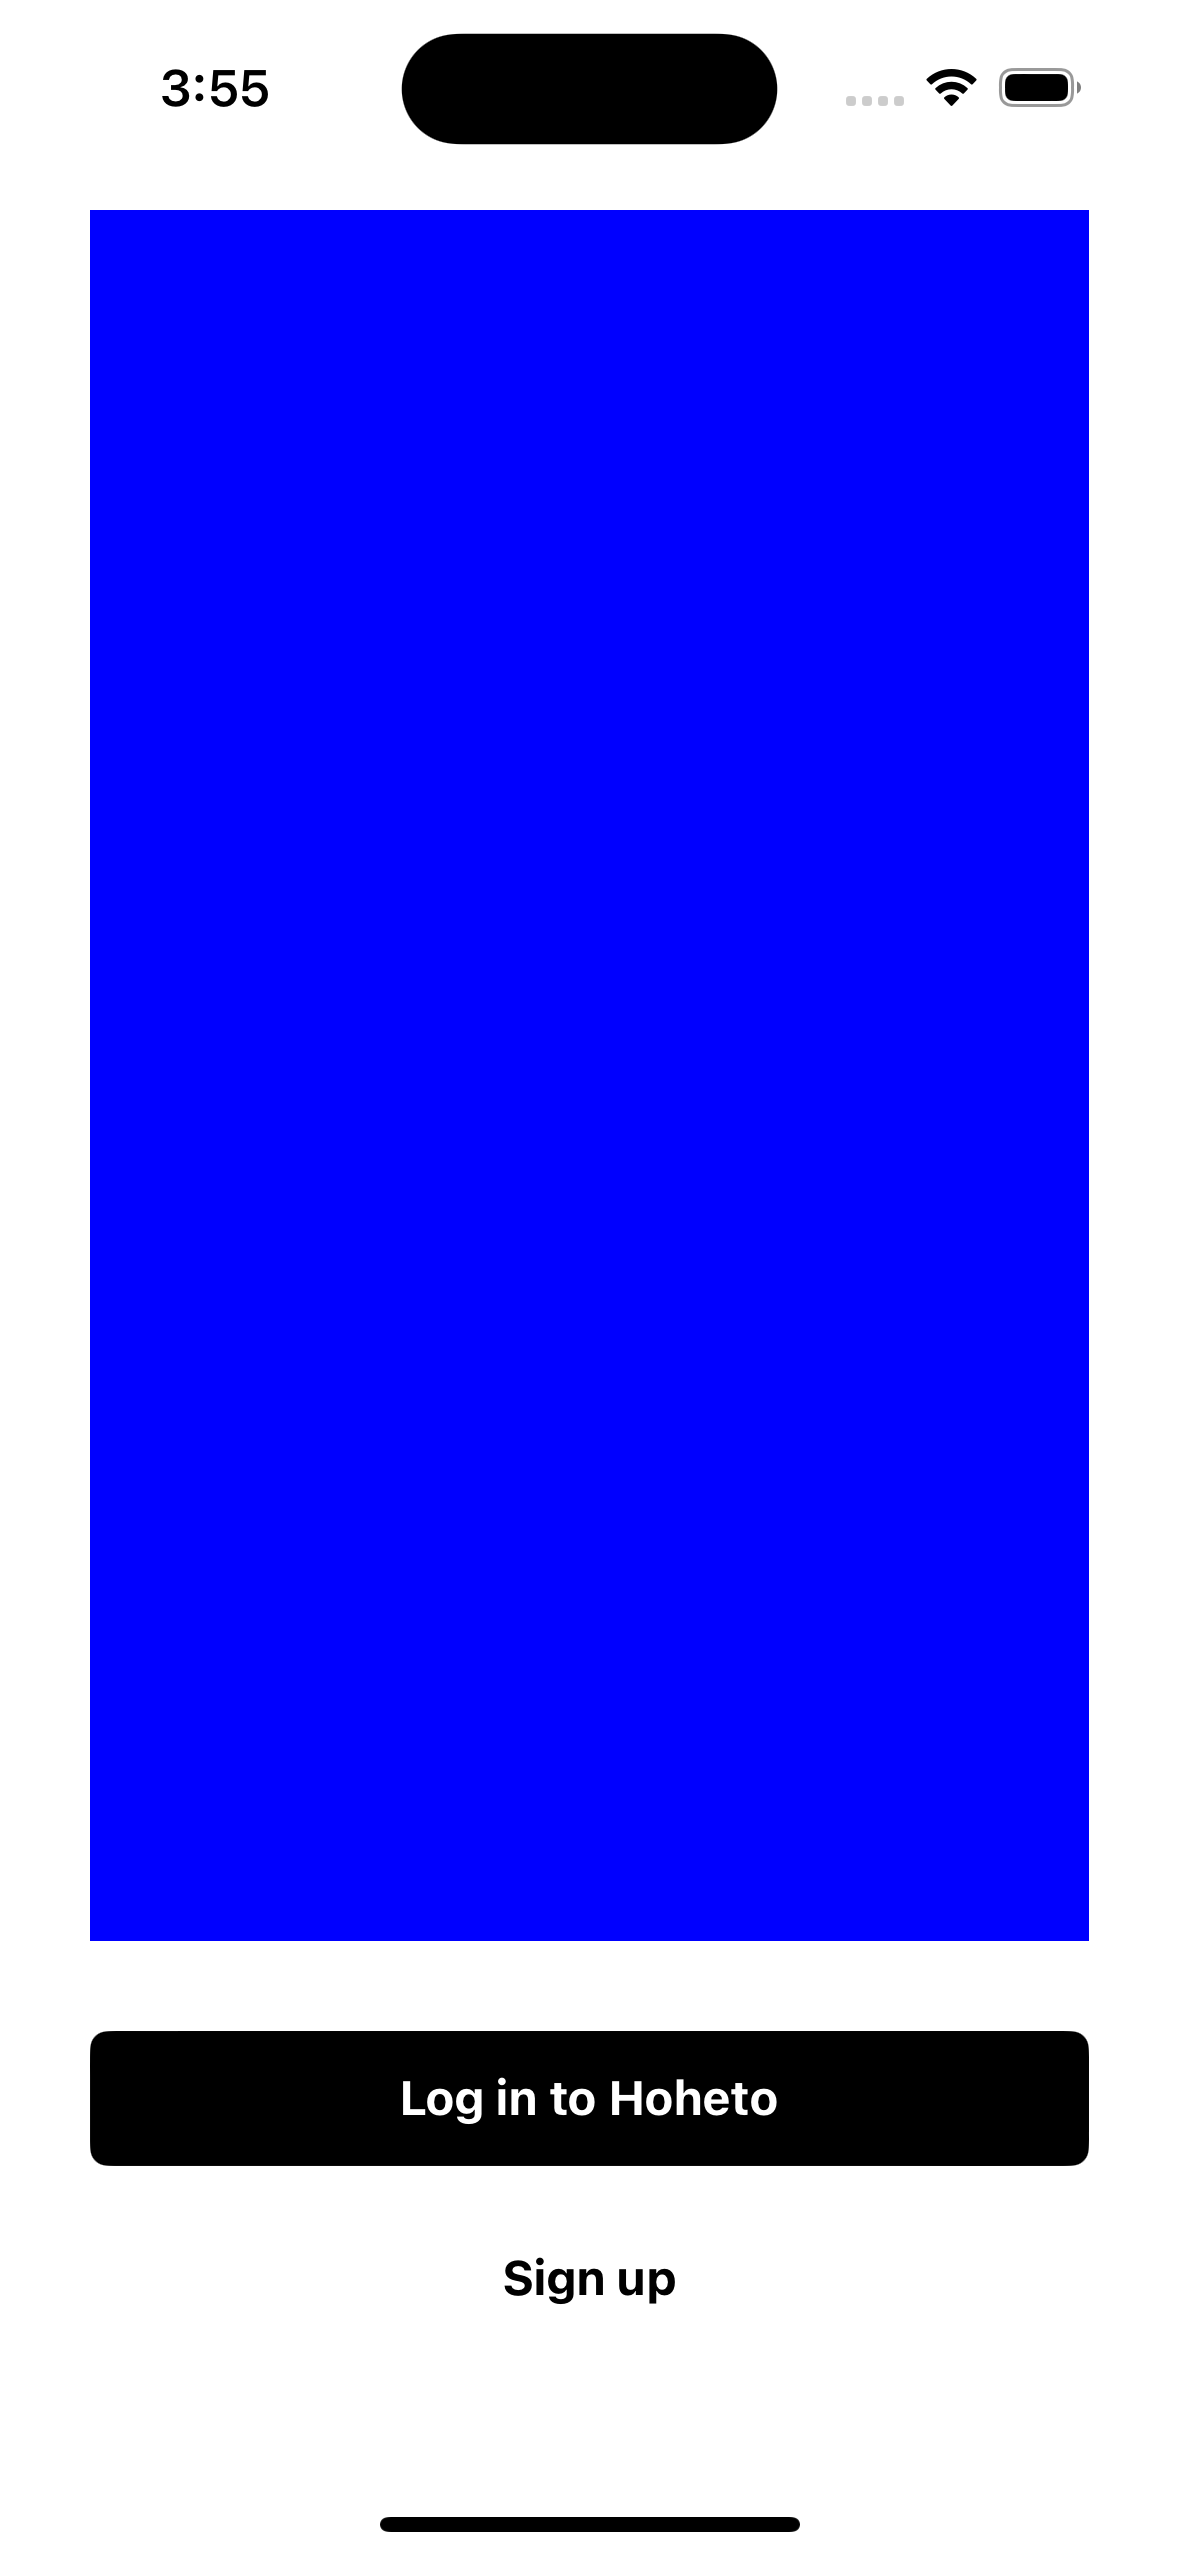
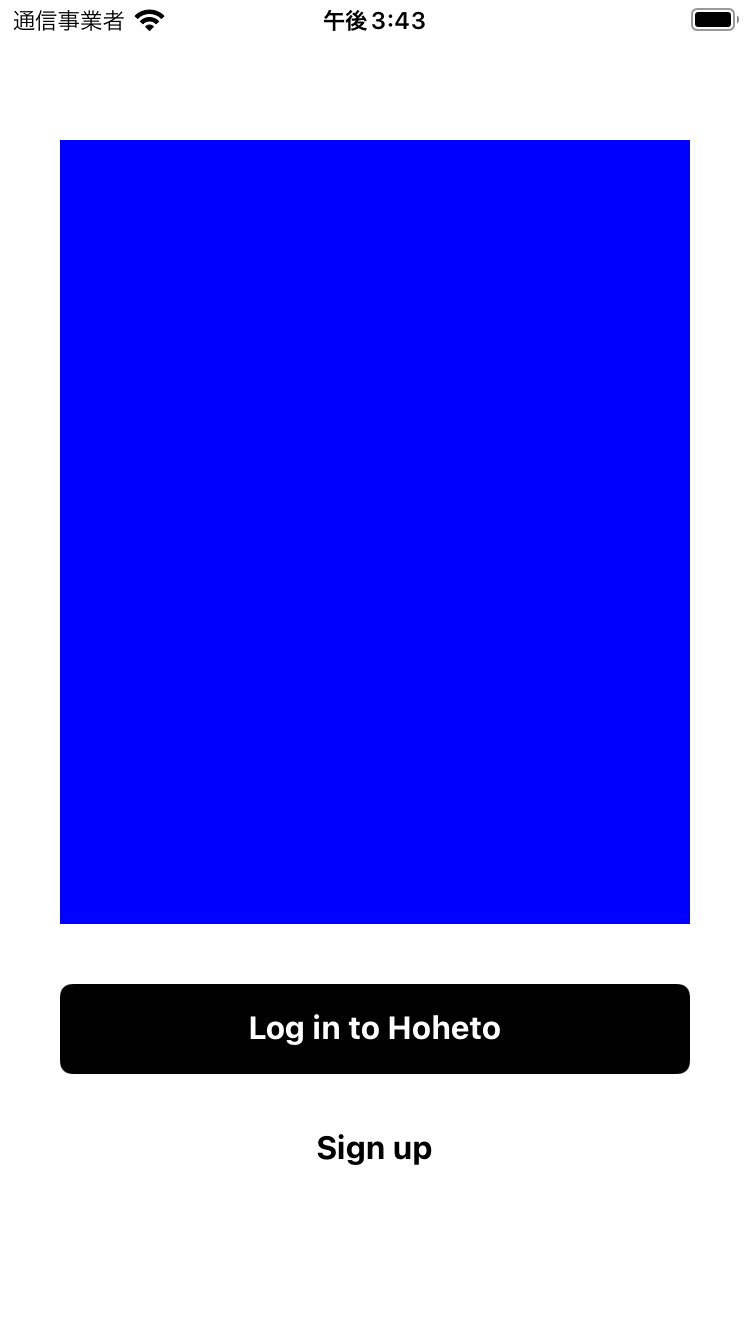
作成したい画面
実装するには?
実装するには下記の知識が必要そうだ。
- ContainerView
- UIPageViewController
- UIPageControl
ContainerViewとは?
ChatGPTに聞いてみた。
Swiftでは、ContainerViewは親ビュー内に他のビューコントローラのコンテンツを埋め込むための便利な方法です。ContainerViewは、親ビューコントローラ内に子ビューコントローラのビューを配置し、子ビューコントローラのライフサイクルを管理します。
Figmaの例で考えると、スライド箇所には別のViewControllerが埋め込まれているということ!
使い方については、下記を参考にする!
UIPageViewControllerとは?
ChatGPTに聞いてみた。
UIPageViewControllerは、スワイプジェスチャーやボタンなどのユーザーアクションに応じて、異なるビューコントローラを表示することができます。これにより、画面をスライドすることで複数のコンテンツページを操作することができます。典型的な使用例は、本のページめくりのようなアプリケーションや、画像ギャラリーなどです。
UIPageViewControllerは、ページ間のトランジションやアニメーションを管理し、表示するビューコントローラのスタックを管理します。さまざまな表示モードをサポートし、横スクロールや縦スクロール、ページめくりのようなアニメーションなどをカスタマイズすることもできます。
UIPageViewControllerは、ページ間のナビゲーションを簡単に実装するための便利なクラスであり、多くのアプリケーションで使用されています。
使い方については、下記を参考にするとわかりやすい!
UIPageControlとは?
ChatGPTに聞いてみた。
UIPageControlは、iOSアプリケーションでページングコンテンツを管理するためのユーザーインターフェース要素です。UIPageControlは、画面の下部などに表示され、現在のページ位置を示すドットまたはインジケーターを表示します。
通常、UIPageControlはUIScrollViewやUIPageViewControllerなどのビューコンテナと組み合わせて使用されます。ユーザーがスクロールすると、UIPageControlのドットも対応するように更新され、現在表示されているページの位置を示します。
UIPageControlは、通常は現在のページとそれ以外のページを区別するために、異なる色やスタイルのドットを使用します。ユーザーはドットをタップすることで、特定のページに直接移動することもできます。
UIPageControlは、ユーザーにコンテンツのスクロール可能性を示し、ページ間のナビゲーションを簡単にするための視覚的な手段として非常に便利です。
使い方については、下記を参考にするとわかりやすい!
UIPageControlは、UIPageViewControllerにてデフォルトで使用できるようになっているため、新規で作成しなくても大丈夫!
実際にコードを書いていく
使い方を知れたところで実際に使って慣らしていく!
実践: Figmaアプリを真似る
1. レイアウトの作成
どの端末でも潰れないようAutoLayoutを設定する。
大事なのは、containerViewをUIViewで定義してあること。このUIViewにPageViewControllerを追加して表示する。
import UIKit

class AuthenticationViewController: UIViewController {
    private let containerView = UIView()
    // 省略
}
2. PageViewControllerに表示するIntroductionViewConotrollerを作成する。
Figmaアプリの仕様は、全てのページでImageとTextが表示されているので、一つのViewControllerを共通して使うように設定する。
import UIKit

class IntroductionViewController: UIViewController {

    private let stackView = UIStackView()
    private let introductionImageView = UIImageView()
    private let introductionLabel = UILabel()


    // MARK: - View Life Cycle
    // ①
    init(introductionImage: UIImage, introductionText: String) {
        introductionImageView.image = introductionImage
        introductionLabel.text = introductionText
        super.init()
    }

    required init?(coder: NSCoder) {
        fatalError("init(coder:) has not been implemented")
    }

    override func viewDidLoad() {
        super.viewDidLoad()

        setUp()
    }
    // 省略

}
①について、初期化時にUIImageとStringをもらうように設定している。これにより、IntroductionViewControllerを複数使い回すことができるようになる。
3. PageViewControllerを作成する。
基本的なPageViewControllerの設定について理解できていれば問題なくできる。
import UIKit

class MainPageViewController: UIPageViewController {

    private var controllers = [UIViewController]()
    // ①
    private let pageData: [(imageName: String, text: String)] = [
        ("page1", "study hard"),
        ("page2", "worry a lot"),
        ("page3", "grow up")
    ]


    // MARK: - View Life Cycle

    override func viewDidLoad() {
        super.viewDidLoad()

        setUp()
    }


    // MARK: - Action

    private func setUp() {
        setUpPageViewController()
    }

    private func setUpPageViewController() {
        // ②
        pageData.forEach {
            let introductionVC = IntroductionViewController(introductionImage: UIImage(named: $0.imageName)!,
                                                            introductionText: $0.text)
            controllers.append(introductionVC)
        }
        setViewControllers([controllers[0]], direction: .forward, animated: true)
        self.dataSource = self
    }

}


// MARK: - UIPageViewControllerDataSource

extension MainPageViewController: UIPageViewControllerDataSource {
    func pageViewController(_ pageViewController: UIPageViewController, viewControllerBefore viewController: UIViewController) -> UIViewController? {
        if let index = controllers.firstIndex(of: viewController),
           index > 0 {
            return controllers[index - 1]
        }
        return nil
    }

    func pageViewController(_ pageViewController: UIPageViewController, viewControllerAfter viewController: UIViewController) -> UIViewController? {
        if let index = controllers.firstIndex(of: viewController),
           index < controllers.count - 1 {
            return controllers[index + 1]
        }
        return nil
    }
}
PageViewControllerの設定については、"UIPageControllerとは?"で確認する。それ以外の箇所について説明を書く。①については、pageViewConotrollerに表示する情報をページ毎に配列で持っている。ここの配列を修正するだけでページの削除と追加が可能になるので楽!②については、配列を順番に回していき、必要な数分IntroductionViewControllerを生成している。
4. ContainerViewにPageViewControllerを表示する。
完成図


基本的なContainerViewの設定について理解できていれば問題なくできる。
import UIKit

class AuthenticationViewController: UIViewController {

    private let containerView = UIView()

    // 省略

    private func setUpMainPageViewController() {
        // ①
        let mainPageVC = MainPageViewController(transitionStyle: .scroll, navigationOrientation: .horizontal)
        addChild(mainPageVC)
        mainPageVC.view.translatesAutoresizingMaskIntoConstraints = false
        containerView.addSubview(mainPageVC.view)
        // ②
        NSLayoutConstraint.activate([
            mainPageVC.view.topAnchor.constraint(equalTo: containerView.topAnchor),
            mainPageVC.view.leadingAnchor.constraint(equalTo: containerView.leadingAnchor),
            mainPageVC.view.trailingAnchor.constraint(equalTo: containerView.trailingAnchor),
            mainPageVC.view.bottomAnchor.constraint(equalTo: containerView.bottomAnchor)
        ])
        mainPageVC.didMove(toParent: self)
    }
}
①については、"ContainerViewとは?"を参考にすれば理解できる。②については、AutoLayoutの設定になるので、下記記事を参考にする。
5. UIPageControlを使用して、ページ数を可視化する。
import UIKit

class MainPageViewController: UIPageViewController {

    private var controllers = [UIViewController]()


    // MARK: - View Life Cycle

    override func viewDidLoad() {
        super.viewDidLoad()

        setUp()
    }


    // MARK: - Action

    private func setUp() {
        setUpPageViewController()
    }

    private func setUpPageViewController() {
        // 省略
        // ①
        self.delegate = self
        // ②
        UIPageControl.appearance().pageIndicatorTintColor = .systemGray6
        UIPageControl.appearance().currentPageIndicatorTintColor = .black
    }

}

// MARK: - UIPageViewControllerDelegate
// ①
extension MainPageViewController: UIPageViewControllerDelegate {
    func presentationCount(for pageViewController: UIPageViewController) -> Int {
        return controllers.count
    }

    func presentationIndex(for pageViewController: UIPageViewController) -> Int {
        return 0
    }
}
①について、Indicatorを表示するために必要な処理。presentationCuntメソッドで総数を返す。presentationIndexで最初に表示するViewControllerのIndexを返す。ここでの処理を忘れると表示されないので注意する。Indicatorを表示する処理については、"現在のページ位置の表示"に詳しく載っているので、読んでおくと良い!例えばボタンをタップした場合でもスクロールをさせたいとなると追加して処理を書く必要も出てくるので‥。
②について、マルポチの背景色と、選択された場合の色を指定している。UIPageControl.appearance()に対して設定をすると、全てのUIPageControlに対して設定が適用されるので注意する。色の変更処理に関しては、"ページインジケータの色を変える"に詳しく載っているので、読んでおくと良い!
終わりに
ここまでご覧いただきありがとうございました!
また、優れた知識と経験を共有してくださる皆様に感謝です!本当にありがとうございました!


