以下、Hyper-V でセキュアな Claude Desktop x MCP 環境を作るための手順。
HyperV で Windows11
クイック作成だと Enterprise Eval になる。お手軽だが、90日間しか使えない。恒久的に使いたい場合は、Proを入れる(プロダクトキー必要)。
Windows11 Enterprise Eval
Windows11 Pro
関連ソフトのインストール
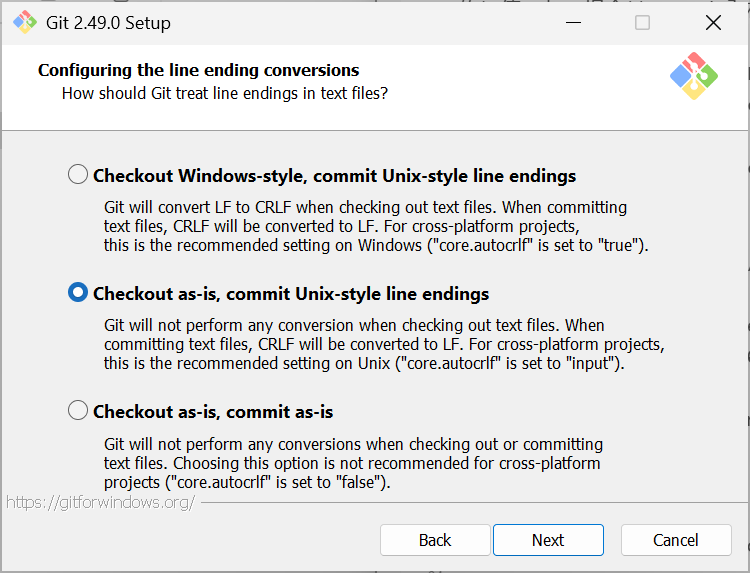
Git for windows

インストール時は以下を変更


インストール後は、name, email を設定
git config --global user.name 'TaroYamada'
git config --global user.email 'taro.yamada@gmail.com'
ページャーを無効化
git config --global core.pager ""
FFmpeg(必須でない)
以下から、ダウンロードし解凍
https://ffmpeg.org/download.html
https://github.com/BtbN/FFmpeg-Builds/releases

Cドライブ直下に解凍したものを配置

最後にシステムの環境変数を変更する
Pathに以下をを追加
C:\ffmpeg\bin

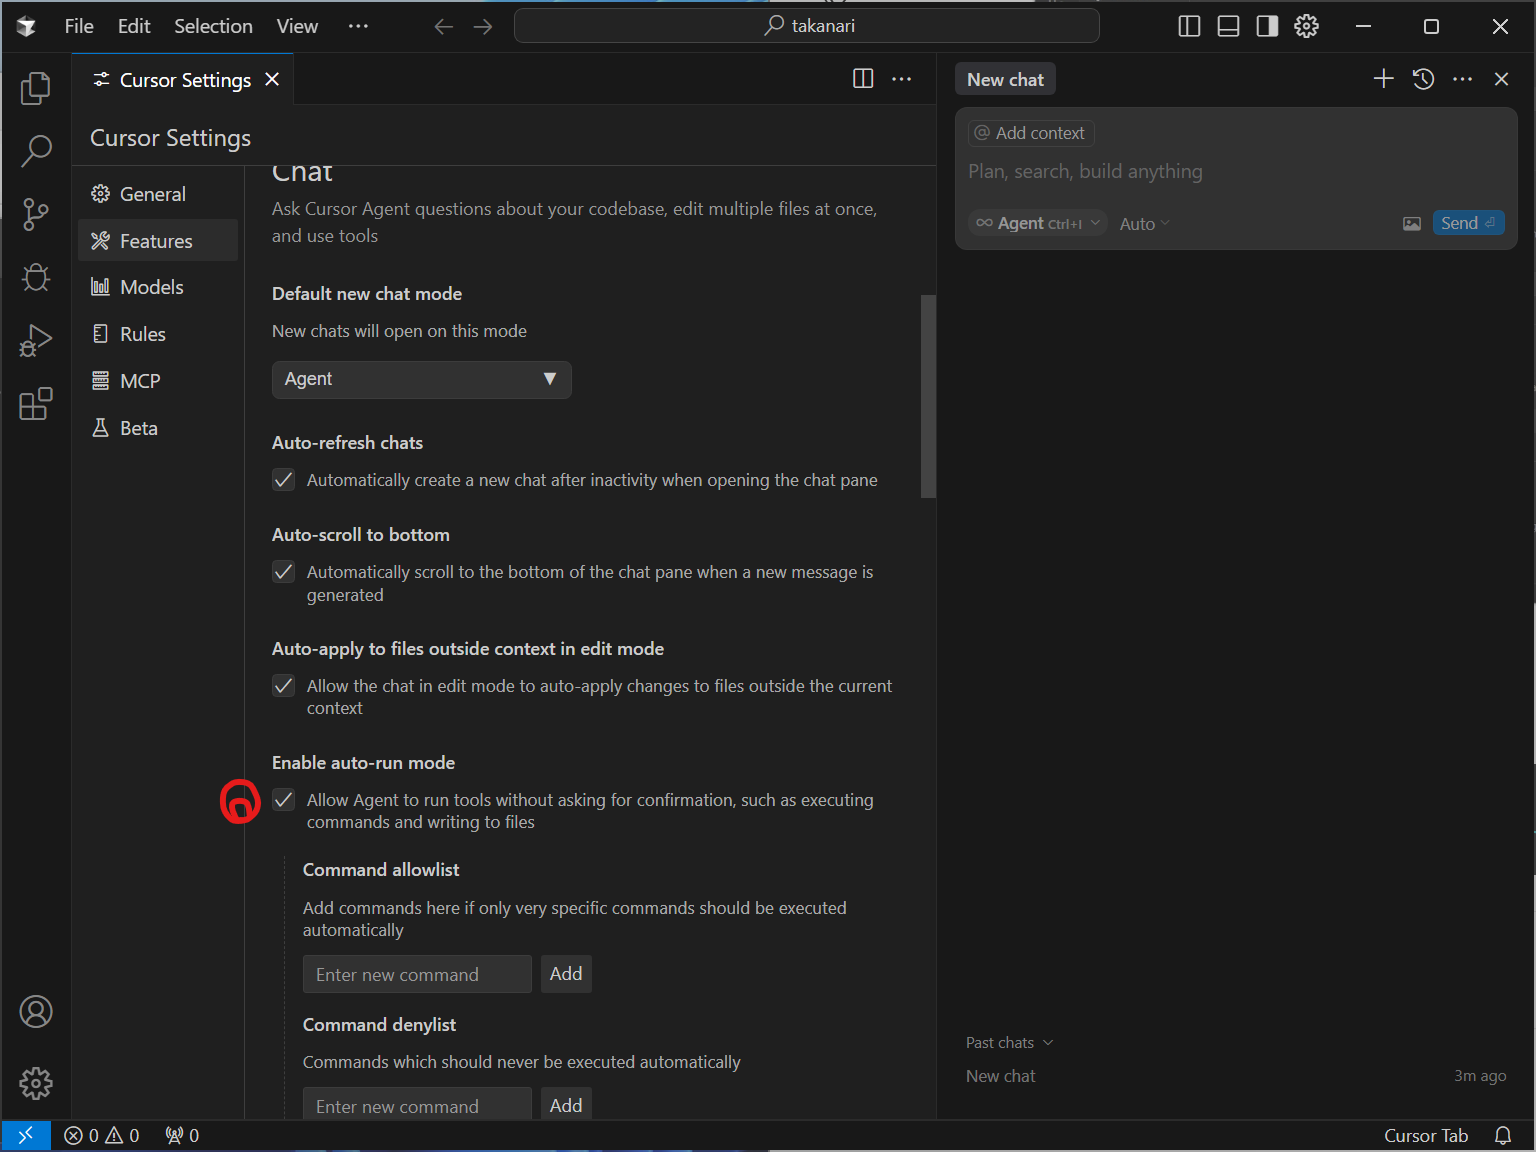
Cursor
以下からダウンロード


メニューを横から縦に 「Ctrl+Shift+P → Open VSCode Setting → orientation → vertical」

日本語化

必要があればAPIを登録

YOLOをON
uv
uv のインストール
powershell -ExecutionPolicy ByPass -c "irm https://astral.sh/uv/install.ps1 | iex"
Volta
volta のインストール
winget install Volta.Volta
node、pnpm のインストール
volta install node
volta install pnpm
Docker Desktop
以下、ホストで実行
Set-VMProcessor -VMName "VM Name" -ExposeVirtualizationExtensions $true
以下、VMで実行
仮想マシン プラットフォームを有効化
dism.exe /online /enable-feature /featurename:VirtualMachinePlatform /all /norestart
必要に応じて Hyper-V 関連を有効化
dism.exe /online /enable-feature /featurename:HypervisorPlatform /all /norestart
Windows Subsystem for Linux(WSL) 機能を有効化(未有効の場合)
dism.exe /online /enable-feature /featurename:Microsoft-Windows-Subsystem-Linux /all /norestart
再起動
Restart-Computer
wsl のアップデート
wsl.exe --update
VS Runtime 2015-2022
以下からダウンロードし、インストール
MCP Servers の初期設定
Playwright
C:/Users/username/mcp_projects ディレクトリを作成し、そこでターミナルを開く
git clone https://github.com/TakanariShimbo/playwright-mcp.git
cd playwright-mcp
npm install
npm run build
Markdownify
C:/Users/username/mcp_projects ディレクトリを作成し、そこでターミナルを開く
git clone https://github.com/TakanariShimbo/markdownify-mcp.git
cd markdownify-mcp
pnpm install --ignore-scripts
uv sync
pnpm build
Win-CLI
C:/Users/username/mcp_projects/win-cli-mcp で config.json を作成。
{
  "security": {
    "maxCommandLength": 2000,
    "blockedCommands": [
      "rm",
      "del",
      "rmdir",
      "format",
      "shutdown",
      "restart",
      "reg",
      "regedit",
      "net",
      "netsh",
      "takeown",
      "icacls"
    ],
    "blockedArguments": [
      "--exec",
      "-e",
      "/c",
      "-enc",
      "-encodedcommand",
      "-command",
      "--interactive",
      "-i",
      "--login",
      "--system"
    ],
    "allowedPaths": ["C:/Users/username"],
    "restrictWorkingDirectory": true,
    "logCommands": true,
    "maxHistorySize": 1000,
    "commandTimeout": 30,
    "enableInjectionProtection": true
  },
  "shells": {
    "powershell": {
      "enabled": true,
      "command": "powershell.exe",
      "args": ["-NoProfile", "-NonInteractive", "-Command"],
      "blockedOperators": ["&", "|", ";", "`"]
    },
    "cmd": {
      "enabled": true,
      "command": "cmd.exe",
      "args": ["/c"],
      "blockedOperators": ["&", "|", ";", "`"]
    },
    "gitbash": {
      "enabled": true,
      "command": "C:/Program Files/Git/bin/bash.exe",
      "args": ["-c"],
      "blockedOperators": ["&", "|", ";", "`"]
    }
  },
  "ssh": {
    "enabled": false,
    "defaultTimeout": 30,
    "maxConcurrentSessions": 5,
    "keepaliveInterval": 10000,
    "keepaliveCountMax": 3,
    "readyTimeout": 20000,
    "connections": {}
  }
}
Cluade Desktop
インストール
開発者モードを有効にするを選択します。

ツール使用の自動認証設定
Claude Desktop で Ctrl + Shift + Alt + I を押し、DevToolsを開き、Sources -> Snippets から、以下を追加する。
// Cooldown tracking
let lastClickTime = 0;
const COOLDOWN_MS = 1000; // 1 second cooldown

const observer = new MutationObserver((mutations) => {
    // Check if we're still in cooldown
    const now = Date.now();
    if (now - lastClickTime < COOLDOWN_MS) {
        console.log('🕒 Still in cooldown period, skipping...');
        return;
    }

    console.log('🔍 Checking mutations...');

    const dialog = document.querySelector('[role="dialog"]');
    if (!dialog) return;

    const buttonWithDiv = dialog.querySelector('button div');
    if (!buttonWithDiv) return;

    const toolText = buttonWithDiv.textContent;
    if (!toolText) return;

    console.log('📝 Found tool request:', toolText);

    const allowButton = Array.from(dialog.querySelectorAll('button'))
        .find(button => button.textContent.includes('チャット'));

    if (allowButton) {
        lastClickTime = now; // Set cooldown
        allowButton.click();
    }
});

// Start observing
console.log('👀 Starting observer for all tools');
observer.observe(document.body, {
    childList: true,
    subtree: true
});
※ チャットの部分は言語に合わせて設定する。
設定後は右クリックからRunを選択すると有効化される。

以下を参考にした。
コンフィグファイル設定
Claude Desktop が MCP Serer をハンドリングできるように設定ファイルを変更します。


Claude Desktopの設定ファイル(例: claude_desktop_config.json)に以下を追記します。
{
  "mcpServers": {
    "filesystem": {
      "command": "npx",
      "args": [
        "-y",
        "@modelcontextprotocol/server-filesystem",
        "C:/Users/username"
      ]
    },
    "playwright": {
      "command": "node",
      "args": [
        "C:/Users/username/mcp_projects/playwright-mcp/cli.js"
      ]
    },
    "windows-cli": {
      "command": "npx",
      "args": [
        "-y",
        "@simonb97/server-win-cli",
        "C:/Users/username/mcp_projects/win-cli-mcp/config.json"
      ]
    },
    "markdownify": {
      "command": "node",
      "args": [
        "C:/Users/username/mcp_projects/markdownify-mcp/dist/index.js"
      ],
      "env": {
        "UV_PATH": "C:/Users/username/.local/bin/uv.exe"
      }
    },
    "youtube-transcript": {
      "command": "npx",
      "args": [
        "-y",
        "@kimtaeyoon83/mcp-server-youtube-transcript"
      ]
    }
  }
}