以前、
で Flutter によるモバイルアプリから Supabase を使ってみましたが、今回は SolidJS から Supabase の行レベルセキュリティ(Row Level Security) を試してみました。
2022/12/6 追記:
GitHub リポジトリ側を supabase-js v2 にバージョンアップした関係で、リンク先のソースコードとは行番号や内容が噛み合わなくなっています。
(後日、この記事を supabase-js v2 に合わせて修正する予定)
※前編にあたる記事はこちらです。
2022/6/1 追記:
続き(補足)を書きました。
試したバージョン
- SolidJS : 1.4.3
- SUID : 0.4.1
- supabase-js : 1.35.3
内容
Supabase のドキュメント、
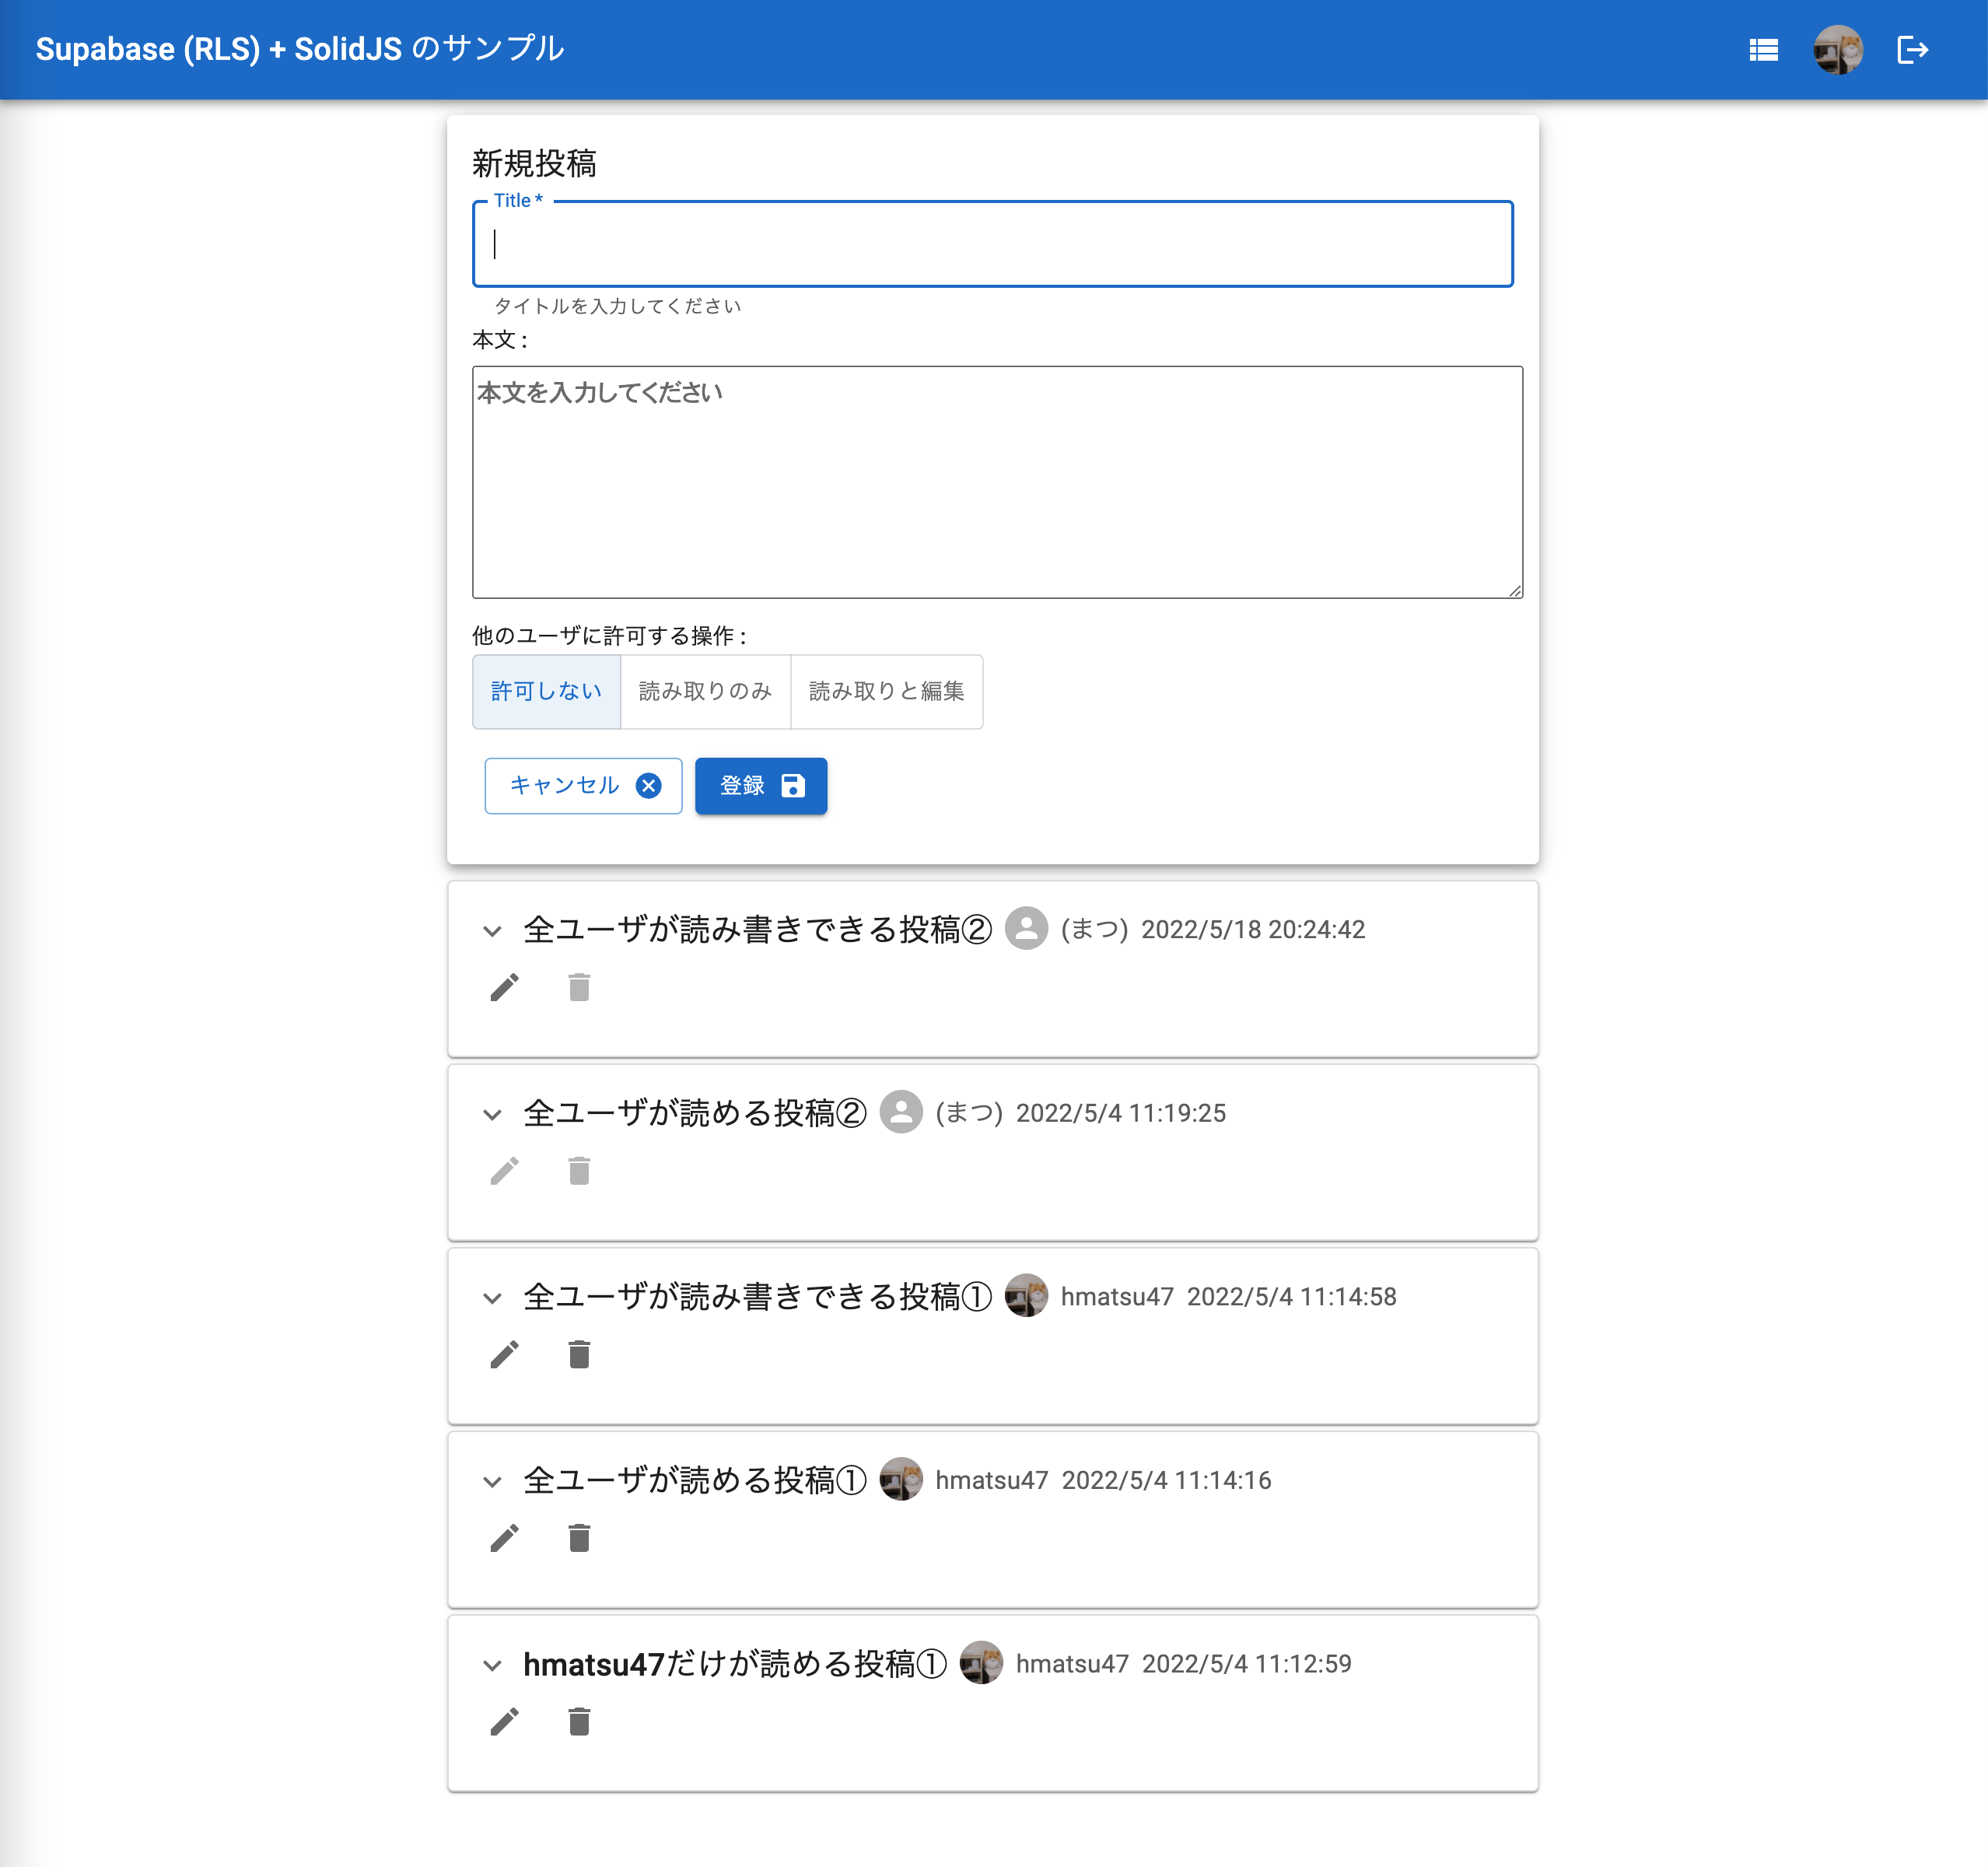
を SUID で Material-UI 化しつつ、カード表示による簡易投稿機能を実装し、
- 1 : ログインユーザ本人のみ登録・表示・編集・削除が可能
- 2 : ログインユーザ以外も表示が可能
- 3 : ログインユーザ以外も表示・編集が可能
の切り替えを Row Level Security で実現するものです。
コード全体はこちらのリポジトリに置いてあります。
※リポジトリのタイトルにあるとおり、2022/5/31 開催予定の 第 33 回 PostgreSQL アンカンファレンス@オンライン 向けに用意したサンプルです。デモの都合で GitHub ログイン機能も追加実装しています。
準備
前掲リポジトリの README.md に書いた内容と重複しますが、基本的には以下のとおりです。
- Quickstart: SolidJS に記載の流れで準備を進める
- ただし、以下の点についてはリポジトリの内容で置き換える
- アプリケーションの初期化(
npx degitするときに TypeScript 向けの指定を行う) - DB のテーブル定義
- アプリケーションコード
-
SolidJS ではデフォルトで Vite を使う関係上、手順どおり進めた場合supabaseClient.tsxでprocess.env.XXXを使っても.envファイルの内容は読めないのでimport.meta.env.XXXに変更する(Vue 3 と同じ)-
Issue #6807 を立てて様子を見ているところ→修正されました
-
-
- アプリケーションの初期化(
Supabase で新規プロジェクトを作成
-
Project set up
- API Key・URL を確認しておく(後で
.envファイルに記述)
- API Key・URL を確認しておく(後で
アプリケーション初期化
npx degit solidjs/templates/ts pgunconf-sample-app
cd pgunconf-sample-app
npm i
npm install @supabase/supabase-js
npm install @suid/material
npm install @suid/icons-material
npm install @suid/types
(@suid/typesは不要だが念のため)
.envファイルをpgunconf-sample-app直下に作成
VITE_SUPABASE_URL=【Supabase の Settings → API に表示されている Configuration の URL】
VITE_SUPABASE_ANON_KEY=【同ページ Project API keys の anon・public キー】
Supabase の SQL Editor でテーブル・ストレージなどの定義を流し込む
流し込む内容はこちらを参照してください。
ログイン用に外部のプロバイダ設定を行う(必要であれば)
Quickstart ではメールで送信した Magic Link をクリックするログイン方法を使っていますが、GitHub や Twitter など外部の認証プロバイダを利用したログインも可能です。併用もできます(各アカウントはメールアドレスをキーに「名寄せ」されます)。
- Login with GitHub (英語)
- GitHubでログイン (日本語訳)
※なお、GitHub ではアプリケーションの URL として http://localhost:3000 が登録可能ですが、Twitter などでは入力チェックでエラーになります。
アプリケーションコードを実行
コードは前掲リポジトリを参照してください。
npm run dev
解説
Supabase はデータベースとして(というよりプラットフォームとして)PostgreSQL を使用していますので、Row Level Security も PostgreSQL の機能で実現しています。
- 行単位セキュリティ (日本語訳)
※これ以降、リンクは主に日本語訳を示します。
データベース側
テーブル定義
profiles テーブル(ユーザのプロフィール情報を保管)
db-create.sql(1 行目〜)
create table profiles (
  id uuid references auth.users not null,
  updated_at timestamp with time zone,
  username text unique,
  avatar_url text,
  website text,

  primary key (id),
  unique(username),
  constraint username_length check (char_length(username) >= 3)
);
auth.usersが認証ユーザのテーブルです。id列で外部キー制約を付けています。
articles テーブル(投稿情報を保管)
db-create.sql(47 行目〜)
create table articles (
  id bigint generated by default as identity,
  updated_at timestamp with time zone,
  title text not null,
  note text,
  note_type int not null default 1,
  userid uuid not null,

  primary key (id),
  constraint title_length check (char_length(title) > 0)
);
(中略)
alter table articles add foreign key (userid) references profiles;
アプリケーションコードでクエリビルダを使う際にデータ行を結合してSELECTするために、userid列で外部キー制約を付けています。
認証
Magic Link のクリックや SNS など外部のプロバイダによる認証を経由することで、Supabase のデータベース(PostgreSQL)では以下のヘルパー関数でユーザ判別が可能になります。
auth.uid()
リクエストを行ったユーザーのIDを返します。auth.role()
リクエストを行ったユーザーのロールを返します。ほとんどの場合、これはauthenticated(認証済み)またはanon(匿名)のいずれかです。auth.email()
リクエストを行ったユーザーのメール・アドレスを返します。
Row Level Security による認可
enable row level securityによって対象テーブルの Row Level Security を有効にし、create policyで各操作の実行条件を指定するイメージです。
profiles テーブル
db-create.sql(13 行目〜)
alter table profiles enable row level security;

create policy "Public profiles are viewable by everyone."
  on profiles for select
  using ( true );

create policy "Users can insert their own profile."
  on profiles for insert
  with check ( auth.uid() = id );

create policy "Users can update their own profile."
  on profiles for update
  using ( auth.uid() = id );
- 参照(
SELECT)は制限なし(誰でも読める) - 挿入(
INSERT)時に実行ユーザと挿入する主キー列(id)の一致をチェック - 更新(
UPDATE)時に実行ユーザと更新対象行の主キー列(id)の一致をチェック
articles テーブル
db-create.sql(59 行目〜)
alter table articles enable row level security;

create policy "Users can view their own articles or disclosed articles."
  on articles for select
  using ( ( auth.uid() = articles.userid ) or ( note_type between 2 and 3 ) );

create policy "Users can insert their own articles."
  on articles for insert
  with check ( auth.uid() = articles.userid );

create policy "Users can update their own articles or free-updatable articles."
  on articles for update
  using ( ( auth.uid() = articles.userid ) or ( note_type = 3 ) );

create policy "Users can delete their own articles."
  on articles for delete
  using ( ( auth.uid() = articles.userid ) );
- 参照(
SELECT)時に以下をOR条件でチェック- 実行ユーザと投稿者列(
userid)の一致 - 投稿の「他のユーザに許可する操作」が「
2:読み取りのみ」か「3:読み取りと編集」
- 実行ユーザと投稿者列(
- 挿入(
INSERT)時に実行ユーザと挿入する投稿者列(userid)の一致をチェック - 更新(
UPDATE)時に以下をOR条件でチェック - 削除(
DELETE)時に実行ユーザと削除対象行の投稿者列(userid)の一致をチェック
アプリケーション側
接続クライアント生成
supabase-js のcreateClient()で生成します。
import { createClient } from '@supabase/supabase-js';

const supabaseUrl = import.meta.env.VITE_SUPABASE_URL;
const supabaseAnonKey = import.meta.env.VITE_SUPABASE_ANON_KEY;

export const supabase = createClient(supabaseUrl!, supabaseAnonKey!);
認証
マジックリンク送信
接続クライアントを使ってsupabase.auth.signIn({ email: 【メールアドレス】 })すると Magic Link 付きのメールを送信します。

- Auth.tsx(32 行目〜)
const { error } = await supabase.auth.signIn({ email: email() });
外部プロバイダによる認証
接続クライアントを使ってsupabase.auth.signIn({ email: 【メールアドレス】 })すると Magic Link 付きのメールを送信します。
- Auth.tsx(54 行目〜)
const { error } = await supabase.auth.signIn({ provider: provider });
GitHub を使う場合、providerとしてgithub(文字列)を渡します。
認証後
接続クライアントのsupabase.auth.onAuthStateChange()によってセッションを取得し、Signal(React のStateに相当)にセットします。
- App.tsx(27 行目〜)
createEffect(() => {
  setSession(supabase.auth.session());
(1行省略)
  // 認証状態が変化したら Session を更新
  supabase.auth.onAuthStateChange((_event, session) => {
    setSession(session);
(1行省略)
  })
})
認可
こちらが参照(select())のリファレンスです。左側メニューから更新・削除なども見ることができます。
以降、参照と挿入(insert())・更新(update())のみピックアップして例示します。
参照(select())
特にコードで制限をかけなくても、Row Level Security で許可されたテーブル・行だけ取得できます。
- List.tsx(39 行目〜)
const { data, error, status } = await supabase
  .from("articles")
  .select(
    `
    id,
    updated_at,
    title,
    note,
    note_type,
    userid,
    profiles (
      username,
      avatar_url
    )
  `
  )
  .order("updated_at", { ascending: false });
例えば、こんな感じのユーザがいて、

こんな感じの投稿データが登録されている場合に、

「hmatsu47」さんがログインした画面を見ると、id列が18の行 以外 が表示されています。

挿入(insert())・更新(update())
- EditItem.tsx(116 行目〜)
const { data, error } = await (isInsert
  ? supabase.from("articles").insert(updates)
  : supabase
      .from("articles")
      .update(updates)
      .match({ id: props.article!.id }));
※ここではinsert()・update()を使っていますが、挿入時の主キー列を明示的に指定できる場合はupsert()も使えます(プロフィールの更新ではupsert()を使っています)。
例えば先ほどの例で、
-
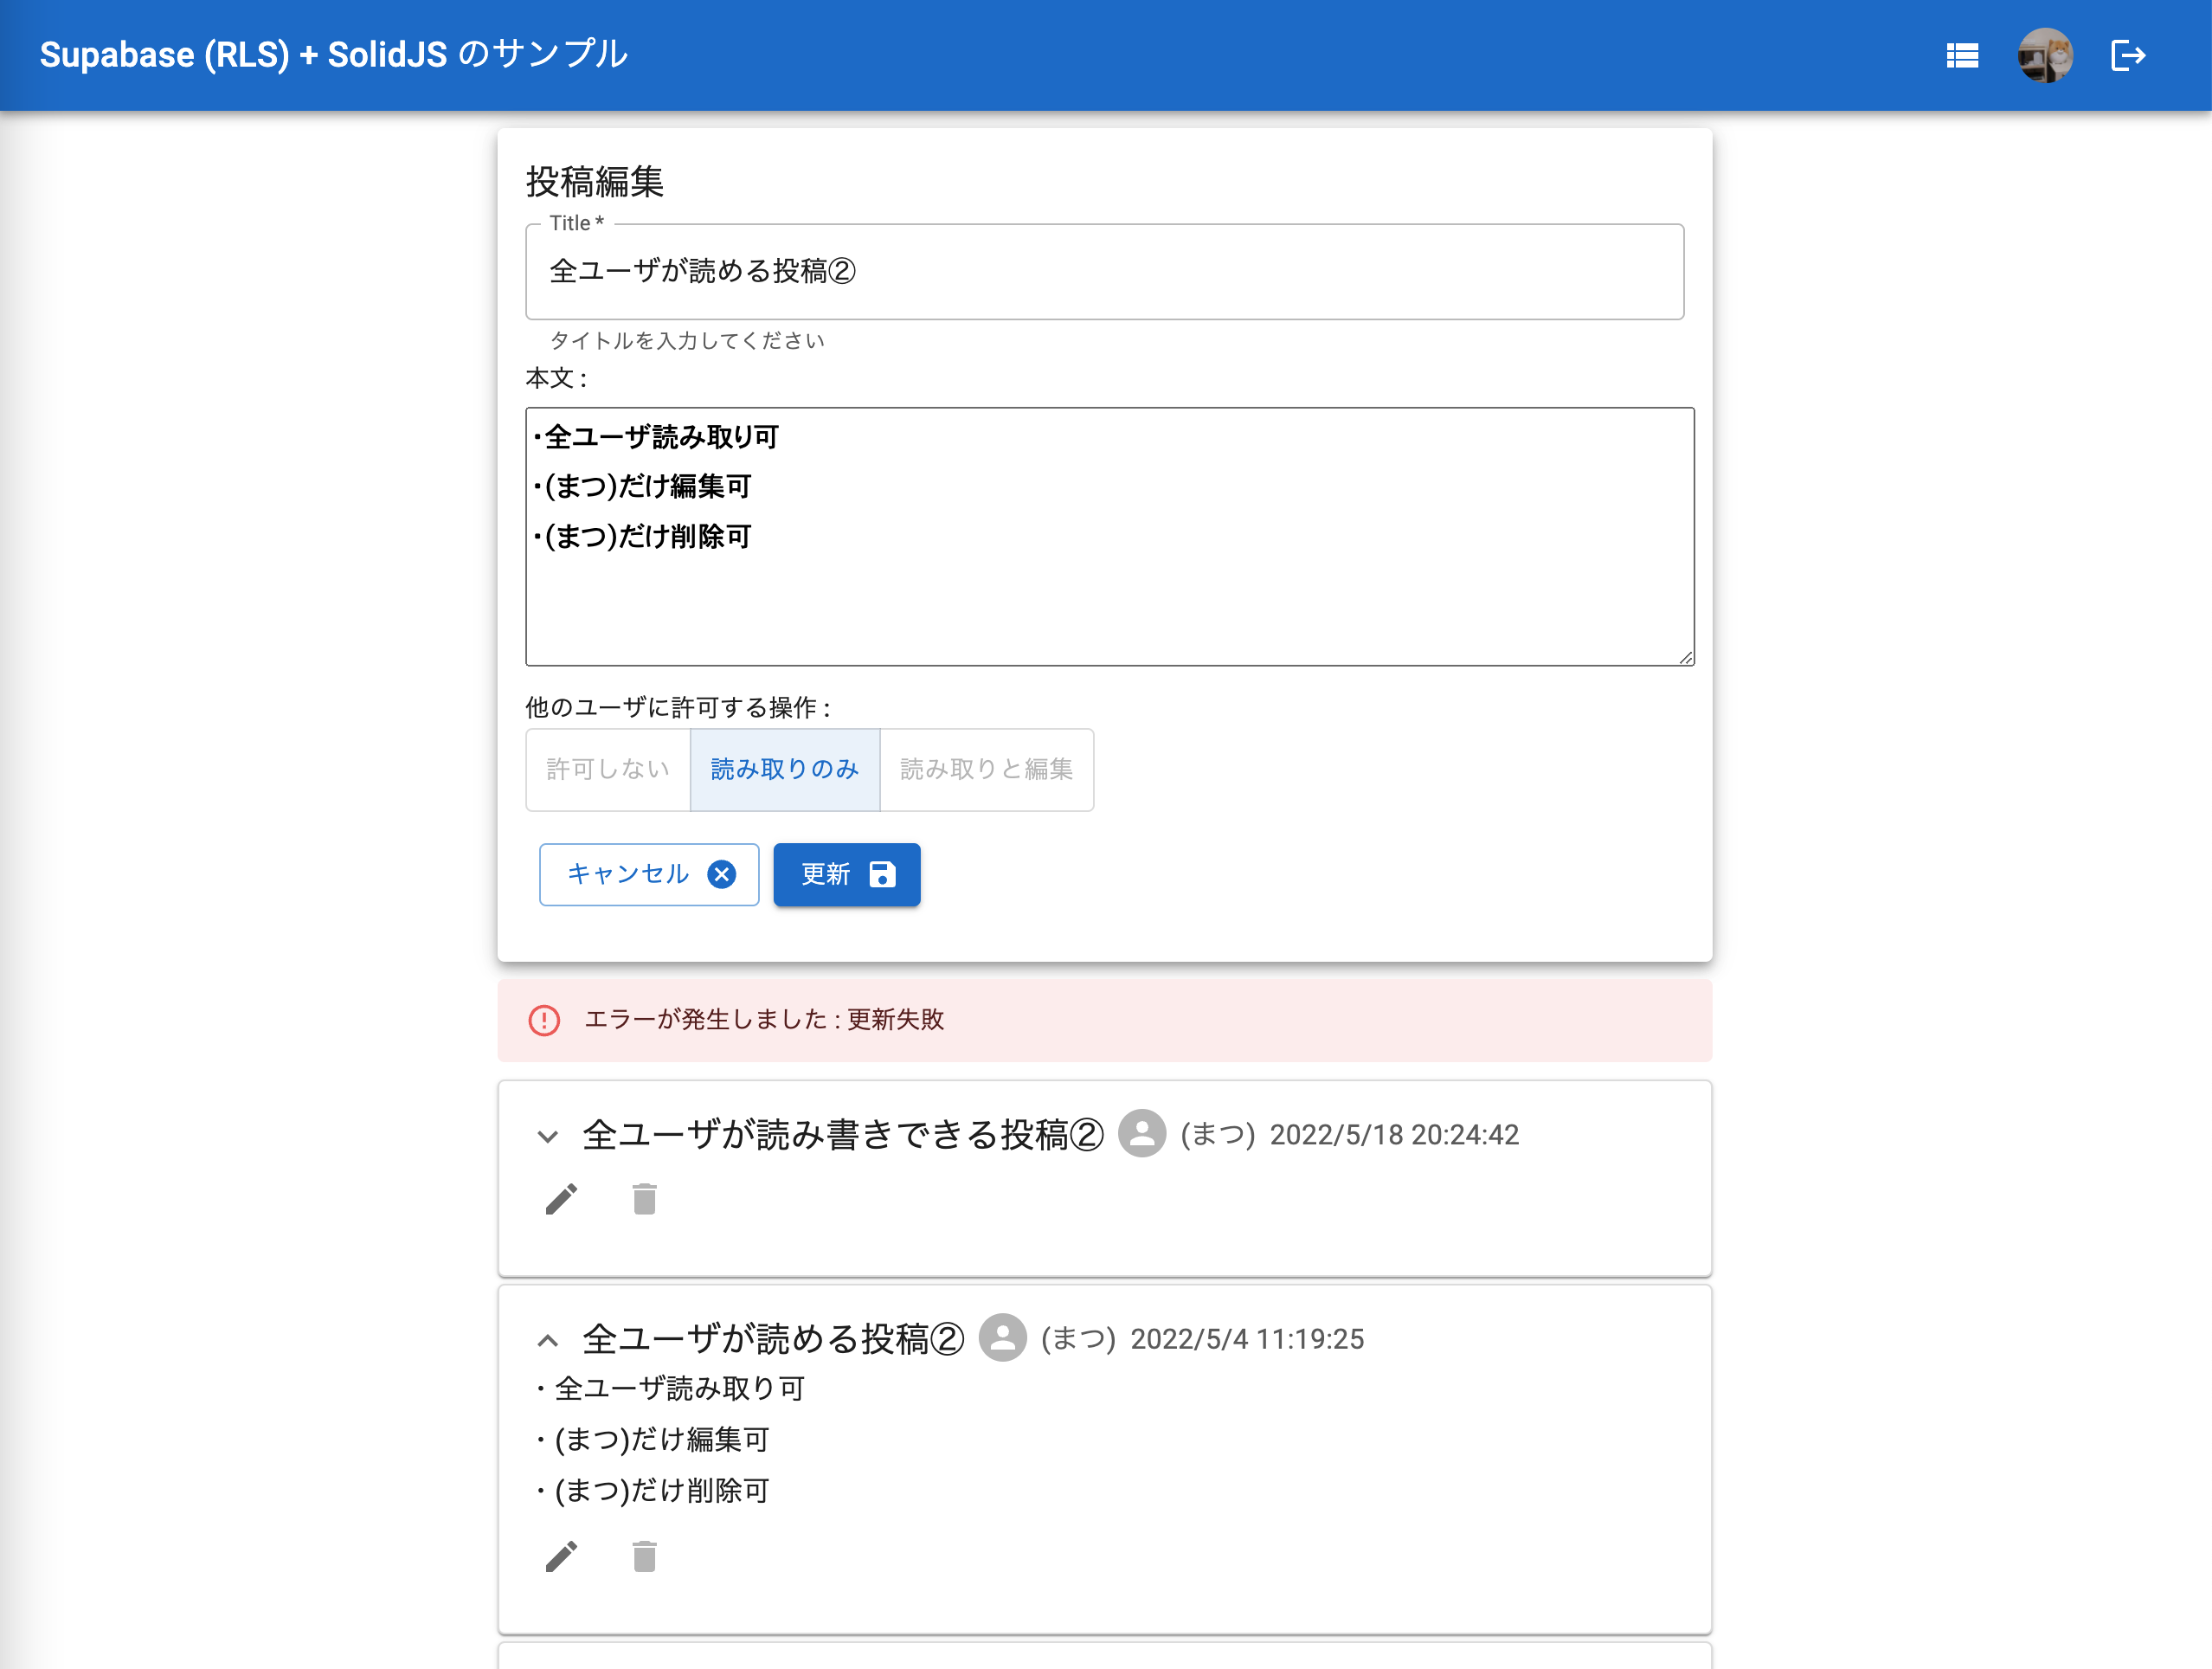
ViewItem.tsxの 98 〜 101 行目をコメントアウトするか、ブラウザの開発者ツールで編集アイコン(ペン)のdisabledを外して編集アイコンをクリックできるようにした上で、 -
idが19の行(画面では上から 2 つ目)を「hmatsu47」さんが編集して、 - 「更新」ボタンを押す
と、Row Level Security で指定したチェックに引っかかるため、エラーが出て投稿は更新されません。

その他
ここで例示した以外にも高度なポリシーが設定できるので、必要に応じて試してみると良いでしょう。