はじめに
この記事は SLP KBIT Advent Calendar 2020 の3日目(12月3日)の記事です。
作るもの

(GIFに変換したときにだいぶ暗くなってしまいました...実物はもっと彩度高いです。)
100均で虹色鉛筆を発見、作れないかな~?と思い、題材にさせていただきました。
processingの導入
processing公式サイト
上のリンクから公式サイトに飛びDownloadからお使いのOSのものをダウンロードしてください。
https://qiita.com/greatnekochan/items/010237ab3313757d0b0b
大変丁寧に教えてくれているためおススメです。
作成する
まずは線を描く
公式サイト ExamplesからDrawingのContinuous Line
void setup() {
  size(640, 360);
  background(102);
}

void draw() {
  stroke(255);
  if (mousePressed == true) {
    line(mouseX, mouseY, pmouseX, pmouseY);
  }
}
これでマウスを押しながらドラッグしたとき線が描けます。
色を付ける
アプローチその1
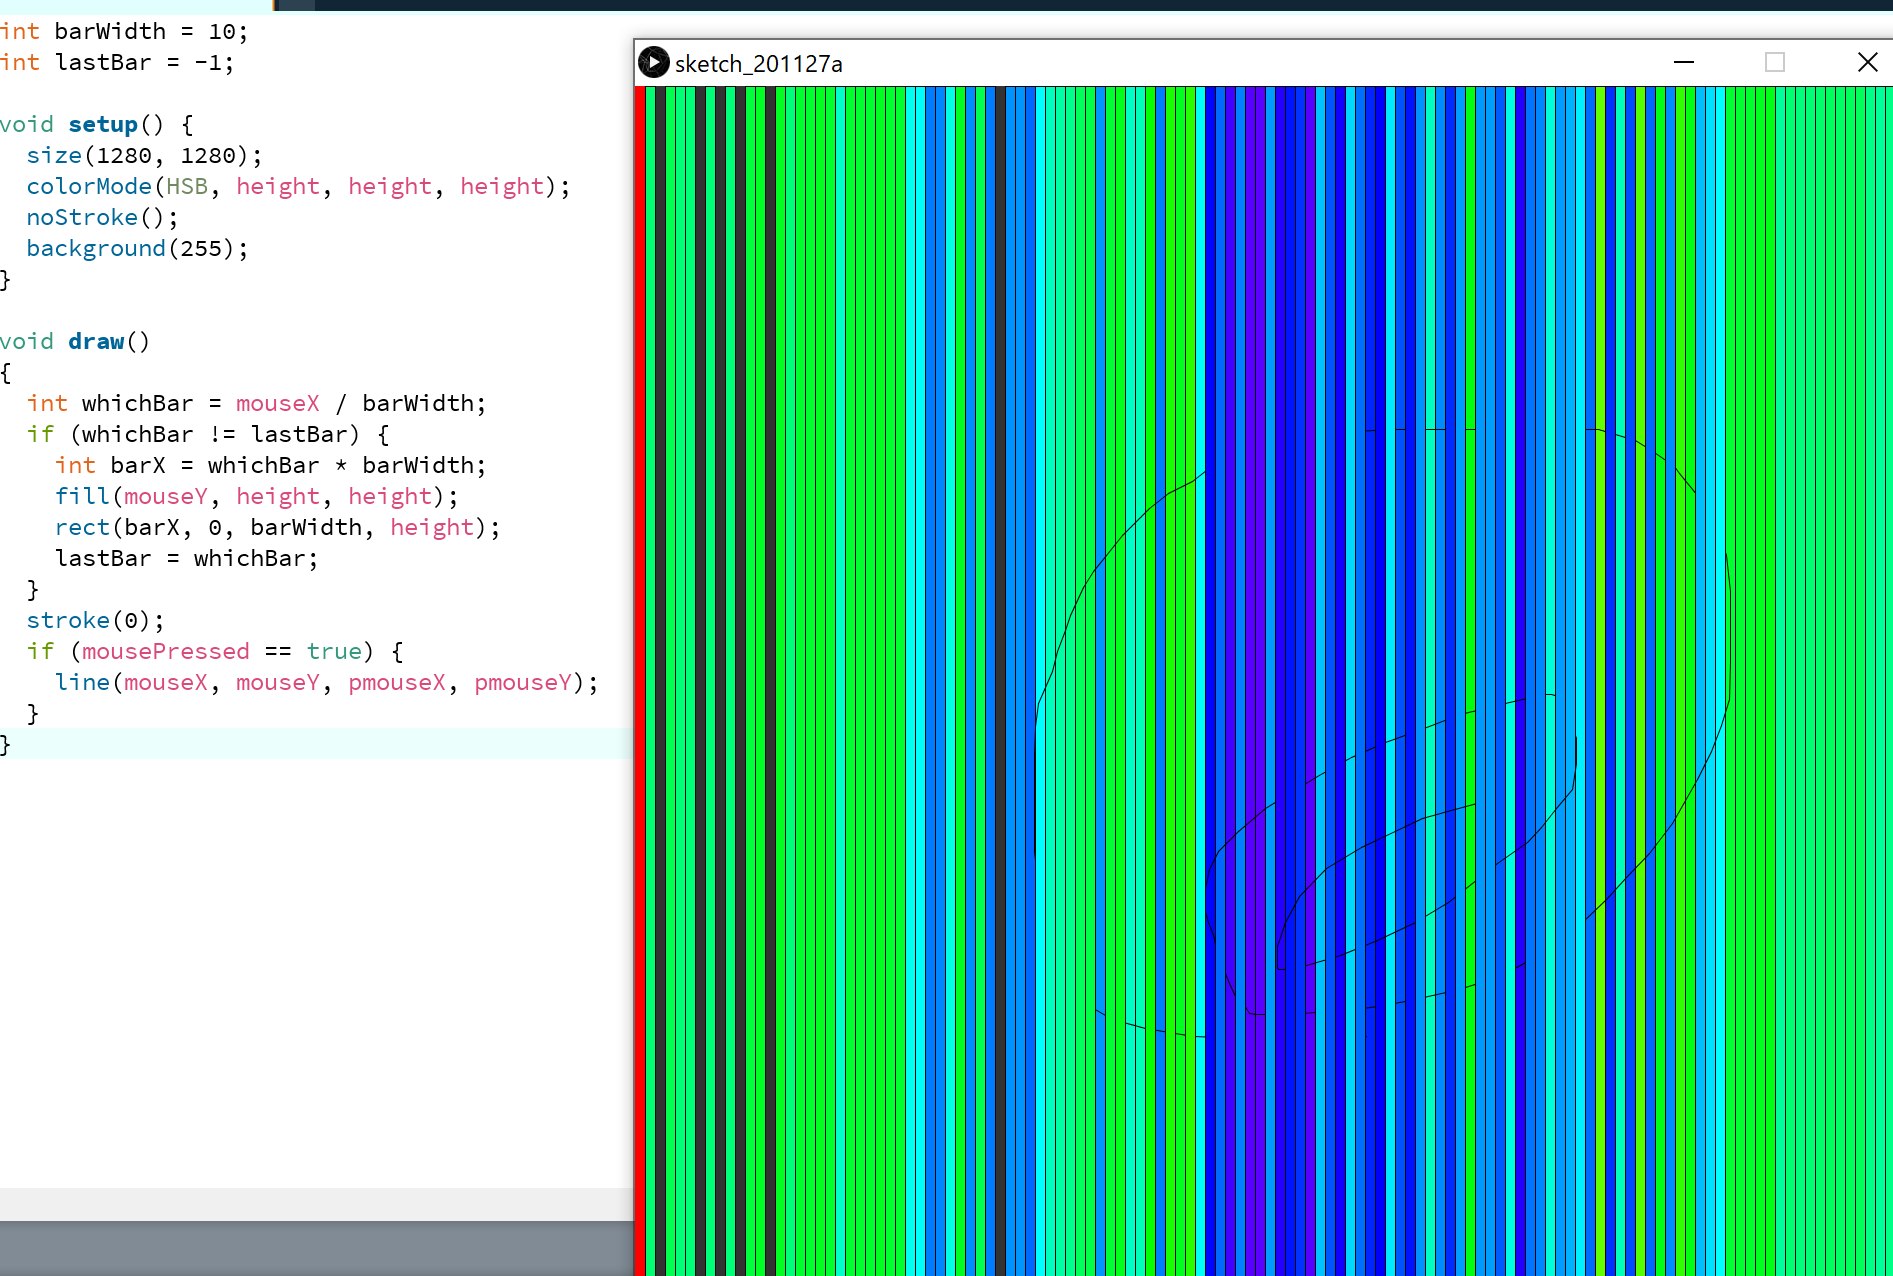
公式サイト ExamplesからCororのhue
を利用し背景に色をつけ、線を引いたところのみ背景の色を表示するプログラムを書こうと思いました。
結果

適当にくっつけただけではうまくいきませんでした。あたりまえ
この後試行錯誤するも実力不足により断念。。。
アプローチその2
そもそもランダムな色の線が出力されればいいのでは⁉
ということで
color strokeColour = color(0);

void setup() {
  size(1280, 1280); //ウィンドウサイズの決定
  background(255); //背景を白にする
}

void draw() {
	strokeWeight(8); //線の太さの決定
	stroke(strokeColour);
	if(mousePressed==true && mouseButton==LEFT){ //左ボタンをクリックしたときに線を表示
		line(mouseX, mouseY, pmouseX, pmouseY);
		strokeColour = color(random(256), random(256), random(256)); //ストローク中にランダムな色へ変化
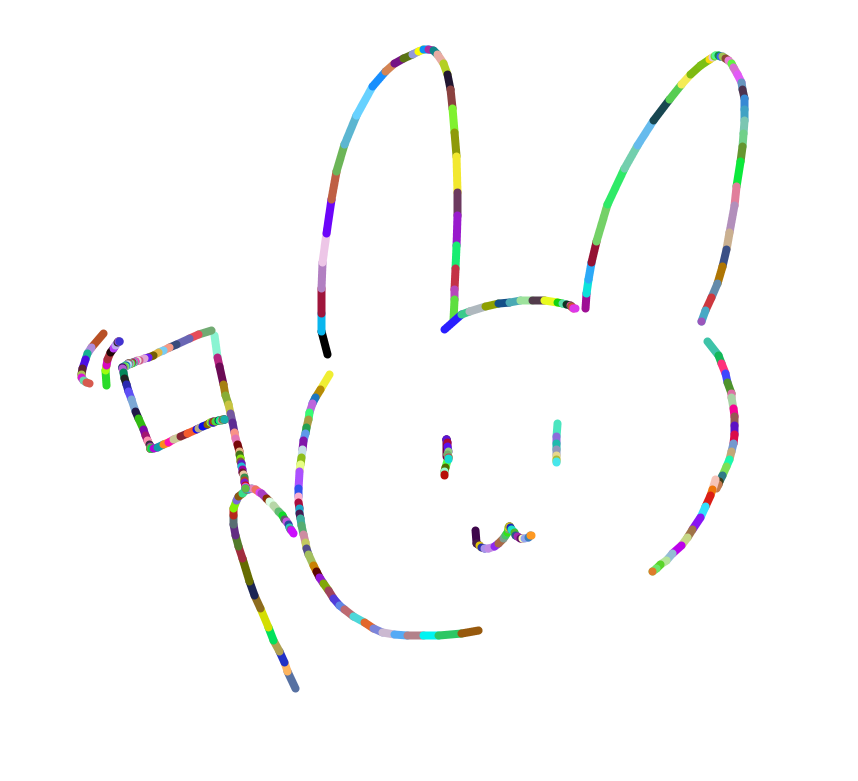
成功!!!
ストローク中にランダムで色が変わるようになりました!

最低限の枠とデリート機能をつける
こちらの記事をもとにさせていただきました。
https://qiita.com/lunaHello/items/a794e0bae9e20804af10
fill(207); //以下の図形を灰色に塗りつぶす
		noStroke();
		rect(0,0,60,1280);
		rect(0,0,1280,60);
		rect(1100,0,200,1280);
		rect(0,1100,1280,1280);

	fill(255); //以下の図形を白色に塗りつぶす
		rect(1200,1200,1280,1280);
		fill(0);
		text("clear",1220,1240); //clearの表示

		}
	}

	void mouseClicked(){
		if(120<mouseX && mouseX<1280 && 1200<mouseY && mouseY<1280){
		background(255); //clearの箱をクリックした時、全消し
	}
}
まとめ
color strokeColour = color(0);

void setup() {
  size(1280, 1280); //ウィンドウサイズの決定
  background(255); //背景を白にする
}

void draw() {
	strokeWeight(8); //線の太さの決定
	stroke(strokeColour);
	if(mousePressed==true && mouseButton==LEFT){ //左ボタンをクリックしたときに線を表示
		line(mouseX, mouseY, pmouseX, pmouseY);
		strokeColour = color(random(256), random(256), random(256)); //ストローク中にランダムな色へ変化

	fill(207); //以下の四角を灰色に塗りつぶす
		noStroke();
		rect(0,0,60,1280);
		rect(0,0,1280,60);
		rect(1100,0,200,1280);
		rect(0,1100,1280,1280);

	fill(255); //以下の四角を白色に塗りつぶす
		rect(1200,1200,1280,1280);
		fill(0);
		text("clear",1220,1240); //clearの表示

		}
	}

	void mouseClicked(){
		if(120<mouseX && mouseX<1280 && 1200<mouseY && mouseY<1280){
		background(255); //clearの四角をクリックした時、全消し
	}
}
おわりに
諦めたアプローチ方法も完成させたいです。また、線の太さが変えられたり、消しゴム機能をつけたりと改良していきたいです。
自分でイメージしたものを作っていくこと、記事を書くことを初めて行ったため拙くなってしまいました。次回はもっと読みやすいものを目指します。