StrapiをGCEにインストールします。
内容はほとんどこの記事通りです。
Install Strapi on Ubuntu 18.04 LTS on Google Cloud with Cloud SQL
前提
- GCEのインスタンスセットアップ
- VMにドメインを割り当てる
- Google Cloud SQL のセットアップ
Node.jsのインストール
curl -sL https://deb.nodesource.com/setup_10.x | sudo -E bash -
sudo apt install -y nodejs build-essential
インストールができたことを確認します
node -v
npm -v
Strapiのインストール
sudo npm install strapi@alpha -g
strapi version
Strapiプロジェクトの新規作成
sudo strapi new myproject
公式のドキュメントに従って、推奨設定で進めるとラク!
↑ですが、データベースの設定などもあるので、簡単設定ではなくてマニュアルで設定していくのが良さそうです。
Process Managerのインストール
sudo npm install pm2 -g
Nginxのインストール
sudo apt install nginx
デフォルト設定を削除します
sudo rm /etc/nginx/sites-available/default
sudo rm /etc/nginx/sites-enabled/default
代わりに、Strapi用のNginxの設定ファイルを作成します
yourdomainname.com のところはご自身のドメインに置き換えてください
sudo nano /etc/nginx/sites-available/yourdomainname.com
/etc/nginx/sites-available/yourdomainname.com
server {
     listen [::]:80;
     listen 80;

     server_name yourdomainname.com www.yourdomainname.com;
}

location / {
     proxy_pass http://localhost:1337;
     proxy_http_version 1.1;
     proxy_set_header Upgrade $http_upgrade;
     proxy_set_header Connection 'upgrade';
     proxy_set_header Host $host;
     proxy_cache_bypass $http_upgrade;
}
設定ファイルのシンボリックリンクを作成します
sudo ln -s /etc/nginx/sites-available/yourdomainname.com /etc/nginx/sites-enabled/yourdomainname.com
Nginxの設定ファイルをテストして、Nginxを再起動します
sudo nginx -t
sudo service nginx restart
Strapiの起動
作成したStrapiプロジェクトのディレクトリに移動して、Strapiプロジェクトを起動します
sudo pm2 start strapi --no-automation --name app_name -- start
ちなみにPM2のドキュメントはこちらです。
ブラウザから、設定したドメインにアクセスします
こういう画面になればOK
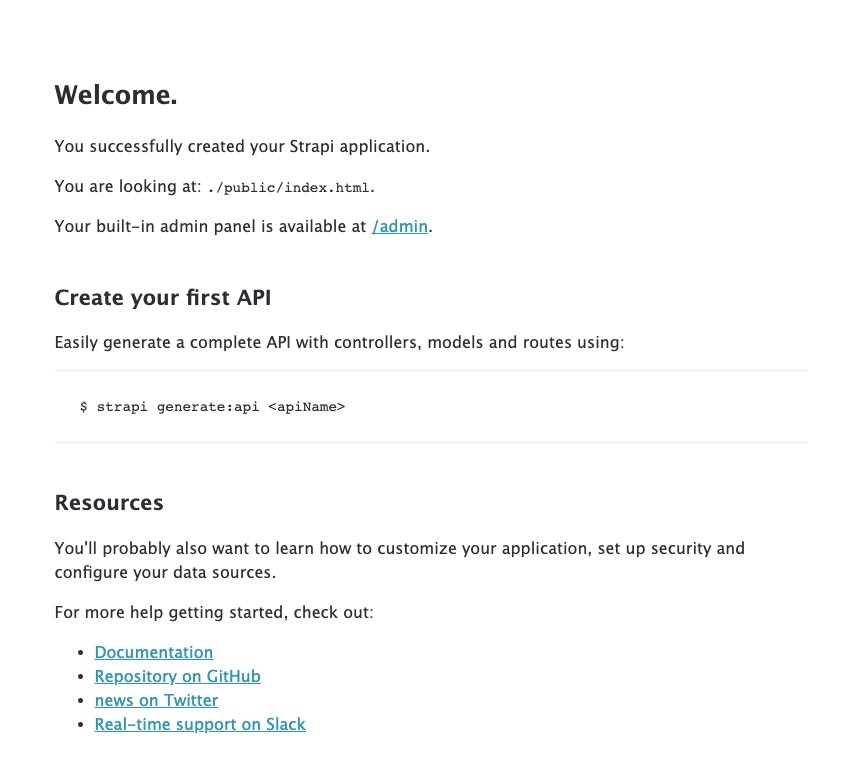
/admin から管理画面にアクセス
SSL証明書の取得とHTTP/2設定
sudo add-apt-repository ppa:certbot/certbot
sudo apt update
sudo apt install python-certbot-nginx
sudo certbot --nginx certonly
メールアドレスを登録します。
HTTPからのアクセスをHTTPSにリダイレクトする設定
/etc/nginx/sites-available/yourdomainname.com
server {
     listen [::]:80;
     listen 80;

     server_name yourdomainname.com www.yourdomainname.com;

     return 301 https://yourdomainname.com$request_uri;
 }

server {
     listen [::]:443 ssl http2;
     listen 443 ssl http2;

     server_name www.yourdomainname.com;

     ssl_certificate /etc/letsencrypt/live/yourdomainname.com/fullchain.pem;
     ssl_certificate_key /etc/letsencrypt/live/yourdomainname.com/privkey.pem;

     return 301 https://yourdomainname.com$request_uri;
}

server {
     listen [::]:443 ssl http2;
     listen 443 ssl http2;

     server_name yourdomainname.com;

     ssl_certificate /etc/letsencrypt/live/yourdomainname.com/fullchain.pem;
     ssl_certificate_key /etc/letsencrypt/live/yourdomainname.com/privkey.pem;

    location / {
         proxy_pass http://localhost:1337;
         proxy_http_version 1.1;
         proxy_set_header Upgrade $http_upgrade;
         proxy_set_header Connection 'upgrade';
         proxy_set_header Host $host;
         proxy_cache_bypass $http_upgrade;

         add_header Content-Security-Policy "img-src * 'self' data: blob: https:; default-src 'self' https://*.googleapis.com https://*.googletagmanager.com https://*.google-analytics.com https://s.ytimg.com https://www.youtube.com https://yourdomainname.com https://*.googleapis.com https://*.gstatic.com https://*.w.org data: 'unsafe-inline' 'unsafe-eval';" always;
         add_header X-Xss-Protection "1; mode=block" always;
         add_header X-Frame-Options "SAMEORIGIN" always;
         add_header X-Content-Type-Options "nosniff" always;
         add_header Access-Control-Allow-Origin "https://yourdomainname.com";
         add_header Referrer-Policy "origin-when-cross-origin" always;
         add_header Strict-Transport-Security "max-age=31536000; includeSubdomains; preload";
     }
}
Nginxサーバを再起動します。
sudo nginx -t
sudo service nginx restart
SSL証明書の自動更新
sudo crontab -e
最後の行に追加します。
0 0,12 * * * certbot renew >/dev/null 2>&1
以上
参考サイト
https://www.cloudbooklet.com/install-strapi-on-ubuntu-18-04-lts-on-google-cloud-with-cloud-sql/
https://qiita.com/yfujii01/items/41c15d885830deea8ed1