可能な限りお金は使わない方向で実現したいと思います。
手順一覧
- gce(Google Compute Engine)のインスタンス作成
- nginxを設定してhttp接続できるようにする
- ドメインをfreenomで作る
- Let's Encrypt でSSL証明書を作る
- アプリをnodejsで作る
- nginxの設定を修正しアプリをhttps接続できるようにする
gce(Google Compute Engine)のインスタンス作成
-
GCPにログインします
https://cloud.google.com/ -
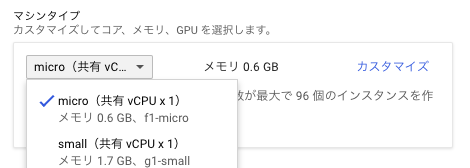
Compute Engineのインスタンスを作成する
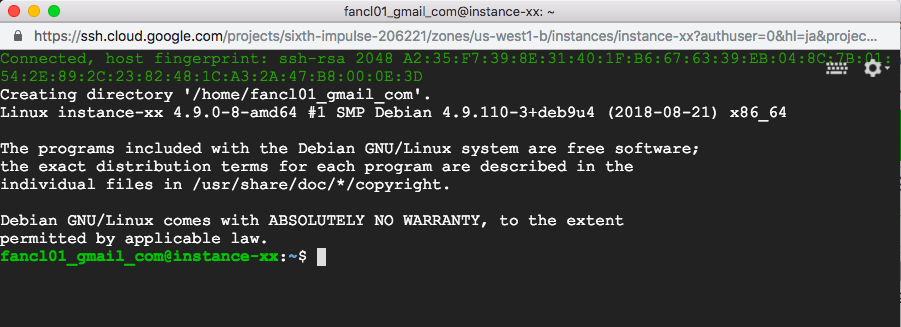
ダッシュボードからCompute Engineを選び、VMインスタンス、インスタンスを作成と進みます。

-
リージョンをus-west1 (オレゴン)にします。
初期設定の「us-east1 (サウスカロライナ)」でも問題ありません。
多少は応答が速くなるかもという思いから日本に少しでも近い「us-west」に変更しました。

-
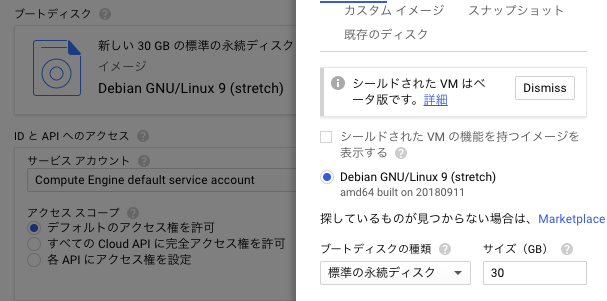
ブートディスクのサイズを30GBに変更します
任意作業です。デフォルトでは10GBだが、30GBまで無料なのでとりあえず変更するくらいでOKです。
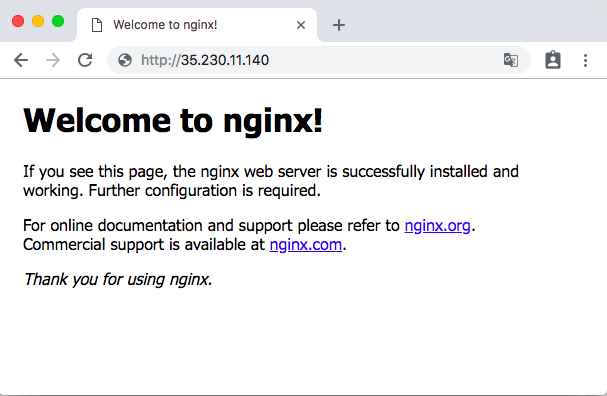
nginxを設定してhttp接続できるようにする
- nginxをインストールします
$ sudo apt install nginx -y
- nginxのサービスを起動します
$ sudo service nginx start
ドメインをfreenomで作ります
URL
https://www.freenom.com/ja/index.html?lang=ja
-
ユーザー登録してサインインします。
Googleアカウントでログインする方が簡単で良いかも。 -
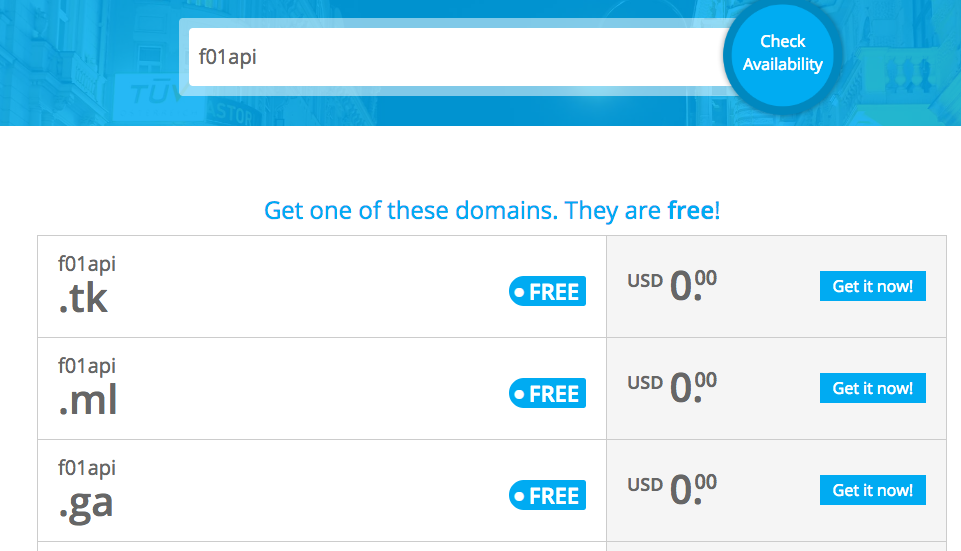
使いたいドメイン名を入力します
今回は「f01api」と入力して「Check Availability」ボタンを押しました。
短か過ぎるドメイン名だと0円にならないことがあるので、必ず「USD0.00」になっていることを確認しましょう。
-
ドメイン名の最後につける文字列を「.tk」「.ml」などから選択します
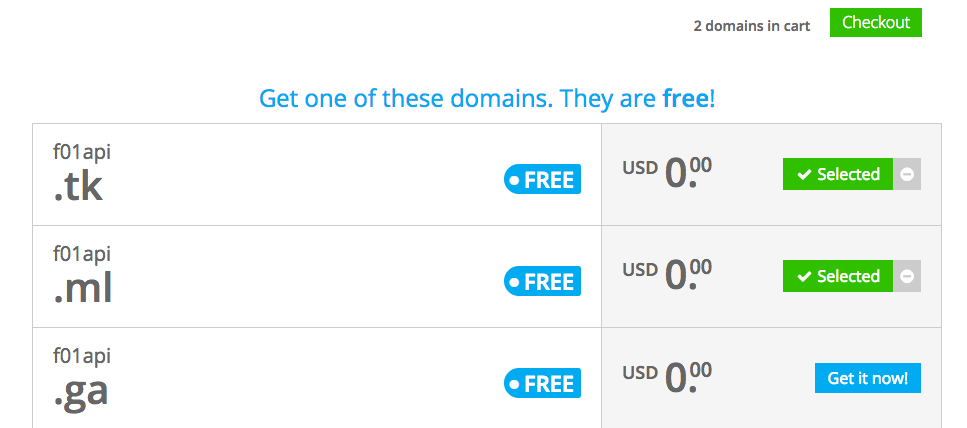
今回は「.tk」と「.ml」の2つを選択してみます。
2つ取得する意味は特にありません(偽サイト対策程度の意味はありますが)。
それぞれ「Get it now!」を選択し、その後「Checkout」を選びます。
-
DNS設定を行います
ドメイン名とIPアドレスを紐づけます。
「Use DNS > Use Freenom DNS Service > IP address」に使用するgceインスタンスの外部IPを設定します。
今回は「.tk」「.ml」に同じIPを設定しました。
後から変更も簡単に行えるのであまり気にしなくても大丈夫です。
設定できたら「Continue」を押しましょう。

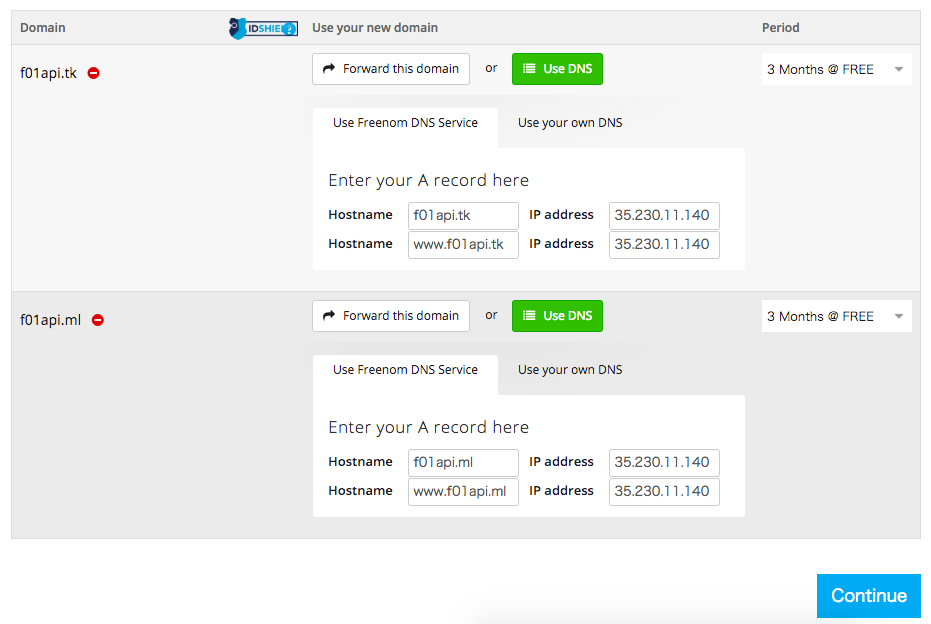
-
確定する
Total Due Todayが$0.00USDになっていることを確認し、
最下部にある「I have read and agree to the Terms & Conditions」をチェックし「Complete Order」を押しましょう。
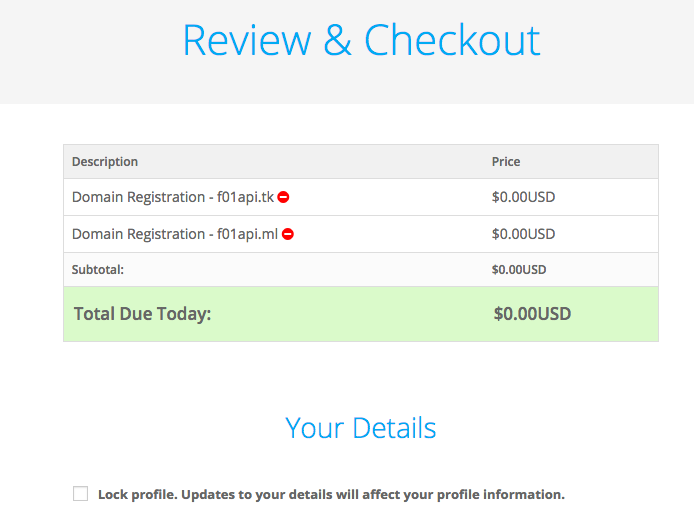

「Order Confirmation」となれば成功です。
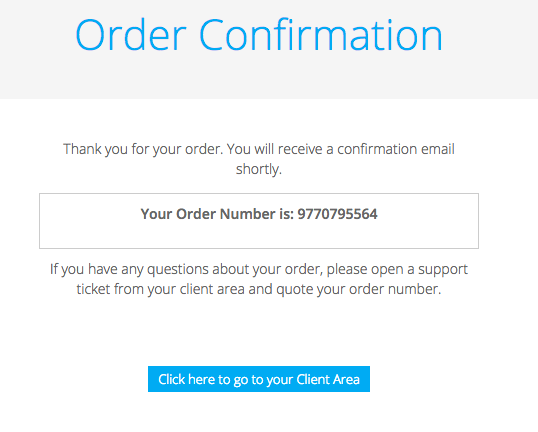
-
domain一覧を確認する
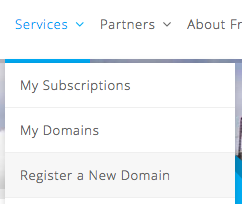
「Services > My Domains」を開くことでちゃんと購入できているか確認できます。
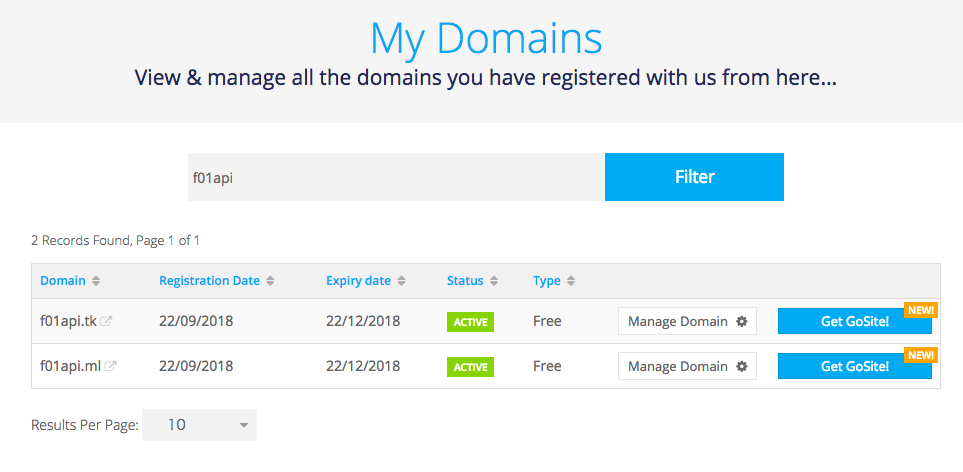
-
動作確認します
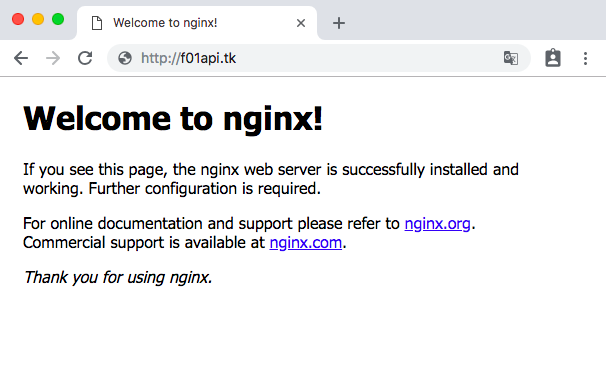
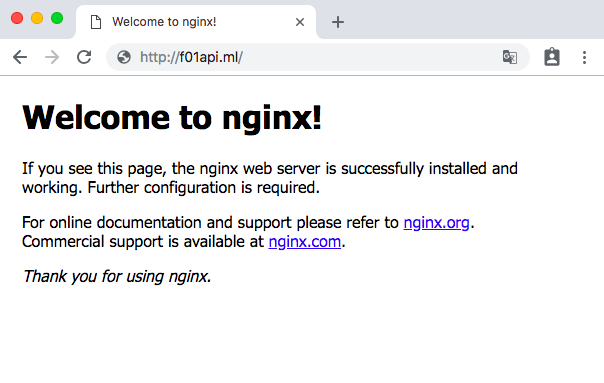
もしかすると購入直後はDNSが設定されておらずエラーになってしまうかもしれませんが、5分も経てば購入したドメインでnginxの画面が表示されるはずです。
Let's Encrypt でSSL証明書を作ります
公式の手順書があるのでこちらを参考に進めていきましょう。
https://letsencrypt.jp/docs/using.html
- cerbot-autoをインストールします
$ wget https://dl.eff.org/certbot-auto
$ chmod a+x certbot-auto
- cerbot-autoを実行します
途中で何度か止まるので適宜、入力していきます。
$ ./certbot-auto
-
利用規約を確認します
URL
https://letsencrypt.org/documents/LE-SA-v1.2-November-15-2017.pdf
確認後「A」を入力します。

-
証明書の発行に成功
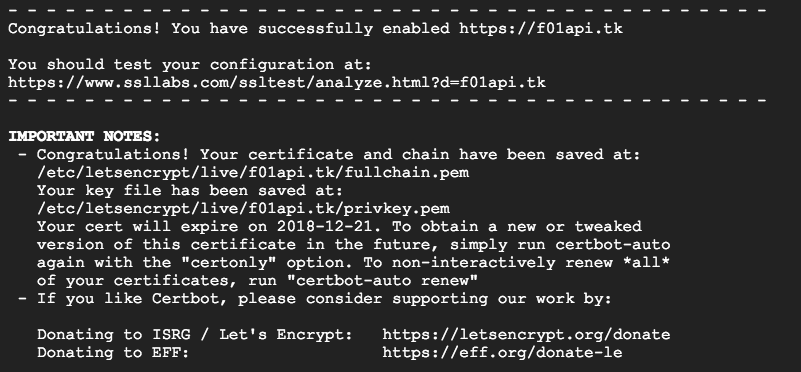
それぞれ以下にファイルが作成されたようです。- 証明書
/etc/letsencrypt/live/f01api.tk/fullchain.pem - 秘密鍵
/etc/letsencrypt/live/f01api.tk/privkey.pem
- 証明書
-
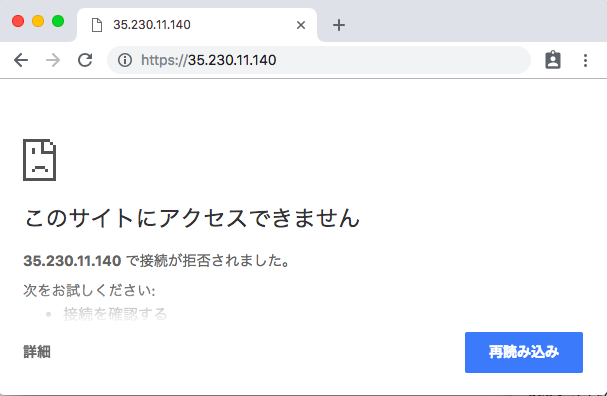
https接続の確認をする
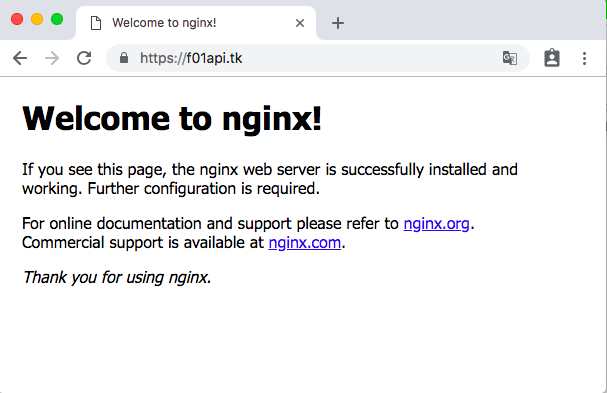
cerbot-autoのおかげでnginxの設定が書き換えられ、https://【ドメイン名】で接続が行えるようになっています。
確認してみましょう。
アプリケーションをNode.jsで作る
$ curl -sL https://deb.nodesource.com/setup_10.x | sudo -E bash -
$ sudo apt-get install -y nodejs
$ node --version
v10.11.0
$ cd ~
$ mkdir express-api
$ cd express-api
$ npm init -y
$ npm i --save express body-parser
- アプリを作成する
const express = require('express');
const bodyParser = require('body-parser');
const app = express();
app.use(bodyParser.urlencoded({extended: true}));
app.use(bodyParser.json());

app.get('/', (req, res) => res.send('Hello World!'));

app.post('/test', (req, res) => {
    let result = {};
    if (req.body.password === 'hoge') {
        result.result = "true";
    } else {
        result.result = "false";
    }
    res.json(result);
});

app.listen(3000);
- デーモン起動のためにforeverをインストールする
$ npm i --save-dev forever
- scriptに起動・停止設定を追加する
$ vi package.json
:
"scripts": {
  "test": "echo \"Error: no test specified\" && exit 1"
},
:
:
"scripts": {
  "start": "forever start index.js",
  "stop": "forever stop index.js",
  "test": "echo \"Error: no test specified\" && exit 1"
},
:
$ npm run start

> express-api@1.0.0 start /home/hoge_gmail_com/express-api
> forever start index.js

warn:    --minUptime not set. Defaulting to: 1000ms
warn:    --spinSleepTime not set. Your script will exit if it does not stay up for at least 1000ms
info:    Forever processing file: index.js
$ npm run stop

> express-api@1.0.0 stop /home/hoge_gmail_com/express-api
> forever stop index.js

info:    Forever stopped process:
    uid  command       script   forever pid   id logfile                                   uptime
[0] b-8D /usr/bin/node index.js 20695   20702    /home/hoge_gmail_com/.forever/b-8D.log 0:0:0:33.898
nginxの設定を修正しアプリをhttps接続できるようにする
$ sudo vi /etc/nginx/sites-available/default
server {
    :
    server_name f01api.tk; # managed by Certbot
    :
    location / {
        # First attempt to serve request as file, then
        # as directory, then fall back to displaying a 404.
        try_files $uri $uri/ =404;
    }
    :
    listen [::]:443 ssl ipv6only=on; # managed by Certbot
    :
}
server {
    :
    server_name f01api.tk; # managed by Certbot
    :
    location / {
        # First attempt to serve request as file, then
        # as directory, then fall back to displaying a 404.
        # try_files $uri $uri/ =404;
        proxy_pass http://127.0.0.1:3000;
    }
    :
    listen [::]:443 ssl ipv6only=on; # managed by Certbot
    :
}
$ sudo service nginx restart
-
動作確認
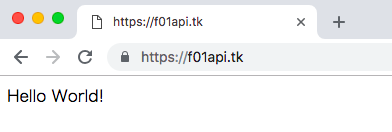
https://【ドメイン名】で接続するとnginxの設定画面ではなくhello worldが表示(アプリの画面)が表示されること
nginxのページが表示される場合はブラウザのキャッシュを消してから確認してみてください。
-
動作確認2
curlを使ってアプリが動作するか確認しましょう。
今回作成したアプリはpasswordをjson形式で渡すことでresultをjson形式で返すものです。
テスト用なので{"password":"hoge"}という文字列を渡すことで、trueを返し、それ以外の場合はfalseを返すようになっています。
$ curl -X POST https://f01api.tk/test -H "Content-type: application/json" -d '{"password":"hoge"}'
{"result":"true"}
$ curl -X POST https://f01api.tk/test -H "Content-type: application/json" -d '{"password":"fuga"}'
{"result":"false"}
想定通り返ってきました。
これで完成です。
お疲れ様でした。

