はじめに
OpenShift 4.11でGrafana UIは廃止されたことにより、デフォルトでOpenShift環境にGrafanaが存在しなくなりました。
そのため、本記事ではOpenShift4.11以降でGrafanaを導入する手順を説明します。
❯ oc get deployment -n openshift-monitoring
NAME                                    READY   UP-TO-DATE   AVAILABLE   AGE
cluster-monitoring-operator             1/1     1            1           4h3m
kube-state-metrics                      1/1     1            1           3h23m
openshift-state-metrics                 1/1     1            1           3h23m
prometheus-adapter                      2/2     2            2           3h23m
prometheus-operator                     1/1     1            1           3h24m
prometheus-operator-admission-webhook   2/2     2            2           3h50m
telemeter-client                        1/1     1            1           3h23m
thanos-querier                          2/2     2            2           3h23m
これから説明する手順を一通りやると、OpenShiftのPrometheusと連携したGrafanaダッシュボードを作成できます。
設定手順
1. 事前準備
1.1 プロジェクト作成
今回は特定のプロジェクト上にGrafana OperatorとGrafanaインスタンスをデプロイします。
そのため、デプロイ用のプロジェクトを作成しておきます。
❯ oc new-project grafana
Now using project "grafana" on server "https://xsss.com:6443".

❯ oc project
Using project "grafana" on server "https://xsss.com:6443"
2. Grafanaの構築
2.1 Grafana Operatorの導入
まず、Grafana Operatorのインストール方法を説明します。
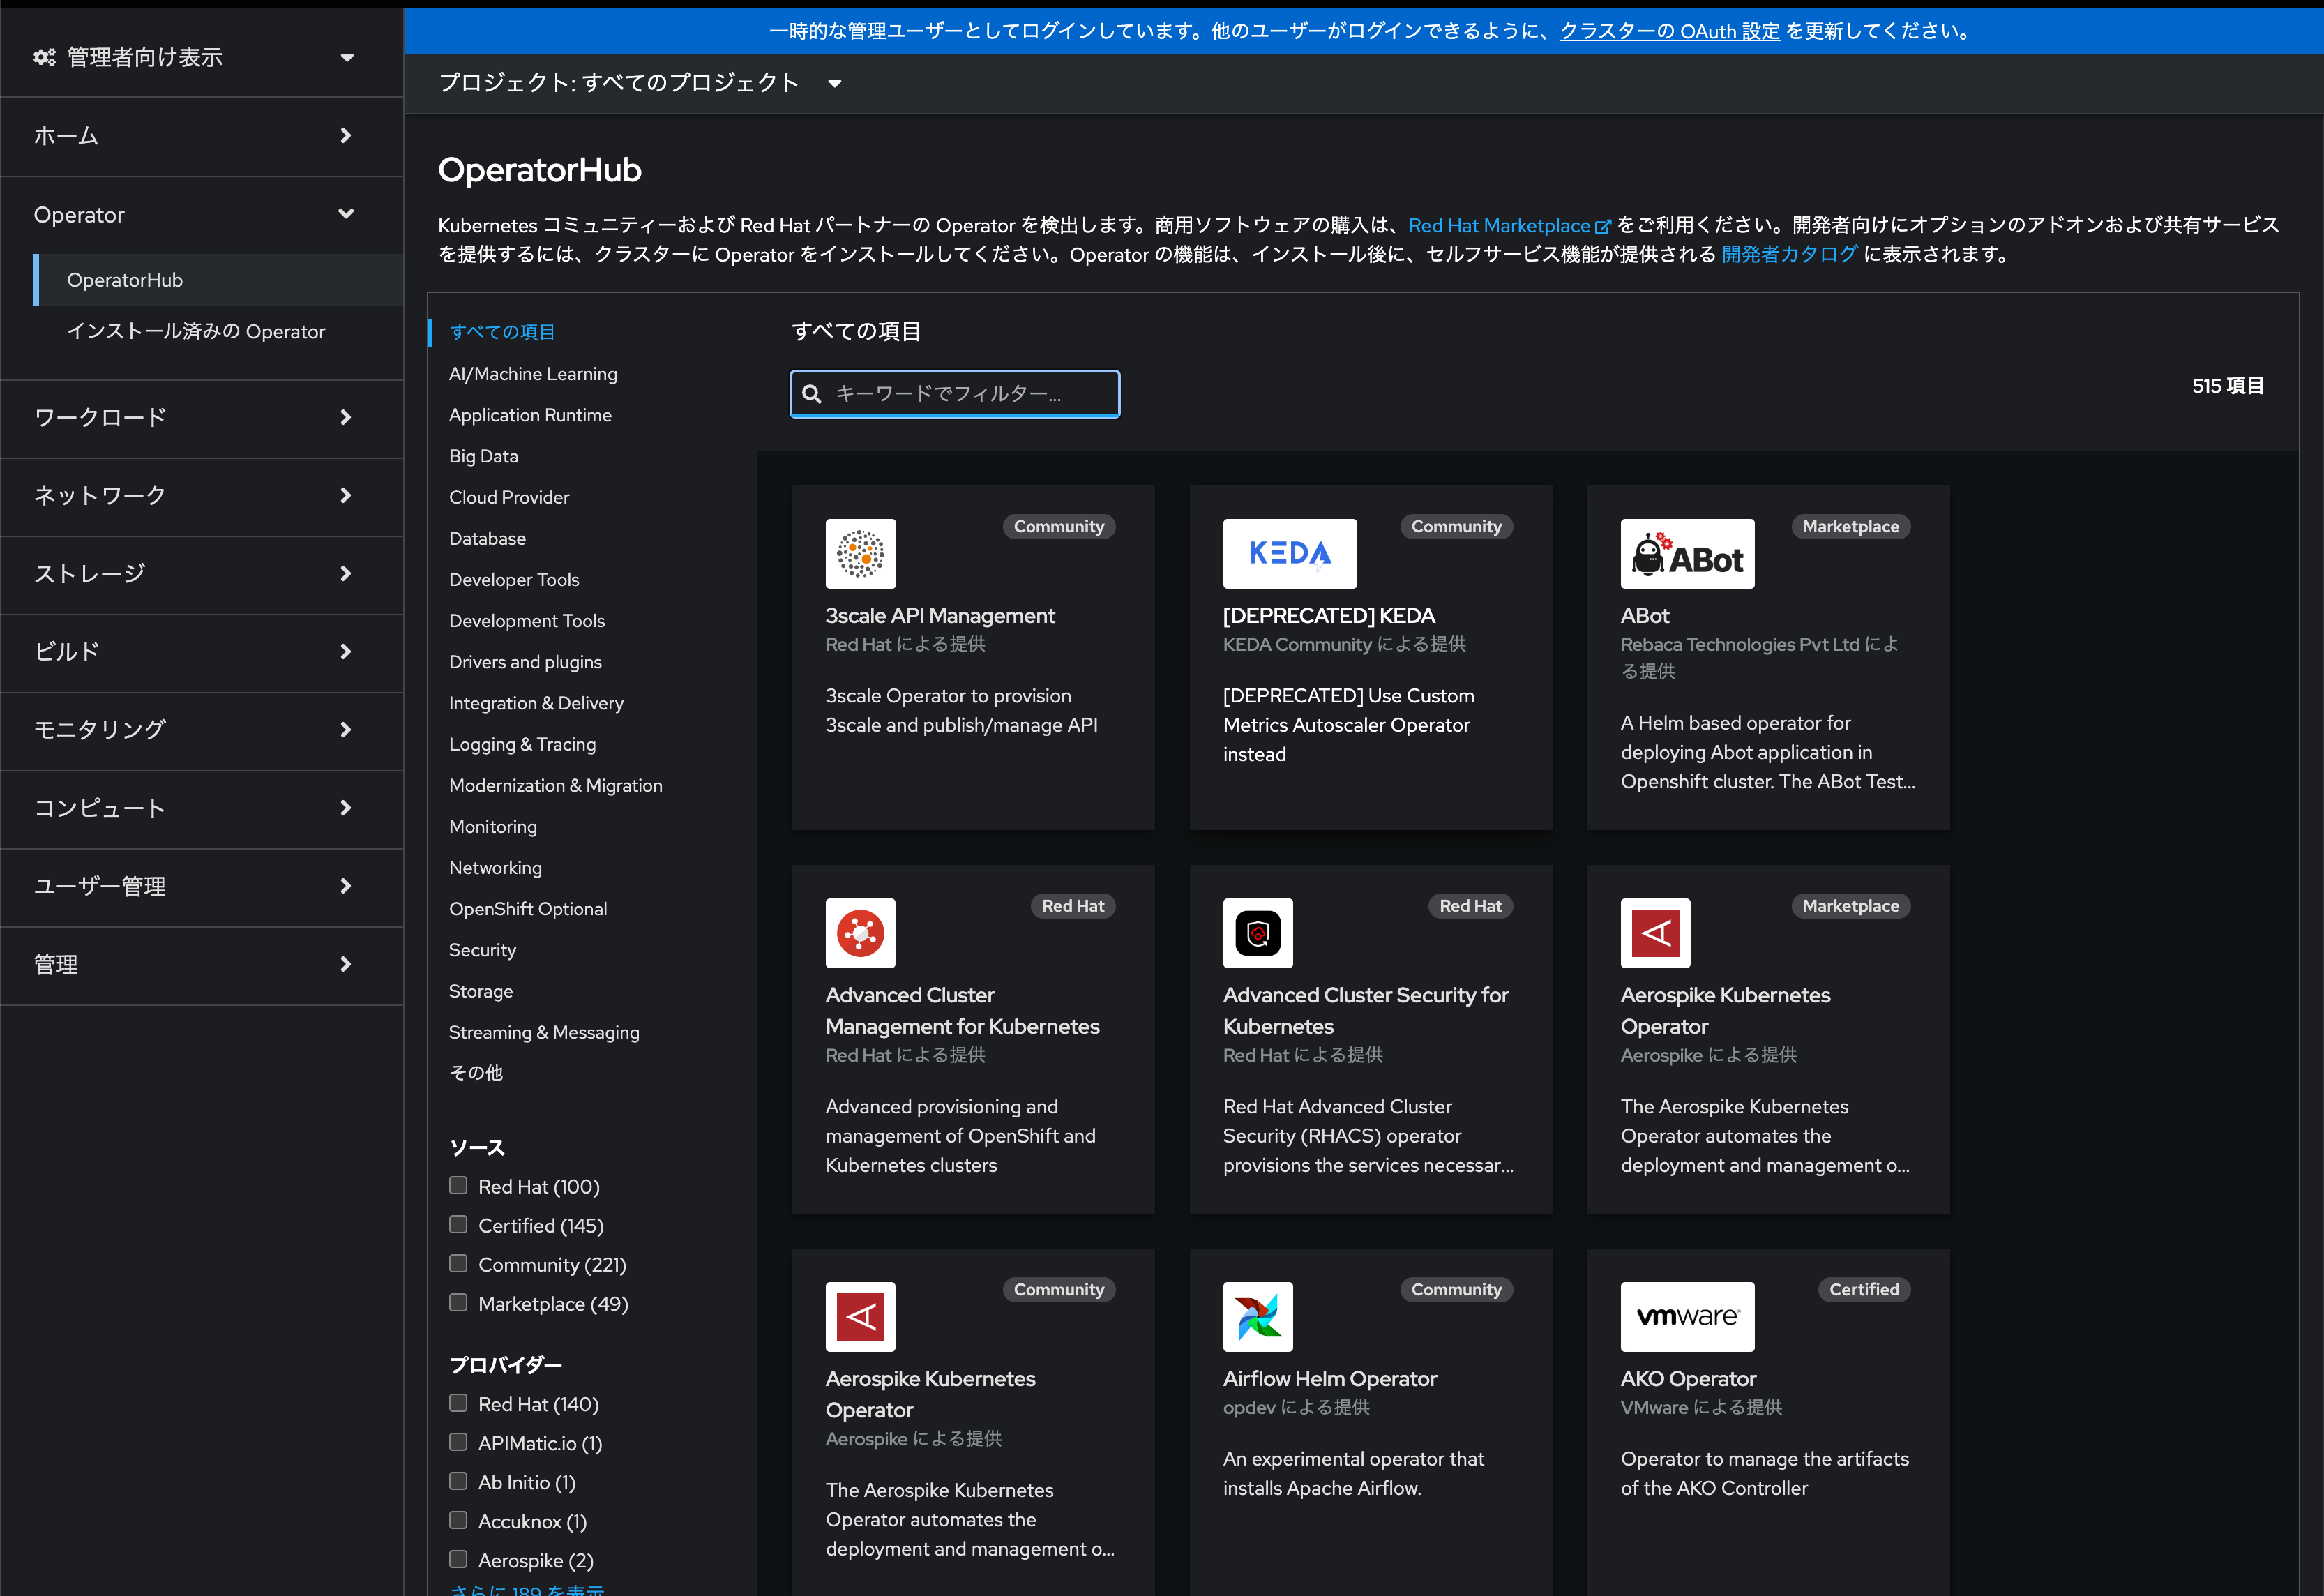
Openshift Web Consoleを開き、管理者向け画面のメニューからOperatorHubをクリックします。
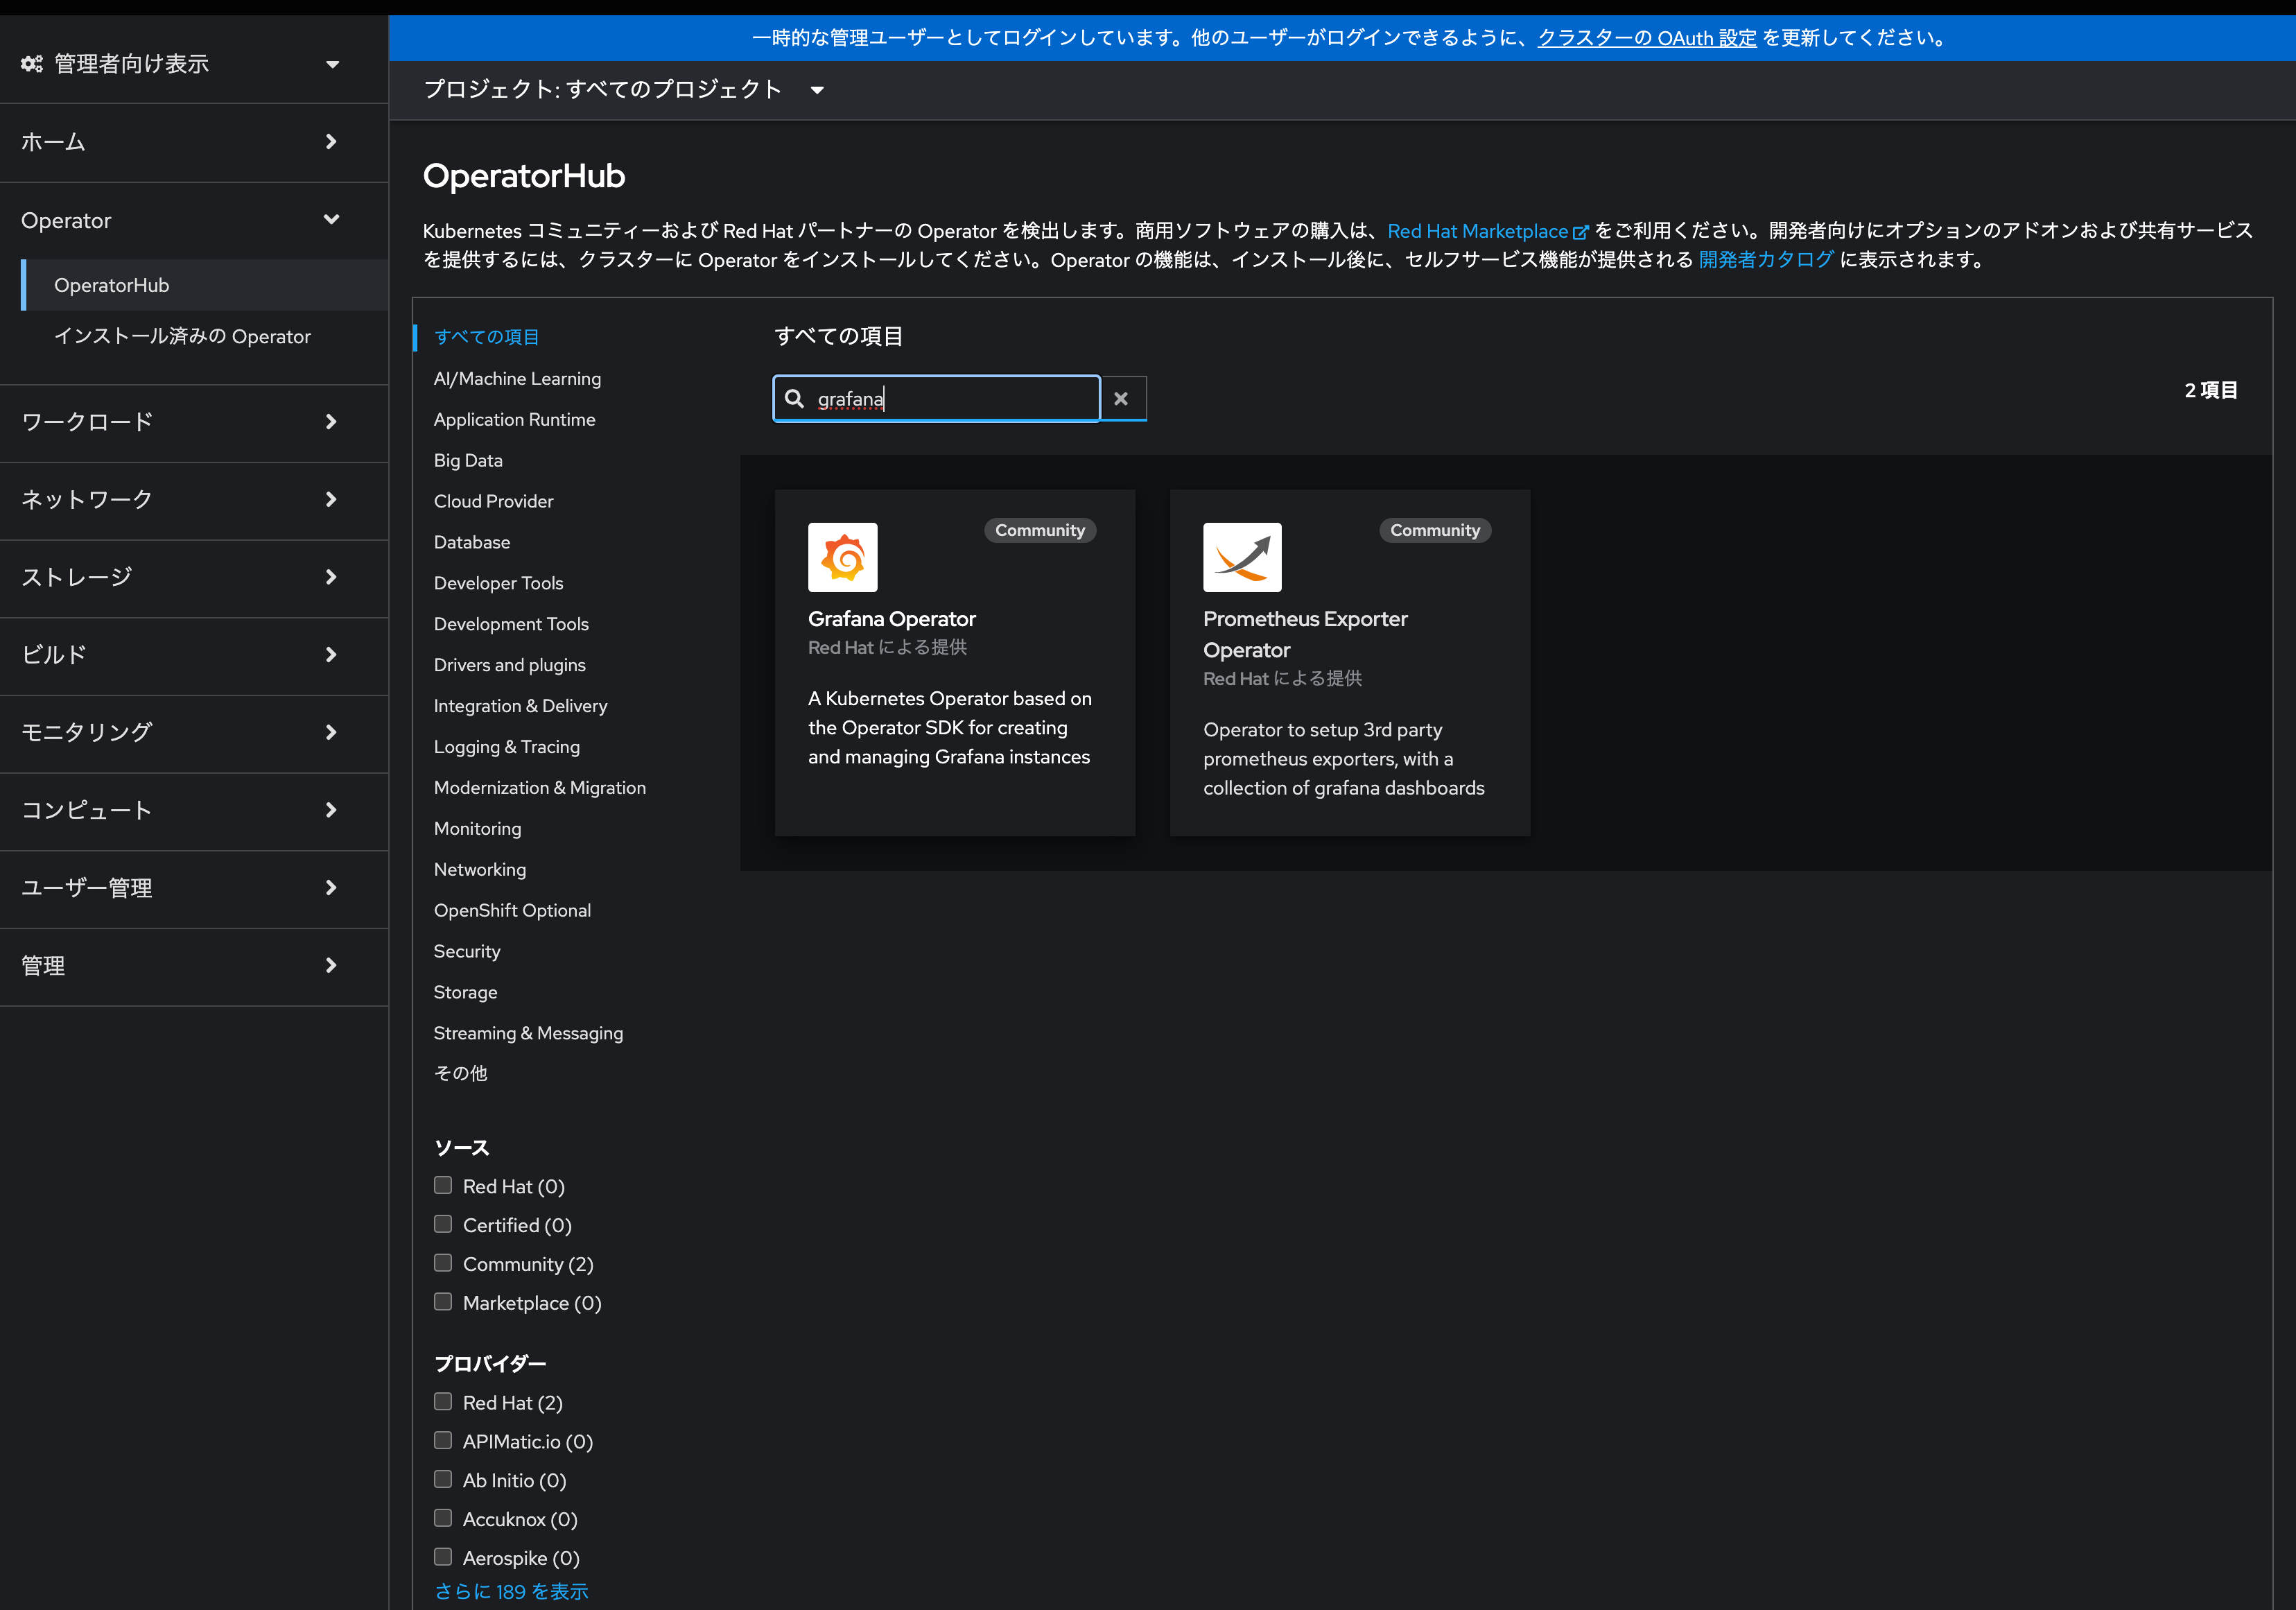
検索ボックスにGrafanaと入力すると、Grafana Operatorが表示されるので、クリックします。
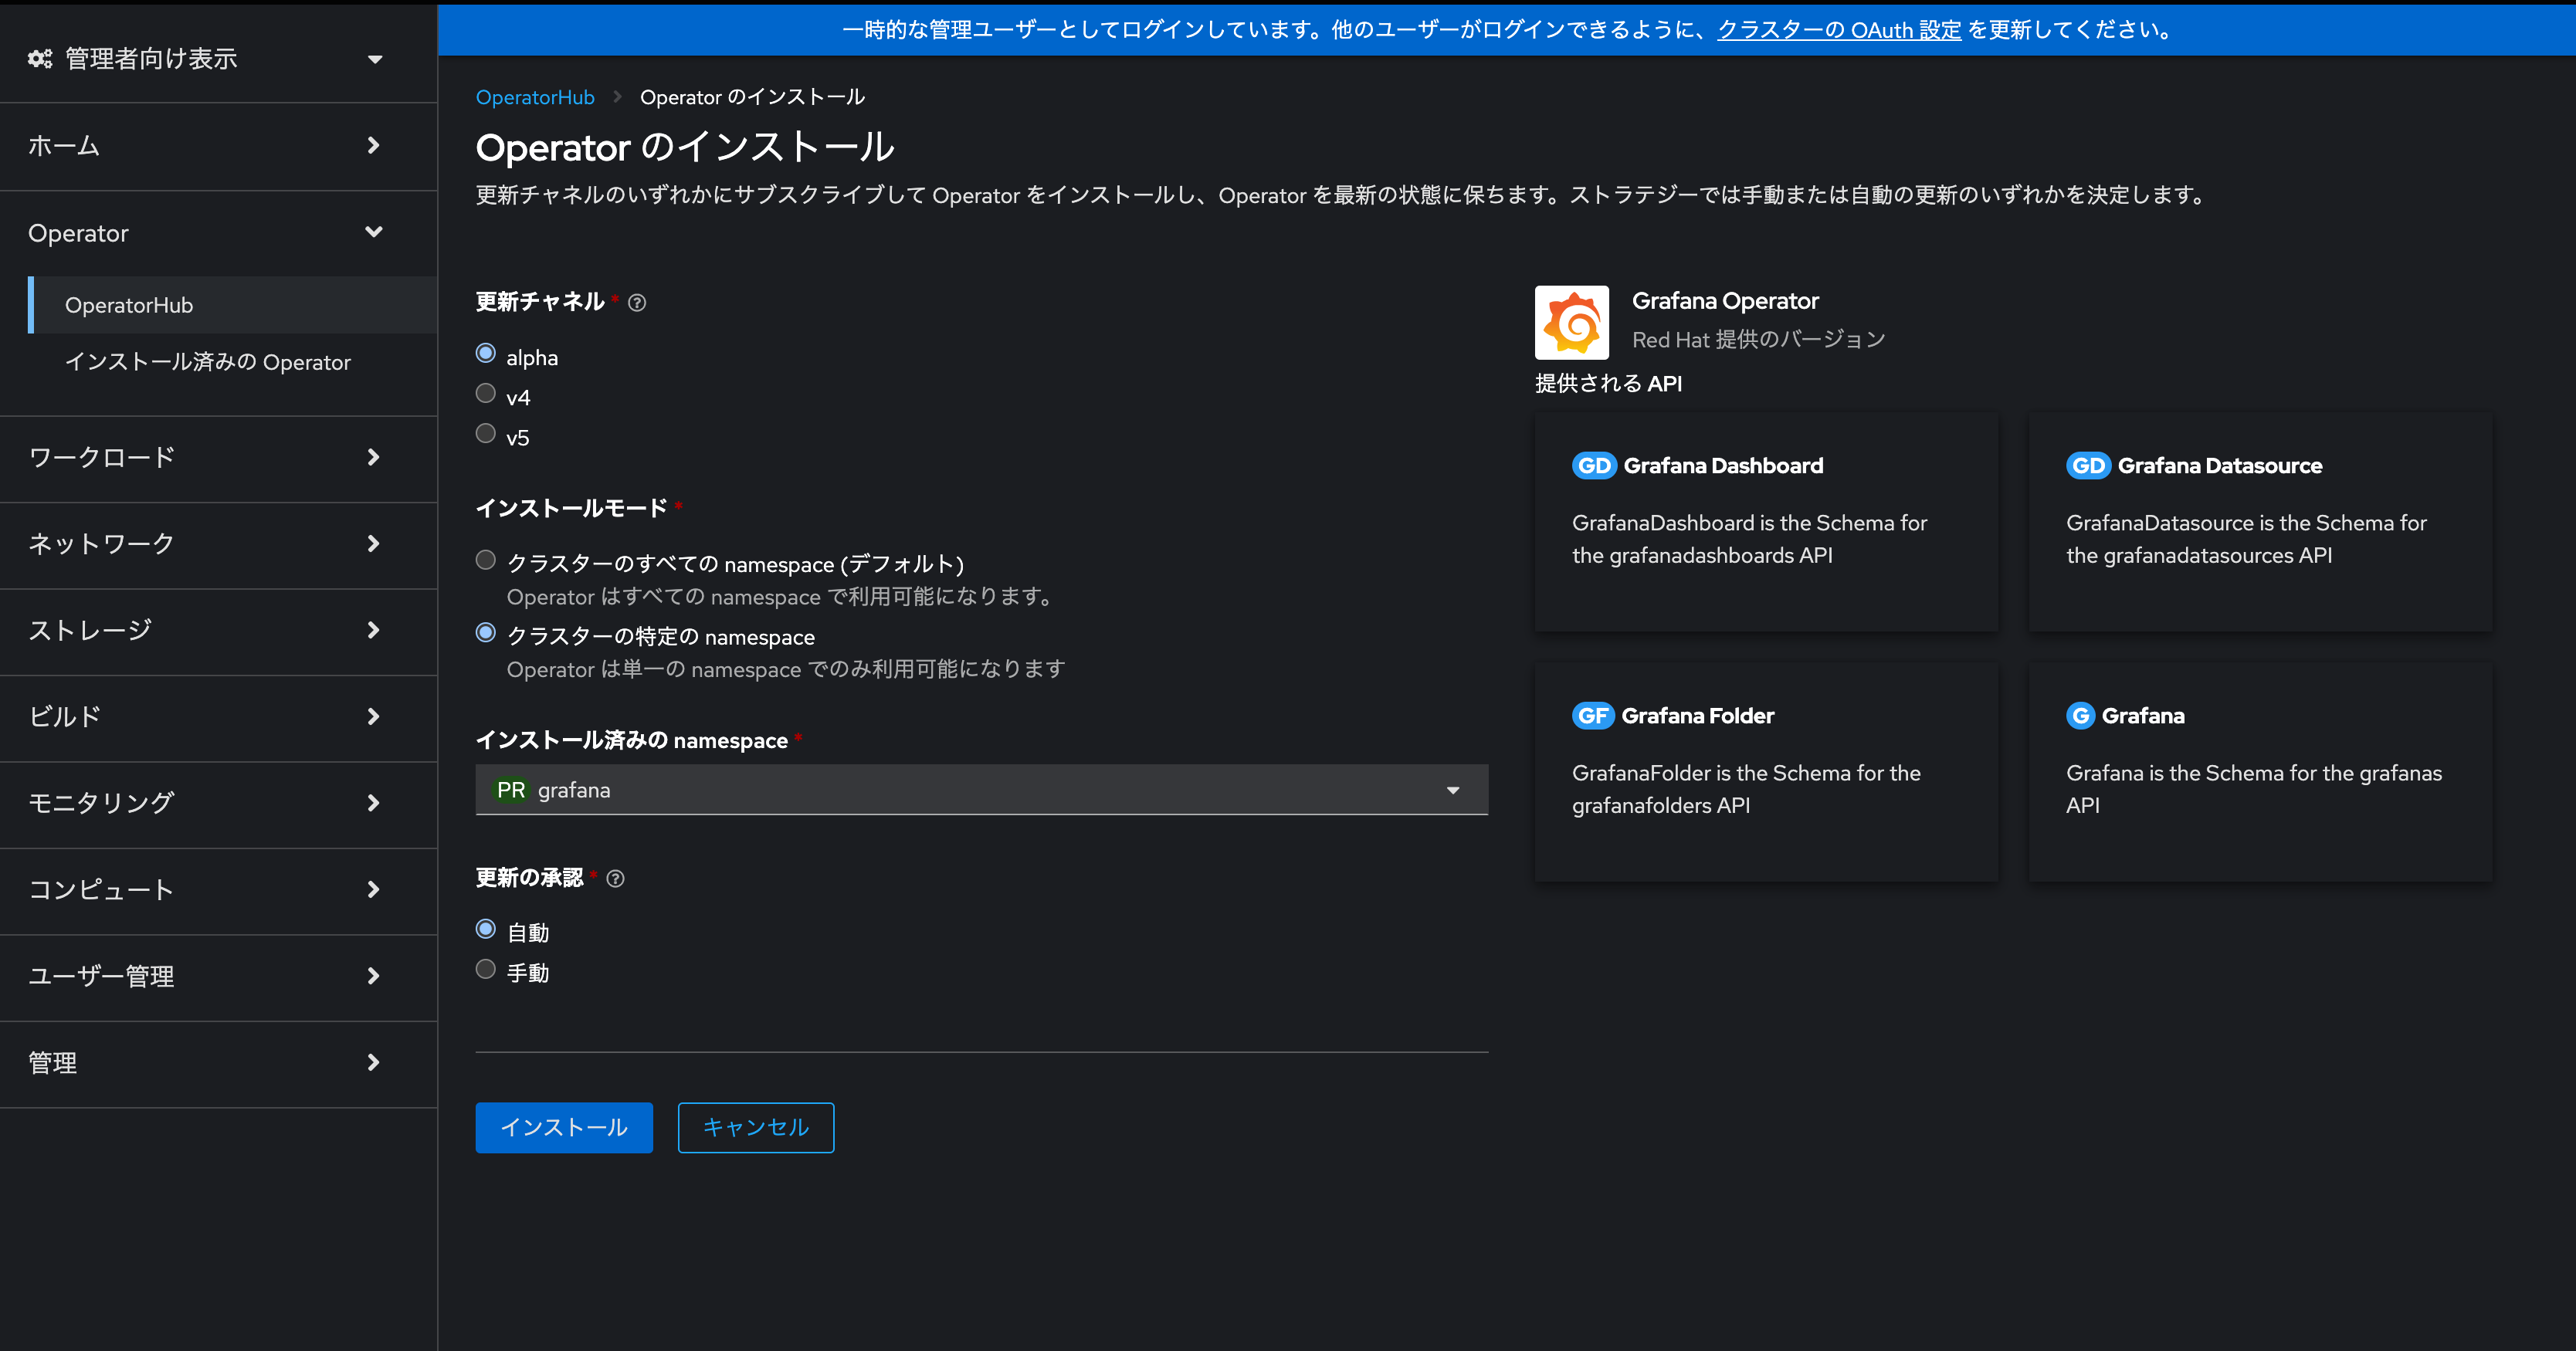
インストール選択する画面となるので、チャネル等を選択します。
(日本語がおかしい部分もありますが)、以下の通り選択し、インストールをクリックします。
| 項目 | 値 |
|---|---|
| 更新チャネル | alpha |
| インストールモード | クラスターの特定のnamespace |
| インストール済のnamespace | grafana |
| 更新の承認 | 自動 |
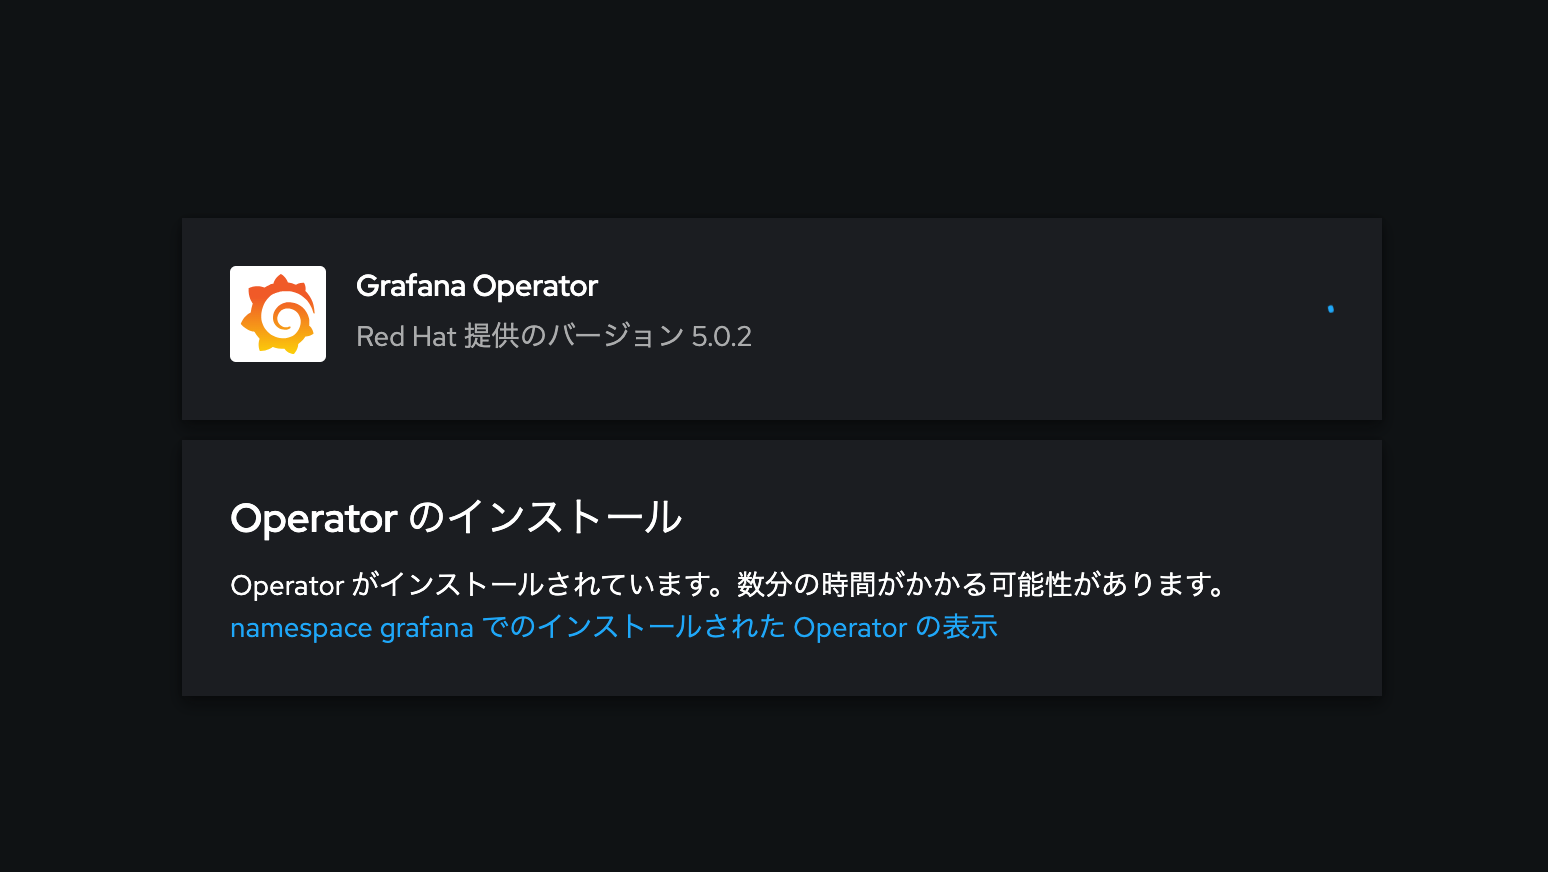
以下のようなインストール中の画面が表示されます。
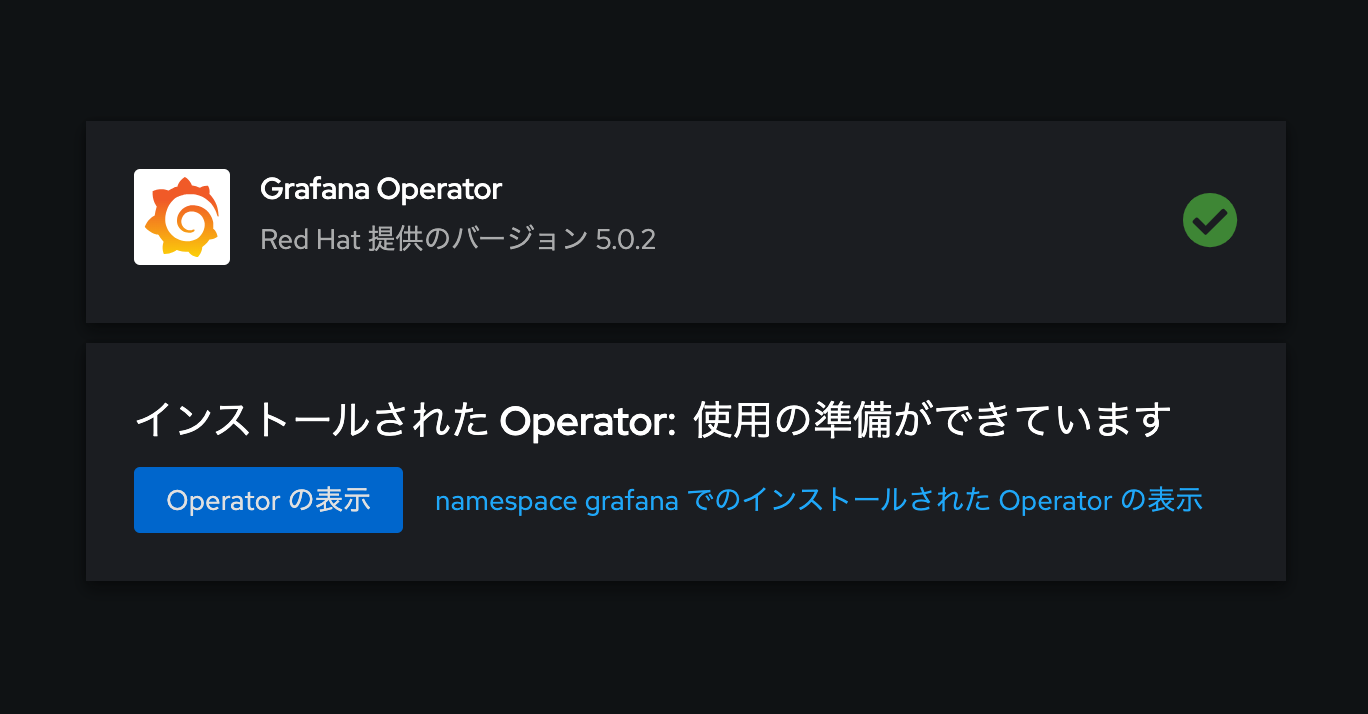
インストールが完了すると以下のような画面となります。
2.2 Grafana の導入
ここから、Grafanaをインストールしてきます。
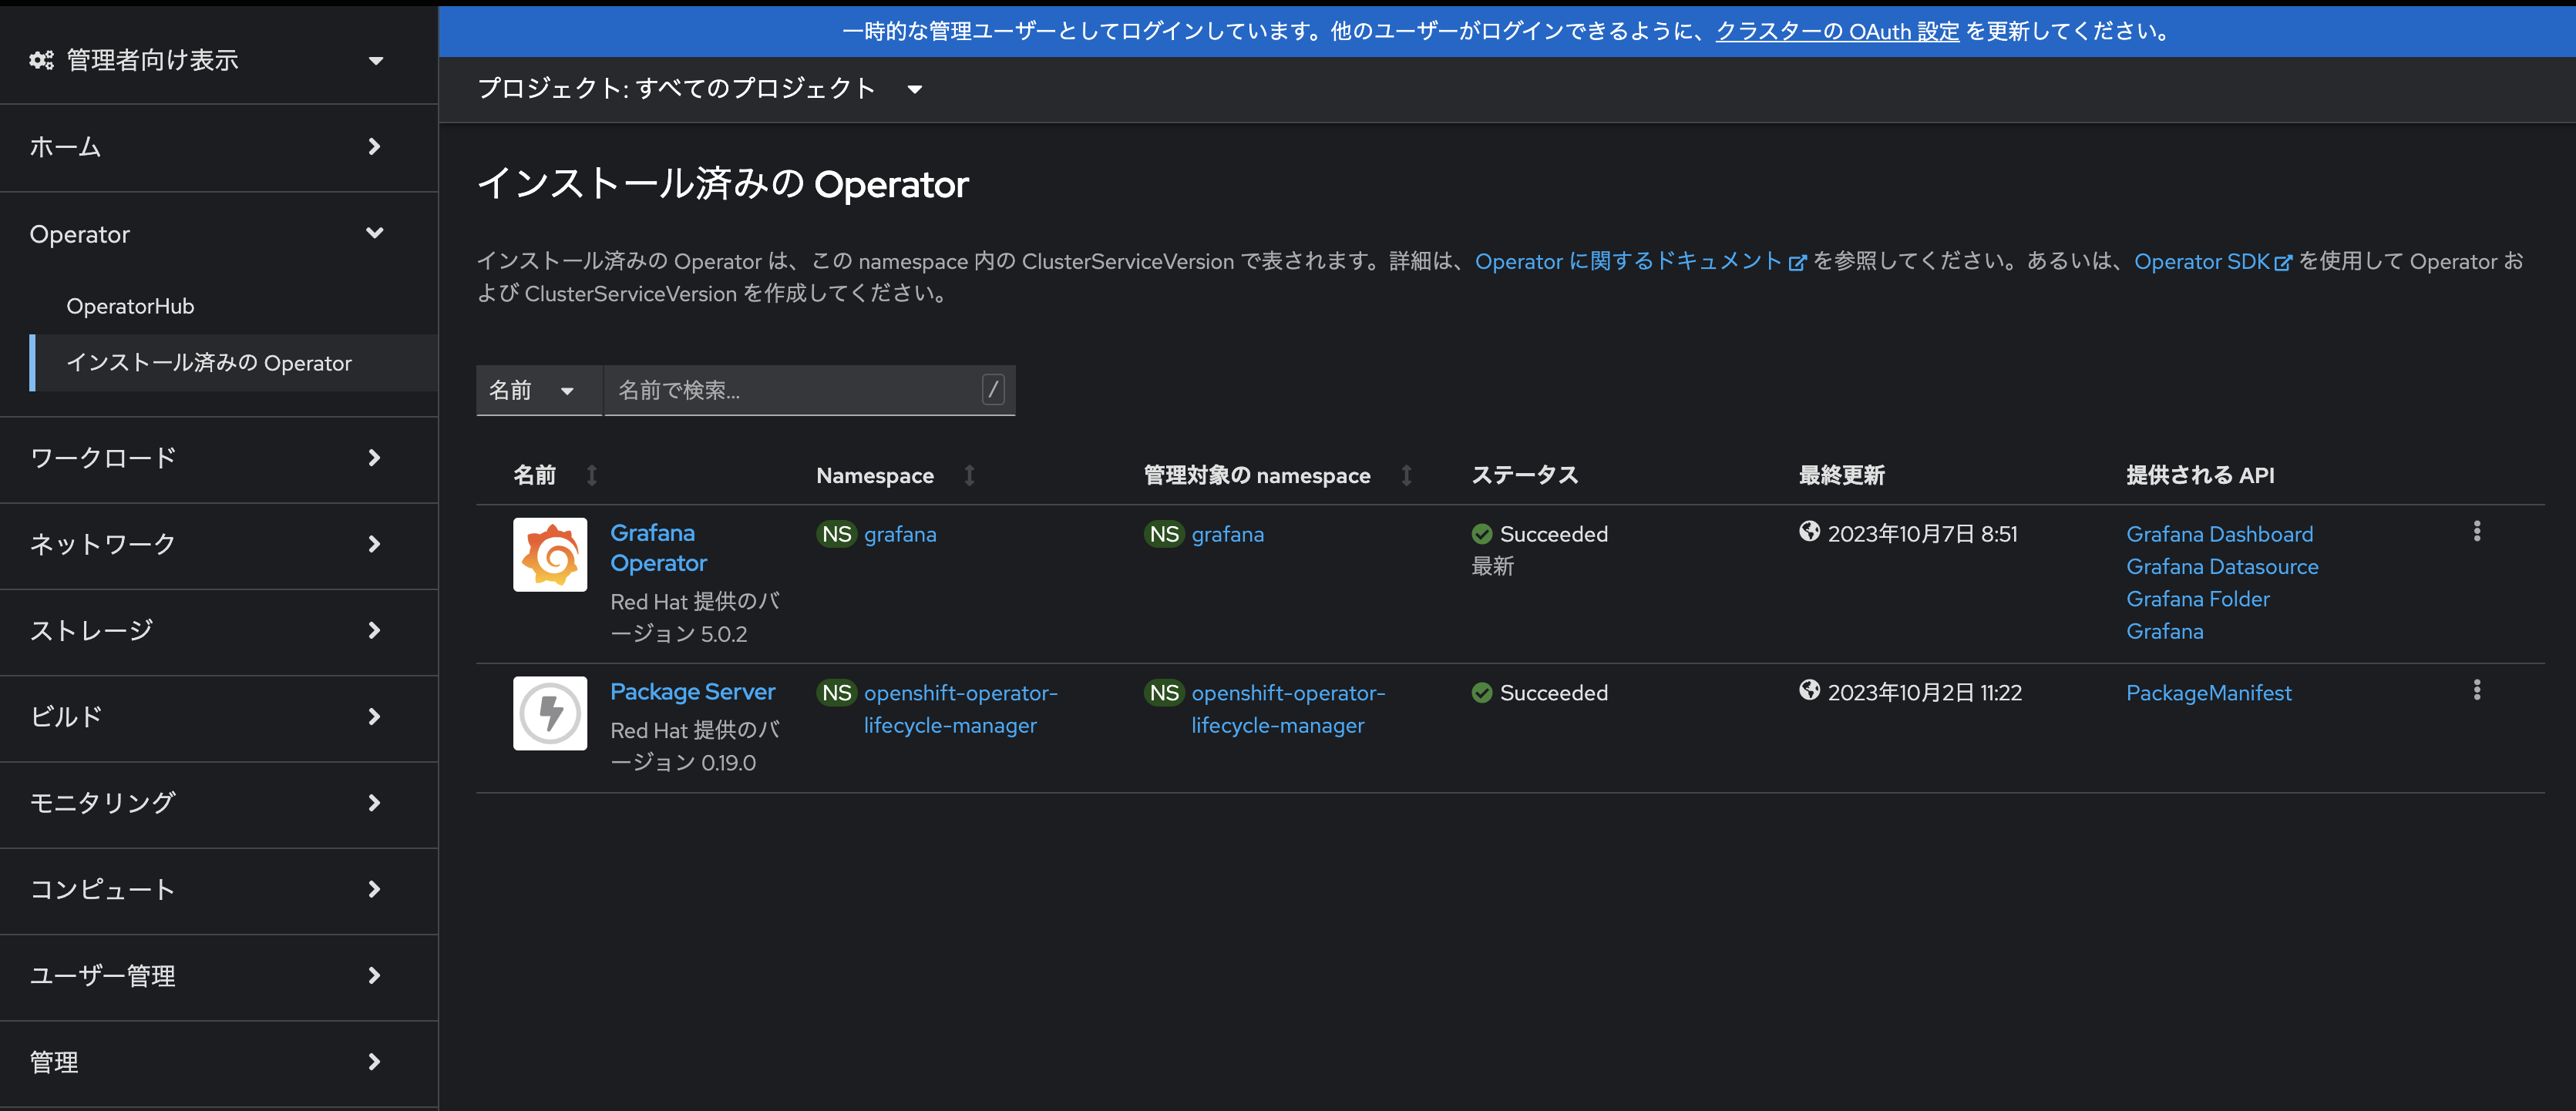
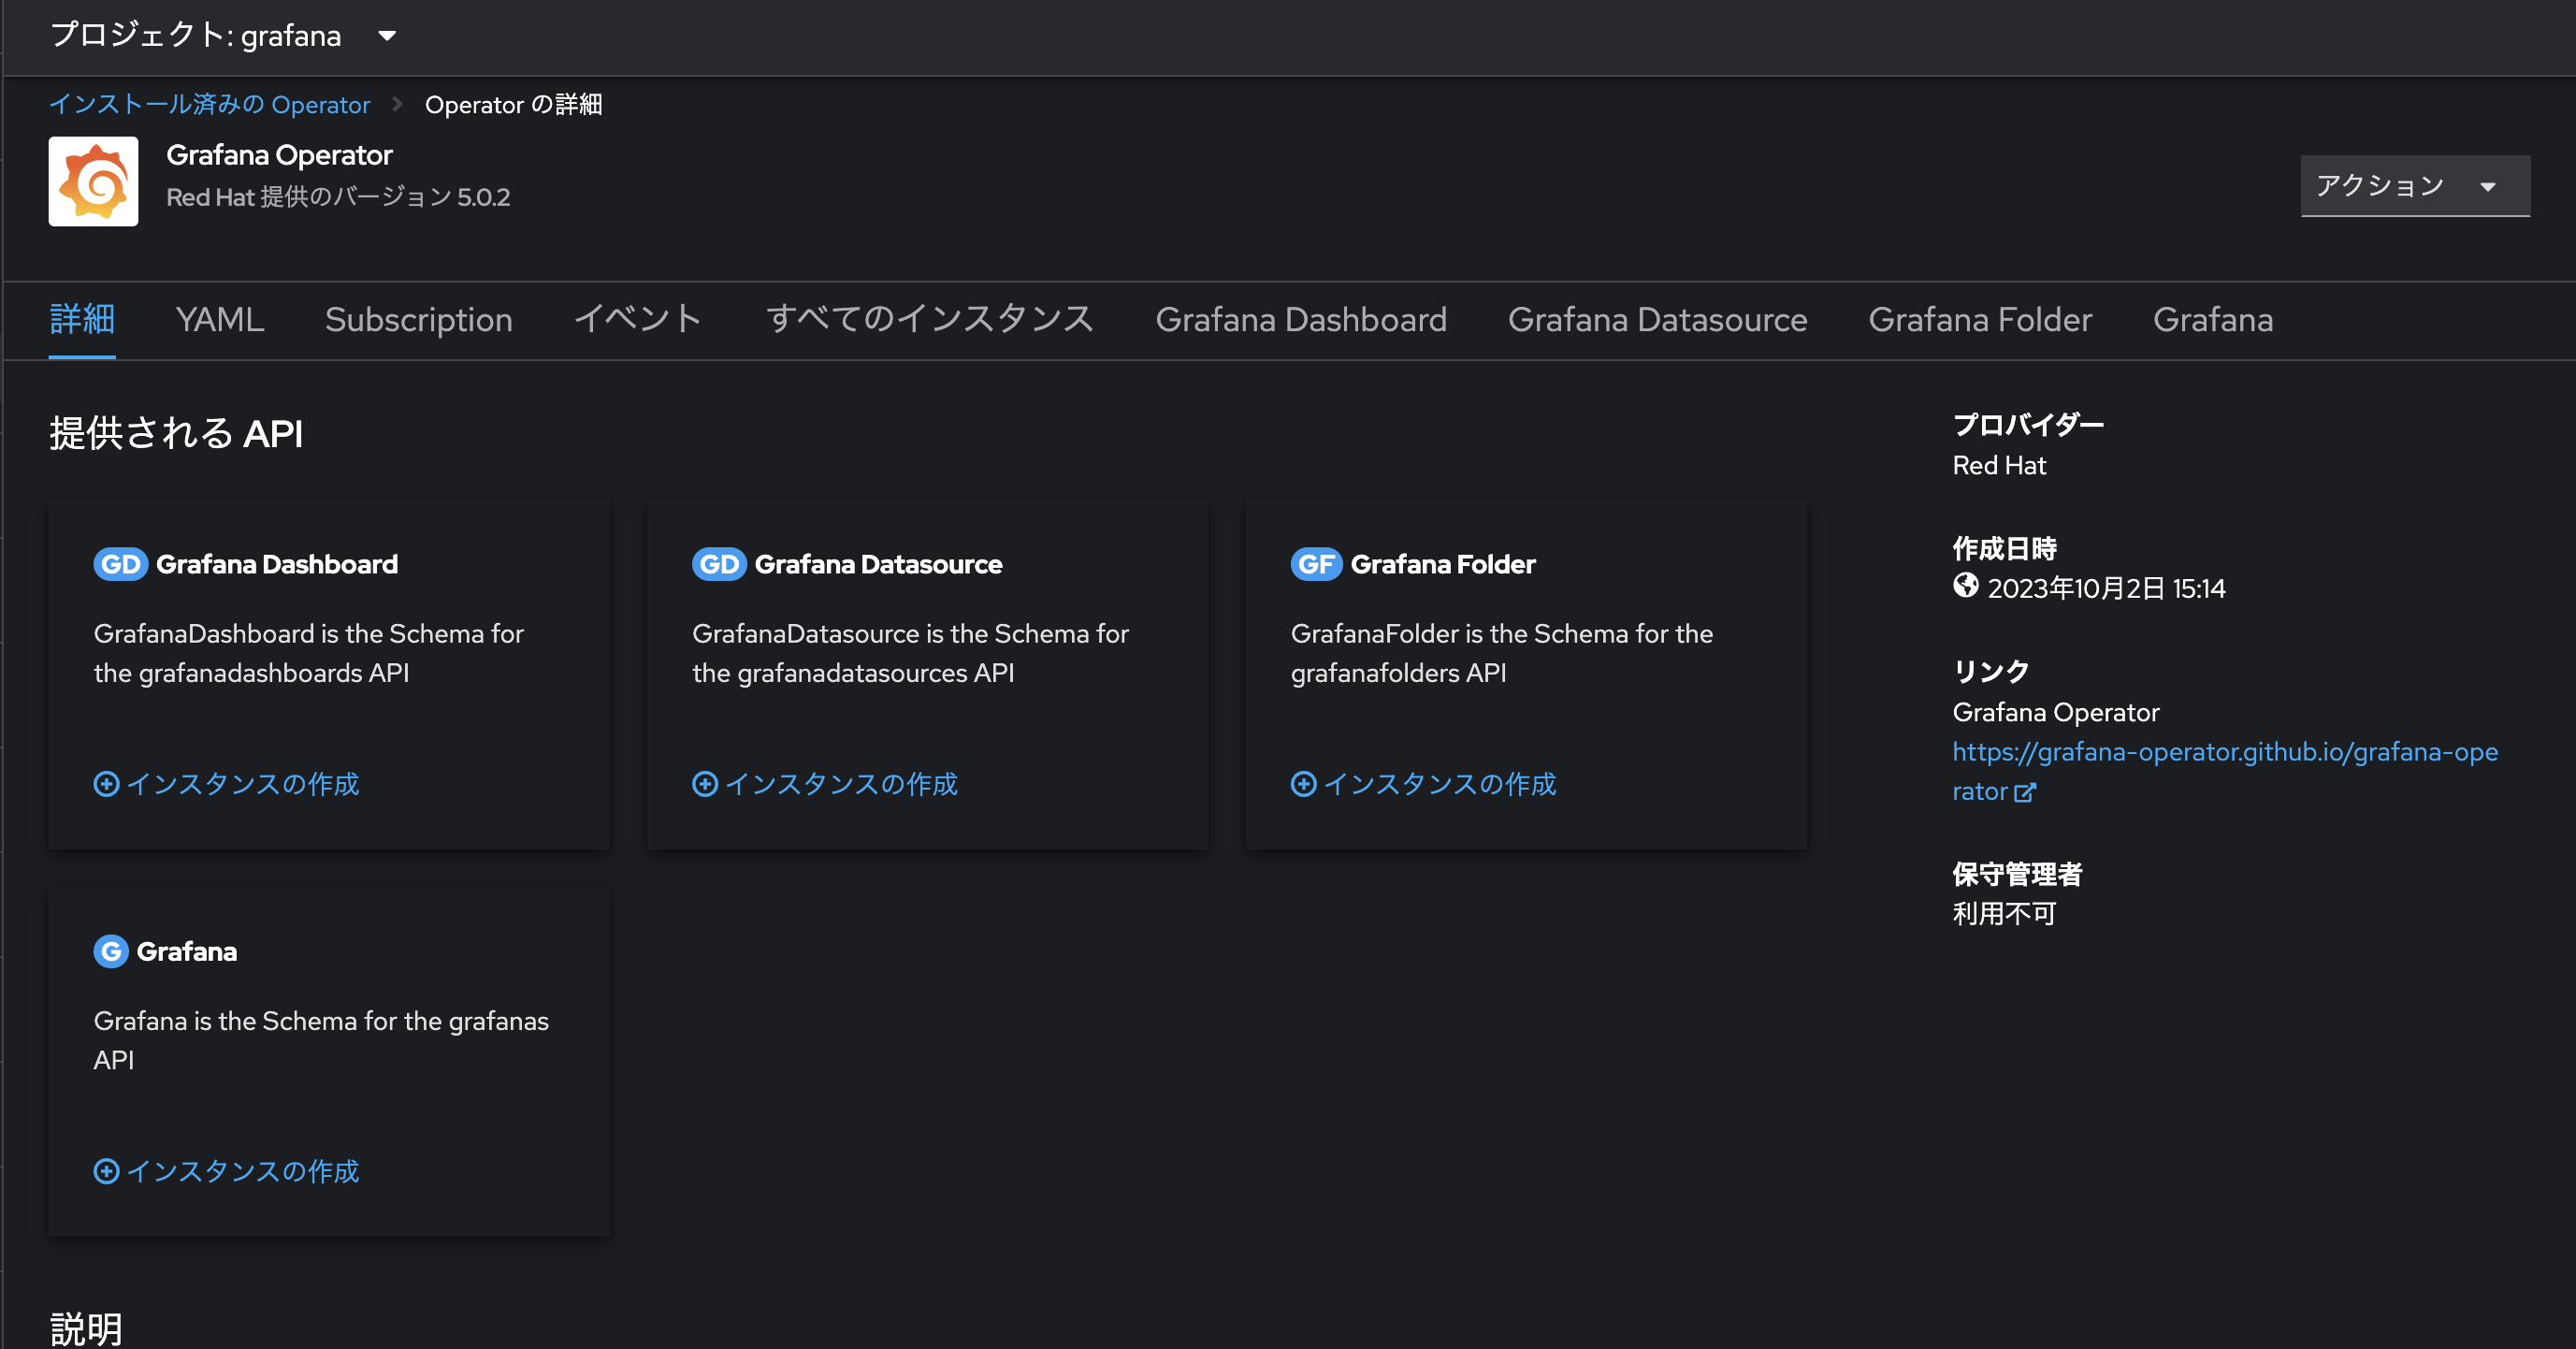
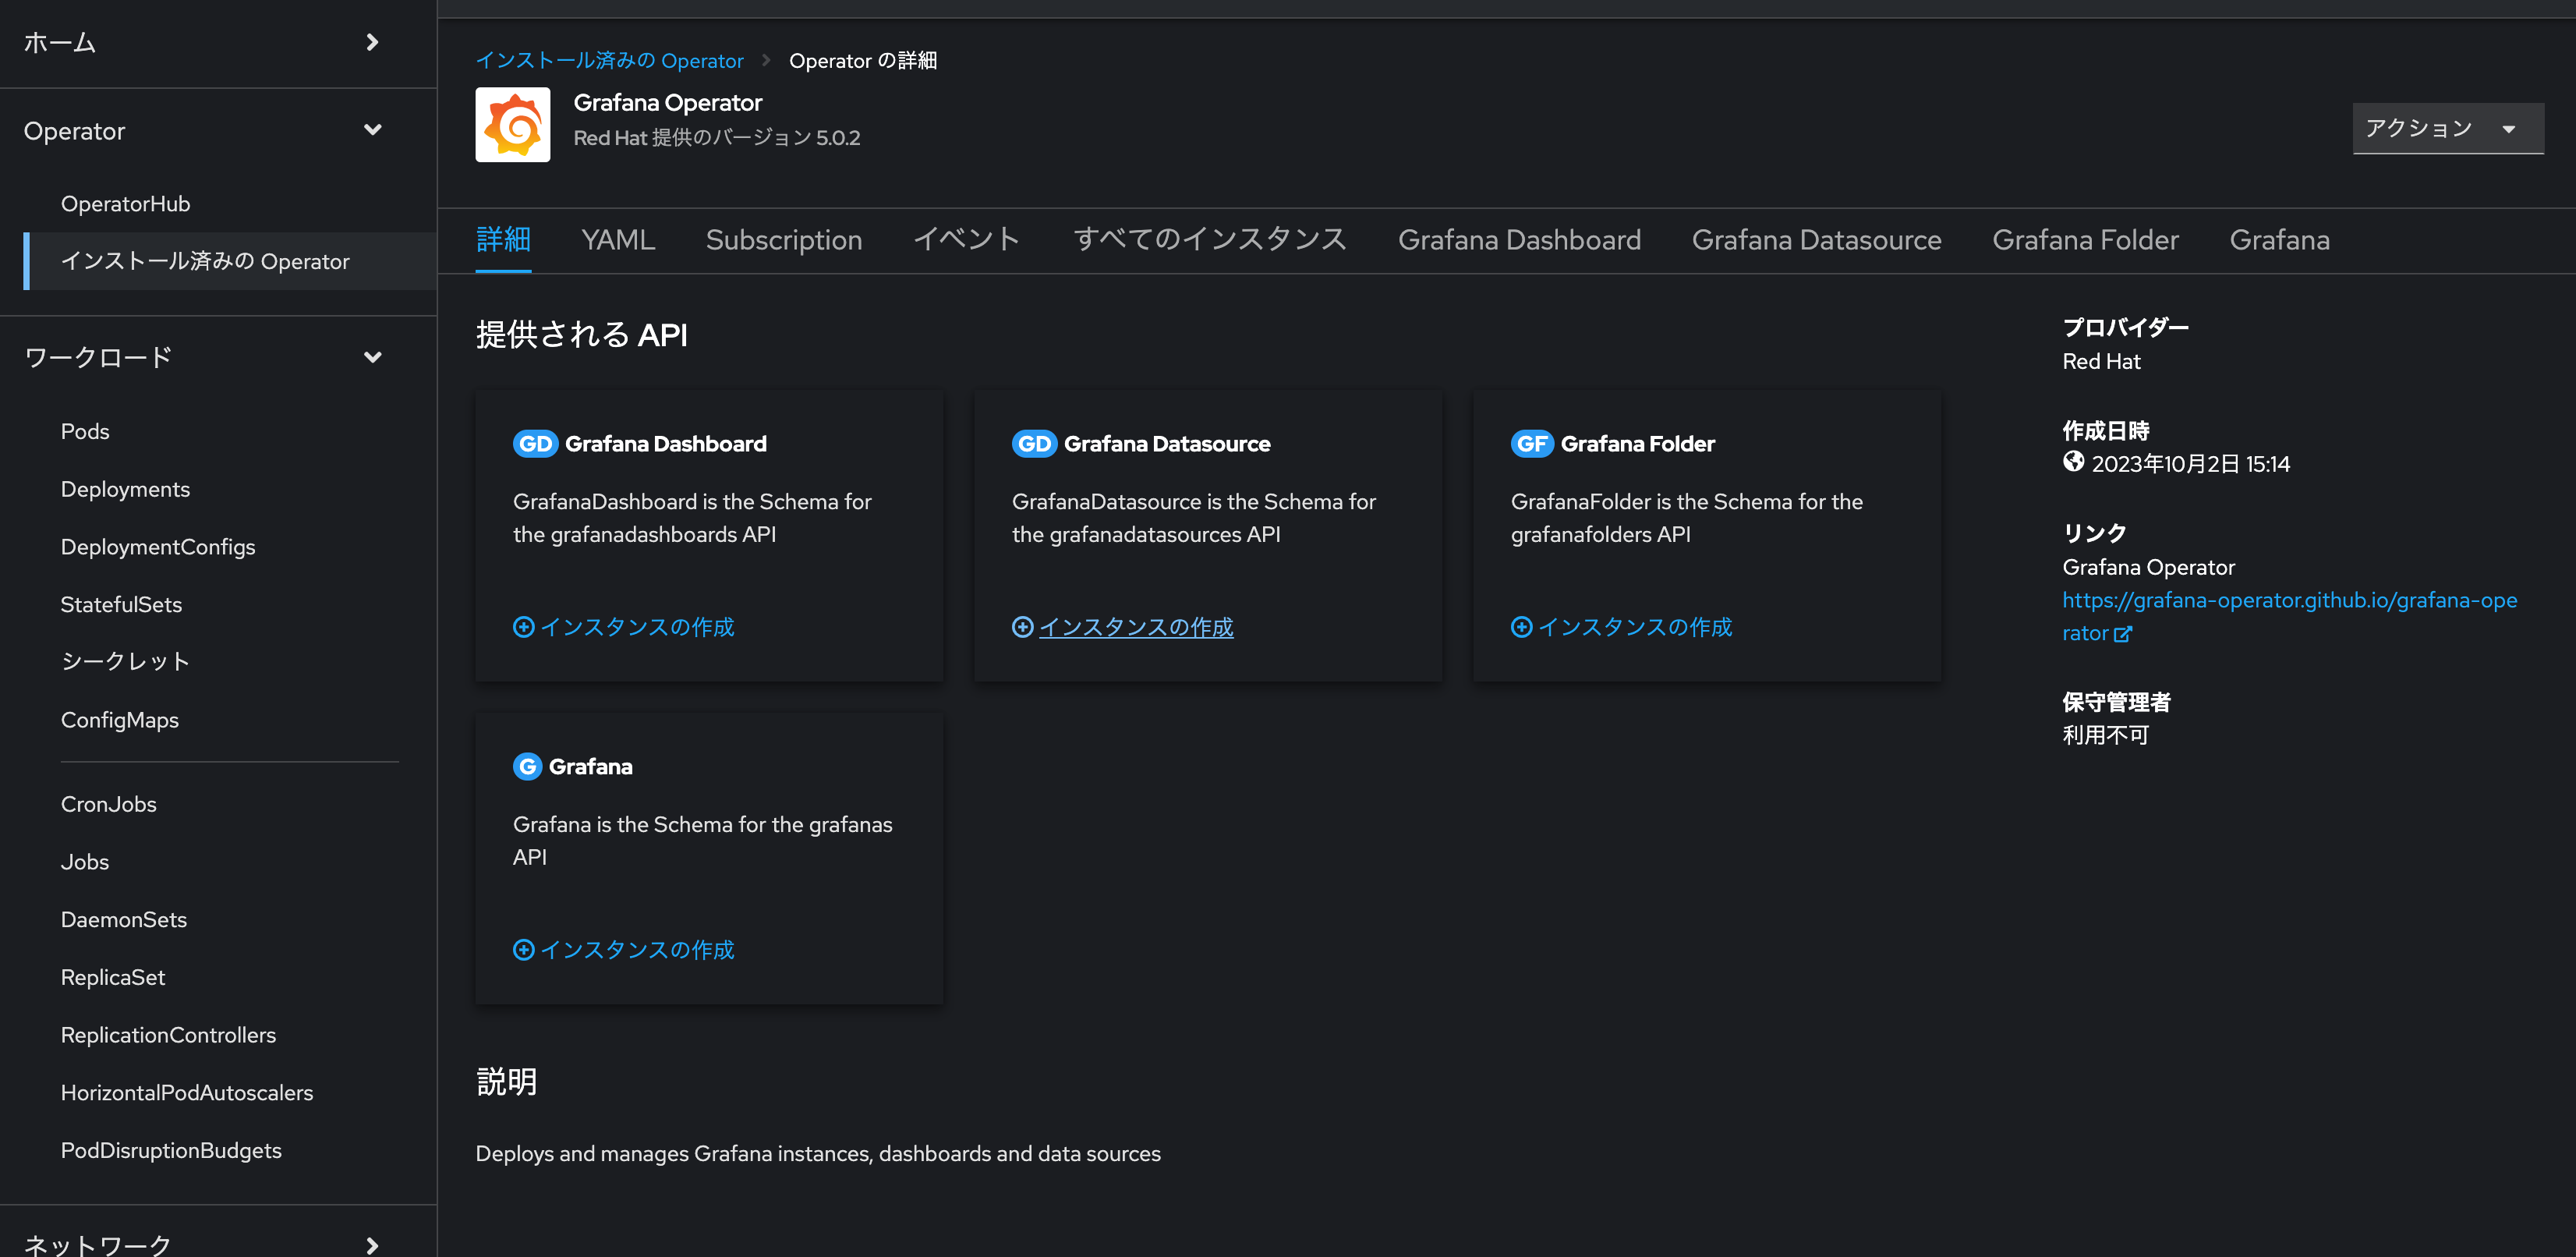
Openshift Web Consoleを開き、メニューからインストール済のOperatorを選択し、Grafana Operatorをクリックします。
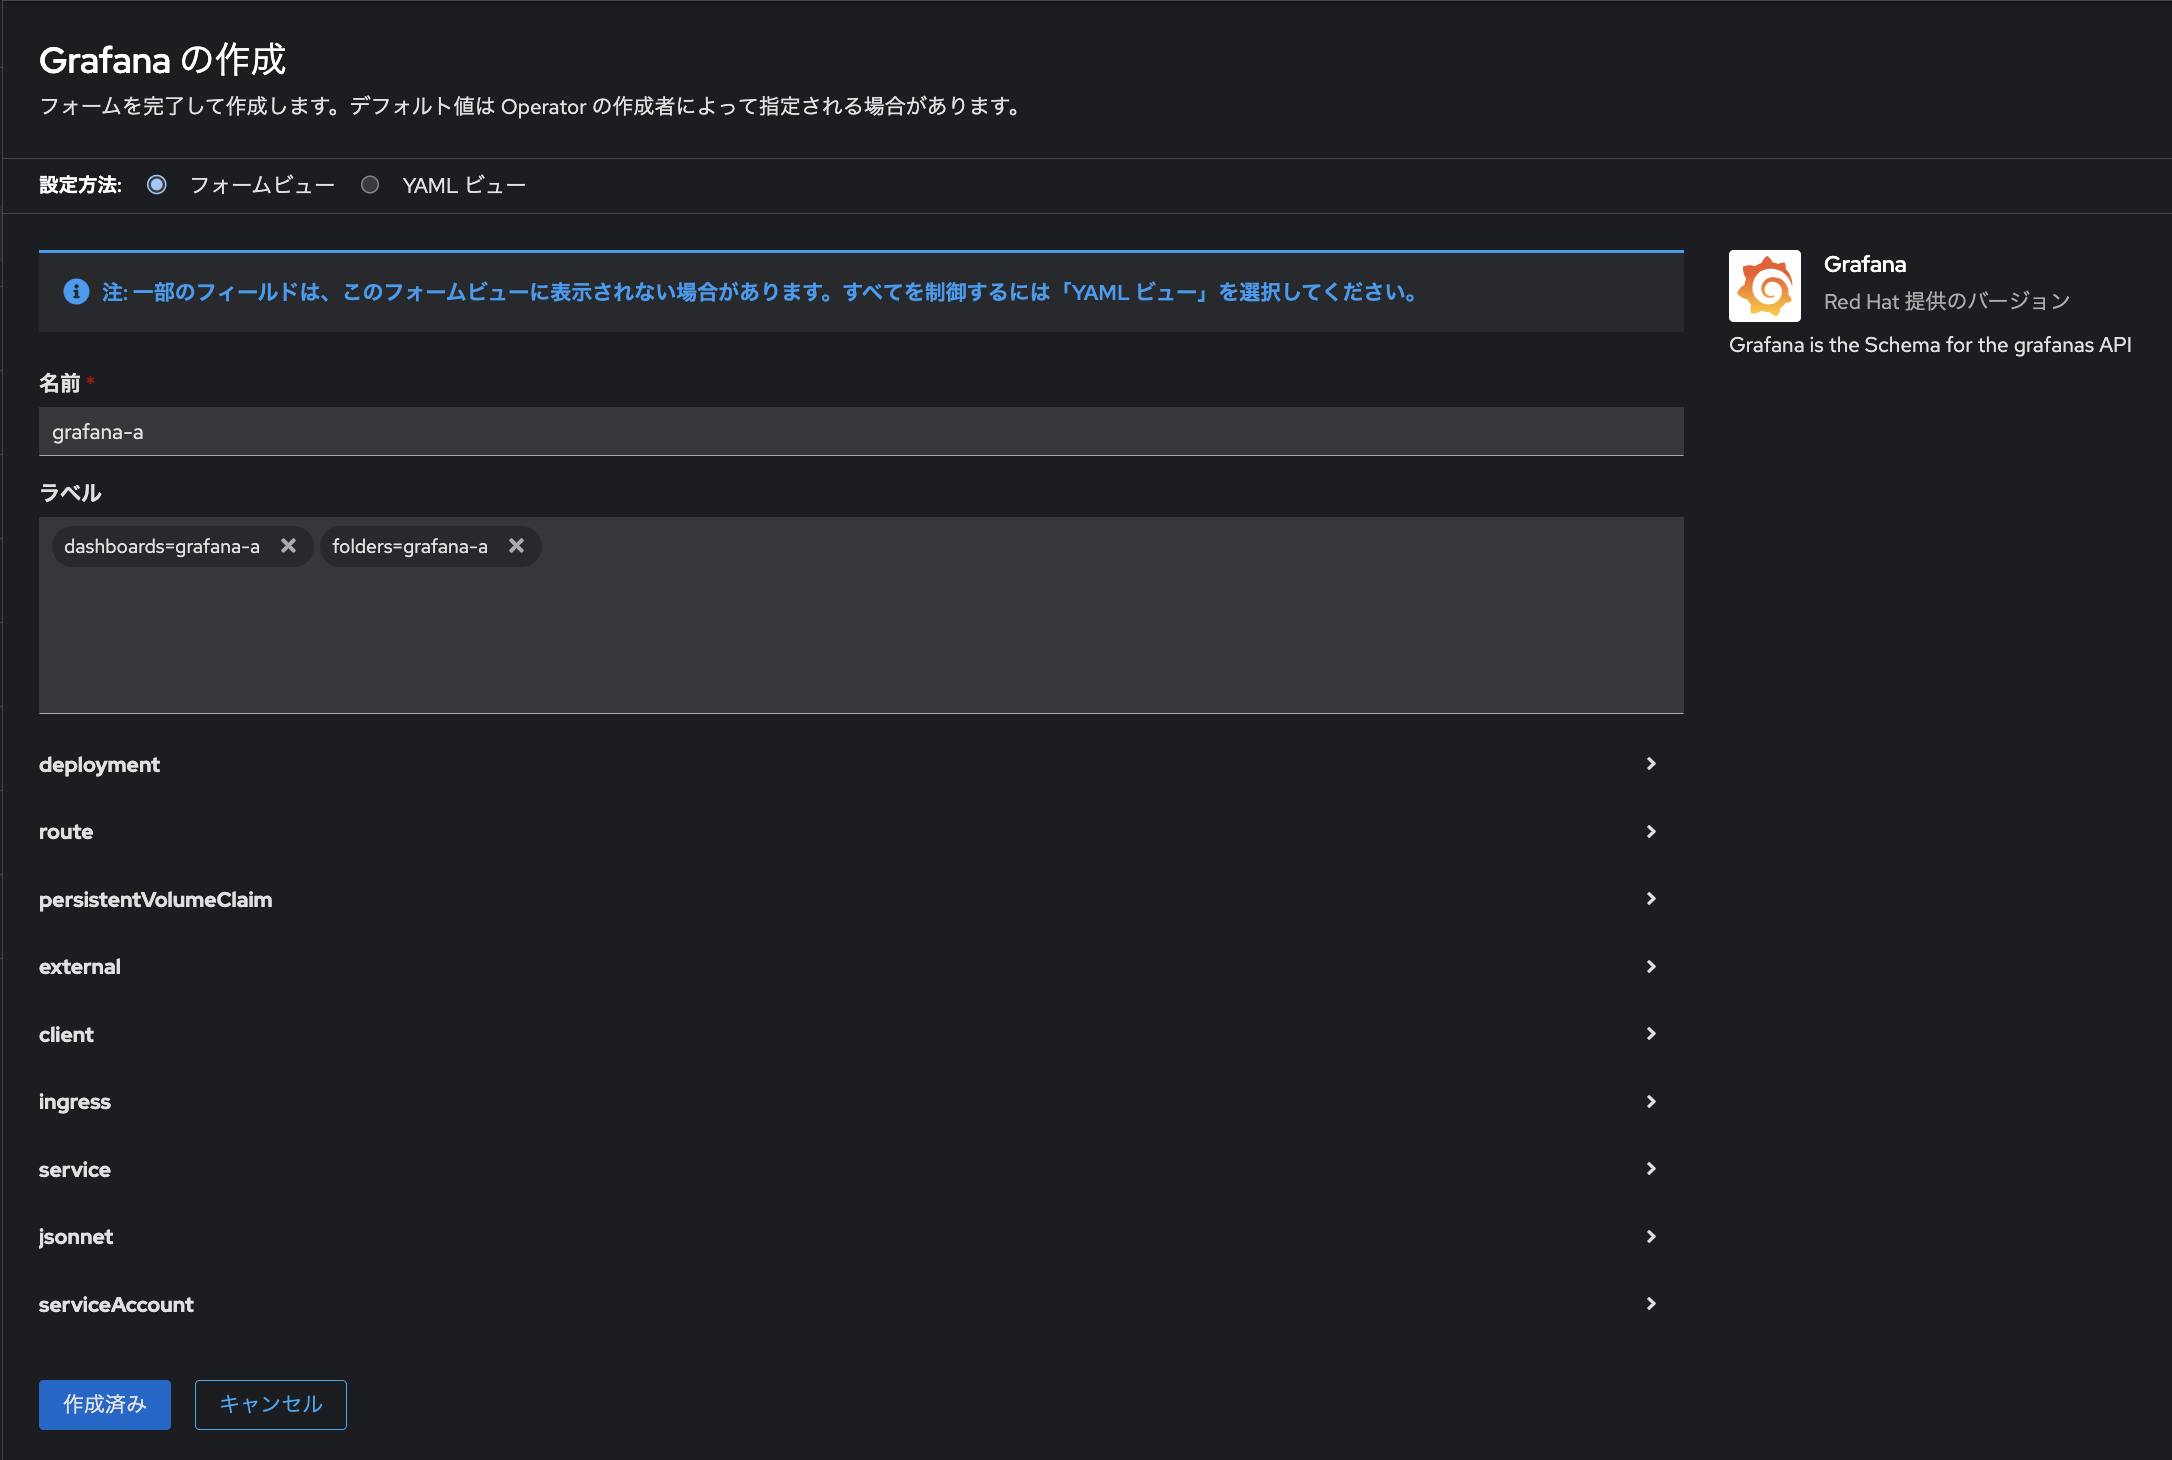
Grafanaインスタンスの作成をクリックします。
今回はデフォルトのままで作成します。
Adminユーザー名やパスワードを変更したい場合はYAMLビューに切り替えて、
spec.security.admin_userとspec.security.admin_passwordを変更してください)
以下の通り、pod(grafana-a-deployment-5bcd5dbd48-k7cfq)、service(grafana-a-service)とservice account(grafana-a-sa)が作成されいていることがわかります。
❯ oc get pod -n grafana
NAME                                                 READY   STATUS    RESTARTS   AGE
grafana-a-deployment-5bcd5dbd48-k7cfq                1/1     Running   0          38s
grafana-operator-controller-manager-c749dd5b-z6pqj   1/1     Running   0          6d2h

❯ oc get service -n grafana
NAME                                        TYPE        CLUSTER-IP      EXTERNAL-IP   PORT(S)    AGE
grafana-a-service                           ClusterIP   xxx.xx.xx.xxx   <none>        3000/TCP   3m13s
grafana-operator-operator-metrics-service   ClusterIP   xxx.xx.xx.xxx   <none>        8443/TCP   10d

❯ oc get sa -n grafana
NAME                                  SECRETS   AGE
builder                               1         10d
default                               1         10d
deployer                              1         10d
grafana-a-sa                          1         55s
grafana-operator-controller-manager   1         10d
routeは作成しないため、
❯ oc get route -n grafana
No resources found in grafana namespace.
以下のようなかたちで自分で作成します。
❯ oc create route edge --service=grafana-a-service -n grafana
route.route.openshift.io/grafana-a-service created

❯ oc get route -n grafana
NAME                HOST/PORT                                                                   PATH   SERVICES            PORT      TERMINATION   WILDCARD
grafana-a-service   grafana-a-service-grafana.apps.xxx.xxx.xxx.xxx.com          grafana-a-service   grafana   edge          None
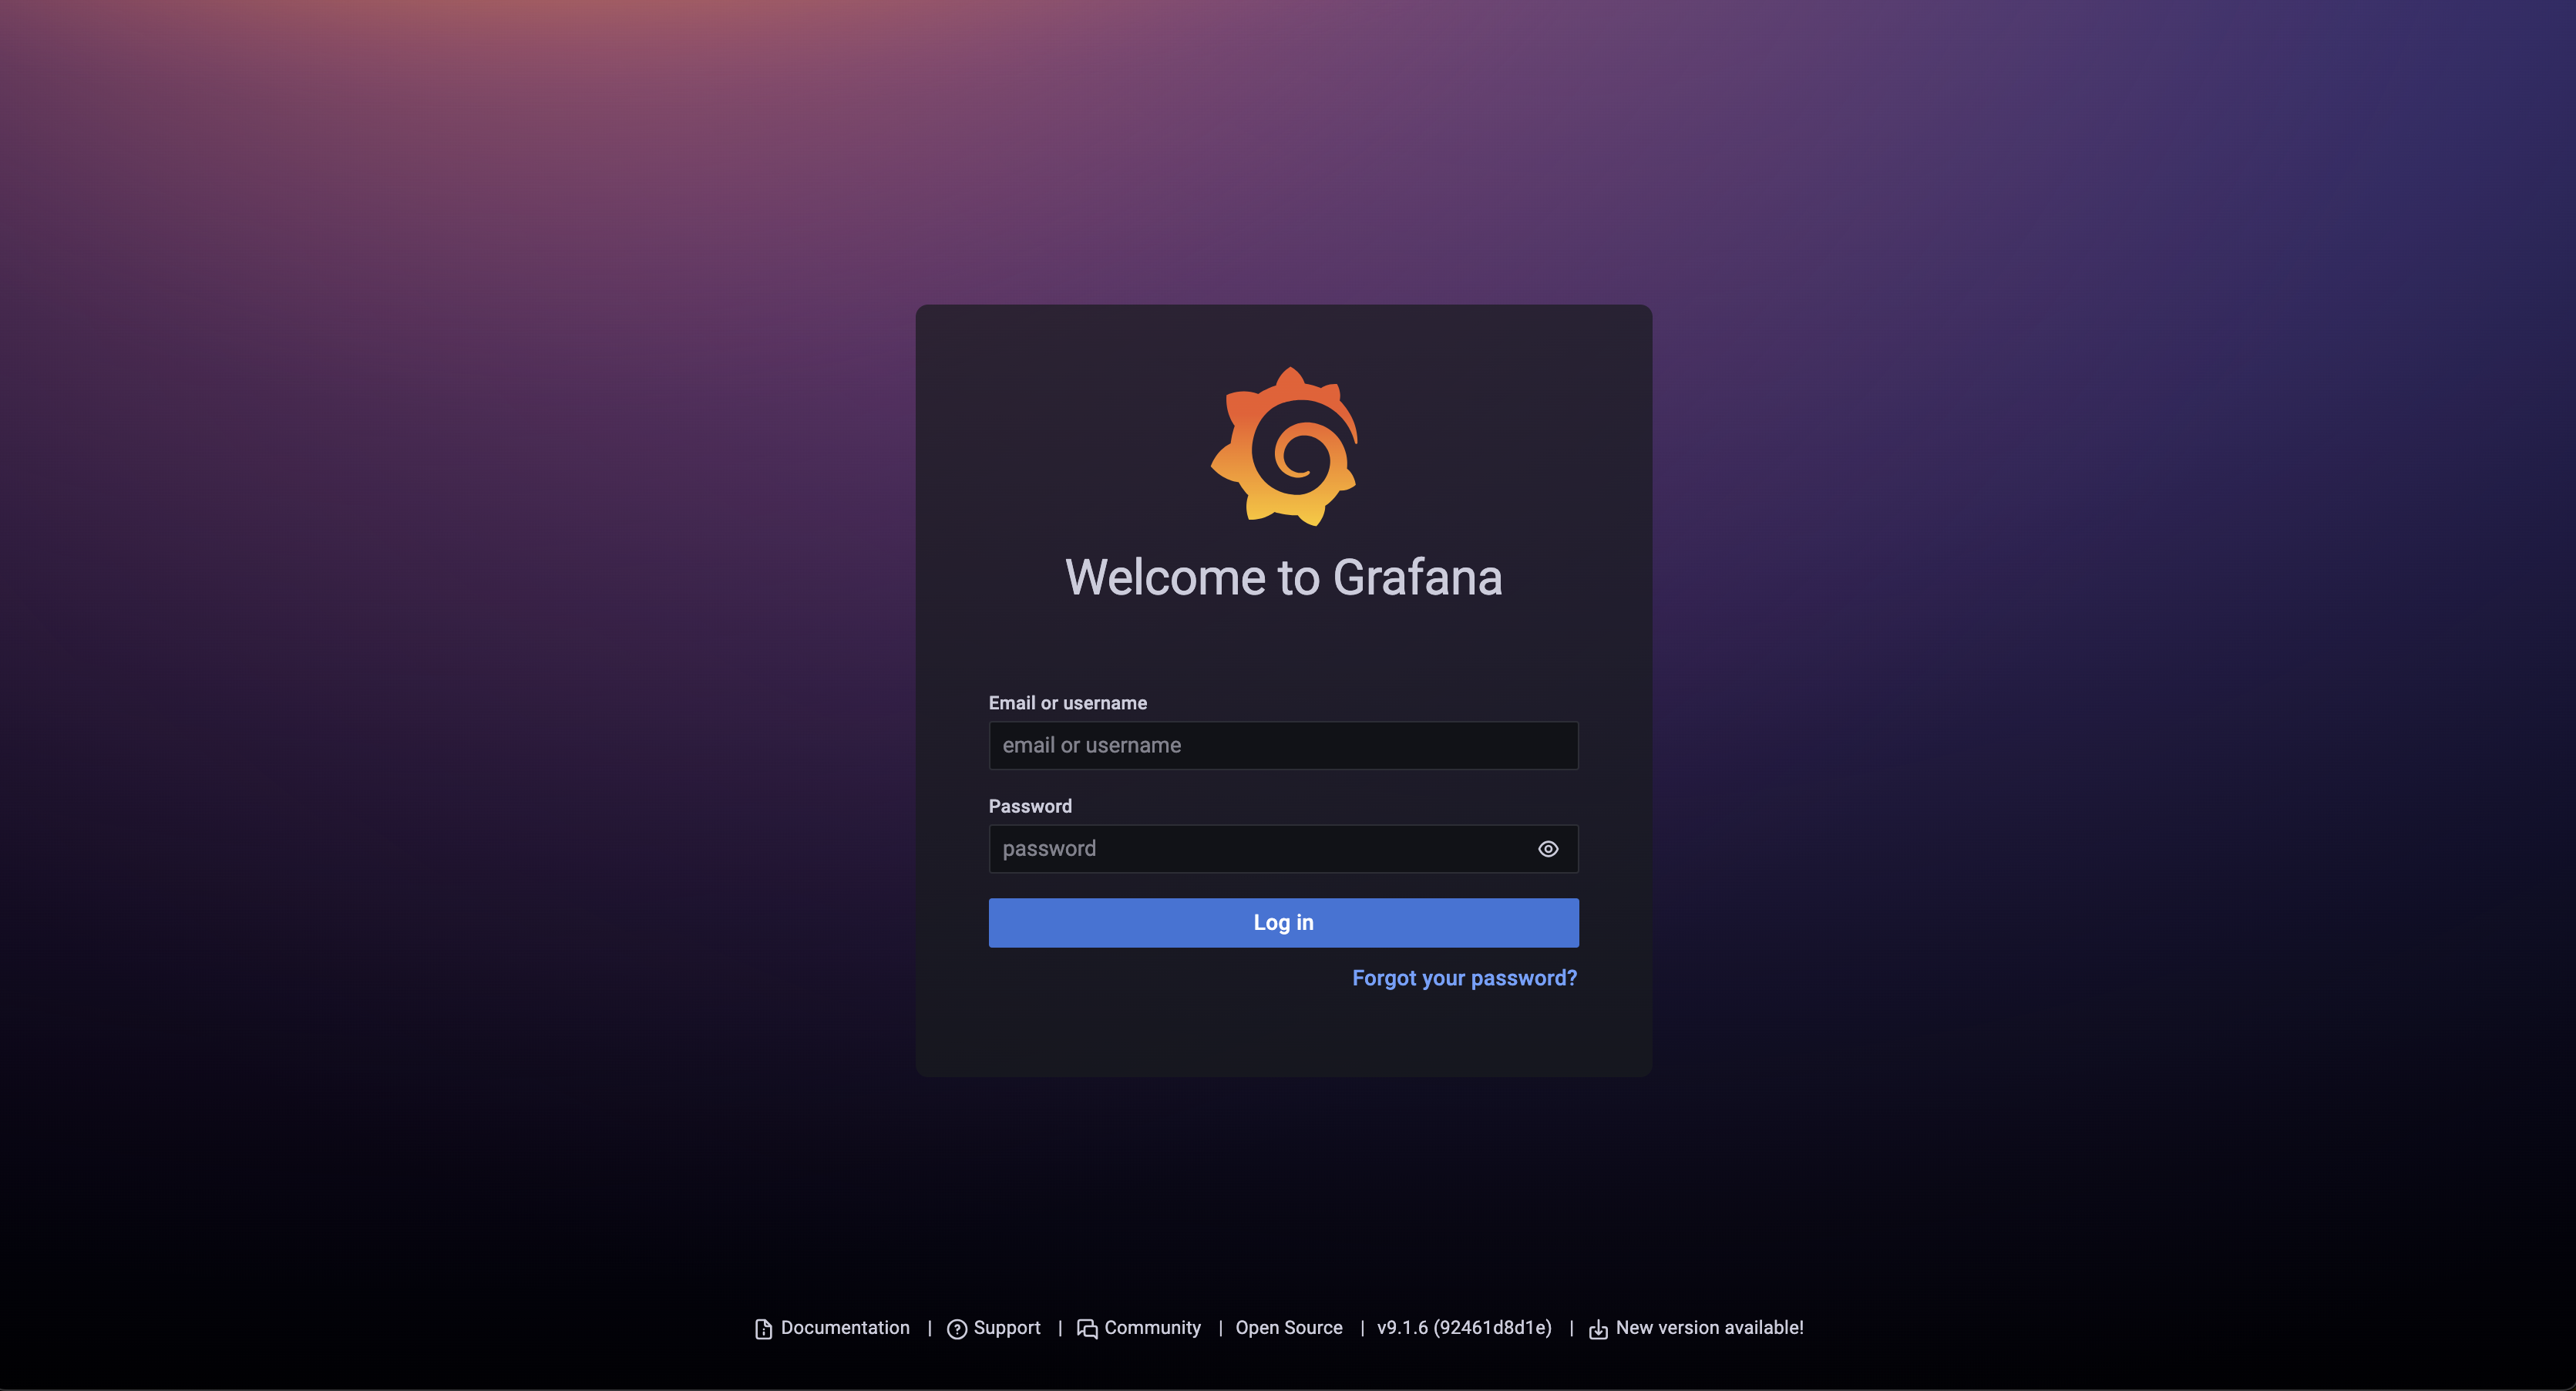
https://grafana-a-service-grafana.apps.xxx.xxx.xxx.xxx.comを開くと、以下のような画面が表示されれば成功です。
デフォルトのままであれば、以下の値を入力することでログインできます。
| 項目 | 値 |
|---|---|
| Email or username | root |
| Password | start |
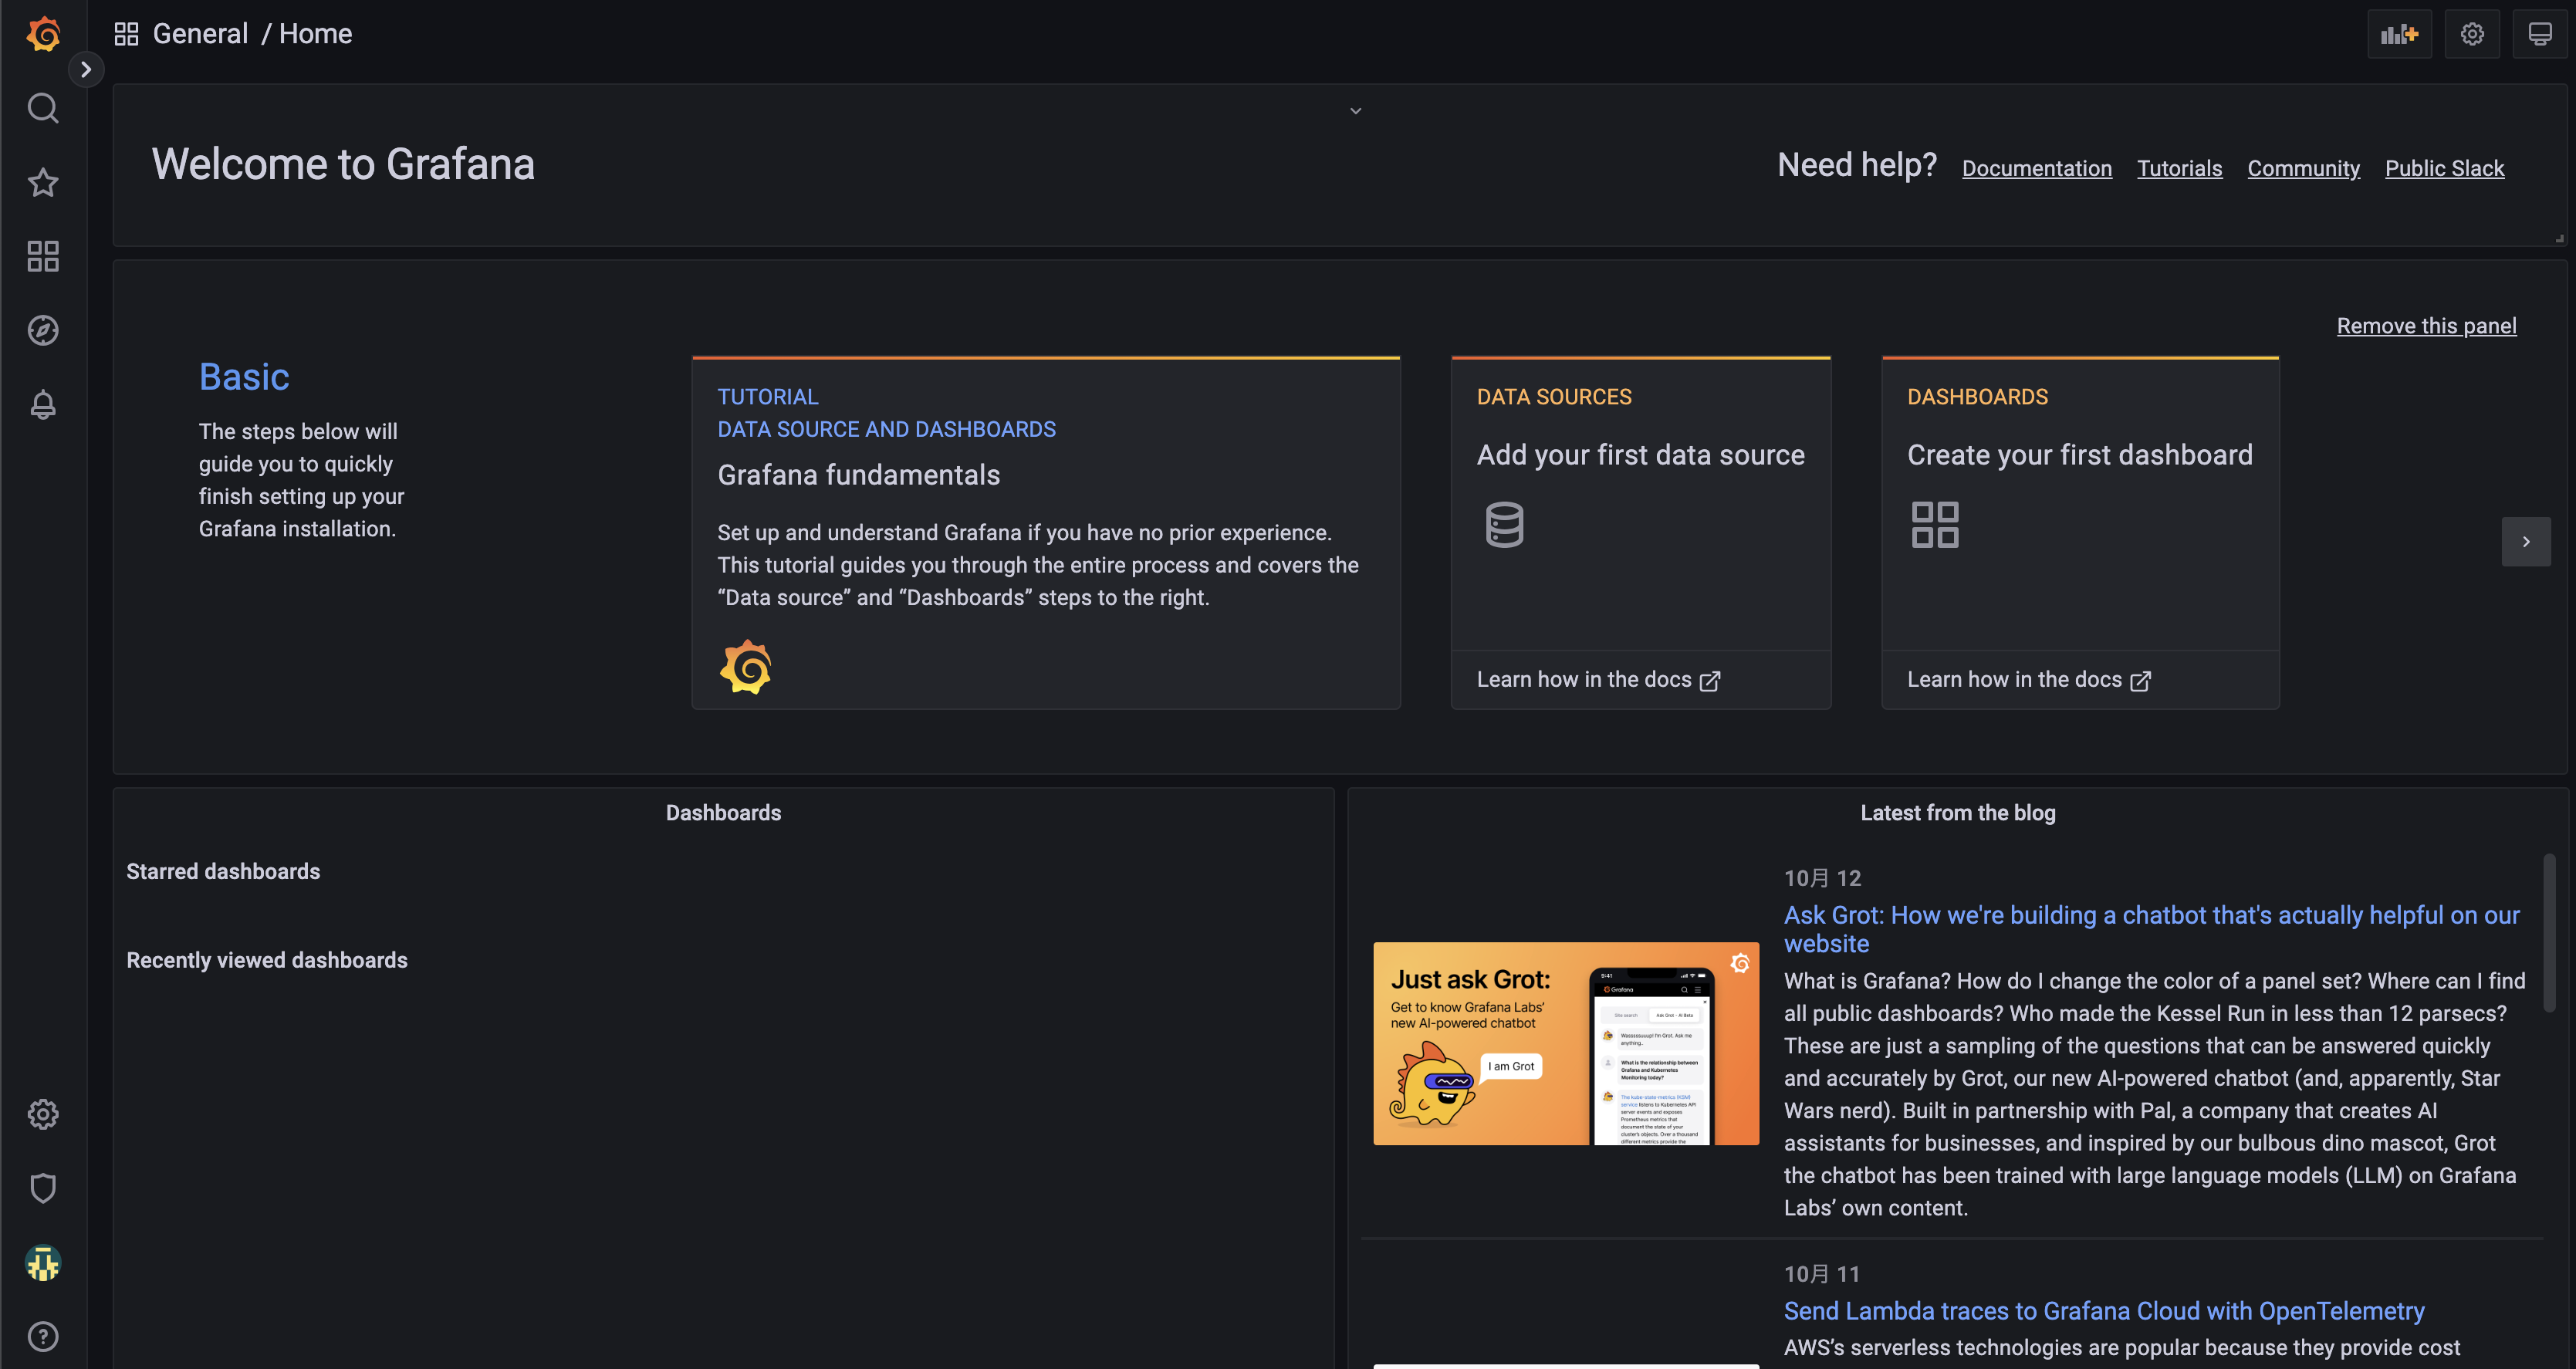
ログインできると以下のような画面が表示されます。
3. GrafanaとPrometheusの連携
ここからはOpenShiftにデフォルトでデプロイされているPrometheusと連携する方法を説明していきます。
❯ oc get deployment -n openshift-monitoring
NAME                                    READY   UP-TO-DATE   AVAILABLE   AGE
cluster-monitoring-operator             1/1     1            1           11d
kube-state-metrics                      1/1     1            1           11d
openshift-state-metrics                 1/1     1            1           11d
prometheus-adapter                      2/2     2            2           11d
prometheus-operator                     1/1     1            1           11d
prometheus-operator-admission-webhook   2/2     2            2           11d
telemeter-client                        1/1     1            1           11d
thanos-querier
3.1 GrafanaサービスアカウントにPrometheusへのアクセス権の付与
まず、garanaのサービスアカウント(grafana-a-sa)にcluster-monitoring-viewポリシーを適用します。
❯ oc adm policy add-cluster-role-to-user cluster-monitoring-view -z grafana-a-sa -n grafana
clusterrole.rbac.authorization.k8s.io/cluster-monitoring-view added: "grafana-a-sa"
grafanaサービスアカウント(garafana-a-sa)のtokenを作成します。
❯ oc sa new-token grafana-a-sa -n grafana
xxxxtokenxxxxxxxxxxxxxxxxxxxxxxxxxxxxx
3.2 Grafanaデータソースの作成
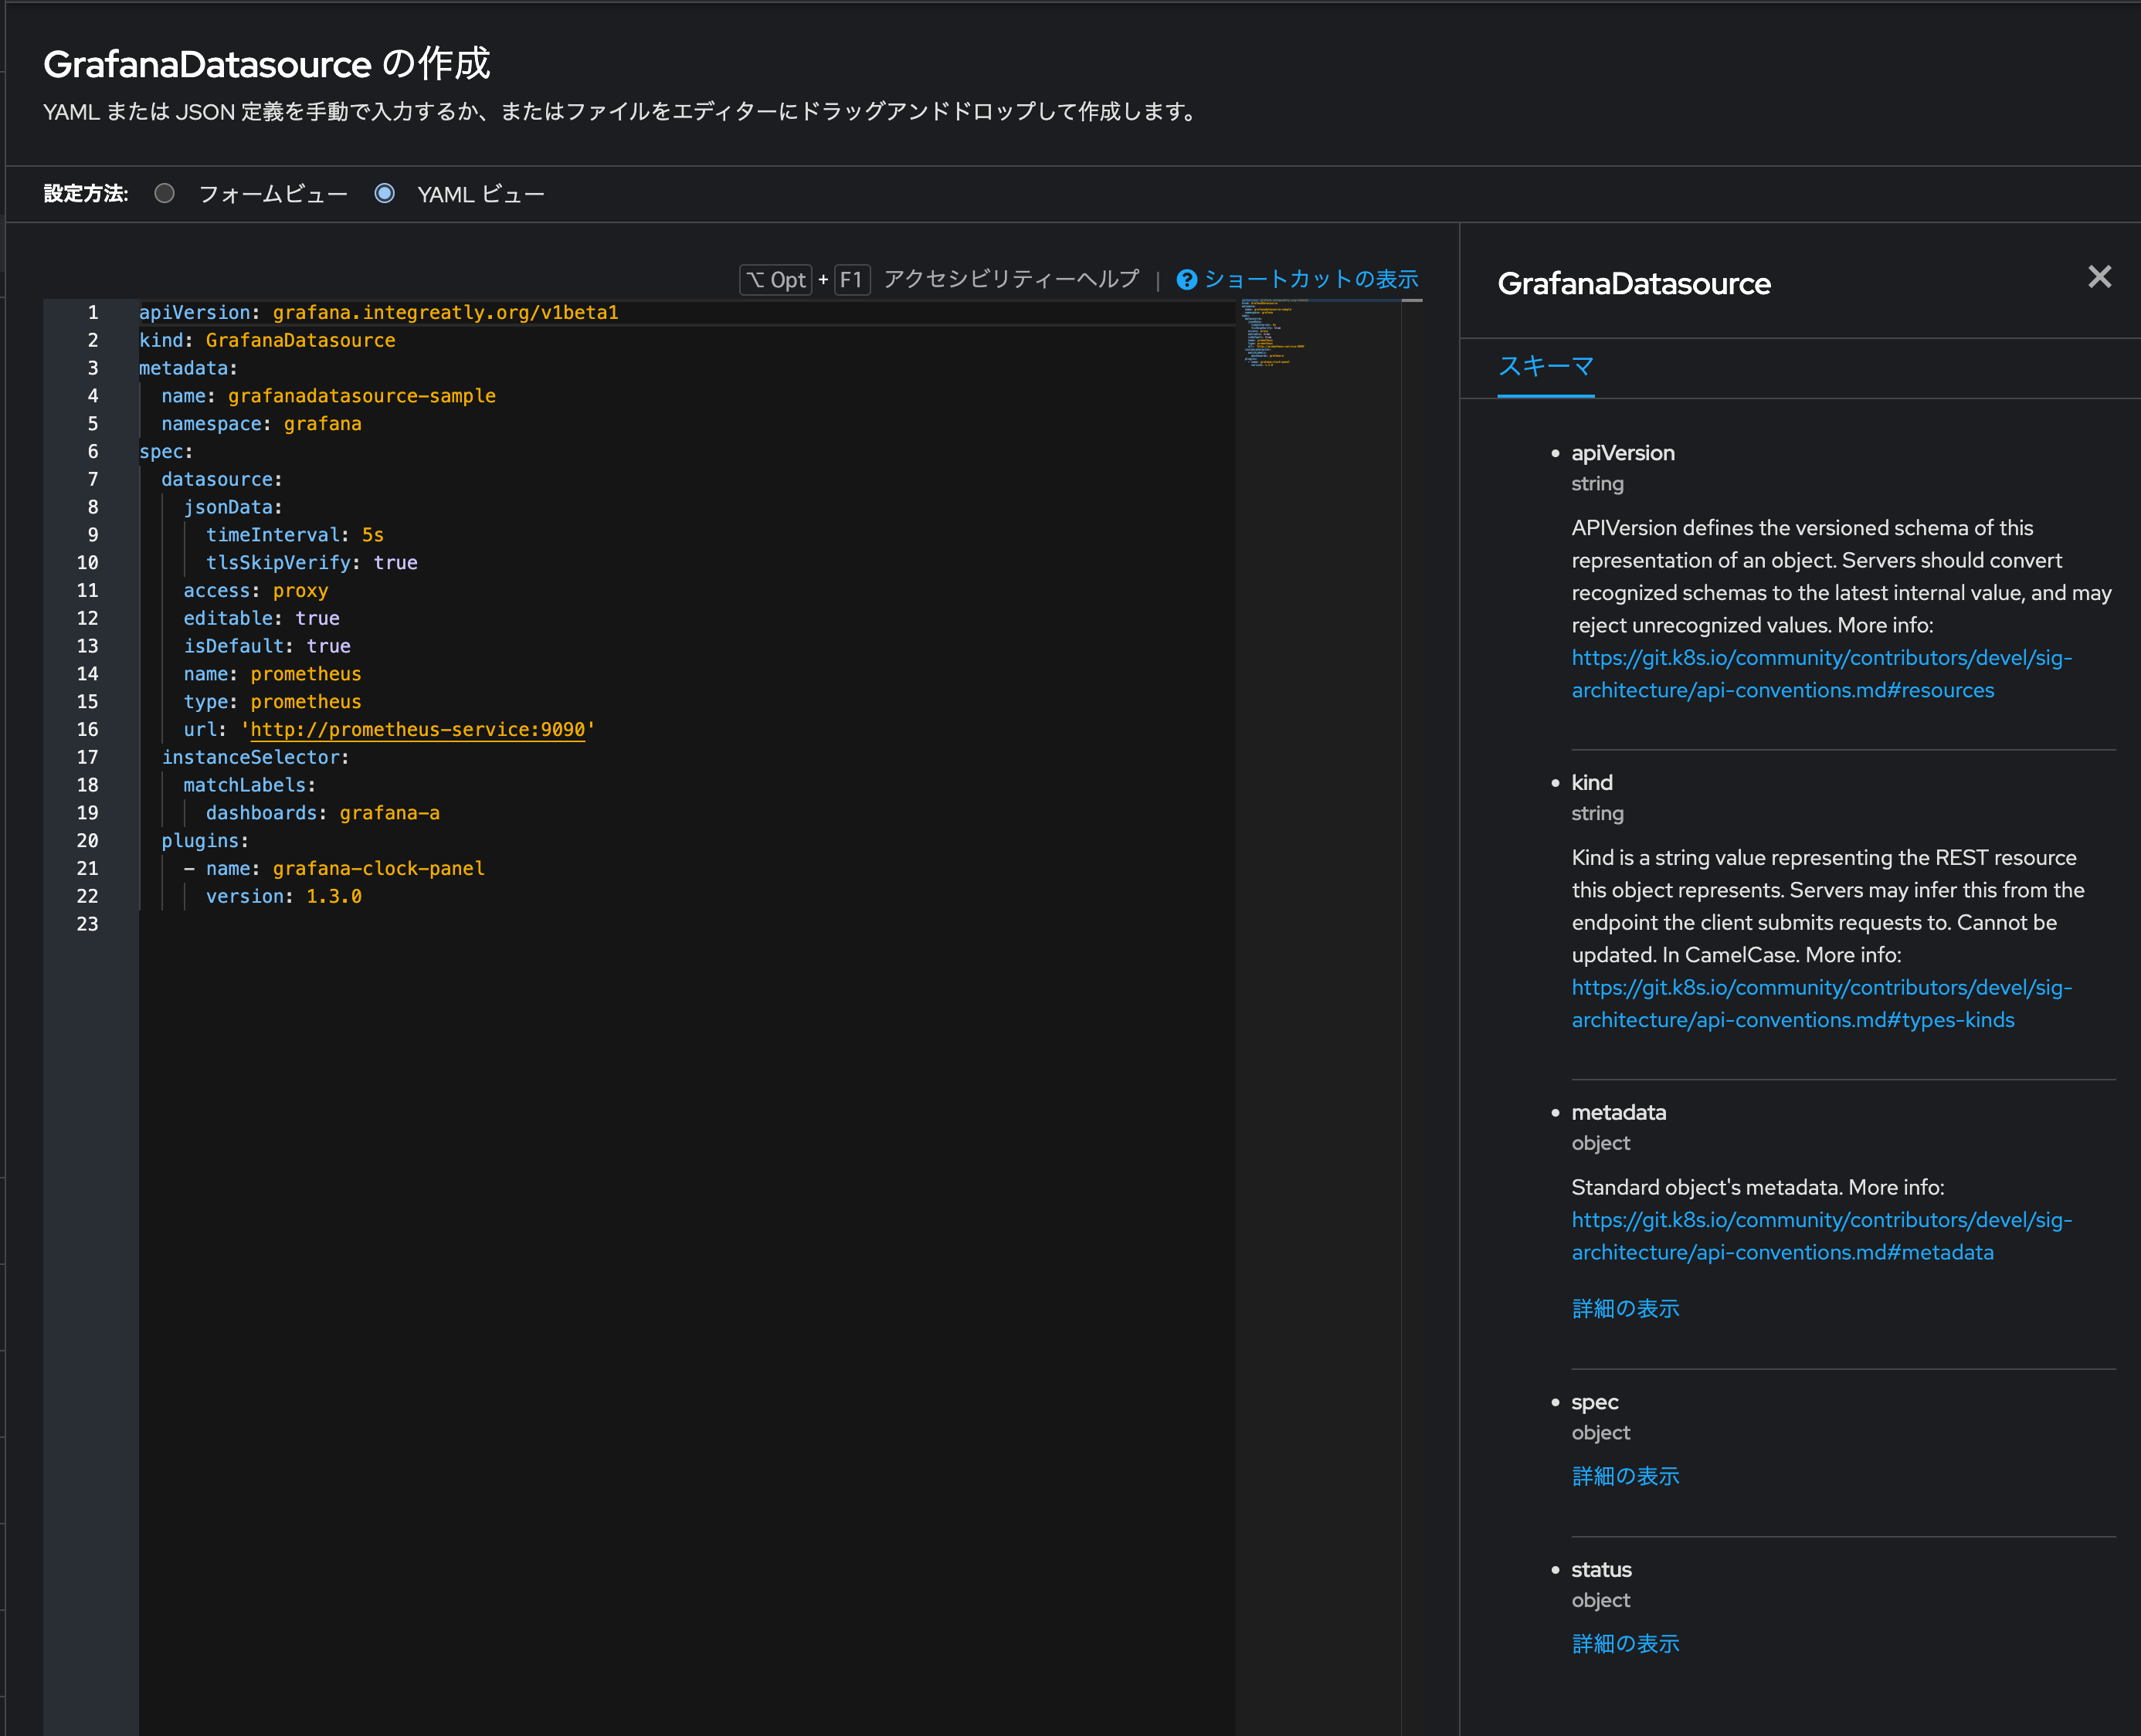
OpenShift Web Consoleを開き、Grafana Data Sourceのインスタンスを作成します。
以下のYAMLを参考にhttpリクエストの認証としてヘッダーにTokenを利用するようにします。
apiVersion: grafana.integreatly.org/v1beta1
kind: GrafanaDatasource
metadata:
  name: grafanadatasource-sample
  namespace: grafana
spec:
  datasource:
    jsonData:
      timeInterval: 5s
      tlsSkipVerify: true
      httpHeaderName1: 'Authorization'
    access: proxy
    editable: true
    isDefault: true
    name: prometheus
    secureJsonData:
        httpHeaderValue1: 'Bearer xxxxtokenxxxxxxxxxxxxxxxxxxxxxxxxxxxxx'
    type: prometheus
    url: 'https://thanos-querier.openshift-monitoring.svc.cluster.local:9091'
  instanceSelector:
    matchLabels:
      dashboards: grafana-a
  plugins:
    - name: grafana-clock-panel
      version: 1.3.0
次にData Sourceが正常に登録されているか確認します。
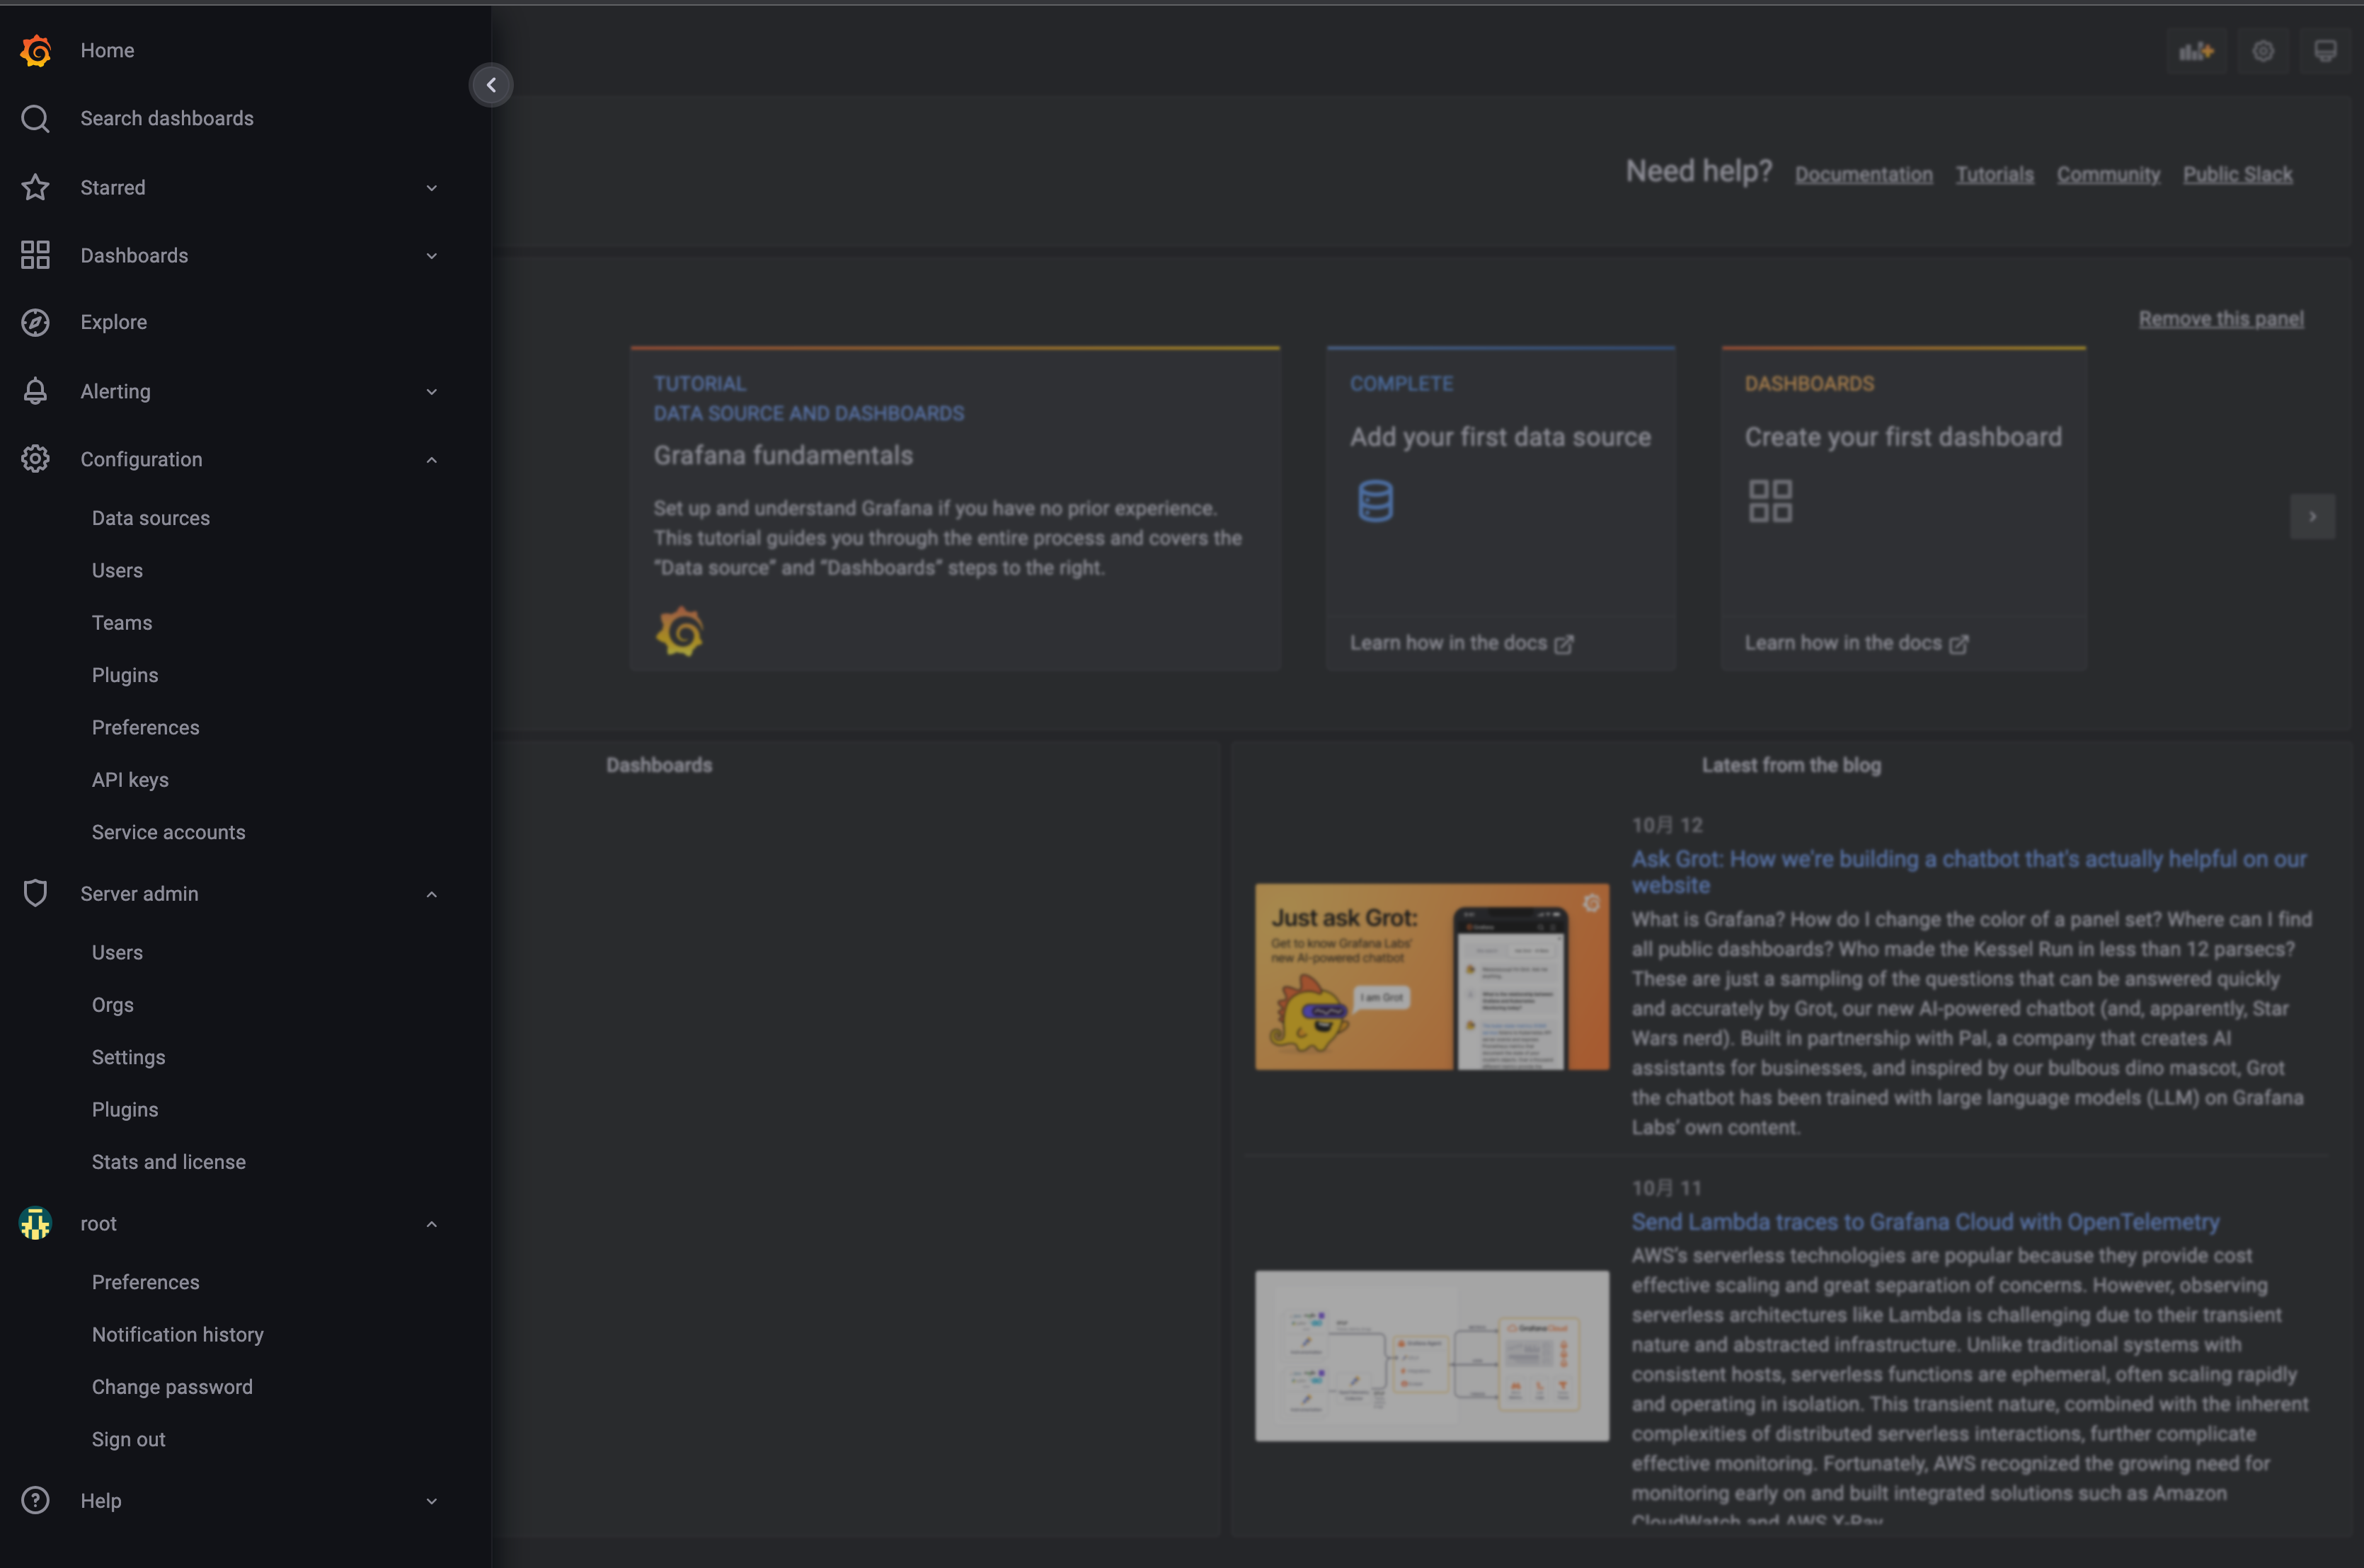
Grafanaを開き、左の<マークをクリックしてメニューを表示させたあと、Configuration下のData Sourcesを選択します。
4. Grafana上にダッシュボードを作成する
Prometheusのデータを使ってOpenShiftが提供していたダッシュボードを作ってみます。
こちらからpod-dashboard.jsonをダウンロードしてください。
左のメニューからDashboardsのBrowseをクリックします。
Upload JSON fileをクリックし、先程ダウンロードしたpod-dashboard.jsonをアップロードします。
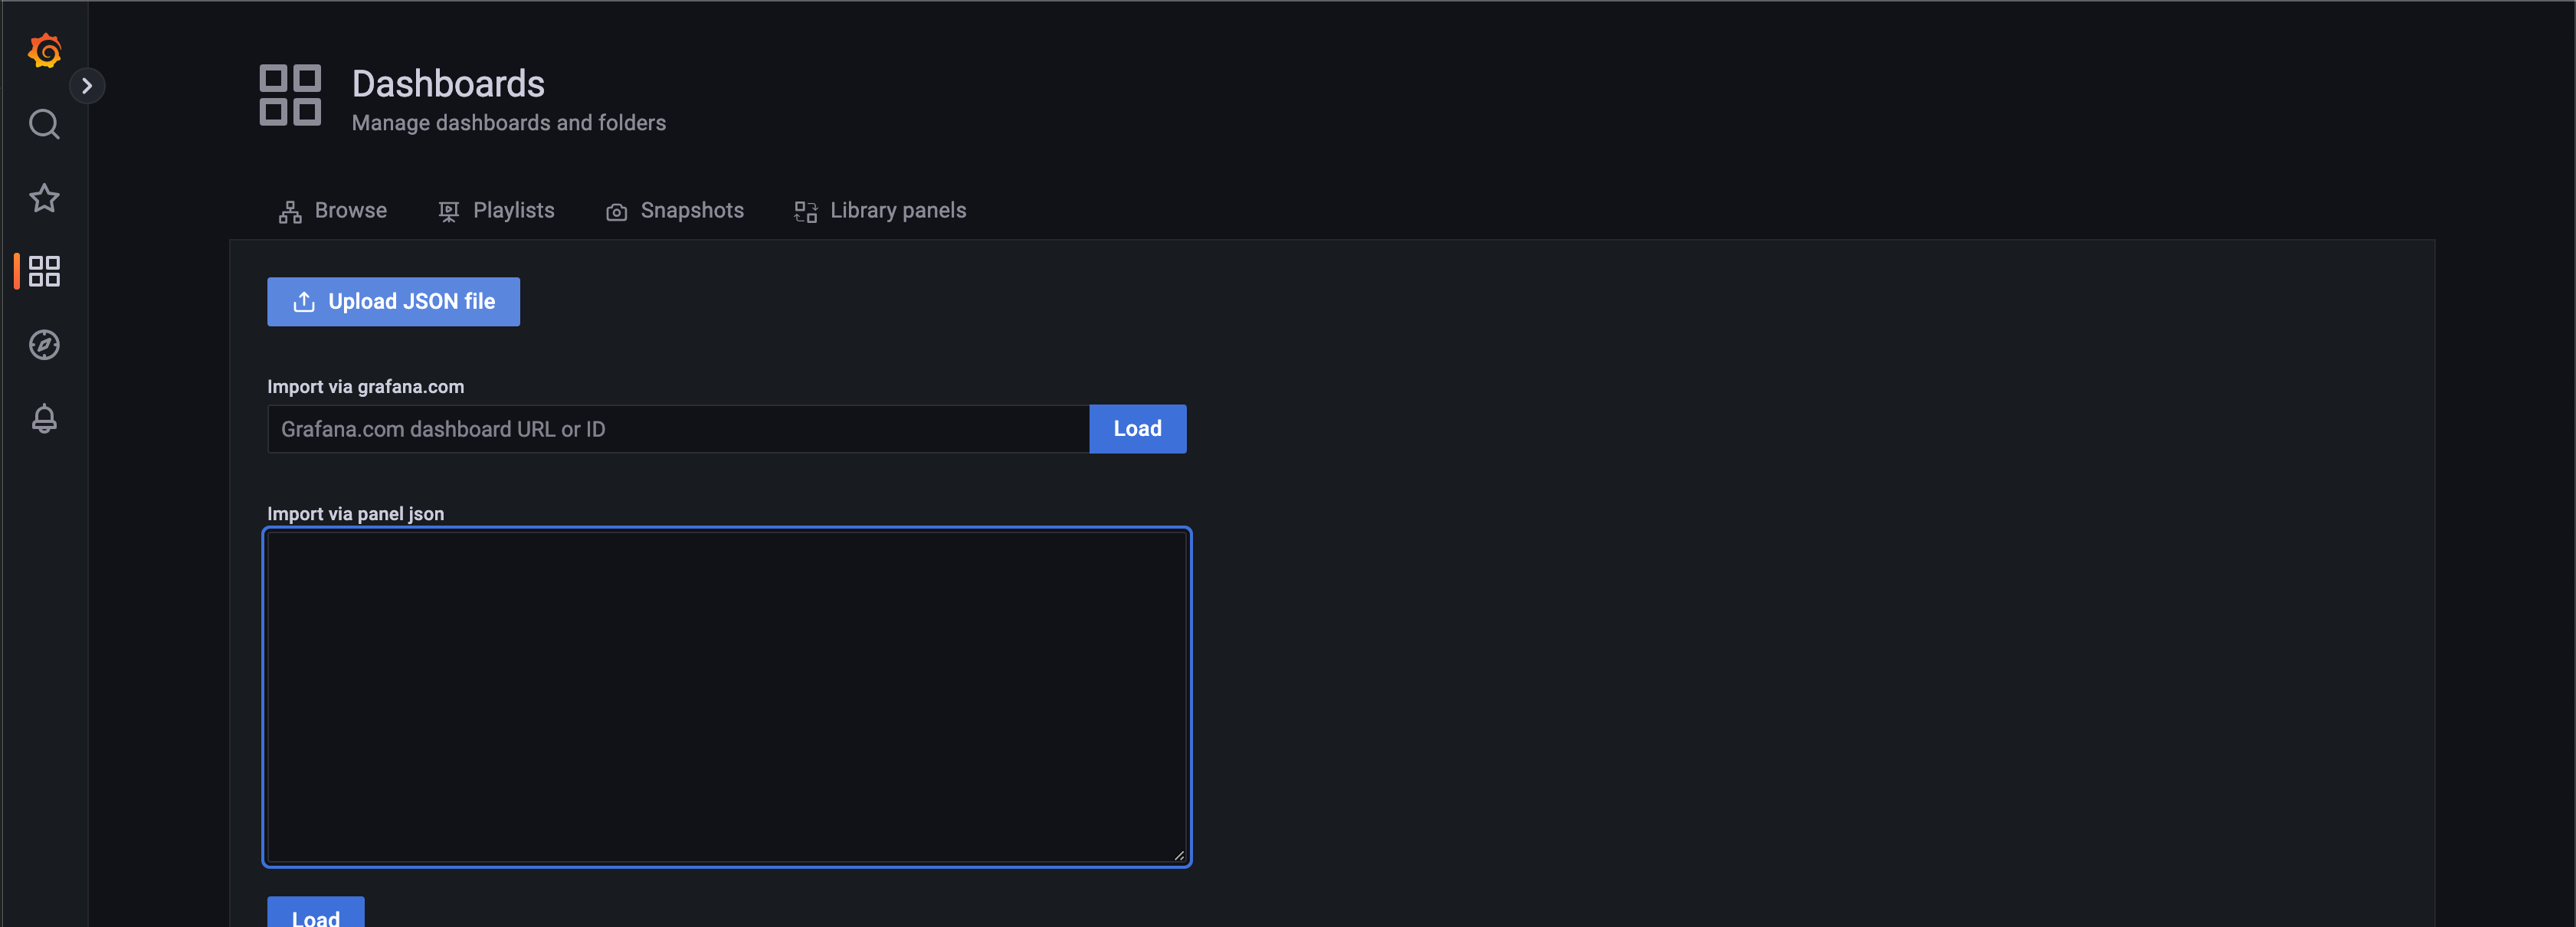
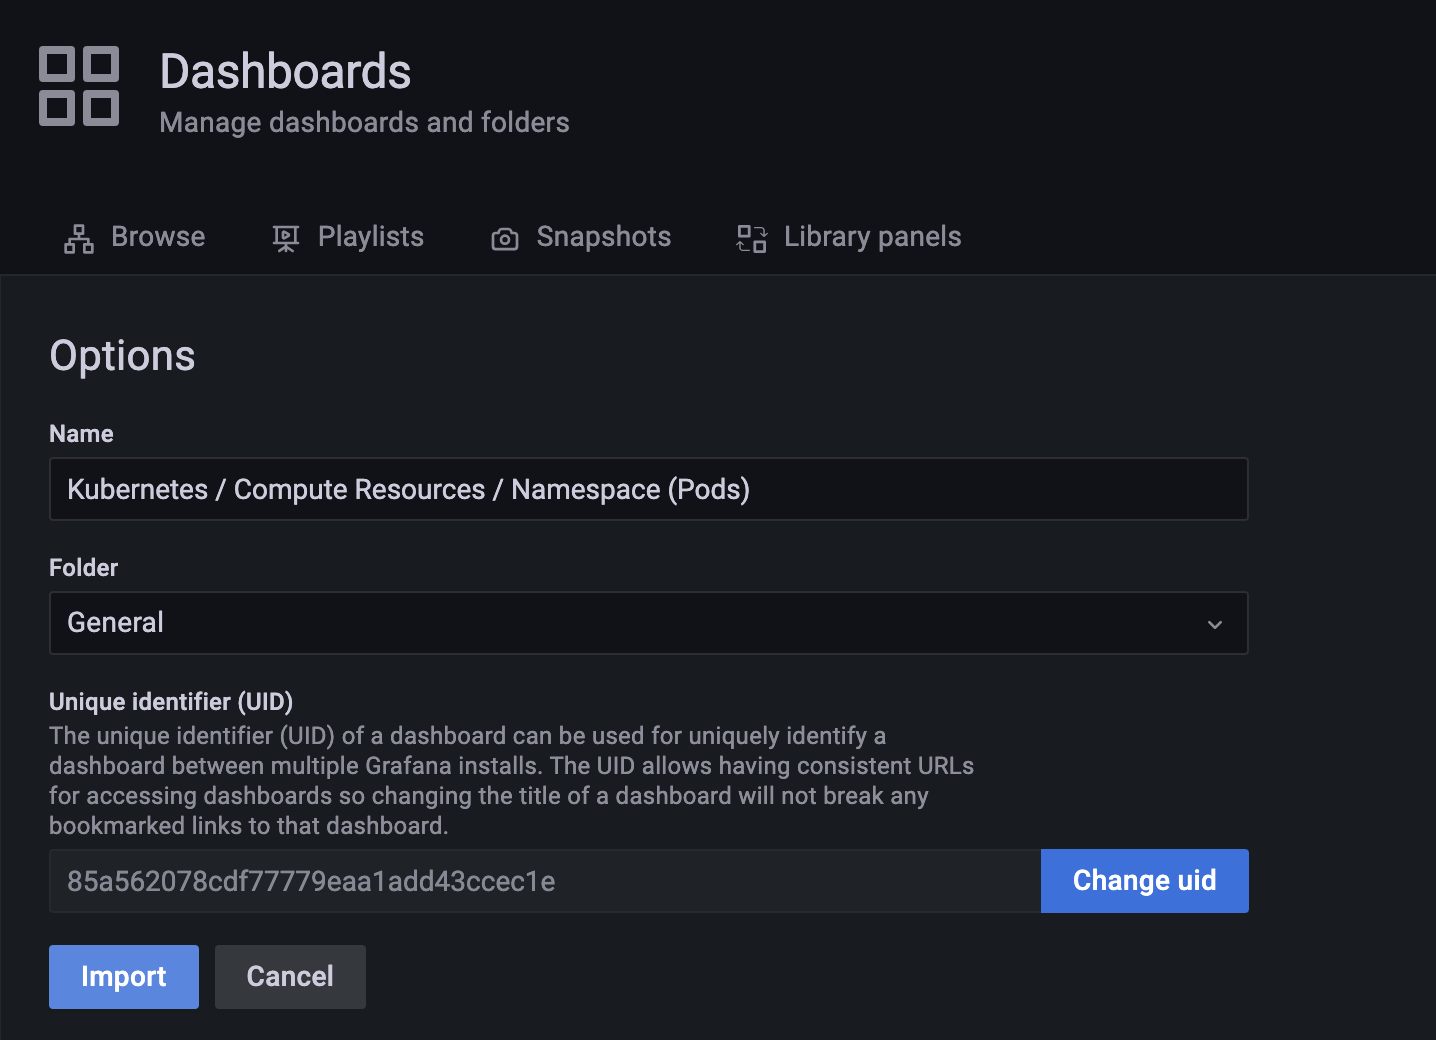
以下のような画面が表示されたら、そのままImportをクリックします。
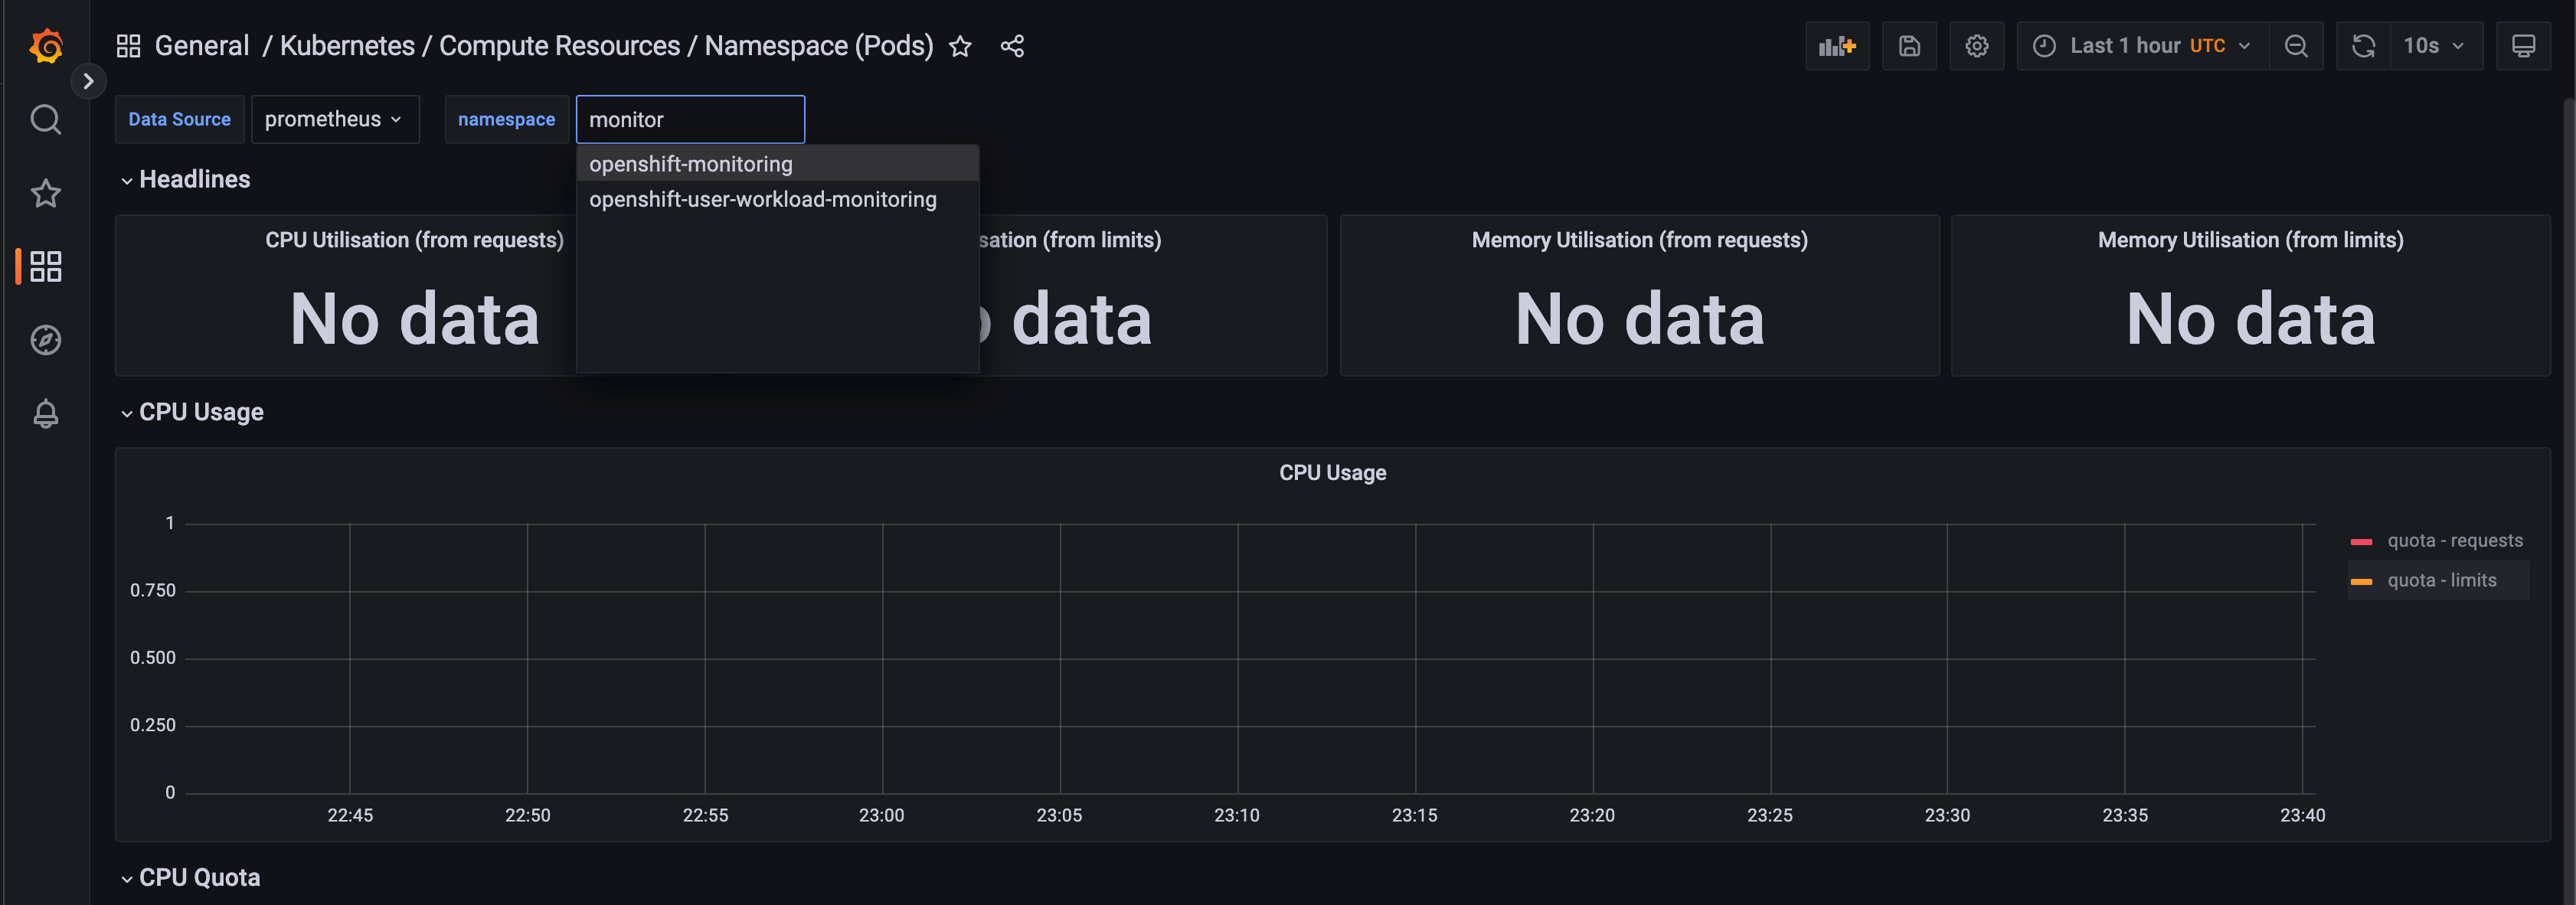
以下のような画面が出れば成功です。
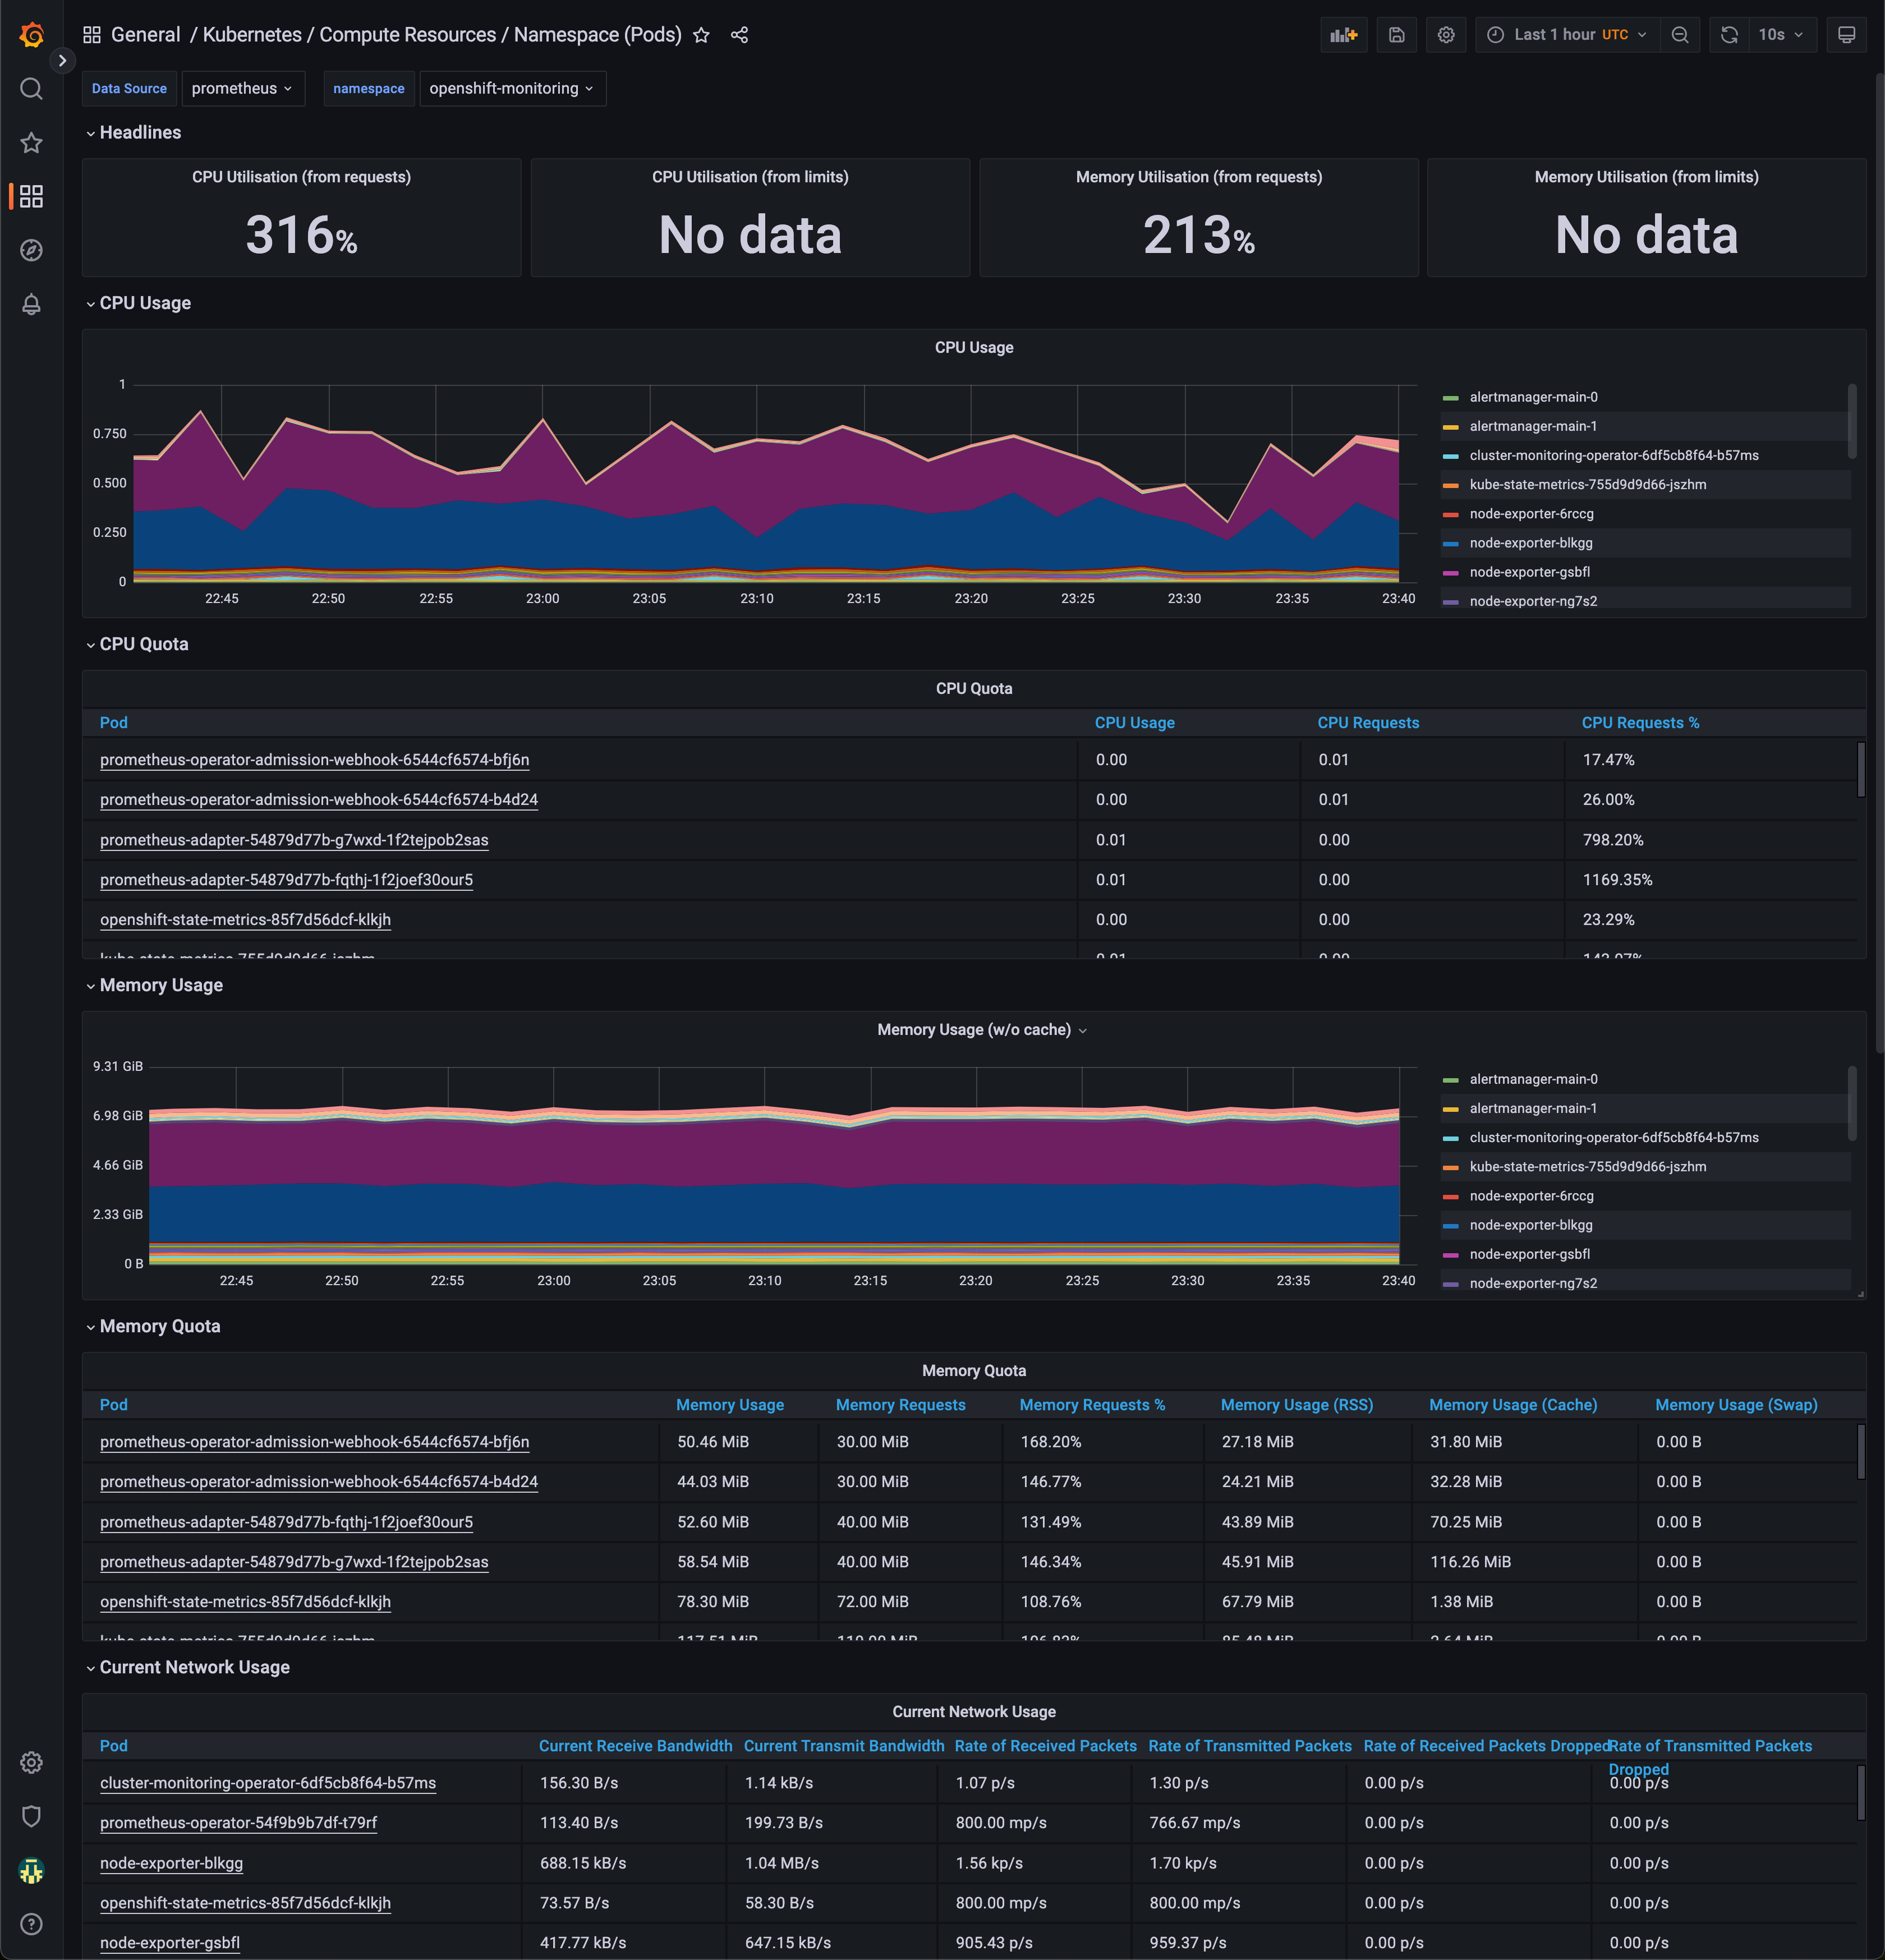
namespaceがdefaultのままだと表示されないので、openshift-monitoringを選択すると、
そのnamespaceに存在するpodのリソース状況可視化できます。
