LEGOで作成したロボットなどの角度を取得する方法
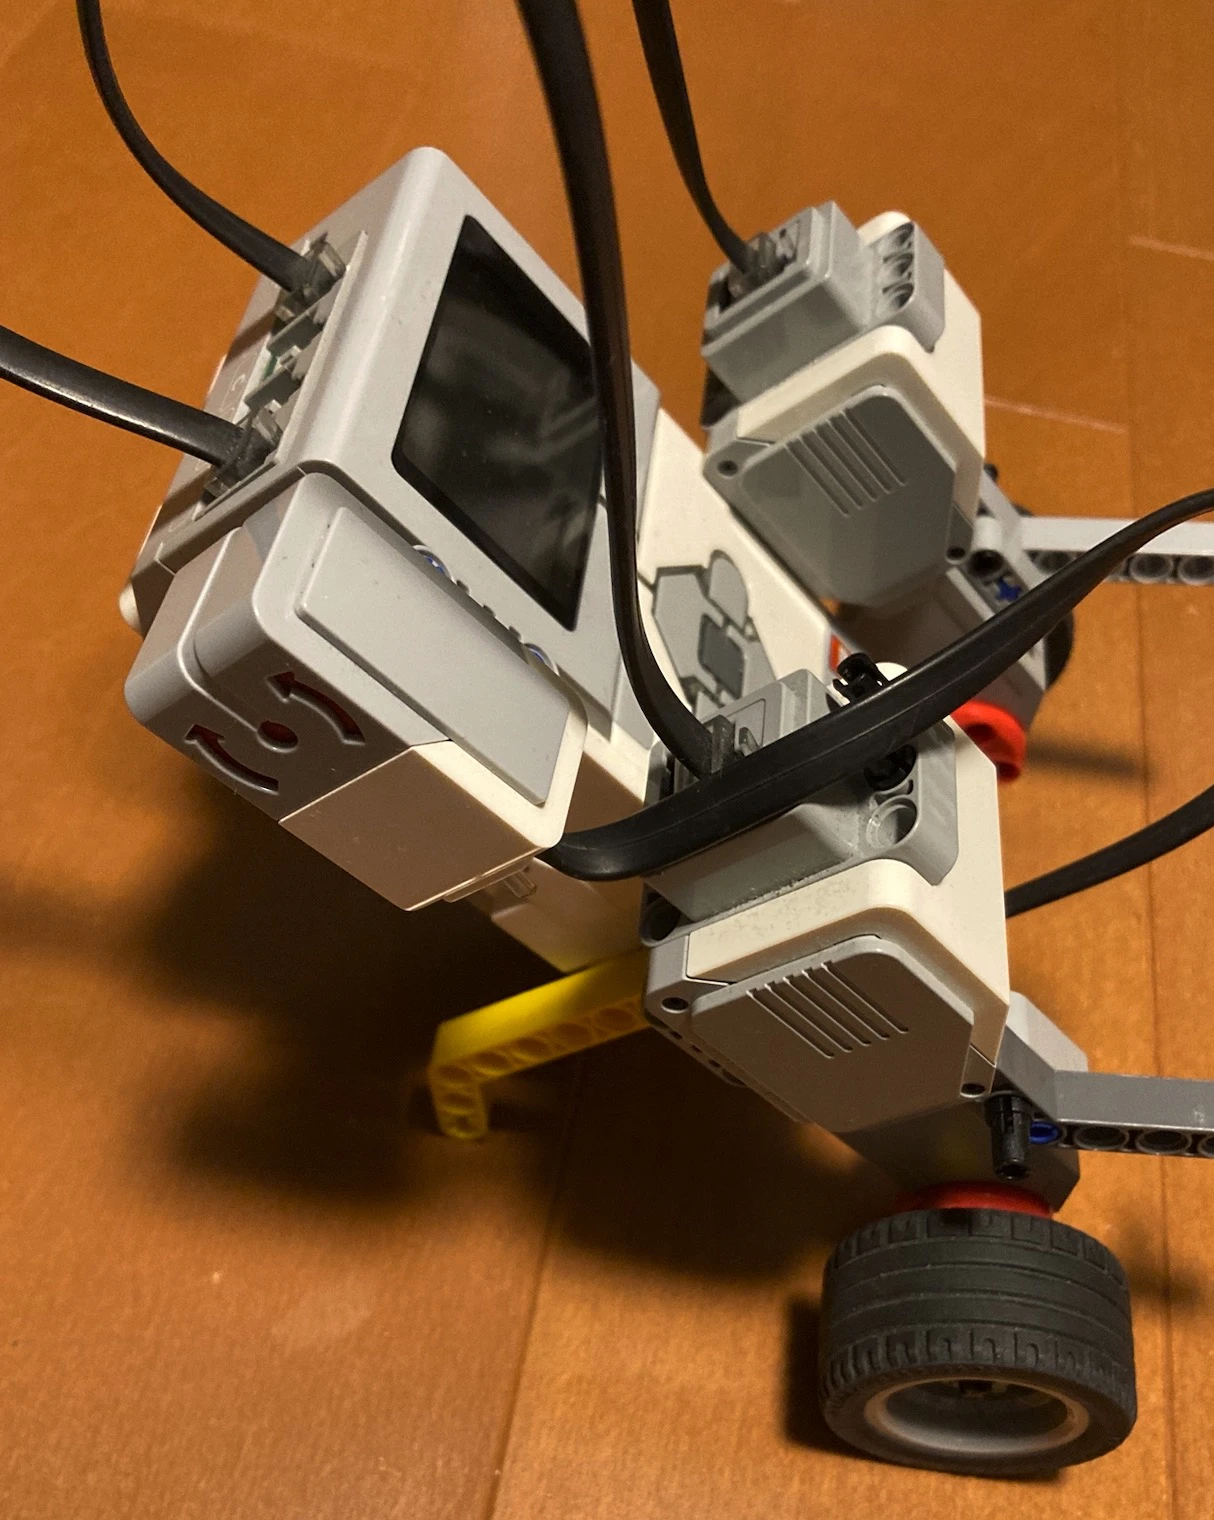
EV3のポート1に接続されたジャイロセンサーの値を取得するPythonスクリプト
gyro_test_print.py
#!/usr/bin/env python3
from ev3dev2.sensor.lego import GyroSensor
from ev3dev2.sensor import INPUT_1
import time

# 1. ジャイロセンサーの初期化 (ポート1)
try:
    gyro = GyroSensor(INPUT_1)
    print("Gyro Sensor connected.")
except Exception as e:
    print("Error: Sensor not found on Port 1")
    exit()

# 2. センサー値のリセット
print("Resetting Gyro... Keep the sensor still.")
gyro.mode = 'GYRO-ANG'  # 角度モードに設定
time.sleep(1)           # 安定するまで待機

print("Start reading (Press Ctrl+C to stop)...")

try:
    while True:
        # 3. 角度の取得
        angle = gyro.angle

        # 4. 角度の表示
        # Python 2/3 両対応の書き方に変更してエラーを防止
        print("Angle: {0}".format(angle))

        # 5. 0.1秒待機
        time.sleep(0.1)

except KeyboardInterrupt:
    # Ctrl+C(またはVSCodeの停止ボタン)で終了
    print("\nStopped.")
<実行手順>
1.接続したev3devに作成したPythonスクリプトをSend to workspace to device
2.送信したファイルtyro_test_print.py上で右クリックして,
Run in interactive terminalを実行
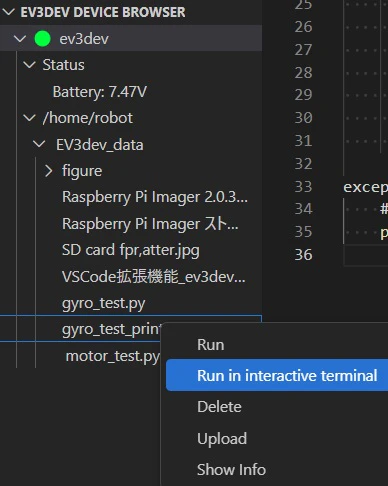
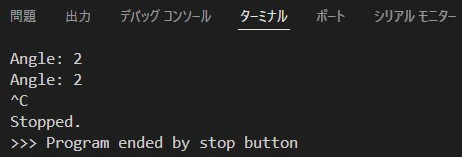
すると,ジャイロセンサーの角度値がVSCodeのターミナルウィンドウに表示される.