
ESP32マイコン用のカメラ拡張基盤(ESP32-CAM)を利用するサンプルプログラム
ESP32用のカメラ拡張基盤ESP32-CAMを用いれば,簡単に画像ストリーミングできる.
・ESP32-CAMにて取得した画像を,USB接続したパソコンに描画・録画することができる.
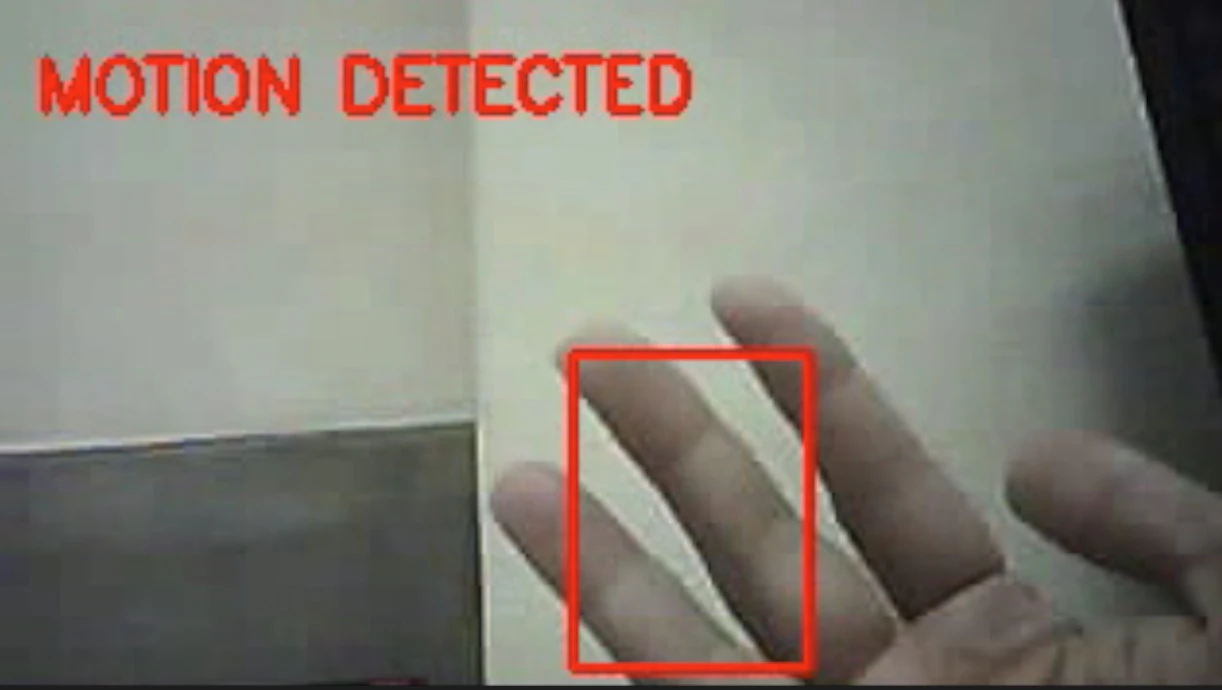
Moving Detection(移動する物体の検出)も試してみた
・取得された動画は,若干カクカクしていて,リアルタイムで精細な画像出力は困難.
・非常に粗い検出.
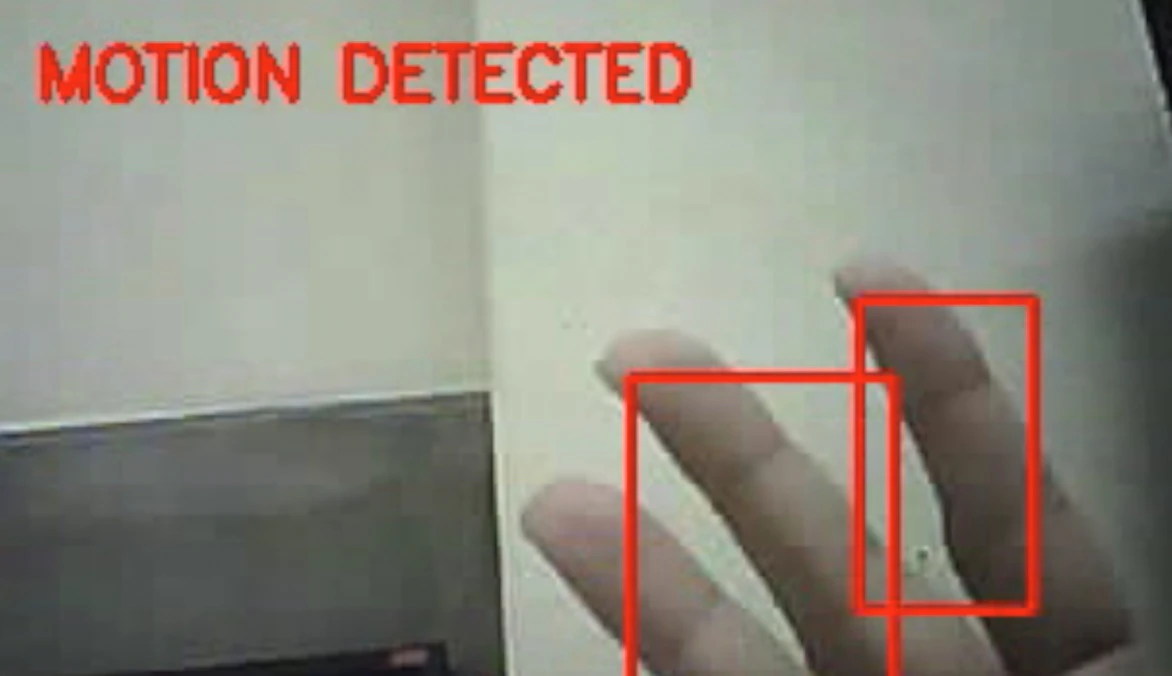
これは,あくまでESP32-CAMを用いて,Pythonで物体検出できますよというプログラムの一例です.
moving_detect_rec.py
import serial
import cv2
import numpy as np
import time
from datetime import datetime

SERIAL_PORT = '/dev/ttyUSB0'
BAUD_RATE = 115200

# DTR/RTS制御を無効にする設定で初期化
ser = serial.Serial()
ser.port = SERIAL_PORT
ser.baudrate = BAUD_RATE
ser.timeout = 0.1
ser.dsrdtr = False
ser.rtscts = False
ser.open()

# Linux特有のフリーズを防ぐため、DTR/RTS信号を明示的にOFFにする
ser.dtr = False
ser.rts = False

print(f"Connected to {SERIAL_PORT}. Motion Recording mode started...")

buffer = bytearray()
avg = None

# 録画制御用の変数
is_recording = False
video_writer = None
recording_start_time = 0
RECORD_DURATION = 15.0 # 15秒間録画する

# 実際の撮影ペースに動画の再生速度を自動補正するための変数
last_frame_time = 0
estimated_fps = 10.0  # 初期値(自動補正)

try:
    while True:
        data = ser.read(1024)
        if not data:
            continue

        buffer.extend(data)

        while True:
            # JPEGの開始合図を探す
            start_idx = buffer.find(b'\xFF\xD8')
            if start_idx == -1:
                if len(buffer) > 1:
                    buffer = buffer[-1:]
                break

            if start_idx > 0:
                buffer = buffer[start_idx:]

            # JPEGの終了合図を探す
            end_idx = buffer.find(b'\xFF\xD9')
            if end_idx == -1:
                break

            img_bytes = bytes(buffer[:end_idx + 2])
            buffer = buffer[end_idx + 2:]

            img_np = np.frombuffer(img_bytes, dtype=np.uint8)
            img = cv2.imdecode(img_np, cv2.IMREAD_COLOR)

            if img is not None:
                current_time = time.time()
                h, w, _ = img.shape

                # 実際の受信ペース(FPS)をリアルタイムで計算・補正する
                if last_frame_time > 0:
                    diff = current_time - last_frame_time
                    if diff > 0:
                        # 過去のFPSと現在のペースの移動平均を取る
                        estimated_fps = (estimated_fps * 0.9) + ((1.0 / diff) * 0.1)
                last_frame_time = current_time

                # 動体検出
                gray = cv2.cvtColor(img, cv2.COLOR_BGR2GRAY)
                gray = cv2.GaussianBlur(gray, (21, 21), 0)

                if avg is None:
                    avg = gray.astype("float")
                    continue

                cv2.accumulateWeighted(gray, avg, 0.5)
                frameDelta = cv2.absdiff(gray, cv2.convertScaleAbs(avg))
                thresh = cv2.threshold(frameDelta, 30, 255, cv2.THRESH_BINARY)[1]
                thresh = cv2.dilate(thresh, None, iterations=2)

                contours, _ = cv2.findContours(thresh.copy(), cv2.RETR_EXTERNAL, cv2.CHAIN_APPROX_SIMPLE)

                motion_detected = False
                for target in contours:
                    if cv2.contourArea(target) < 500:
                        continue

                    motion_detected = True
                    (x, y, w, h) = cv2.boundingRect(target)
                    # 元の画像に赤枠を描画
                    cv2.rectangle(img, (x, y), (x + w, y + h), (0, 0, 255), 2)

                # 画面上に「MOTION」の文字を表示
                if motion_detected:
                    cv2.putText(img, "MOTION DETECTED", (10, h - 20), cv2.FONT_HERSHEY_SIMPLEX, 0.6, (0, 0, 255), 2)

                # ---------------------------------------------
                # 録画コントロール処理
                # ---------------------------------------------
                if is_recording:
                    # 「REC」や「赤枠」も動画に保存
                    video_writer.write(img)

                    # 画面表示用にだけRECマークをさらに上書き(動画には1個だけ映る)
                    cv2.circle(img, (20, 20), 8, (0, 0, 255), -1)
                    cv2.putText(img, "REC", (35, 26), cv2.FONT_HERSHEY_SIMPLEX, 0.6, (0, 0, 255), 2)

                    # 動きを検知している間は終了時刻を少し引き延ばす(オプション:15秒間動きがなくなったら終了)
                    # 「最初の検知からきっちり15秒」にするため、加算はしない
                    if current_time - recording_start_time >= RECORD_DURATION:
                        is_recording = False
                        video_writer.release()
                        print(f"[完了] ぴったり15秒間の動画(赤枠付き)を保存しました: {video_filename}")
                else:
                    if motion_detected:
                        is_recording = True
                        recording_start_time = current_time

                        timestamp = datetime.now().strftime("%Y%m%d_%H%M%S")
                        video_filename = f"motion_{timestamp}.mp4"

                        # 予測された実際の受信速度(estimated_fps)を使ってビデオライターを初期化
                        # 115200bps環境に合わせた安全なコマ数(最低でも5FPS以上に制限してカクツキを防ぐ)
                        final_fps = max(5.0, min(estimated_fps, 15.0))

                        fourcc = cv2.VideoWriter_fourcc(*'mp4v')
                        video_writer = cv2.VideoWriter(video_filename, fourcc, final_fps, (w, h))

                        print(f"[録画開始] 動きを検知(予測速度: {final_fps:.1f} FPS)。録画中: {video_filename}")

                        # 最初のフレームを書き込む
                        video_writer.write(img)

                # 画面表示
                cv2.imshow("ESP32-CAM USB Stream", img)

        if cv2.waitKey(1) & 0xFF == ord('q'):
            break

except KeyboardInterrupt:
    print("Stopping...")

finally:
    if video_writer is not None and is_recording:
        video_writer.release()
    ser.close()
    cv2.destroyAllWindows()
OpenCV(画像処理ライブラリ)には,たくさんの画像変換の関数があり,各種パラメータが存在する.それらを調整することで,画像処理の精度が向上する.
本プログラムでのパラメータ調整箇所についての補足を以下に示す.
parameter_modification.py
# 例:ガウシアンのカーネルサイズ調整とモルフォロジーによるノイズ除去の組み合わせ
gray = cv2.cvtColor(img, cv2.COLOR_BGR2GRAY)
gray = cv2.GaussianBlur(gray, (15, 15), 0)  # 対象物の大きさに応じて縮小

# (差分計算や閾値処理のあと...)
# 収縮・膨張処理でノイズを除去して塊にする
kernel = cv2.getStructuringElement(cv2.MORPH_RECT, (5, 5))
thresh = cv2.morphologyEx(thresh, cv2.MORPH_OPEN, kernel)  # 小さなノイズ除去
thresh = cv2.morphologyEx(thresh, cv2.MORPH_CLOSE, kernel) # 内部の穴埋め