はじめに
社内でSalesforceを導入することになり、CRMツールと自動連携して顧客情報を蓄積したいと考えました。
調査を進める中で、Salesforce Marketing Cloud(以下SFMC) のData Extension(以下DE)に外部システムからデータを流し込む必要が出てきました。
今回はGoogle Apps Script(GAS)からSFMCのREST APIを使ってDEにデータを挿入する方法をまとめます。
REST APIとは
REST APIとは、HTTPリクエスト(GET / POST / PUT / DELETE)を使ってシステム間でデータをやり取りする仕組みです。
SFMCのREST APIを使うことで、外部システムから直接DEにデータを挿入・更新することができます。
連携に必要な準備
Marketing Cloud側の設定
1. インストール済みパッケージの作成
セットアップ → プラットフォームツール → アプリ → インストール済みパッケージ → 新規
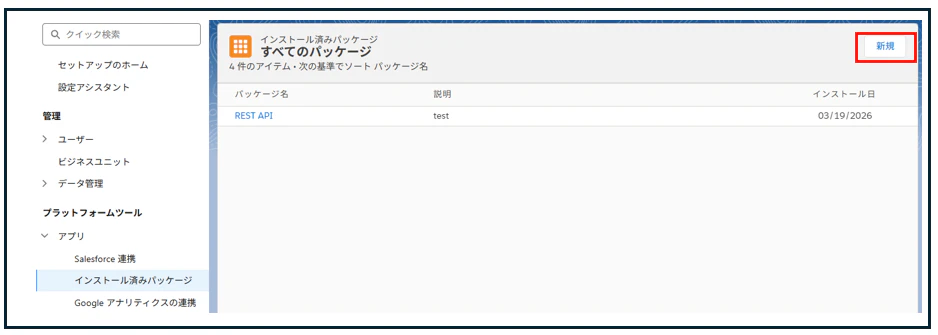
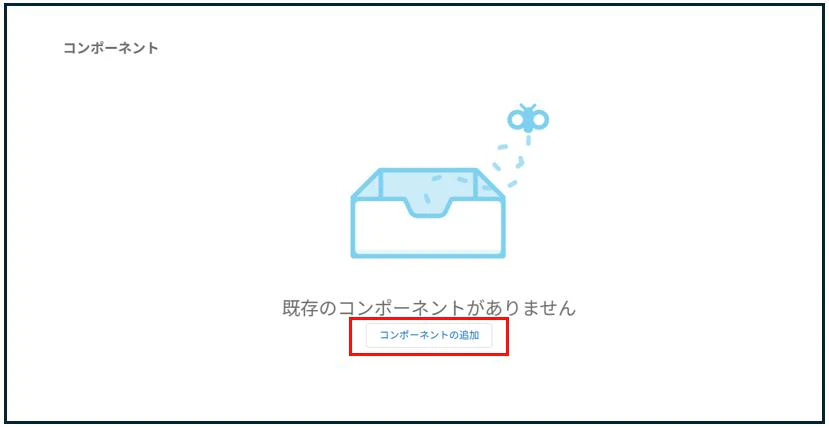
2. APIコンポーネントの追加
コンポーネントの追加 をクリック
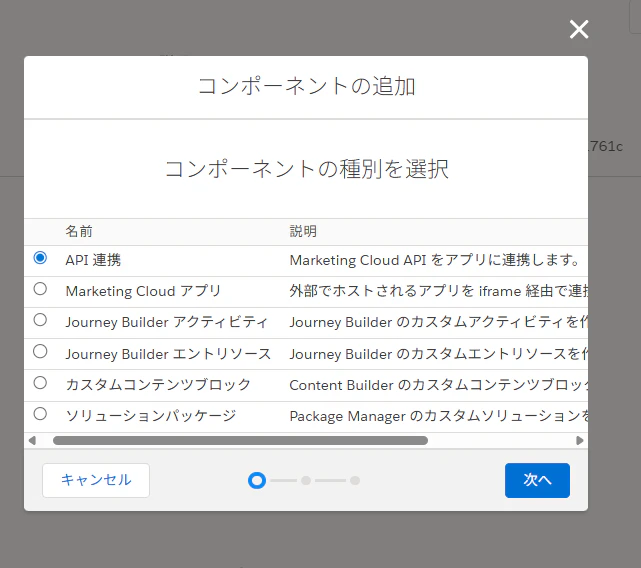
コンポーネントの種別として API 連携 を選択します。
3. 連携の種別を選択
連携の種別として サーバー間 を選択します。
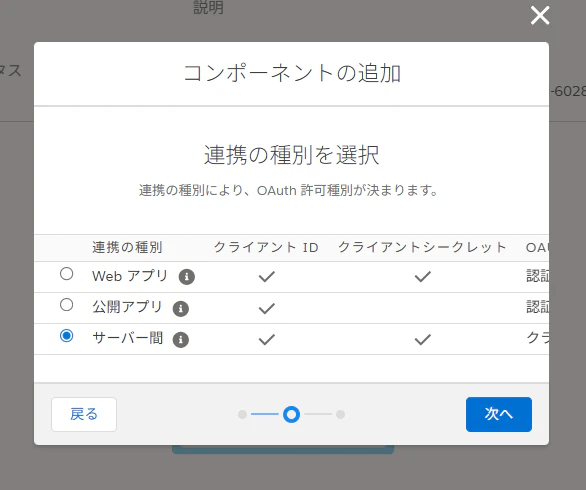
ポイント:GASのようなバックエンド処理では サーバー間 を選択します。
ユーザーログイン不要でクライアントID・シークレットだけで認証できます。
4. スコープの設定
DATA → Data Extensions の以下にチェックを入れます。
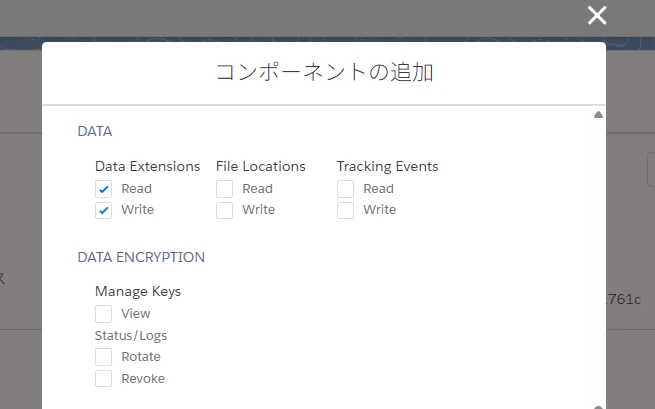
| カテゴリ | 権限 |
|---|---|
| Data Extensions | Read ✅ |
| Data Extensions | Write ✅ |
5. 認証情報を控える
作成後、以下の情報を控えてください。
クライアントID:       xxxxxxxxxxxxxxxx
クライアントシークレット: xxxxxxxxxxxxxxxx
認証ベースURI:        https://xxxx.auth.marketingcloudapis.com/
RESTベースURI:        https://xxxx.rest.marketingcloudapis.com/
6. DEの外部キーを確認
Email Studio → Data Extensions → 対象DE → 外部キー を控える
実際に連携してみる(GAS)
処理の流れ
① クライアントID・シークレットでアクセストークンを取得
  ↓
② アクセストークンをAuthorizationヘッダーに付与してDEへPOST
連携コード
const CLIENT_ID     = 'xxxxxxxxxxxxxxxx'; // クライアントID
const CLIENT_SECRET = 'xxxxxxxxxxxxxxxx'; // クライアントシークレット
const FOREIGN_KEY   = 'xxxxxxxx-xxxx-xxxx-xxxx-xxxxxxxxxxxx'; // DEの外部キー

const AUTH_URL = 'https://xxxx.auth.marketingcloudapis.com/';
const REST_URL = 'https://xxxx.rest.marketingcloudapis.com/';

function sendToDE() {
  const accessToken = getAccessToken();

  const payload = [
    {
      keys: {
        "customer_id": "12345678"
      },
      values: {
        "customer_id":            "12345678",
        "mail_addr":              "test@gmail.com",
        "expected_date_of_birth": "2026/03/19"
      }
    }
  ];

  postToDE(accessToken, payload);
}

// トークン取得関数
function getAccessToken() {
  const tokenResponse = UrlFetchApp.fetch(AUTH_URL + 'v2/token', {
    method: 'post',
    contentType: 'application/json',
    payload: JSON.stringify({
      grant_type:    'client_credentials',
      client_id:     CLIENT_ID,
      client_secret: CLIENT_SECRET
    }),
    muteHttpExceptions: true
  });

  const accessToken = JSON.parse(tokenResponse.getContentText()).access_token;
  console.log('トークン取得: ' + accessToken);
  return accessToken;
}

// DE送信関数
function postToDE(accessToken, payload) {
  const response = UrlFetchApp.fetch(
    `${REST_URL}hub/v1/dataevents/key:${FOREIGN_KEY}/rowset`,
    {
      method: 'post',
      contentType: 'application/json',
      headers: {
        'Authorization': 'Bearer ' + accessToken
      },
      payload: JSON.stringify(payload),
      muteHttpExceptions: true
    }
  );

  console.log('ステータス: ' + response.getResponseCode());
  console.log('レスポンス: ' + response.getContentText());
}