※2019/10/09 Omnibus package及びアップデートについて追記
公式ページ等を参考にCentOS7にOmnibus package版のGitLab Community Editionをインストールした際の手順を纏めました。
Omnibus package版とは、GitLab本体に加えてRuby/nginx/PostgreSQL等のGitLabの実行に必要なさまざまなサービスとツールがパッケージ化されているバージョンです。
Omnibus package版を用いたインストールは公式が推奨している手法で、面倒な設定無く簡単に導入できます。
環境情報(事前情報)
# cat /etc/centos-release
CentOS Linux release 7.5.1804 (Core)
OSインストール時のソフトウェアの選択
| ベース環境 | 選択した環境のアドオン |
|---|---|
| ベーシック Web サーバー | 開発者ツール |
依存関係のインストールと設定
必要な依存関係をインストールして設定します。
ファイアウォールのHTTPも開けます。
# yum install -y policycoreutils-python

# firewall-cmd --permanent --add-service=http
# systemctl reload firewalld
事前情報と異なるソフトウェアを選択している等でインストールされていない環境の場合は
以下もインストール&設定します。
# yum install -y curl
# yum install -y openssh-server openssh-clients
# systemctl enable sshd
# systemctl start sshd
# yum install postfix
# systemctl enable postfix
# systemctl start postfix
リポジトリを追加
GitLab CEパッケージリポジトリを追加します。
$ curl -sS https://packages.gitlab.com/install/repositories/gitlab/gitlab-ce/script.rpm.sh | sudo bash
パッケージをインストール
GitLab CEパッケージをインストールします。
gitlab.example.com部分はGitLabへのアクセスURLになるので適宜変更してください。
※HTTPSはインストール後に追加の設定が必要です。
# EXTERNAL_URL="http://gitlab.example.com" yum install -y gitlab-ce
# EXTERNAL_URL="http://192.168.0.1" yum install -y gitlab-ce
初期設定
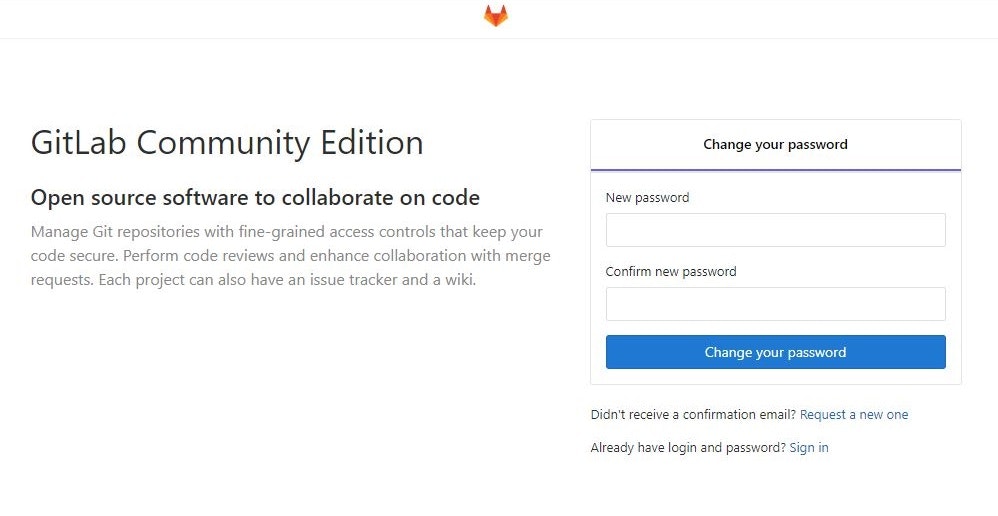
インストール完了後、前項で設定したURLにブラウザからアクセスします。
初めてアクセスするとrootユーザ(管理者ユーザ)のパスワードの変更を求められるので、
rootユーザ用の新しいパスワードを入力して「Change your password」をクリックしてください。

サインイン
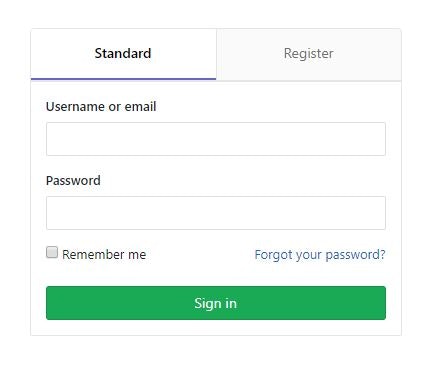
前項で設定した情報でのサインイン検証を行います。

Standardタブに以下表の情報を入力し「Sign in」をクリックしてください。
| Username or email | Password |
|---|---|
| root | 前項で設定したパスワード |
サインインできなかった場合
私もそうでしたが、何故か設定したパスワードでサインインできませんでした。
サインインできればGUI上にてパスワード変更が可能ですが、メールアドレス設定も行っていない状態では詰みとなってしまいます。
なのでCLI上でrootユーザのパスワードを再度変更します。
//コンソール起動※少し時間がかかります。
# gitlab-rails console production

//rootアカウント設定モードへ
> user = User.where(id: 1).first

//変更後パスワード入力
> user.password = '変更後パスワード'

//パスワード再確認
> user.password_confirmation = '変更後パスワード'

//設定保存
> user.save!

//コンソール終了
> exit
# gitlab-rails console production
-------------------------------------------------------------------------------------
 GitLab:       11.5.1 (c90ae59)
 GitLab Shell: 8.4.1
 postgresql:   9.6.8
-------------------------------------------------------------------------------------
Both Deployment and its :status machine have defined a different default for "status". Use only one or the other for defining defaults to avoid unexpected behaviors.
Loading production environment (Rails 4.2.10)
irb(main):001:0> user = User.where(id: 1).first
=> #<User id:1 @root>
irb(main):002:0> user.password = 'hogehuga'
=> "hogehuga"
irb(main):003:0> user.password_confirmation = 'hogehuga'
=> "hogehuga"
irb(main):004:0> user.save!
=> true
irb(main):005:0> exit
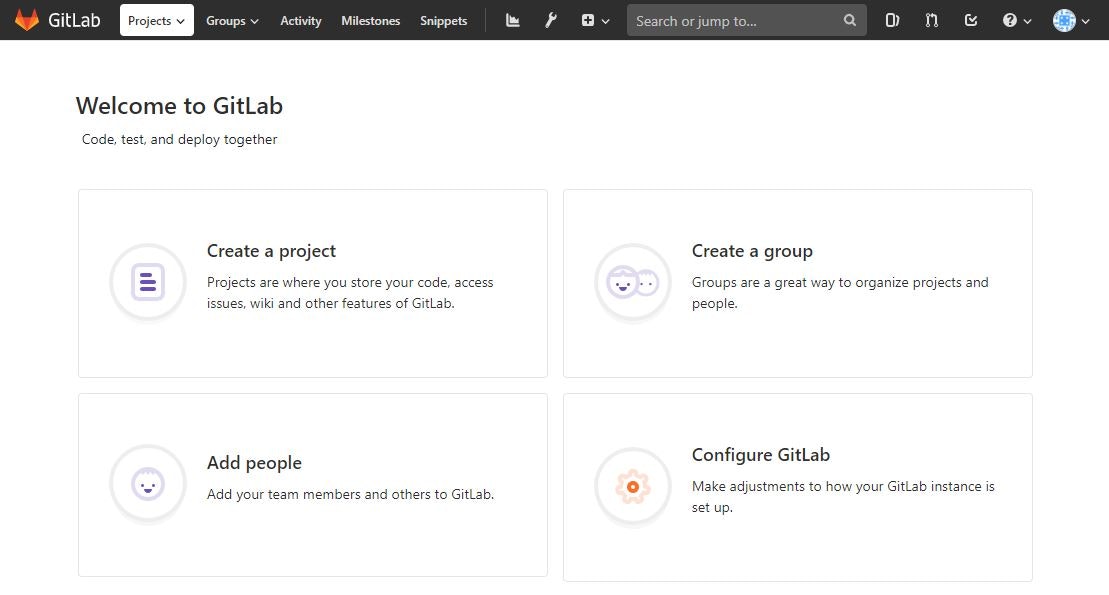
変更後、再度サインイン施行すると、rootユーザと設定したパスワードでサインインできるようになります。
アップデート
Versions of GitLab which include new functionality are released every month on the 22.
GitLabは新しい機能を含む新バージョンを、毎月22日にリリースしています。
他にも随時、セキュリティやパッチのリリースが頻繁に行われています。
現在実行しているGitLabのバージョンは、管理者エリアのダッシュボードでも確認が可能です。
また、画像のように利用可能なアップデートが存在するか表示されます。

| 色 | メッセージ | 内容 |
|---|---|---|
| 緑 | up to date | 最新バージョン |
| 黄 | update available | 古いバージョン(新しいバージョンが利用可能) |
| 赤 | update asap | 1つ以上のセキュリティリリースを含む新しいバージョンが利用可能 |
下記コマンドを実行し、GitLab CEをアップデートします。
# yum install -y gitlab-ce
コマンド1発で容易に更新が可能なのもOmnibus package版GitLabの利点の1つです。
因みに、更新時にデフォルト設定では/var/opt/gitlab/backups/へ自動でバックアップが作成されます。
参考
GitLab Installation
Omnibus GitLab Docs | GitLab
CentOS7にgitlabをインストール
GitLabを構築する その1 : インストール
Gitlabのrootユーザー(admin)のパスワードを忘れてしまった場合
GitLab を使った開発フロー実践入門
Update GitLab | GitLab
Releases | GitLab
Checking our current version | GitLab
