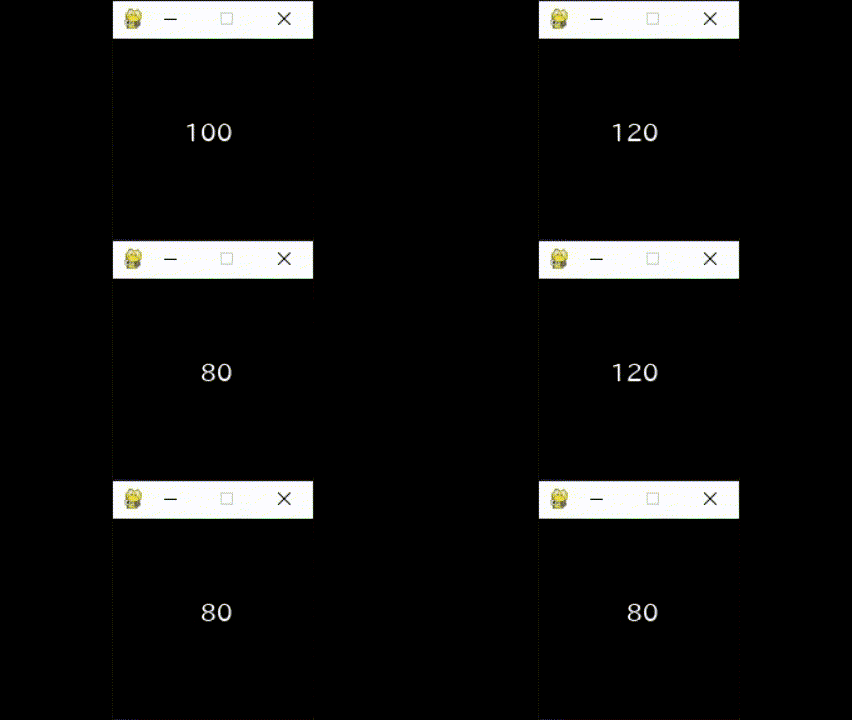
GIF
中央寄せ
ここをクリックしてください
import pygame
import sys
from pygame.locals import *

width, height = 320, 320

pygame.init()
screen = pygame.display.set_mode((width, height))
pygame.display.set_caption('center_text ')
#ここにフォントのパスを貼り付けるパス
font = pygame.font.Font(パス, 30)

clock = pygame.time.Clock()
running = True
while running:
    clock.tick(60)
    screen.fill((0, 0, 0))
    message_text = font.render("こんにちは", True, (255, 255, 255))
    text_rect = message_text.get_rect(center = (width * 0.5, height * 0.5))
    screen.blit(message_text, text_rect.topleft)

    pygame.display.update()
    for event in pygame.event.get():
        if event.type == pygame.QUIT:
            pygame.quit()
            sys.exit()
このコードの計算を実際やってみましょう。
まず画面のサイズの半分を計算します。
320 / 2 = 160
フォントのサイズは 30 で 5文字だから
30 * 5 = 150
150 / 2 = 75
160 - 75 = 85
これがヨコの座標。
30 / 2 = 15
160 - 15 = 145
これがタテの座標。
実際にtext_rect.topleftをprint()で出力したところ(85,145)でした。
二度目は(85,138)でした。この計算は違うようですね。
message_text = font.render("こんにちは", True, (255, 255, 255))
text_rect = message_text.get_rect(center = (width * 0.5, height * 0.5))
screen.blit(message_text, text_rect.topleft)
まずは用語説明。
(surfaceオブジェクトとは、テキストや図形のことです。
rectオブジェクトとは、サイズや位置を保持するためのものです。
属性とは、オブジェクトが持つ情報のことです)
このコードでは、surfaceオブジェクトをrectオブジェクトに変換しています。surfaceオブジェクトはその属性に位置情報を持たないため、位置情報を保持するためにrectオブジェクトを使用します。次に、rectオブジェクトに位置情報を設定し、その位置を用いて.topleft属性を適用しています。
text_rect を出力すると、(85, 138, 150, 44)
text_rect.topleft を出力すると、(85, 138)
右寄せ
ここをクリックしてください
import pygame
import sys
from pygame.locals import *

width, height = 160, 160
white = (255, 255, 255)
pygame.init()
screen = pygame.display.set_mode((width, height))
pygame.display.set_caption("right_text")
#ここにフォントのパスを貼り付けるパス
font = pygame.font.Font(パス, 20)
score_num = 100
clock = pygame.time.Clock()
running = True
while running:
    clock.tick(60)
    screen.fill((0, 0, 0))
    score_text = font.render(f"{score_num}",True, white)
    num_rect = score_text.get_rect(topright = (width * 0.6, height * 0.4))
    screen.blit(score_text,(num_rect.topleft))
    pygame.display.update()
    for event in pygame.event.get():
        if event.type == QUIT:
            pygame.quit()
            sys.exit()
現れて消える
ここをクリックしてください
import pygame
import sys
import time

pygame.init()
screen = pygame.display.set_mode((400, 300))
pygame.display.set_caption("Text Animation")
#ここにフォントのパスを貼り付ける
font = pygame.font.Font(パス, 25)
#ここに背景のパスを貼り付ける
bg = pygame.image.load(パス)
text = "試練の旅が始まる"
text = font.render(text, True, (255, 255, 255))

y1 = -44
y2 = 44
y_pos = 93
clock = pygame.time.Clock()
running = True
while running:
    clock.tick(60)
    for event in pygame.event.get():
        if event.type == pygame.QUIT:
            running = False
    screen.blit(bg,(0,0))
    pygame.draw.rect(screen,(0,0,0),(60,90,300,50))
    pygame.draw.rect(screen,(255,255,255),(60,90,300,50),3)
    if y1 <= 25:
        y1 += 1
    time.sleep(0.08)
    screen.blit(text, (70, y_pos), (0, y1, text.get_width(), y2))
    pygame.display.flip()

pygame.quit()
sys.exit()
このコードのポイントは、screen.blit()にあります。
とてもなじみ深いメソッドですね。画像やテキストを画面上に貼り付けるために使います。
screen.blit(surface,(横座標、縦座標))
たいていこんな感じで使います。
別の使い方としては、
screen.blit(surface,(横座標、縦座標),(surfaceの横座標、surfaceの縦座標、横のサイズ、縦のサイズ))
といった感じです。第二のタプルで画像の位置とサイズを指定します。
これで画像の特定の部分を切り取って描画することができます。
今回はこの機能を使いました。
まず描画範囲がテキストの上にある状態です。
ここから縦座標を下へずらしていくことでテキストが少しずつ現れます。
描画範囲がテキストをすっぽり覆うとテキスト全体が描かれます。
テキストの高さより描画範囲の方が高いのでテキストが描画範囲の下から上にいくあいだ、
テキストが上昇して見えます。
ここからさらに縦座標を下へずらしていくことでテキストが少しずつ消えます。
y1は黒い部分の高さに ー(マイナス)をつけたものです。
y2は黒い部分の高さです。
y_posは白い枠の上部内側の縦座標です。
if y1 <= 25: フォントの高さが25なのでy1が25を超えるとテキストが現れた後に消えた状態です。
text.get_width()はテキスト全体の幅です。
"試練の旅が始まる"
は、8文字で、このコードのフォントサイズは25なので
8*25 = 200
となります。文字数が変わっても数値を入力し直す必要がないです。
ここをクリックしてください
ここをクリックしてください
ここをクリックしてください


