kubectl port-forward を楽にしてくれるかも?なツールを探したので記録しておく。
CLI の kubefwd
- txn2/kubefwd
-
sudo kubefwd svc -n {namespace}で、ドバドバっと port-forward してくれる。- sudo なんで、パスワード入力必要。
-
-n {namespace}は複数いれられるみたいだし、-lで Selector も使えるらしい。未検証。 -
kind (kubernetes in docker) で使う時は
-cを使う。-
sudo kubefwd svc -n default -c ~/.kube/kind-config-kind1でいけた。 - 上記は kind1 というクラスターを作成した状態。
-
$ sudo kubefwd svc -n default -c ~/.kube/kind-config-kind1
INFO[22:20:38]  _          _           __             _
INFO[22:20:38] | | ___   _| |__   ___ / _|_      ____| |
INFO[22:20:38] | |/ / | | | '_ \ / _ \ |_\ \ /\ / / _  |
INFO[22:20:38] |   <| |_| | |_) |  __/  _|\ V  V / (_| |
INFO[22:20:38] |_|\_\\__,_|_.__/ \___|_|   \_/\_/ \__,_|
INFO[22:20:38]
INFO[22:20:38] Version 1.10.0
INFO[22:20:38] https://github.com/txn2/kubefwd
INFO[22:20:38]
INFO[22:20:38] Press [Ctrl-C] to stop forwarding.
INFO[22:20:38] 'cat /etc/hosts' to see all host entries.
INFO[22:20:38] Loaded hosts file /etc/hosts
INFO[22:20:38] Hostfile management: Original hosts backup already exists at /Users/higuchi/hosts.original
INFO[22:20:38] Forwarding: echo:8080 to pod echo-599d77c5c7-4plfp:8080
INFO[22:20:38] Forwarding: echo:80 to pod echo-599d77c5c7-4plfp:8080
WARN[22:20:38] WARNING: No Pod selector for service kubernetes in default on cluster .
INFO[22:20:38] Saving hosts file
- これは、 echo-server をデプロイしている状況で、下記のようにアクセスできる。
curl echo:8080- namespace 内の Pod を対象に一括でやってくれるので便利。
- ただし
hostsファイルを変更しているので注意。上記の場合は下記が追加されていた。そりゃそうだよね。sudo も要求するし。127.1.27.1 echo echo.default.svc.cluster.local echo.default
- 最後に、インストールは、 Mac なら下記。windows のインストールもあったし docker も用意されているっぽい。
brew install txn2/tap/kubefwd
GUI の kube-forwarder
- pixel-point/kube-forwarder
- GUI でポチポチ設定して保存しておける。
- まずは、
ADD A CLUSTERから。 - クラスターを追加したら、
Add a Resourceで、クラスターを選択する。- この時 kind (kubernetes in docker) を使う場合は、
Add Kubernetes config manuallyからファイル指定で~/.kube/kind-config-kind1などを選ぶか、 config の内容を貼り付けてあげれば良い。 - 今気づいたけど、 config 貼り付けの方はクラスターを作り直したらつながらなくて、ファイル指定はつながるかも?このあと試す。
- この時 kind (kubernetes in docker) を使う場合は、
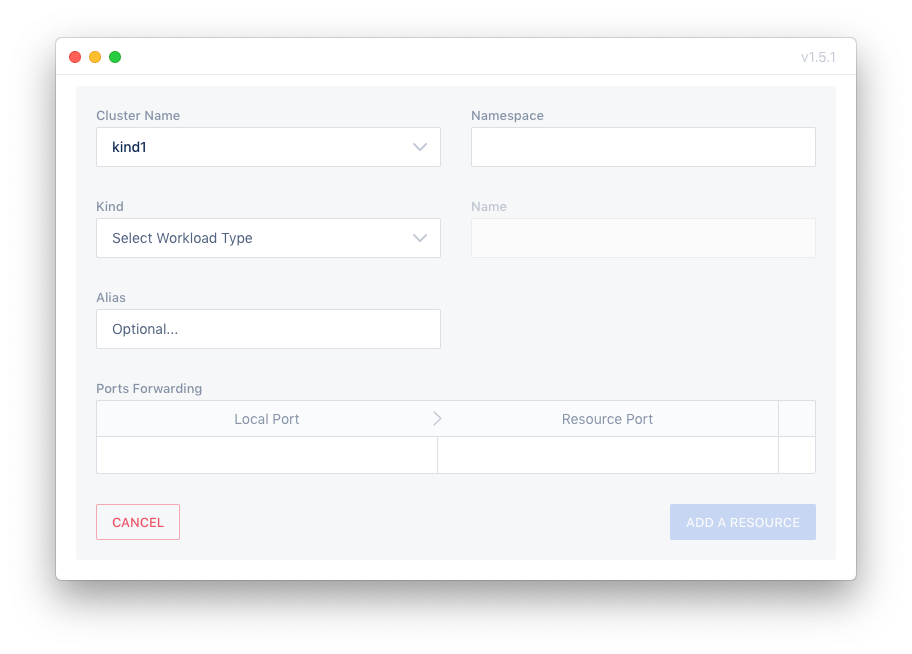
- 下記の画面を、入力していくと完成。 (Deployment も port-forward できたんだね。)
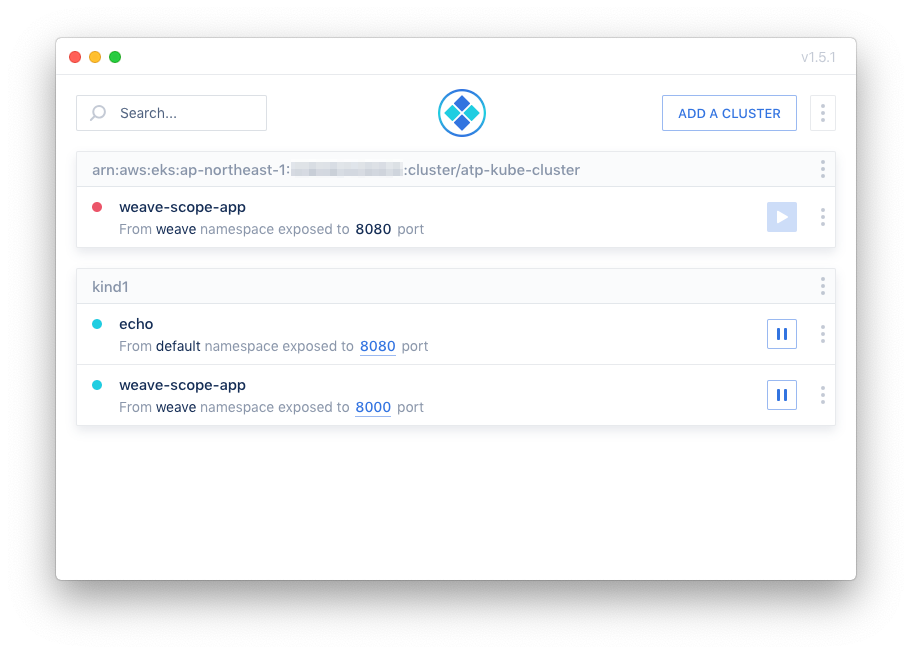
- 再生ボタン?で、ポートォォ、フォワァァァド!
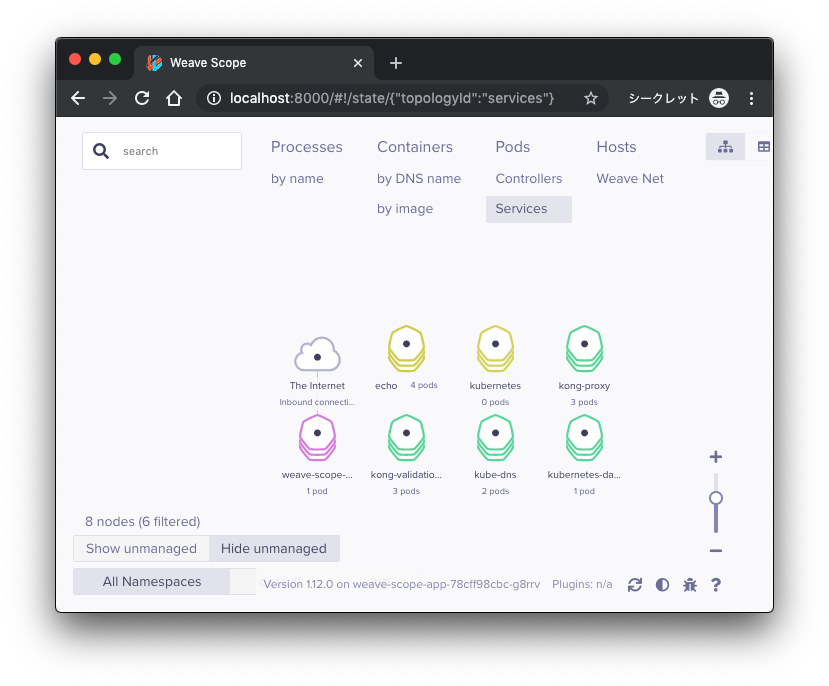
open http://localhost:8080
- インストールは、 Mac の場合、ダウンロードも、 brew もある。 windows 、 linux もあるみたいなので、公式をチェック。
まとめ
- うーん、便利そう。これから使っていってみる。
- あと、
k9sでも便利に port-forward できるので、参考のためリンク。


