目的
ReactでTODOアプリを作成したことはありますが、自分でAPIを書いたことがなかったので書いてみました。
Web企業未経験なので、間違いなどありましたらご指摘いただけると助かります!
APIを書くまえに
まずは簡単にNode.jsとReactの勉強をUdemyで行いました。
Linkは下記になります。
【フロントエンドエンジニアのための React ・ Redux アプリケーション開発入門】
https://www.udemy.com/course/react-application-development/
【Node.js速習講座 Part1 <導入&基礎編>】
https://www.udemy.com/course/nodejs-part1/
【Node.js速習講座 Part1 】
https://www.udemy.com/course/nodejs-part2-express/
データベースとテーブルの準備
まずはじめにMySQLで必要なテーブルを準備します。
$ sudo service mysqld status

$ mysql -u root

mysql> create database todo_api;

mysql> use todo_api;

mysql> create table todo_list(id int auto_increment, name varchar(255), isDone boolean, index(id));

mysql> insert into todo_list(name, isDone) values('todo sample', true);

mysql> exit
name : やることを保存
isDone : todoが完了しているか(true / false)
これでテーブルの準備は完了です。
AUTO_INCREMENTを使用する際はindexを作成する必要がある点にご注意ください。
Node.jsで実際に処理を書いていく
ここからがいよいよAPIを書いていきます。
まずは、必要なnpmパッケージをインストールしましょう。
# 作成したディレクトリ内で
$ npm init

$ npm install express --save
$ npm install body-parser --save
$ npm install mysql --save
body-parserを使用することで、データの取得が容易になります。
後ほど使用します。
まずは、定型文的な処理を書いていきます。
const express = require("express")
const app = express()
const bodyParser = require("body-parser");
const mysql = require("mysql")
app.use(bodyParser.urlencoded({ extended: true }));

# *******は、ご自身のパスワード
const connection = mysql.createConnection({
  host: 'localhost',
  user: 'root',
  password: '*******',
  database: 'todo_api'
})

connection.connect();

const port = process.removeListener.PORT || 3000;

app.listen(port)
ここからMethotごとの処理を記述していきます。
まずはgetから
app.get('/api/v1', (req, res) => {
  connection.query('select * from todo_list', (error, results, fields) => {
    if (error) { console.log(error) }
    res.send(results)
  })
})

app.get('/api/v1/:id', (req, res) => {
  connection.query("select * from todo_list where id = ?", req.params.id, (error, result, fields) => {
    if (error) { console.log(error) }
    res.send(result)
  })
})
select * from todo_list where id = ?", req.params.id はSQLインジェクション対策です。
select * from todo_list where id = ${req.params.id}" は危険です。
他は簡単ですね。
続いてPOST
app.post('/api/v1', (req, res) => {
  let todo = {
    name: req.body.name,
    isDone : req.body.isDone
  }

  connection.query("insert into todo_list(name, isDone) values(?, ?)", [todo.name, todo.isDone], (error, results, fields) => {
    if (error) { console.log(error) }
    res.send(todo)
  })
})
body-parserを使用することによって、req.body.nameのように書くことでデータを取得することができます。
ただ、APIとして使用する際にtodoというオブジェクトが必要なのかどうかは自分はまだよくわかっていないので、
もしかしたら消すかもしれません(笑)
続いてPUT
app.put('/api/v1/:id', (req, res) => {
  connection.query(`select * from todo_list`, (error, results, fields) => {
    connection.query("update todo_list set name = ?, isDone = ? where id = ?",
      [req.body.name, req.body.isDone, req.params.id], (error, result, fields) => {
        if (error) { console.log(error) }
        res.send(result)
      })
  })
})
update todo_list set name = ?, isDone = ? where id = ?,[req.body.name, req.body.isDone, req.params.id]は、
? は複数個になった場合は引数に配列で値を配置します。
配置する値がフィールドの場合は ?? とします。
書き方はとんでもなく汚いような気がします。。。。。
何か他の方法があれば教えていただきたいです(切実)
やっていることは、POSTの処理のSQL文をUPDATEにしただけです。
簡単ですね。
最後にDELETE
app.delete('/api/v1/:id', (req, res) => {
  connection.query(`select * from todo_list`, (error, results, fields) => {
    connection.query("delete from todo_list where id = ?", req.params.id, (error, result, fields) => {
      if (error) { console.log(error) }
      res.send(result)
    })
  })
})
特に解説する部分はありません。
Postmanでテスト
APIを作成する際はPostmanが便利です。
Link https://www.getpostman.com/
試しにGETを送信すると、こんな感じでJSON形式でデータが返ってきます。
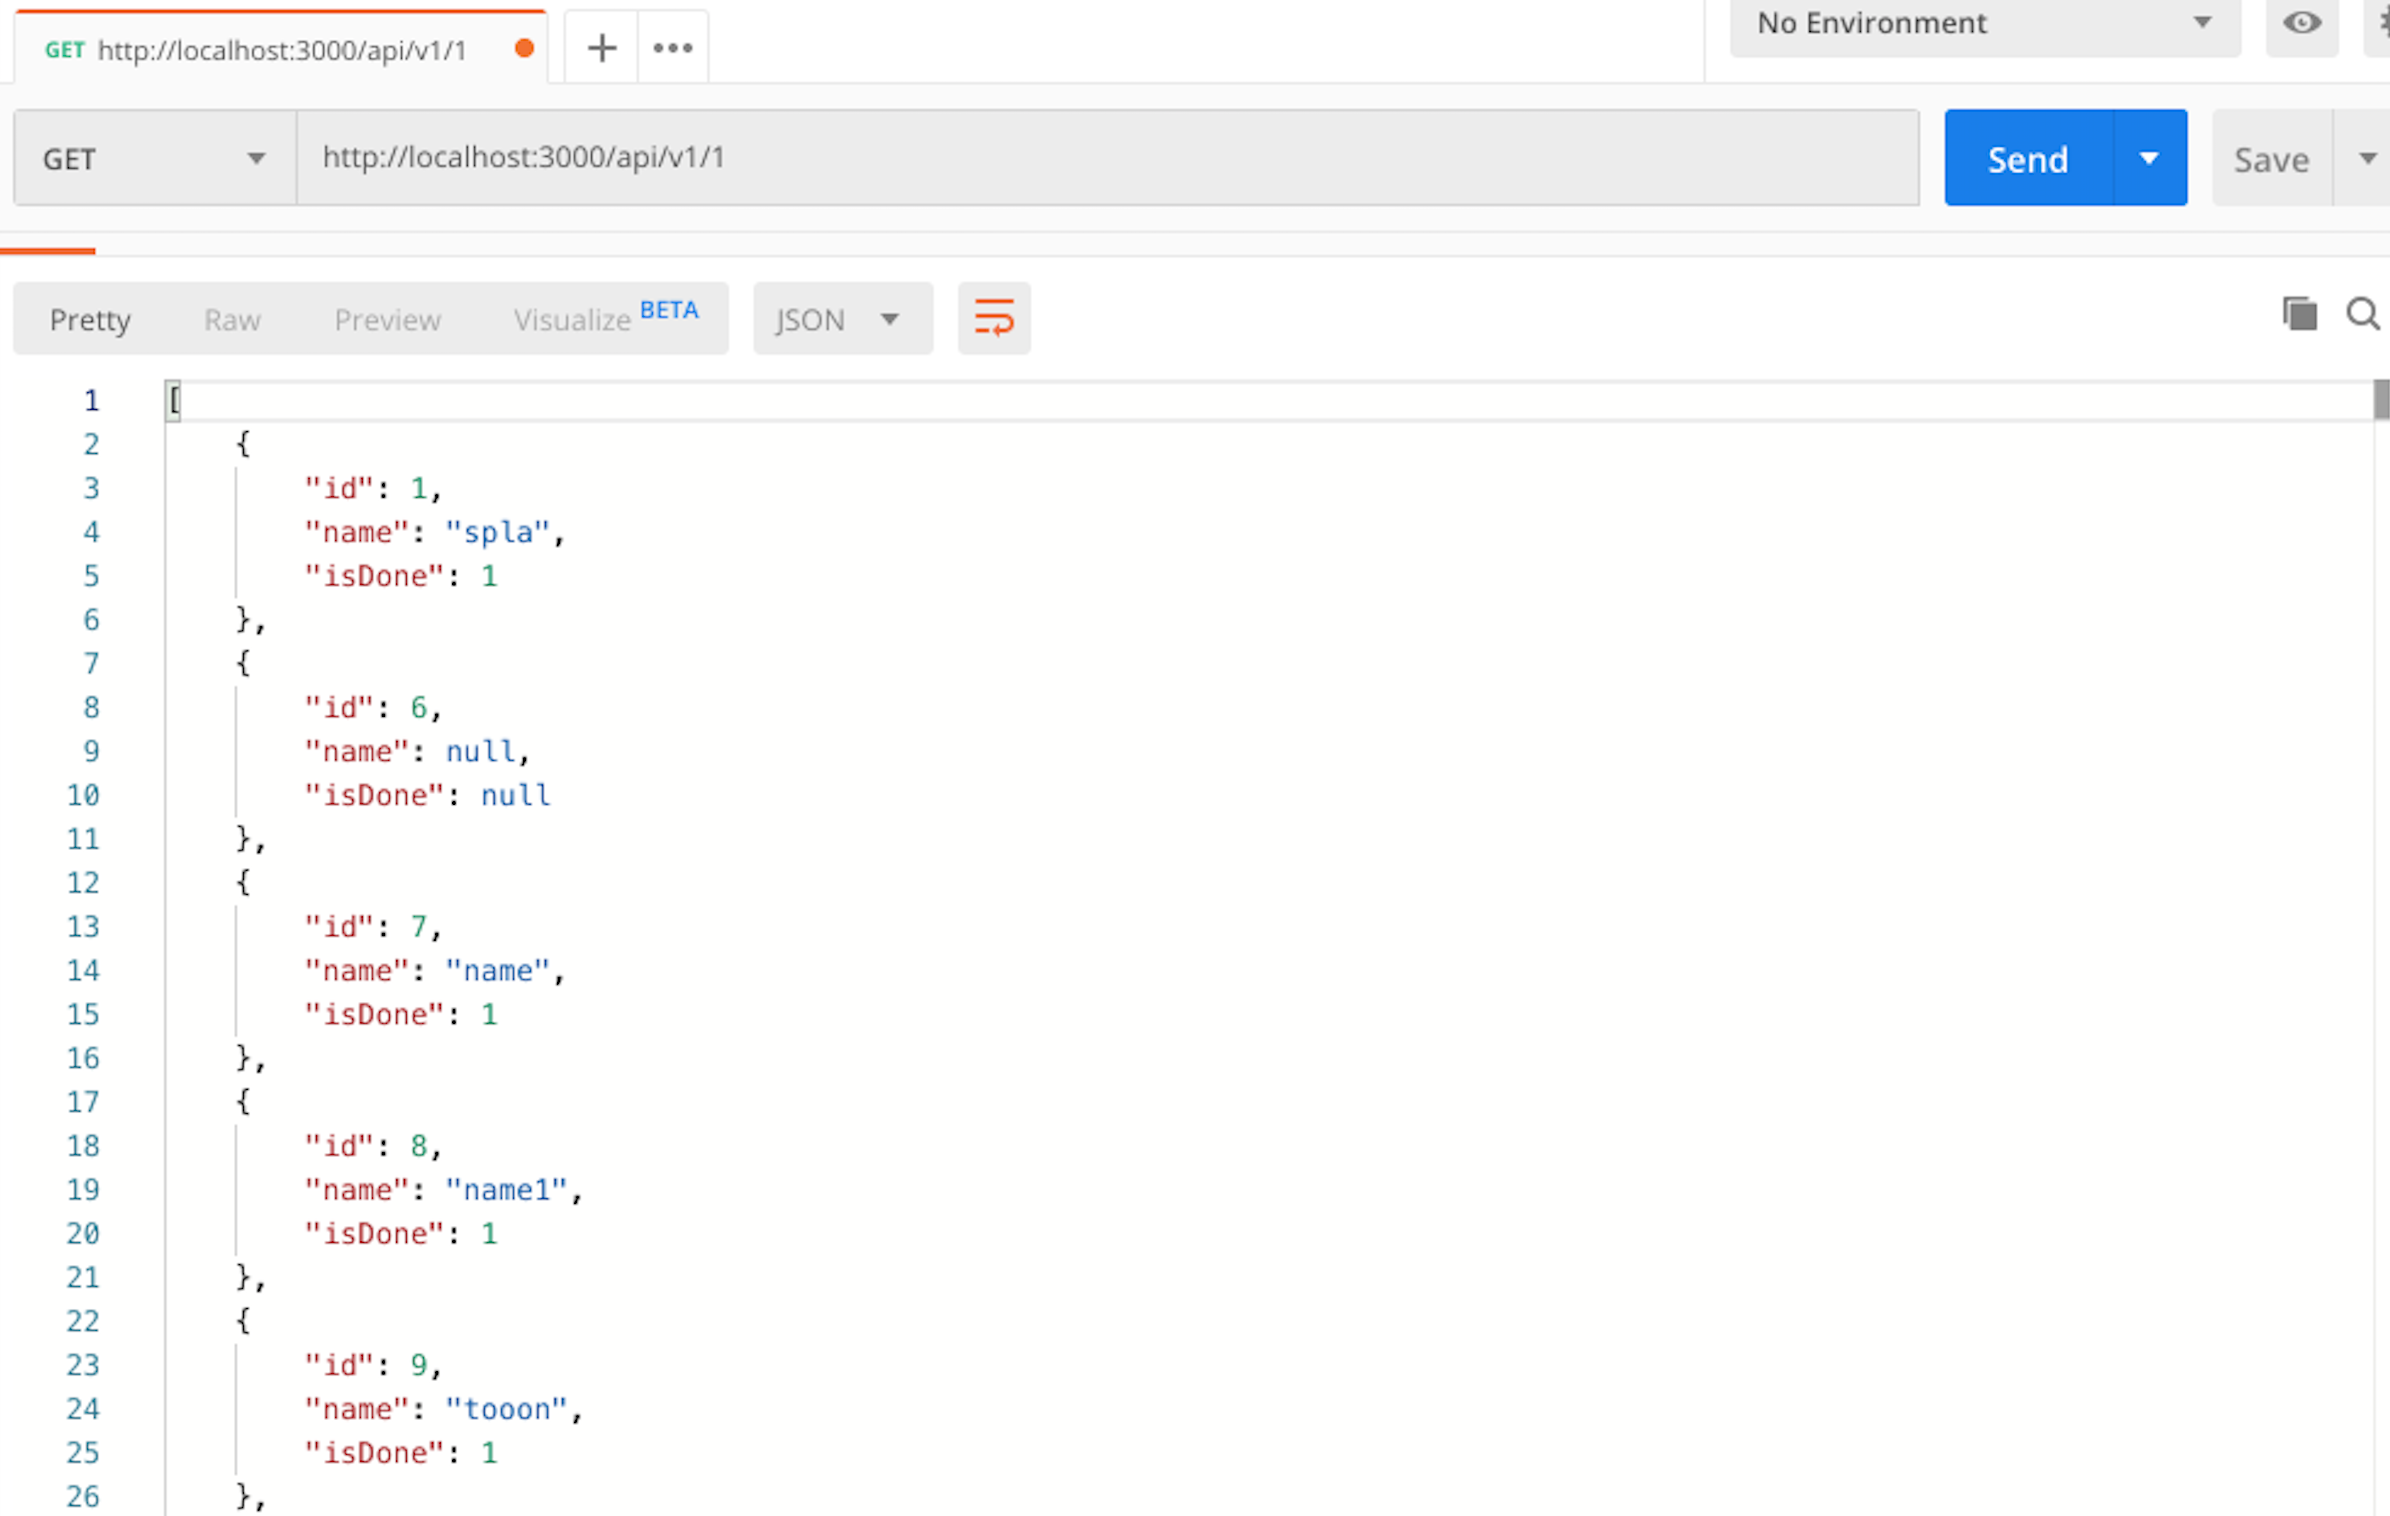
いい感じですね。
終わり
これでとりあえずAPIは終了です。
昨日Nodeの勉強を始めたばかりなので、書き方が間違えている部分はお許しください(笑)
今後はAPIをHerokuにデプロイして、それを使用してReactでTODOリストの作成をします。
強強エンジニアの方、ぜひ間違えている部分を個人的にでもコメントにでも良いので教えていただきたいです。