この記事はPythonで数独を解くの続きです
https://twitter.com/hatt_takumi/status/1230424166546886663?s=20
碁盤目の画像認識
近年PythonでのAI開発がブームで、将棋などのボードゲームに関してはソースもよく見るようになった。
これらのソースに関しては共通して、"碁盤目の認識"というのが含まれているので、今回それを使わせていただいた。
偶然にも、将棋盤も数独も9x9の碁盤目なので、うまく流用できたと思う。
流用したソース
今回はこちらを使わせていただいた。まずは感謝。
こちらのGitHubのshogi-camera/shogicam/preprocess/を、数独用に書き換えてimportして使用する。
書き換え個所
_board_detection.py 37行目のcontoursを変更
    # contours = cv2.findContours(edges, cv2.RETR_LIST, cv2.CHAIN_APPROX_SIMPLE)[1]
    contours = cv2.findContours(edges, cv2.RETR_LIST, cv2.CHAIN_APPROX_SIMPLE)[0]
_trim_board.py 5行目のBASE_SIZEを32に変更
# BASE_SIZE = 64
BASE_SIZE = 32
_trim_board.py 7行目のwをBASE_SIZE * 15に変更
# w = BASE_SIZE * 14
w = BASE_SIZE * 15
ソースコード
import cv2
import numpy as np
from _detect_corners import *
from _trim_board import *

def show_fitted(img, x):
    cntr = np.int32(x.reshape((4, 2)))
    blank = np.copy(img)
    cv2.drawContours(blank, [cntr], -1, (0,255,0), 2)
    return blank

def split_image(img, x, y, line):
    height, width, channels = img.shape
    h = height//y
    w = width//x
    line_h = round(h*line)
    line_w = round(w*line)
    counter = 0
    for split_y in range(1, y+1):
        for split_x in range(1, x+1):
            counter += 1
            clp = img[ (h*(split_y-1))+line_h:(h*(split_y))-line_h, (w*(split_x-1))+line_w:(w*(split_x))-line_w]
            cv2.imwrite("./raw_img/{}.png".format(counter), clp)
    counter = 0

def draw_ruled_line(img, show=True):
    base_size = 32
    w = base_size * 15
    h = base_size * 15
    img = img.copy()
    for i in range(10):
        x = int((w / 9) * i)
        y = int((h / 9) * i)
        cv2.line(img, (x, 0), (x, h), (0, 0, 255), 1)
        cv2.line(img, (0, y), (w, y), (0, 0, 255), 1)
    if show:
        display_cv_image(img)
    return img

if __name__ == "__main__":
    raw_img = cv2.imread("./sudoku.png")
    fit_img = fit_size(raw_img, 500, 500)

    polies = convex_poly(fit_img, False)
    poly = select_corners(fit_img, polies)
    x0 = poly.flatten()
    img = show_fitted(fit_img, x0)

    rect, score = convex_poly_fitted(img)

    trimed = trim_board(raw_img, normalize_corners(rect) * (raw_img.shape[0] / img.shape[0]))
    lined = draw_ruled_line(trimed, False)

    cv2.imshow('image', fit_img)
    cv2.waitKey(0)
    cv2.imshow('image', img)
    cv2.waitKey(0)
    cv2.imshow('image', trimed)
    cv2.waitKey(0)
    cv2.imshow('image', lined)
    cv2.waitKey(0)

    split_image(trimed, 9, 9, 0)
'sudoku.png'として同階層に保存したpngファイルに対して操作する。
輪郭の検出で四角形を検出した後、ホモグラフィーで正面からの画像に変換している。(参考)
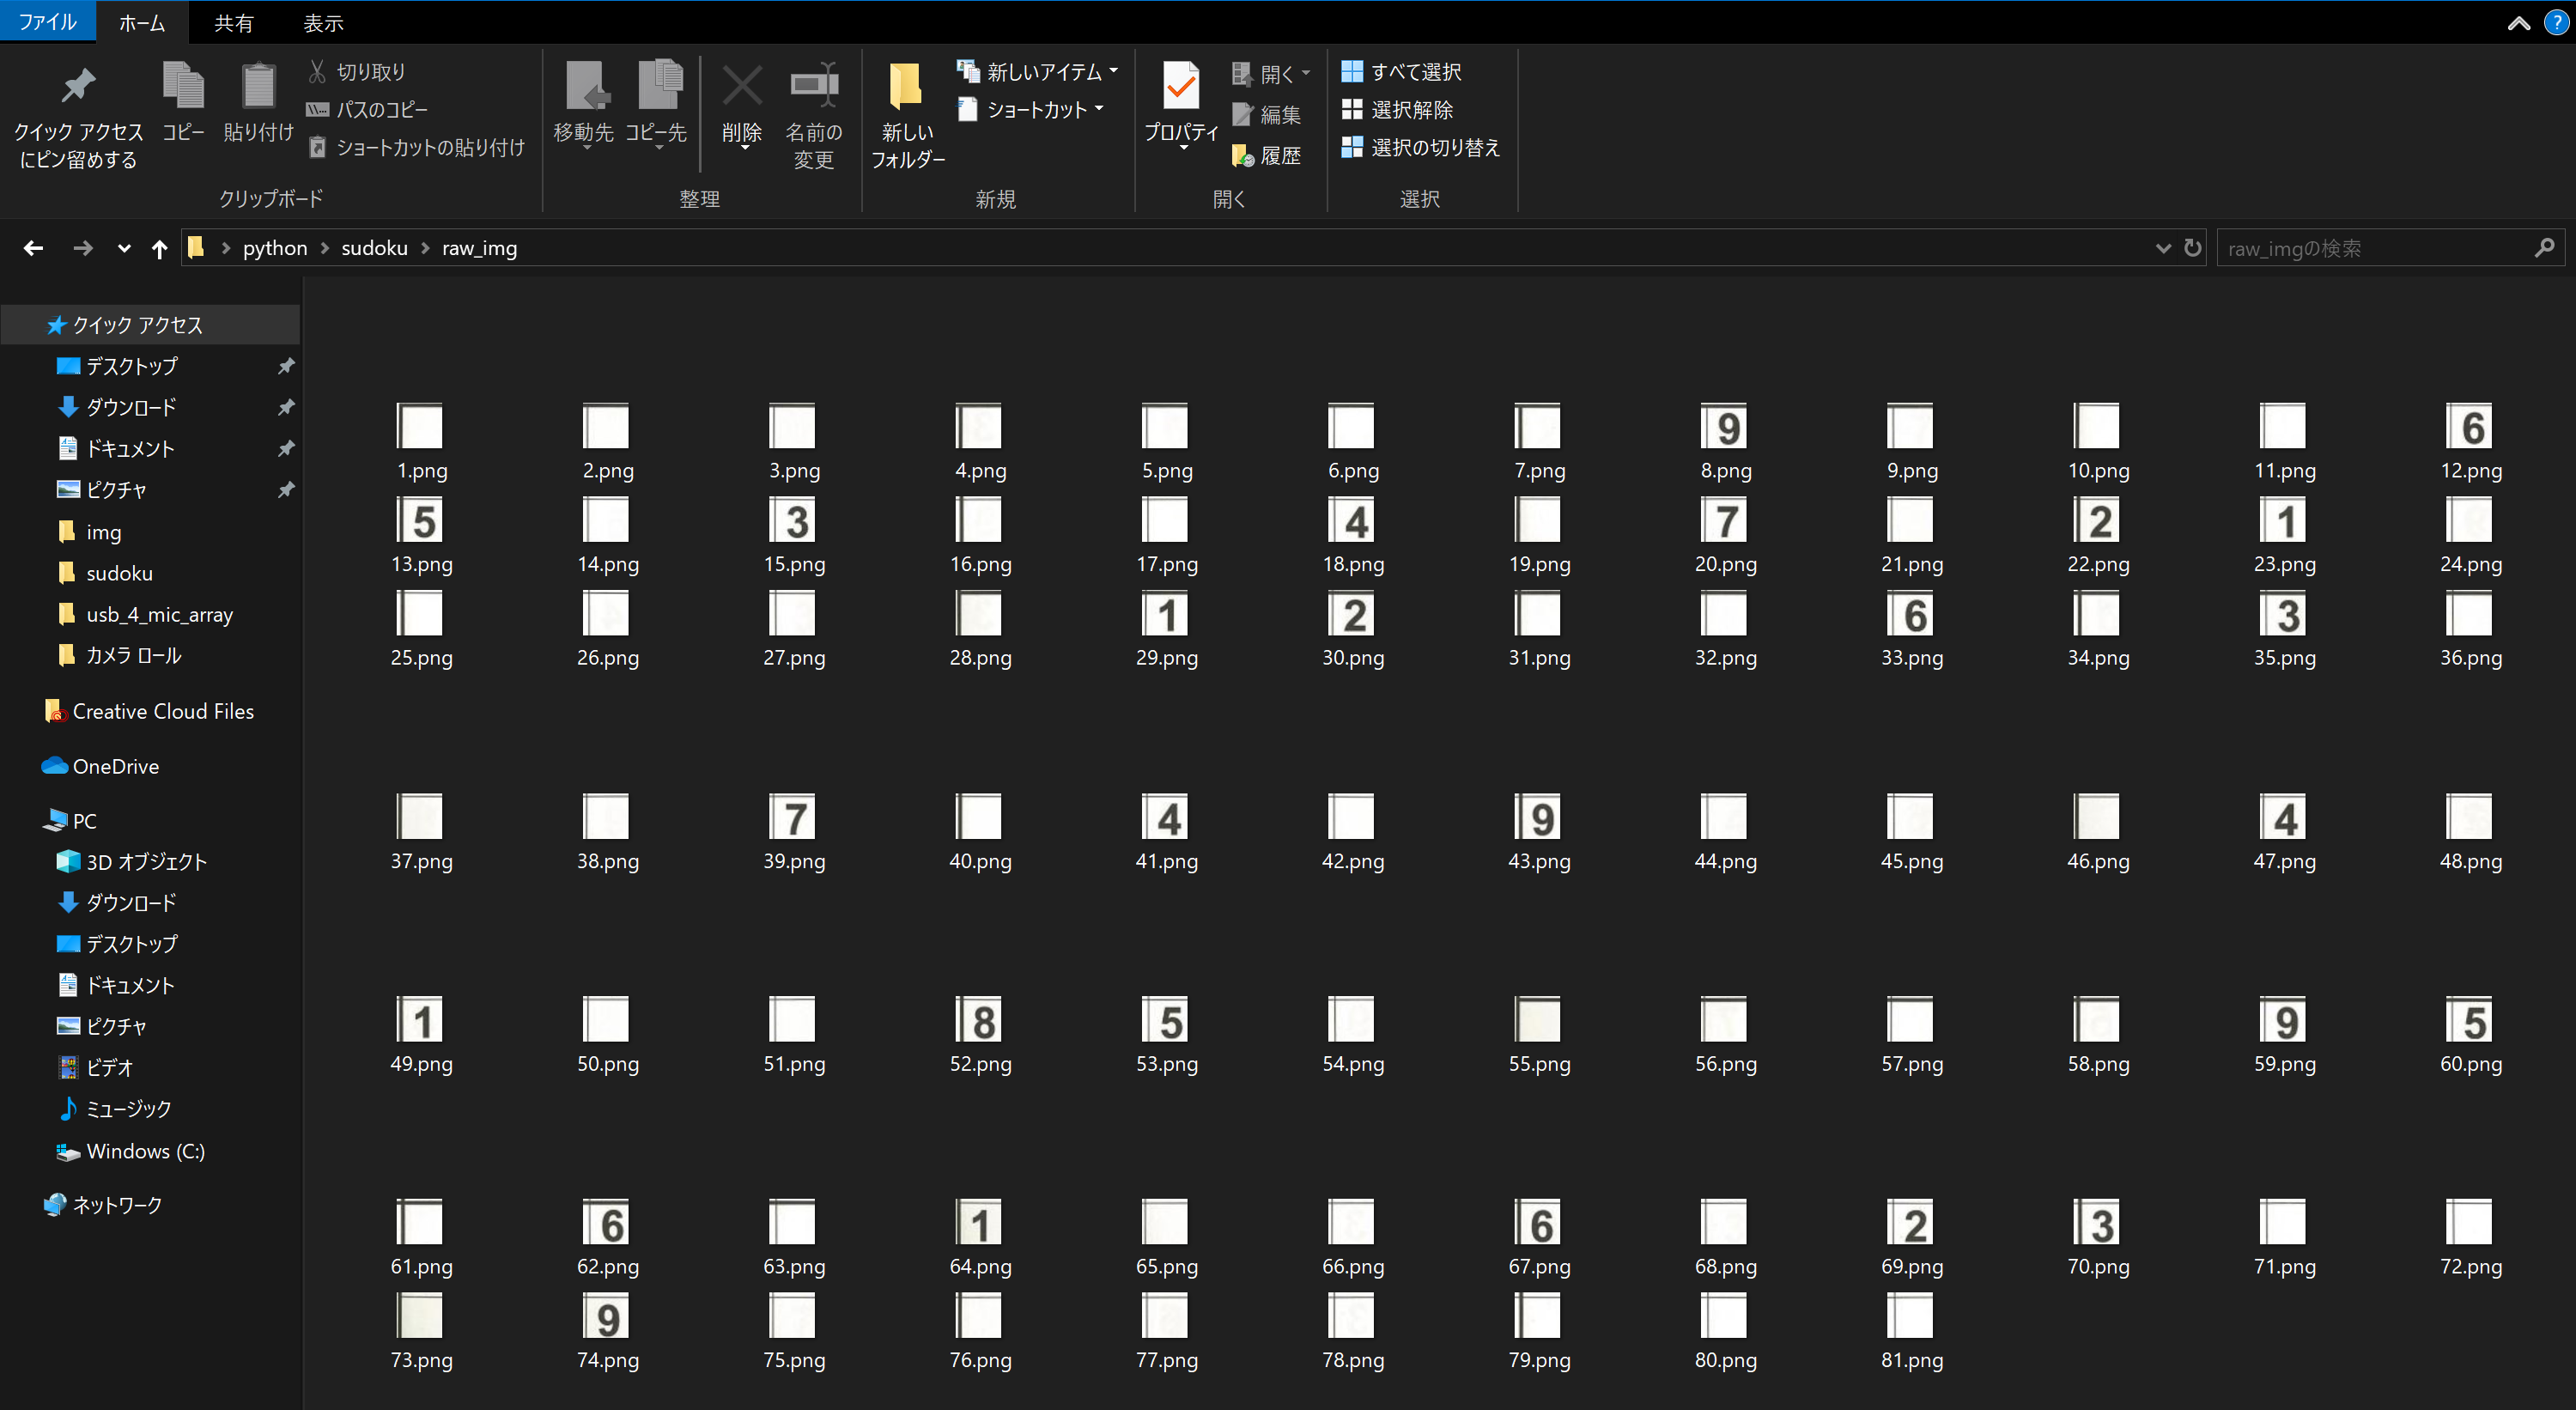
検出した後の操作は簡単で、等間隔に縦横9分割して、切り分けて保存するのみ。後でこれらの画像一枚一枚に対してOCRを行う。
(この後のフェースでまた述べるが、この処理だと罫線が邪魔でうまく認識できないため、少し工夫が必要)
実行結果
こういった画像にたいして
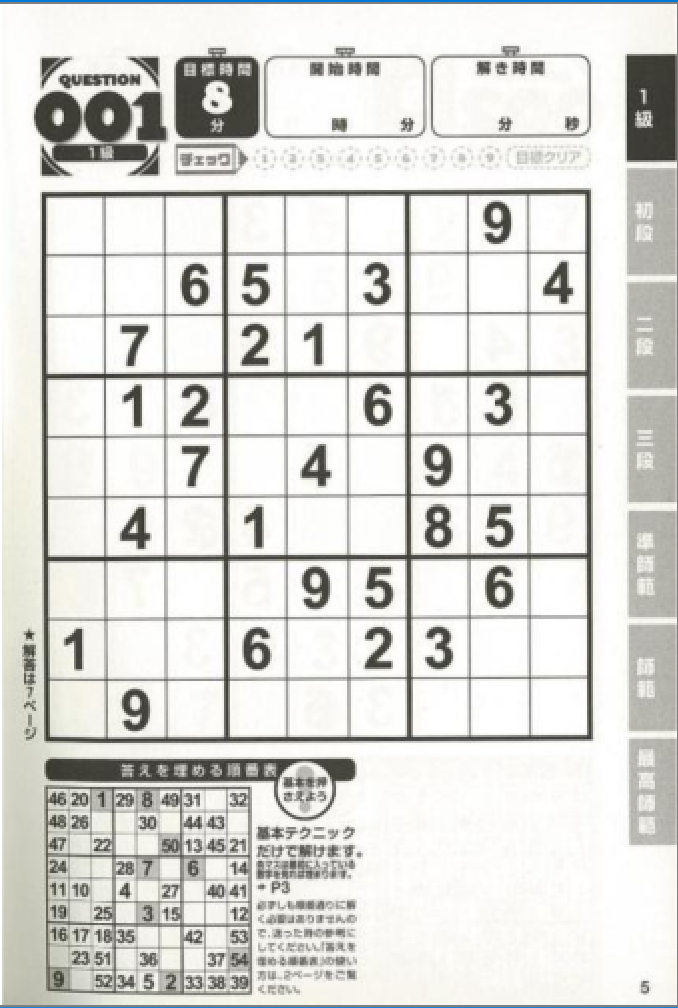
問題の輪郭を検出する
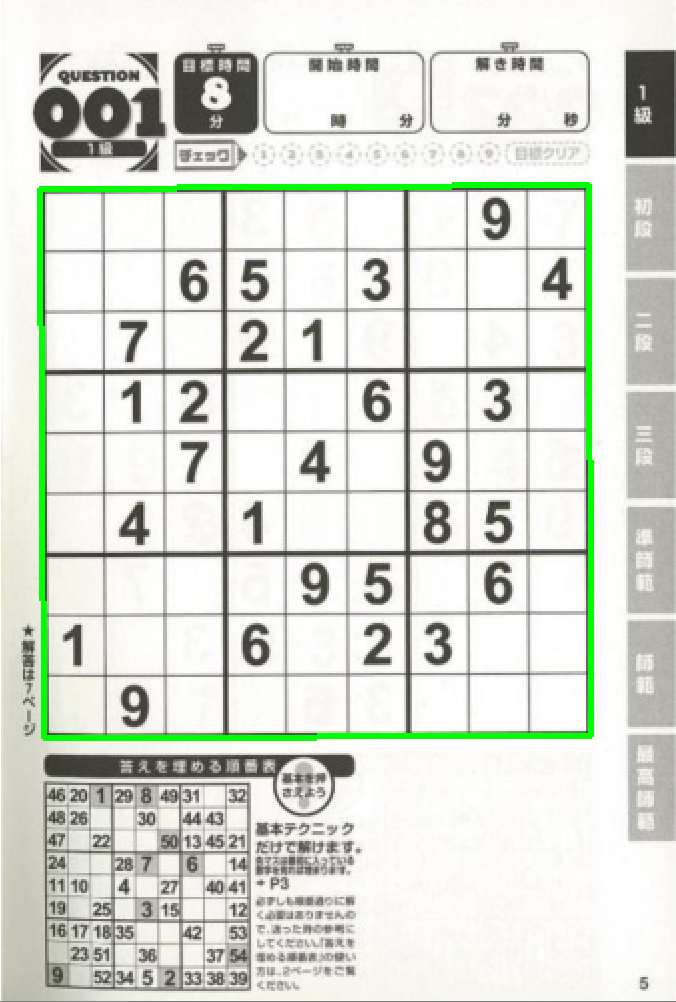
検出した領域をホモグラフィーで正方形に変換
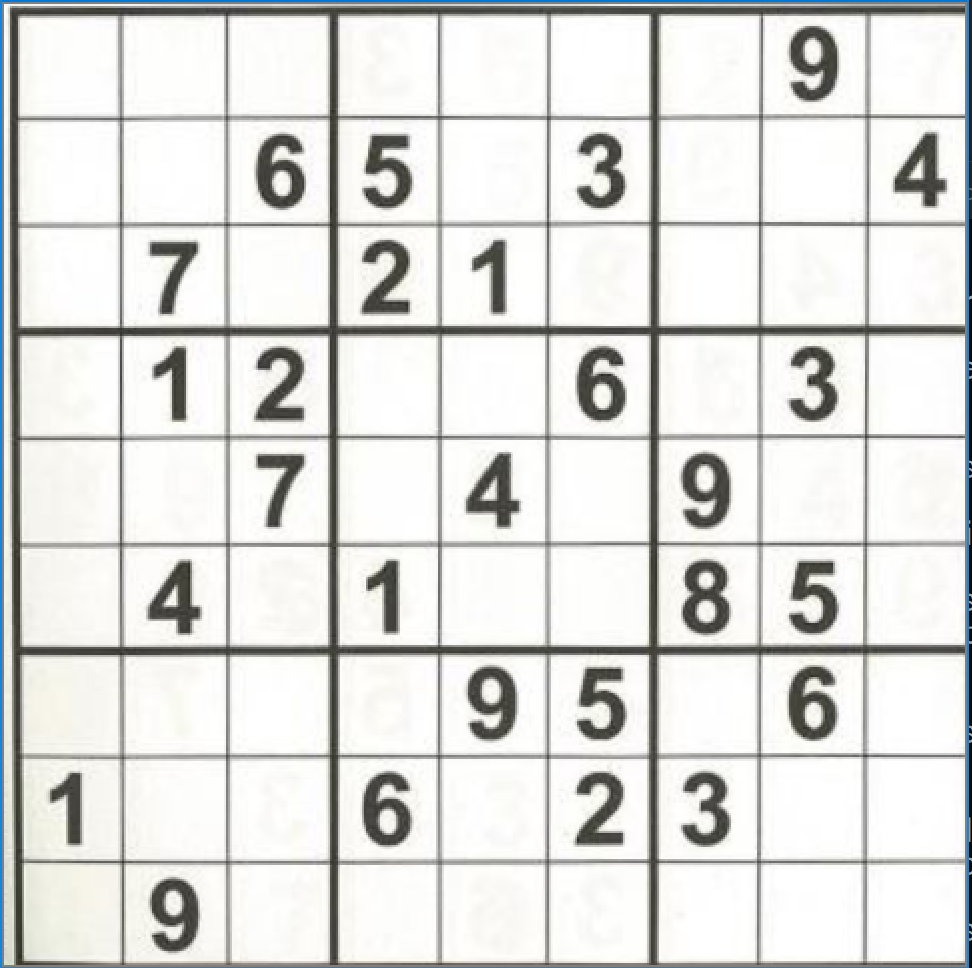
縦横9x9に分割する(画像は線を引いて表示しただけ)
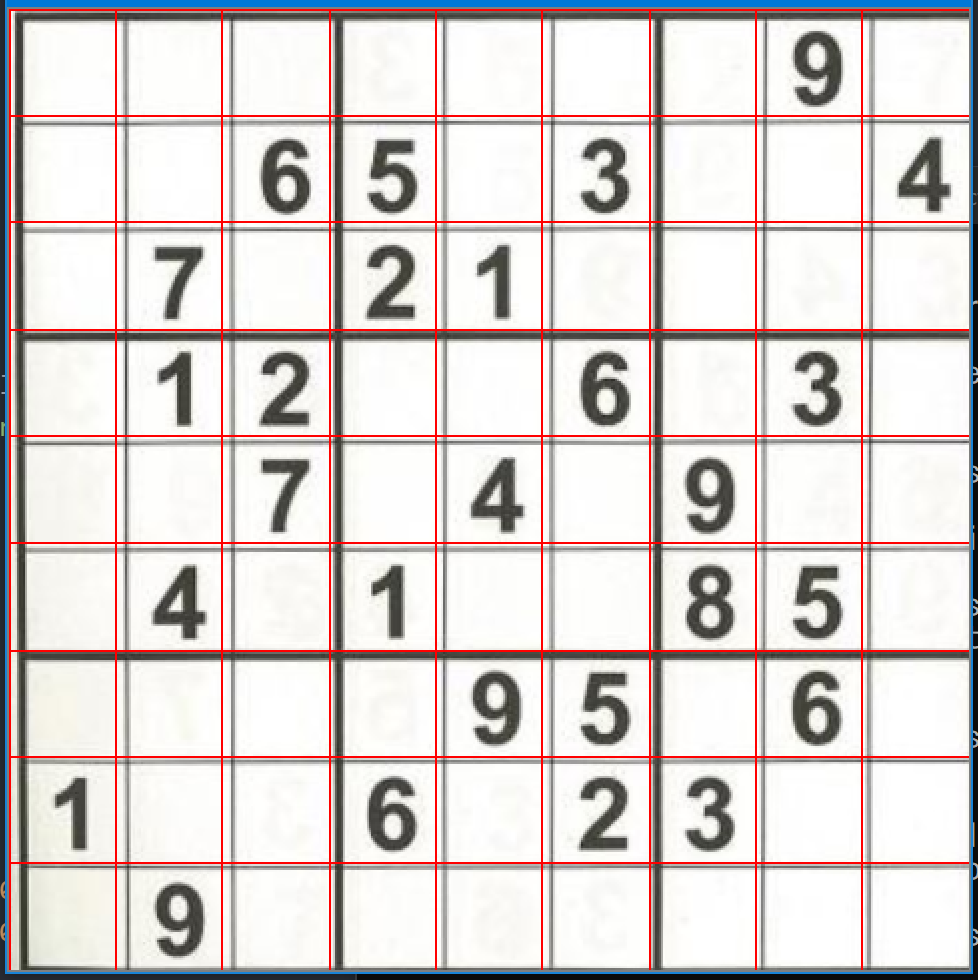
raw_imgフォルダ以下に、切り離した画像が81枚保存される。
最後に
今回はほぼ流用させてもらってしまったので、あまり細かい中身まで踏み込めていない、、、
とりあえず、Pythonで数独を認識する、解く、ところまでできたので、時価はOCRで文字認識し、画像からデータ化までもっていく。
そして
— たくみ@スカジャンのエンジニア (@hatt_takumi) February 20, 2020
Pythonで数独を認識する。
これらを繋ぐと、、、#Python #エンジニアと繋がりたい#駆け出しエンジニアと繋がりたい pic.twitter.com/nwSqmgjVVQ