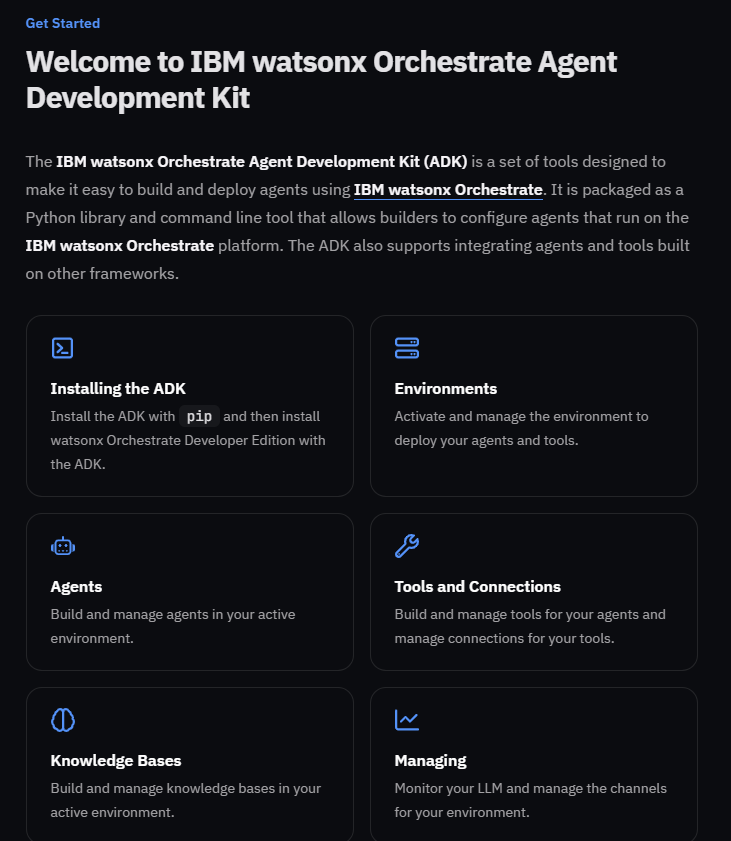
Agent Development Kitとは?
5月の上旬にボストンで行われていたIBMのイベントThinkで、watsonx OrchestrateのAgent Development Kit(以下ADK。実際にリリースされたのは4/30です。)が発表されました。
ADKはその名の通り、AIAgentを構築するためのツールになります。PythonやOpenAPIのAPIを呼び出すToolを利用可能なAIAgentを定義し、PC上で動作可能なwatsonx OrchestrateのDeveloper Edition、もしくは、リモートのwatsonx Orchestrateに対してコマンド経由で、AgentやToolの追加、削除、構成が可能です。
ADKでは、AgentやToolをYAML形式やPythonで実装します。ローカルのファイル・システム上で開発するため、Gitなどのリポジトリを用いた管理も可能になります。
この記事では、ADKをインストールし、kintoneに接続する簡単なAgent/Toolを定義して動作確認するまでの流れについて説明したいと思います。
ADKのインストール
ADK自体はPythonのライブラリで、以下のコマンドで簡単にインストールできます。なお、venvを用いて仮想環境を構築することをお勧めします。
pip install ibm-watsonx-orchestrate
watsonx Orchestrate Developer Editionのインストールと構成
作製したAgentをローカル環境でテストしたい場合には、watsonx Orchestrate Developer Editionのインストールが必要です。本記事では詳細な手順について説明しませんが、詳細は以下を参照してください。
https://developer.watson-orchestrate.ibm.com/getting_started/wxOde_setup
(なお、サーバーを起動する際にはwatsonx .aiのインスタンスと連携する必要があります。)
Agentの作成
Agentの作成は、コマンドにすべてのパラメータを渡して行うこともできますが、通常は以下の様にYAMLファイルを指定してimportコマンドによって行います。
orchestrate agents import -f <path to .yaml/.json/.py file>
Agentにはnative,external,assistantなど、いくつかの種類がありますが、nativeAgentの定義の例は以下の通りです。このAgentではkintoneから顧客データを取得します。
spec_version: v1
kind: native
style: react
name: kintone_agent
llm: watsonx/meta-llama/llama-3-3-70b-instruct
description: >
  You are an agent who specializes in kintone for customer relationship management. You should be compassionate
  to the user.
  You are able to help a user to get customer information. Examples of when to do
  do this include for adding members to plans or helping users with documentation.
instructions: >
  If a user want to get the list of customrs,get customer list using get_kintone_customer tool.
  The output of get_kintone_customer and get_kintone_opportunity should be formatted as a github style formatted markdown table.

  Make sure to communicate with the user matching the language it uses to communicate with you and adapt names and terms as appropriate, and also translate column names and anything else when returning the information to the user.
  Pay attention to the correct language adaptation of inputs and the outputs, always return the information to the user in the same language they are using to communicate with you.

tools:
  - get_kintone_customers
パラメータについて説明しておきます。
- kind
Agentの種類。native,external(.ai上で動作するAgentや、SalesforceのAgent),assistant(watsonx Assistant)の3種類をサポート。 - name
Agentの名前 - llm
使用するLLM - style
default、もしくは、reactを指定 - description
Agentの説明 - instructions
Agentの振る舞いを指定 - collaborators
連携するAgentのリスト。LLMが連携するAgentを特定して処理を移譲。 - tools
Agentが利用可能なToolのリスト - knowledge_base
LLMに与える知識。これによってRAGを実現可能。
Toolの実装
ToolはAgentが処理を行う際に利用するものです。具体的には、データの検索だったり、システム上にレコードを作成することだったりします。ADKでは、現在2種類のToolをサポートしています。(追加で、Toolkitという形でMCPサーバー経由でのTool呼び出しもサポートされています。)
-
Python-Based Tool
Python-Based Toolはその名の通り、Pythonによって実装するToolです。@Toolアノテーションを用いて関数を実装することで、Toolに変換されます。 -
OpenAPI-Based Tool
OpenAPIの定義を読み込むことで、RESTAPIをToolとして取り込むことが可能です。
Toolの実装例
詳細については下記リンク先を参照してください。
https://developer.watson-orchestrate.ibm.com/tools/create_tool
以下は、Kintoneに接続してサンプルアプリにある顧客リストを取得するToolの実装例です。今までも可能だったOpenAPIによる接続ではなくPythonによるTool実装を試してみたいと思います。Python接続するURLやTokenはハードコードするのではなく、次に述べるConnectionsという仕組みを使うことでToolの構成時に設定することが可能です。またToolの名前はアノテーションで指定することもできますが、指定しない場合は関数名がそのままTool名になるようです。
from typing import List
import requests
from pydantic import Field, BaseModel
from ibm_watsonx_orchestrate.agent_builder.tools import tool
from ibm_watsonx_orchestrate.run import connections
from ibm_watsonx_orchestrate.client.connections import ConnectionType

CONNECTION_KINTONE = 'kintone'
CONNECTION_KINTONE_HOST = 'host'
CONNECTION_KINTONE_TOKEN = 'token'

class KintoneCustomer(BaseModel):
    """
    Represents the details of a kintone customer.
    """
    顧客名: str = Field(..., description='name of the customer'),
    部署名: str = Field(..., description='department of the customer'),
    担当者名: str = Field(..., description='contactname of the customer'),
    メールアドレス: str = Field(..., description='mail addressof the customer'),
    TEL: str = Field(..., description='phone number of the customer')

@tool(
    expected_credentials=[
        {"app_id": 'kintone', "type": ConnectionType.KEY_VALUE}
    ]
)
def get_kintone_customers() -> List[KintoneCustomer]:
    """
    Fetch all custoemr from kintone.
    :returns: The customer details including name,department,etc,,
    """
    base_url = connections.key_value(CONNECTION_KINTONE)[CONNECTION_KINTONE_HOST]
    url = f"{base_url}/k/v1/records.json?app=2"

    headers = {
        'Accept': 'application/json',
        'X-Cybozu-API-Token': connections.key_value(CONNECTION_KINTONE)[CONNECTION_KINTONE_TOKEN]
    }

    query_params = {}

    response = requests.get(
        url,
        headers=headers
    )
    response.raise_for_status()
    data = response.json()['records']

    lst =  [KintoneCustomer(
        顧客名=d['会社名']['value'],
        部署名=d['部署名']['value'],
        担当者名=d['担当者名']['value'],
        メールアドレス=d['メールアドレス']['value'],
        TEL=d['TEL']['value']
    ) for d in data]

    return lst
Connectionsについて
ConnectionsはToolの接続情報(エンドポイントやAPIKey)などを指定する際に使用できる仕組みです。
詳細については下記URLを参照してください。
https://developer.watson-orchestrate.ibm.com/connections/connections_for_python_tools
Connectionsにはbasic,bearerなどいくつかのタイプがあり、使用する認証に仕組みに応じて様々な値を設定することが可能です。先ほどのサンプルでは、key_valueタイプのConnectionsを使用しました。
draftという環境で、Tool内でhostとtokenというパラメータを使用したい場合、以下の様にConnectionsを設定します。
orchestrate connections add -a kintone
orchestrate connections configure -a kintone --env draft --kind key_value --type team
orchestrate connections set-credentials -a kintone --env draft -e host=value1 -e token=value2
そして、key_value型の場合は、コード内で、
connections.key_value('kintone')
とすることで、dictionary形式でパラメータを取得することが可能です。
Agentのインポート
作製したAgent,Toolはコマンドで環境(ローカル、もしくはSaaS)にインポートすることが可能です。
orchestrate tools import -k python -f ./tools/kintone.yaml -r ./requirements.txt" --app-id kintone
他のモジュールとの依存関係がある場合にはrequirements.txtに記述して-rオプションで指定します。
Agentのテスト
ローカルのwatsonx Orchestrate Developer Editionの画面からデプロイされたAgentをテストしてみます。
チャットから「顧客リストを表示して」とタイプすると、Toolが呼び出され、以下の様に顧客リストが表示されます。

まとめ
この記事では、新しく発表されたwatsonx Orchestrate Agent Development Kitの概要と使用法、簡単なサンプルを動作させるまでの流れについて説明しました。
今回のkintoneのデータの取得は単体の処理でしたが、例えば、顧客データを取得して、最適な商品を検討、メールを送信するといった作業をAgentに依頼することで実現できます。
ADKを用いることで、技術者がAgentやToolを効率的に開発することが可能になります。開発したAgentやToolがwatsonx Orchestrate上のカタログに掲載され、業務ユーザーがそれらを組み合わせてノーコードで新たなAgentを定義することで、これまでカバーできなかった業務領域の自動化も進んでいくでしょう。